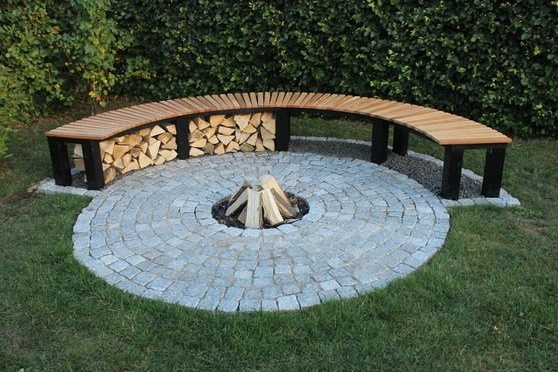
Absolutely everyone loves relaxation, and to make it more enjoyable, there are many options for such purposes. In this article, we will talk about a garden center in conjunction with a bench that you can build with your own hands, and at the same time, without overpaying a lot of money!
In order to build in such a place for your relaxation, it will take only a few days. Remember, in order for everything to work out ideally, try to stock up with great patience and desire for this work.
Necessary materials.
In order to construct a garden-type fireplace with a bench with your own hands, be sure to prepare the following materials:
• crushed stone;
• the most common sand;
• a couple of bricks;
• medium-sized fittings;
• poles made of wood;
• slats should also be made of wood;
• common building material, cement;
• level and screws;
• drill;
• wheelbarrow gardening;
• a rubber hammer and a regular shovel.
Step 1
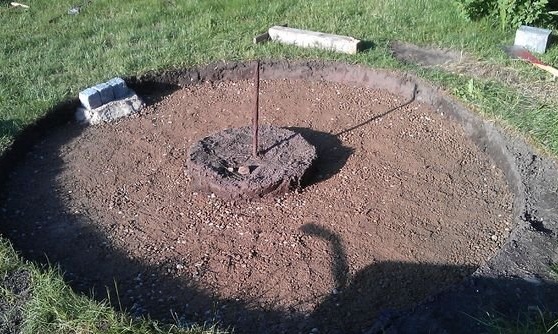
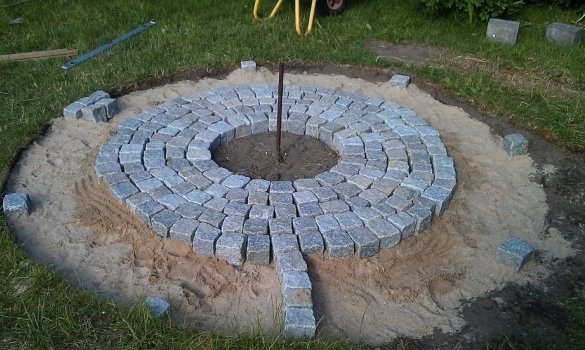
The first thing to do is prepare the place where your hearth will actually be created. In the middle, try to bend into the ground a prepared piece of reinforcement and from it, you must pull the string.
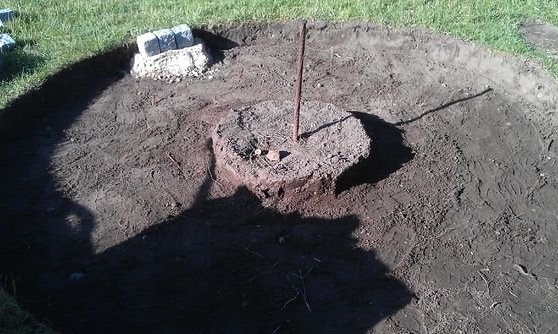
Further, without fail, it will be necessary to level the height of both the hearth and dig a deepening of medium size in order to be able to calmly arrange everything in the future.
When you will create your foundation, constantly arrange a level check.
Step 2
After, you need to pour crushed stone into the recess that you dig. As for the crushed stone layer, it should be about 8 centimeters.
Step 3
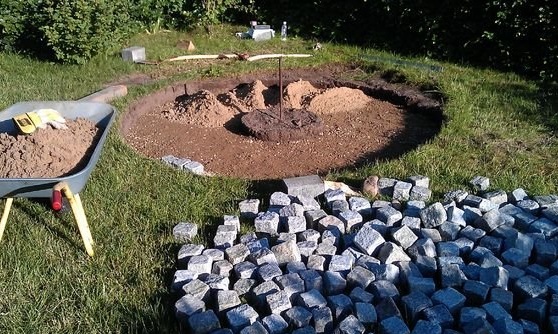
After you complete the process of laying crushed stone, you can begin to backfill sand. Only this layer should be at least ten centimeters.
Step 4
After all of the above steps, it is necessary to lay a brick around the hearth.
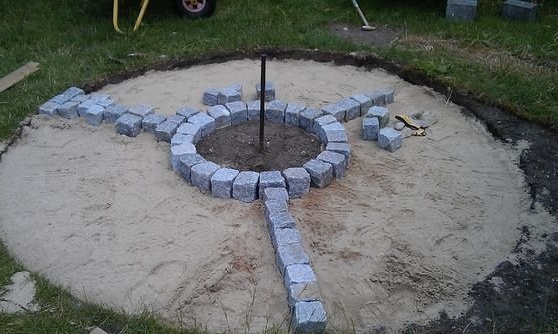
First, you need to lay them along so that everything is smooth and not go astray with regards to landmarks. Drive in step by step and check how smoothly the structure lies.
For these purposes, you just need a rubber mallet.
Step 5
Next, you need to lay out all the remaining bricks.
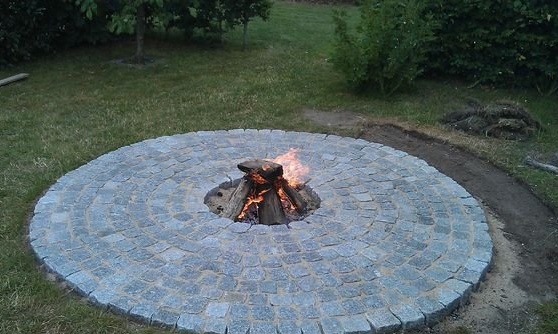
Step 6
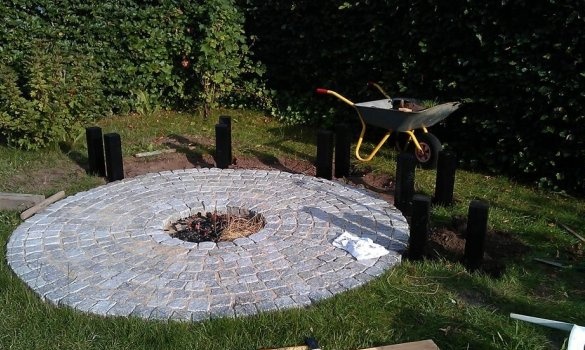
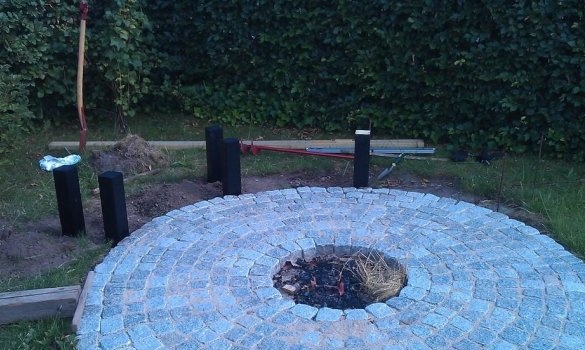
After this, it is necessary to carry out the process of filling the seams. It is at this stage that it is worthwhile to show more effort and attention. First, you need to start with dry sand and only then tamp with water. Thus, the process will go faster and much easier, especially for beginners. Repeat this process only if the seams are visible.
Step 7
It's time to take up the manufacture of a bench, which will be located directly around your hearth. It is desirable that it consist of four parts. That is why, for the base itself, about ten columns of wood will be needed, which will need to be impregnated with a solution such as polyurethane.
The height of the bench will be equal to forty centimeters. Be sure to dig holes under the pillars.
Step 8
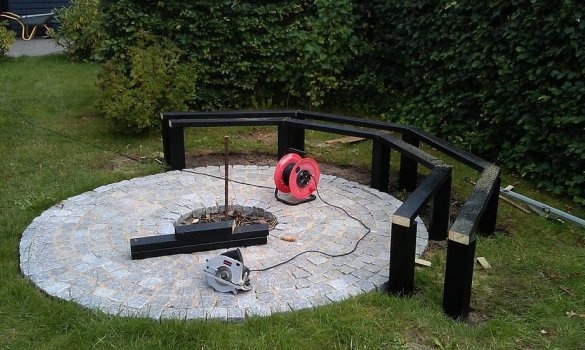
Further, those boards that are designed for seats, you also need to soak in the same solution as the pillars and attach them to the posts. To do this, you will need only two screws at the end of one rail.
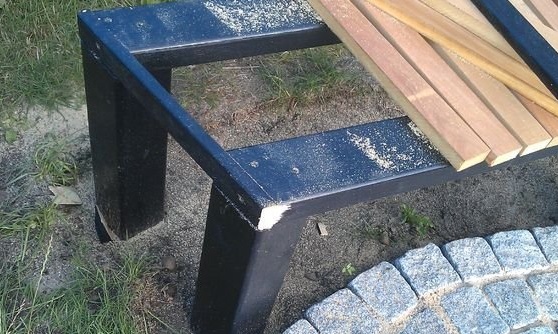
Step 9
To place the transverse rails very symmetrically on the entire bench, again use pieces of reinforcement in the inner area of the hearth. It is already possible to mount a longer rail on it.
Step 10
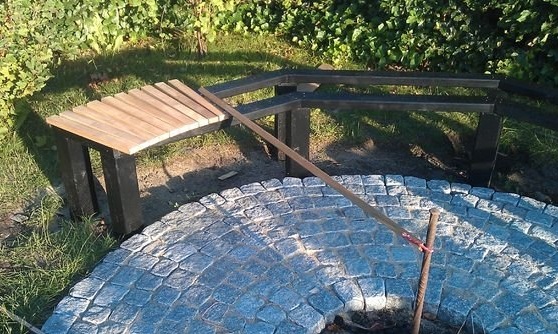
And finally, the final step will be the fastening of the transverse rails to the very base of the bench. To do this, make medium-sized holes in them and screw them to the base. Remember that the screws must be made of stainless material. All is ready!

Now you can safely start folding logs under the bench so as not to go after them constantly and just admire the rest.

