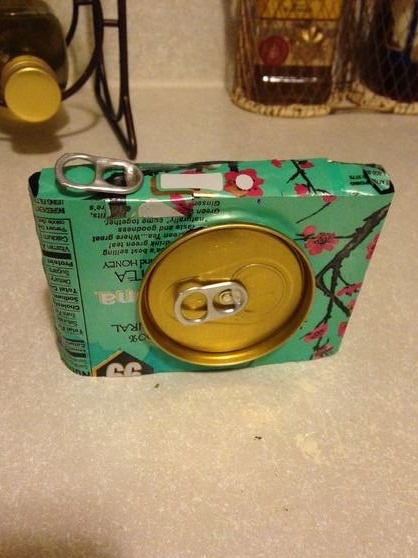
The authors of the instruction used the can of Arizona Can soft drink, however, any can of the same size can be used for these purposes. Such a camera can become an interesting interior item, an accessory for a photo shoot or a new toy for a child.
Step 1. Preparation of tools and material
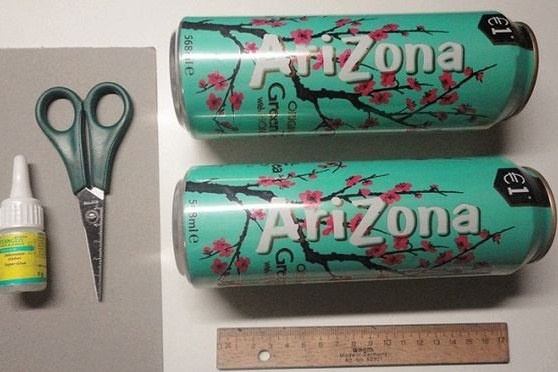
What you need to work:
• scissors
• ruler
• a pen
• two tin cans of lemonade
• Super glue
Step 2: Preparing the Basics for the “Camera”
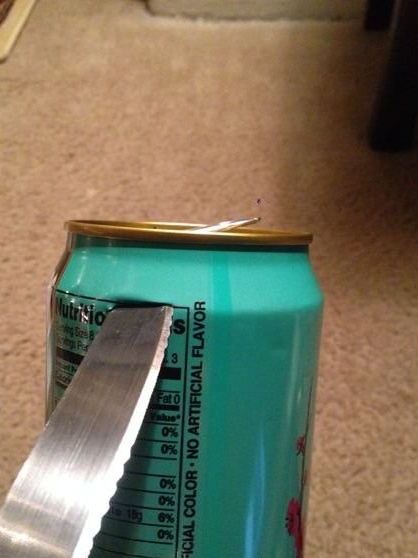
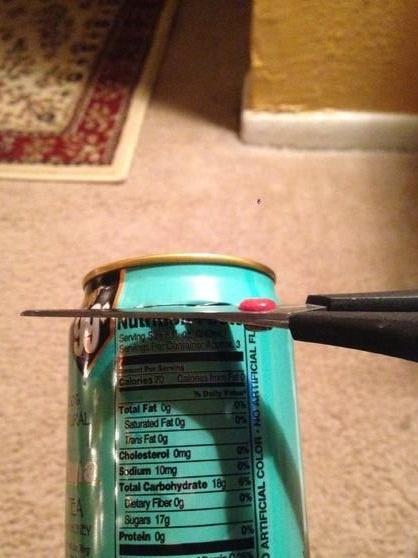
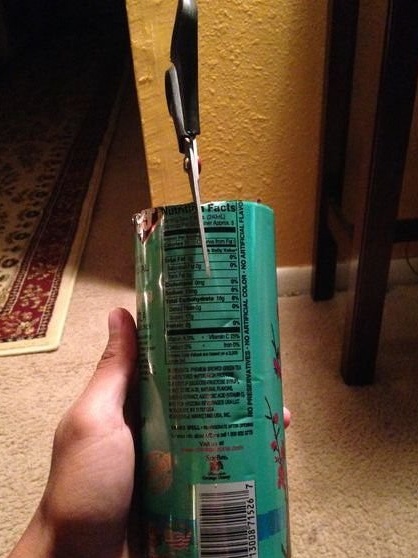
The neck is cut off from the cans, the lower part is removed. It is necessary that there are two even “canvases” from each can. Basics for the Future crafts thoroughly smoothed.
Step 3
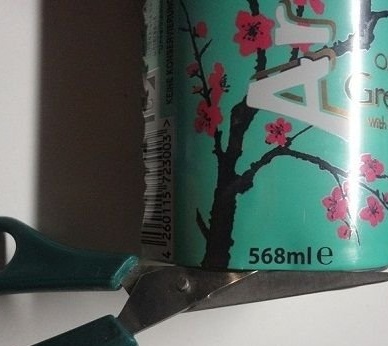
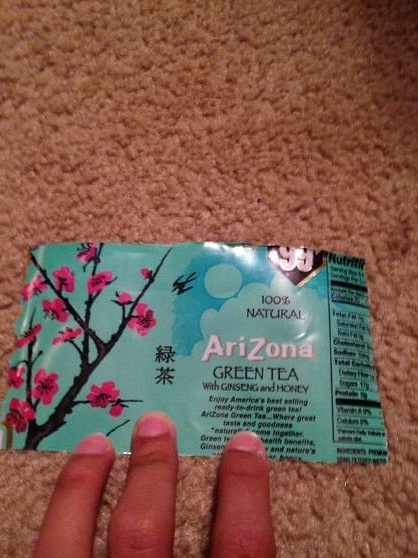
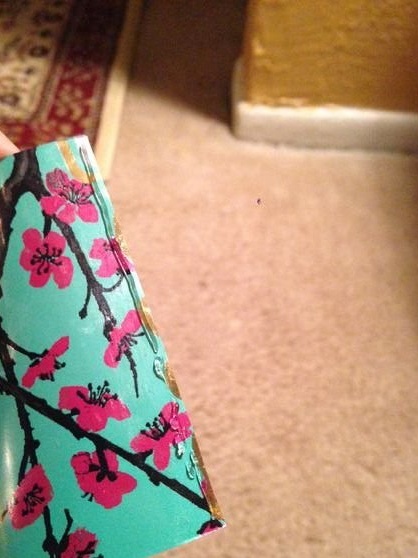
On each “canvas” rectangles are measured using a ruler with sides of 8x14 centimeters. The side parts are cut by 1 centimeter on both sides and bent - these are the side walls of the “camera”. From the “canvas” of the can, 2 more parts are cut off - strips measuring 3x16 centimeters are the upper and lower parts of the “chamber”.
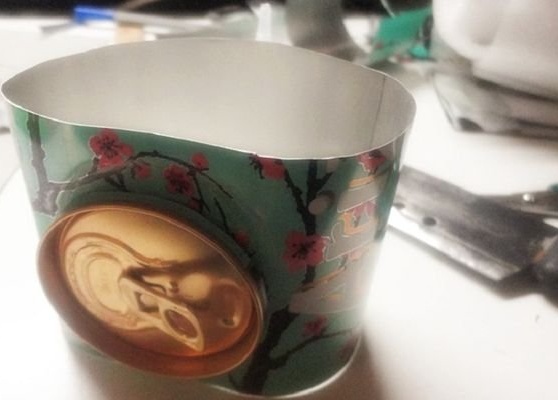
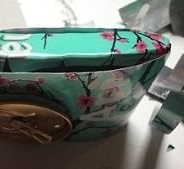
All parts are glued together with super-glue.
Step 4. Adding “Details”
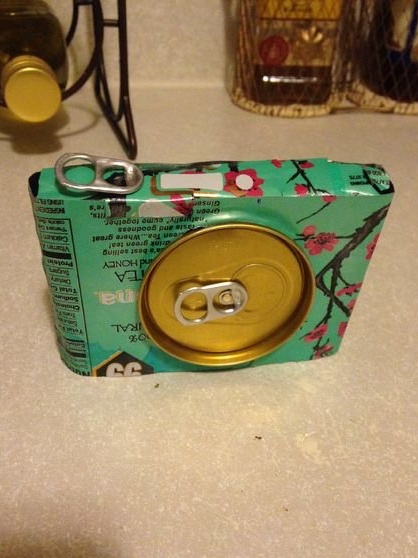
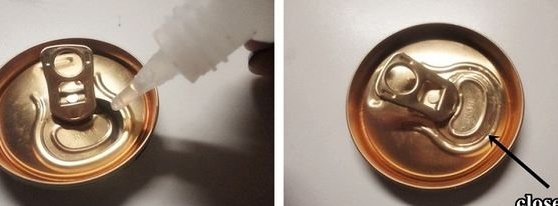
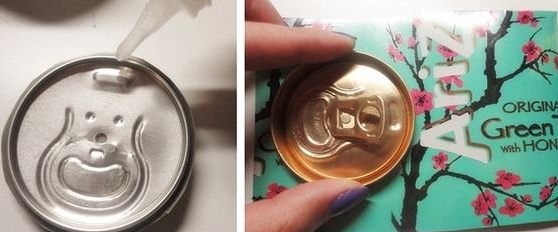
The upper part (lid with key) from one of the cans is neatly cut out and glued to the front of the camera. It is important that the key on the cover is locked. The second key, from another can, is detached and fixed on the top of the “camera” with super-glue. The white marker or bar-corrector shows the power and photo buttons. "Camera" is ready to use!
