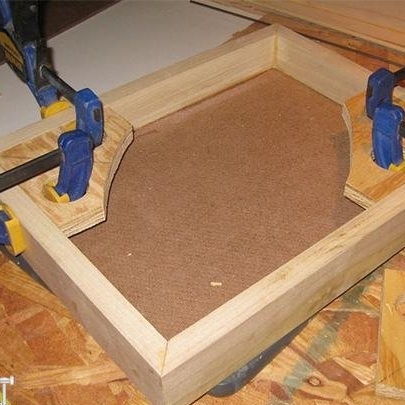
The manufacture of some designs, such as frames, require the presence of clamps on the corners. Such clamps are known as angle clamps. Like so much more, they can also be made in home the conditions that we will do right now. The idea is fully justified, given that tools such as angle clamps cannot be called the first need in the workshop, so we suggest not spending extra money and making them yourself.
We will need:
1. pieces of chipboard;
2. jigsaw
Let's start with a little clarification: corner clamps are used to fix the corners of structures until the glue that holds this structure is completely dry. The absence of a jigsaw on hand can be compensated by a hacksaw on wood.
Let's start by cutting squares from pieces of chipboard. Particular attention should be paid to ensure that the workpieces are exactly square: otherwise the clamps will not turn out accurate.

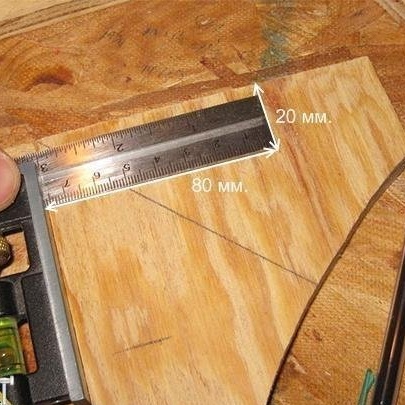
We take the prepared blanks and make marks. At the very beginning, we divide them into two equal parts along the diagonal. We mark the places of future holes. It is necessary to pay attention to the fact that two holes should be strictly 20 millimeters from the edges. At the same time, the distance between them should also be sufficient so that the clamps inserted into them are held freely.
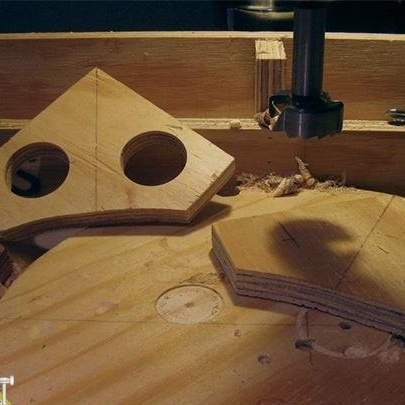
Next, drill holes that should have a diameter of 40 mm. This can be done with a special drill or a jigsaw. In the second case, the process will be called not drilling, but cutting.

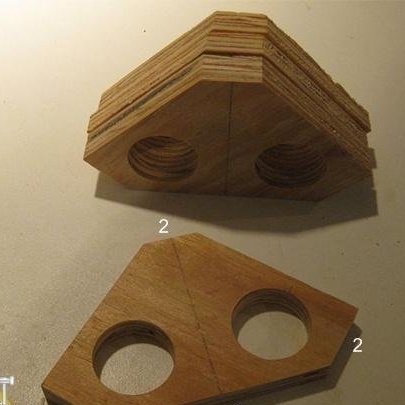
Finally, we cut off the side that is marked in the picture with the number 1 along the drilled or cut holes. Also saw three corners marked with the number 2. The last step is not necessary, but this will allow you to effortlessly remove adhesive residues from the corners of the structure after fixing with clamps.

Thus, we got home-made clamps that will certainly be useful in the workshop, especially since their home-made manufacturing will save a lot of money.

