
If your home has accumulated broken electronic trash, which is a pity to throw out, then this article is just for you. All component materials went to the author homemade completely free, and for this reason you will only benefit.
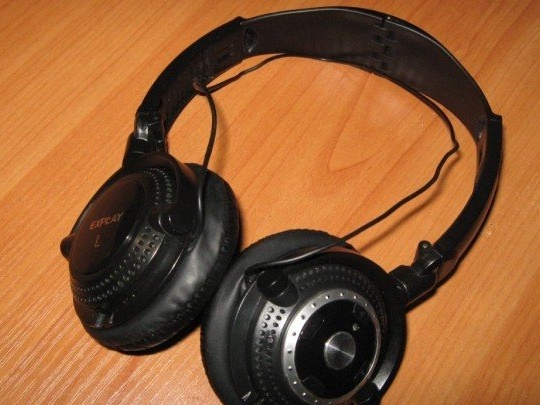
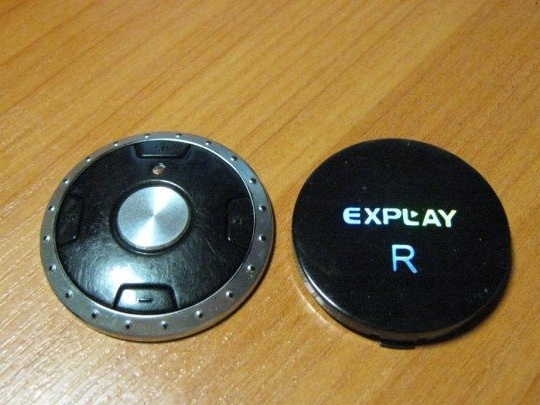
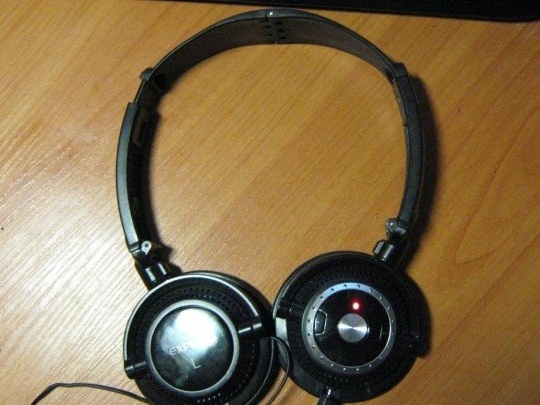
The author once had Explay headphones and a Prolife BT55 stereo Bluetooth headset. In the picture you can see that the headphones do not have a part of the wires, and the headset made wheezing sounds, that is, the speakers were completely malfunctioning.
For this very reason, the author came up with the idea of two not fully working things to do one, but very necessary and well performing its functions.
First of all, we’ll analyze it. We did not even need a screwdriver for this operation, because all the fasteners are ordinary latches.

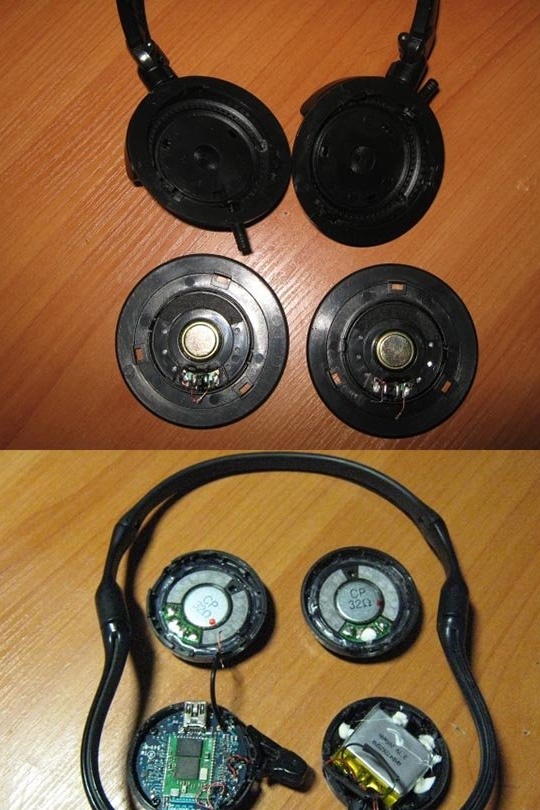
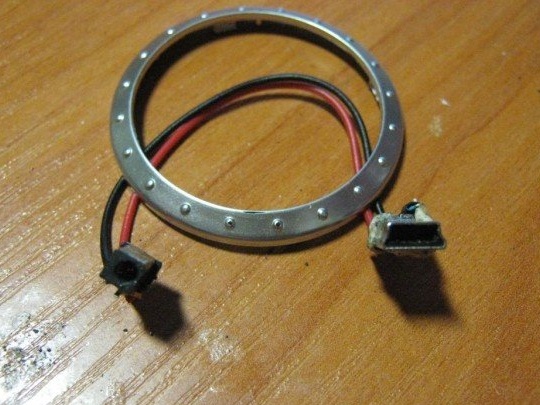
From the headphones, you need to remove the remaining part of the wires, and at the headset, unsolder the speakers and remove the battery for a while. We do this in order to be able to get wiring, it is located in the headphone housing.
As a result of the manipulations from the headset, there is only a block with buttons and internal contents.
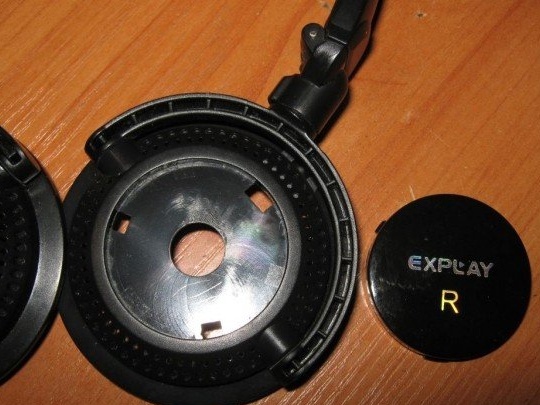
Next, we need to attach the unit with buttons to our headphone housing. It is very easy to do.
After the overlay has been removed, you can see that the space underneath is identical in diameter to the existing button block.
The last task at this stage is only to remove the wiring.
After the internal contents have been separated, we process the entire body so that it matches the dimensions of the overlay.

We try on this case to the case of existing headphones.
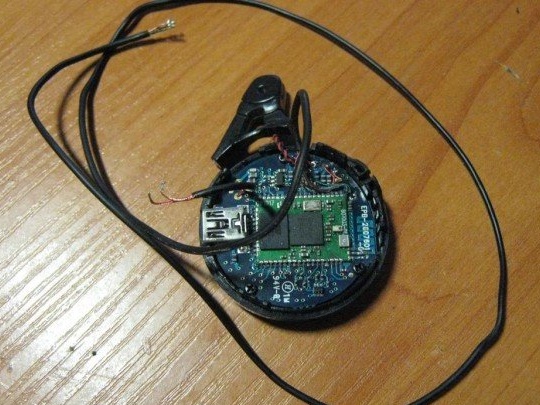
Next, you need to unsolder the mini-usb socket intended for the charger and the author came up with how to make a small adapter from this socket to the socket that previously belonged to the nokia mobile phone.
It so happened that the socket was remarkably located in that small hole that was previously intended for the wire.

Next, you need to make a small hole for the microphone with a drill.
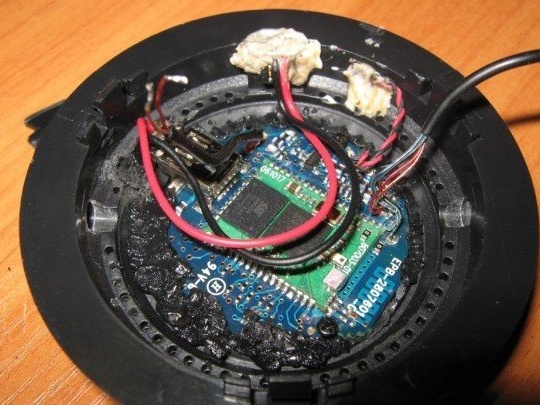
After we installed the board in its place and secured it and related parts in place with hot glue, it turned out that you can see in the picture.
In this photo, front view. Here the author made a small mistake. Just when he drilled holes for the microphone, it turned out that he slightly touched the body of the cartridge.
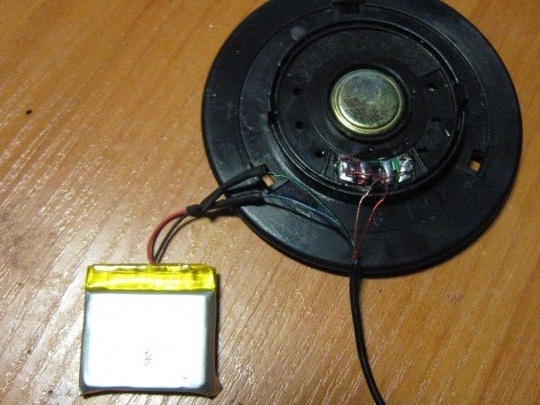
As soon as the glue hardens, we immediately attach the speaker itself with a soldering iron, and then close the case.
Next, you need to attach a second speaker with a soldering iron, as well as a battery.
Well, finally everything is soldered and you can snap the case. Now we will replace the foam rubber pads and put them in charge in order to carry out the check.
A check shows us that the indicator lights up in red, which means that everything works.
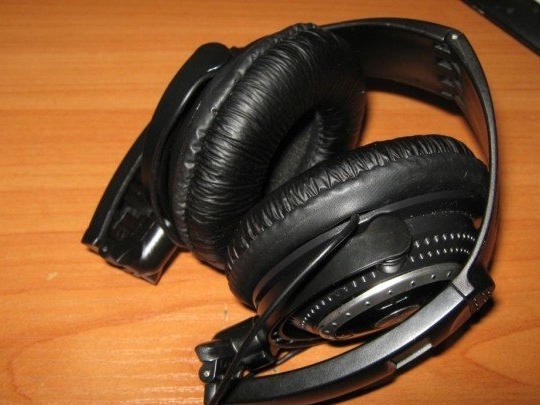
For the reason that these headphones are regulated with the help of a wire, the author decided to leave everything as it is. The only thing that will be needed is to throw the wire behind the head while the headphones are on. The sound in the headphones has become much better and even much stronger than before the headset. Buttons, just like a microphone, perform their functions wonderfully, which is good news.