Lovers homemade often it is necessary to abandon certain ideas due to the lack of necessary tools or devices. The environment of such tools can be noted in the burner, the absence of which we will try to compensate by presenting in this material an overview of the video on the manufacture of a dry fuel burner.
Let's start, as always, by watching the author’s video
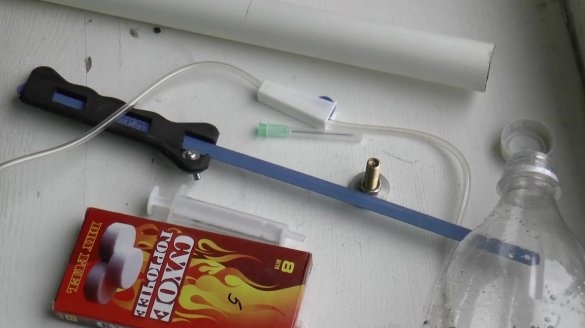
So we need:
- a bottle;
- dry fuel;
- a syringe;
- a hacksaw for metal;
- dropper;
- a tube;
- a nipple for air injection, which can be bought at any bicycle store.
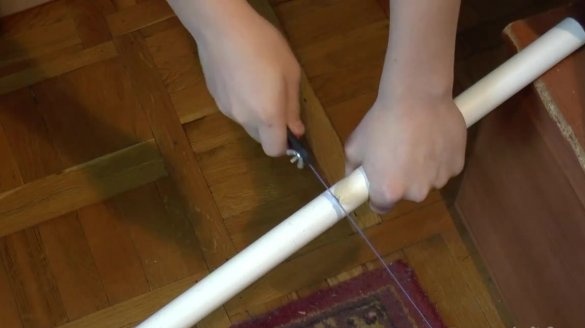
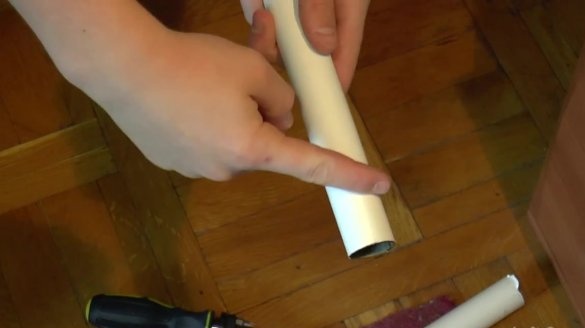
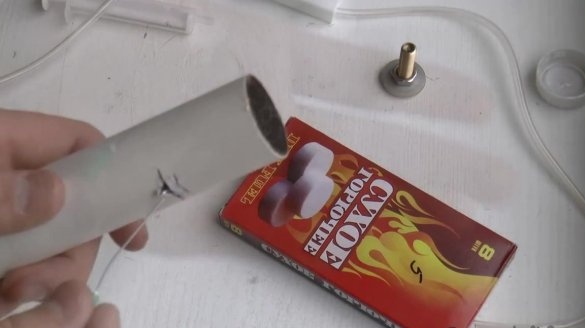
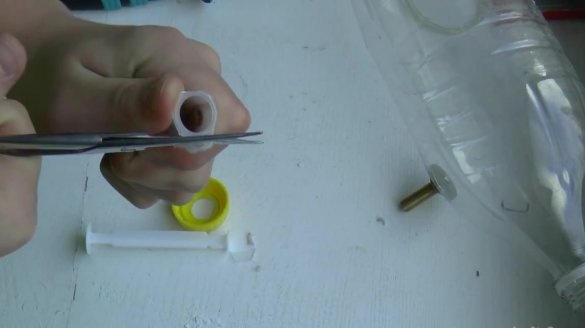
First we need to cut a piece from the pipe of the required length.
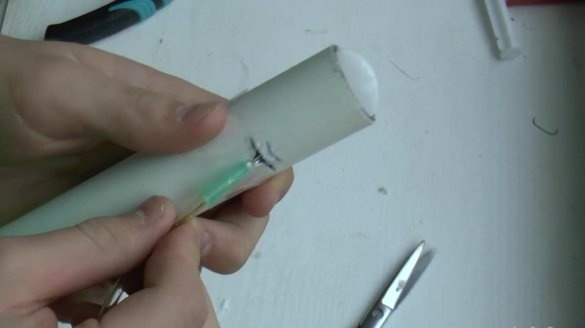
After this, you need to make another hole close to the edge. We make a cut.
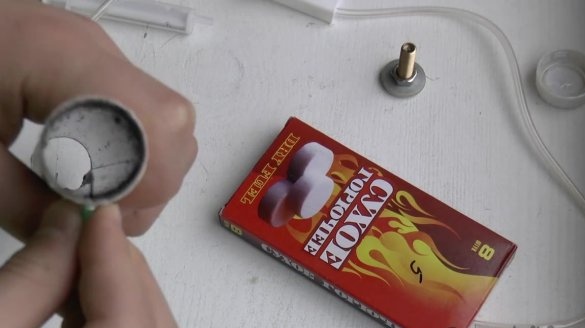
Next, you need to attach a needle to the tube, which is slightly bent, we put it into the cut and fix it with adhesive tape.
After this, dry fuel must be inserted into the tube. The diameter of the tube that the author uses is smaller than the diameter of the dry fuel, so it will stay tight in the tube. Thus, you do not need to invent anything to keep fuel in the pipe.
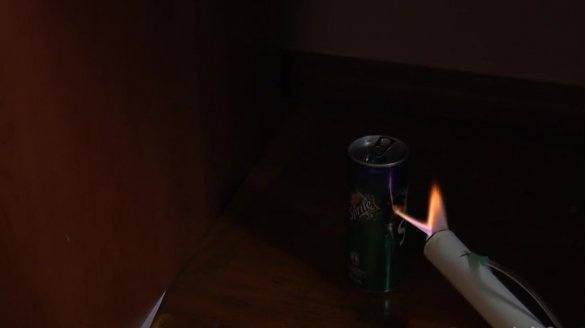
After such simple steps, our burner is half ready. Now if you ignite dry fuel, it will burn with a blue flame. However, in order for the homemade product to turn into a real burner, you need air to enter it. In this case, the air must be under pressure.
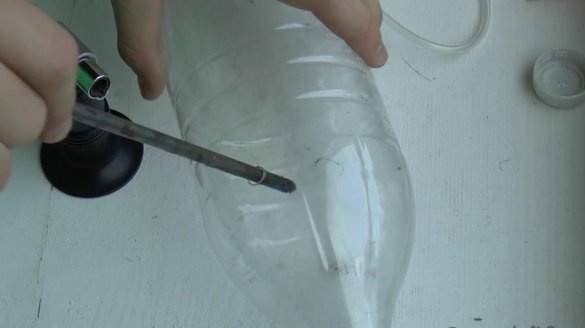
We will supply it through a cylinder of compressed air, which we will make of the bottle. To do this, make a hole in the bottle.
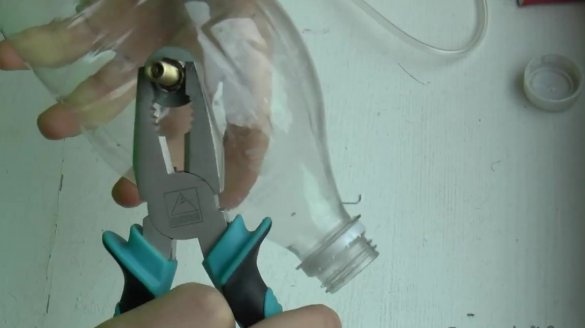
We put on a nipple for air injection.
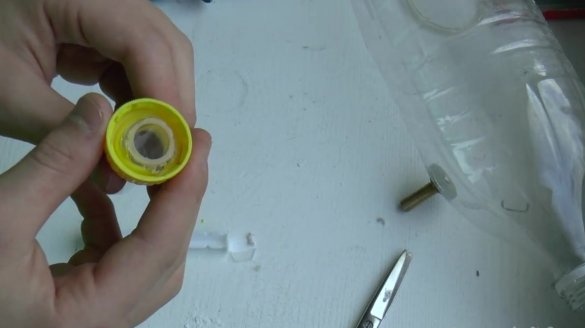
Now we take the bottle cap, because we need to attach a syringe to it.
Cut off the ears of the syringe, make a hole on the lid and insert the syringe into it. You can ensure tightness with a glue gun.
We put the tube from the dropper onto the syringe. After that, our compressed air tank is ready.
In the end, it remains only to connect the cylinder to the needle, ignite the dry fuel and open the air supply on the dropper.
In this way, a completely efficient dry fuel burner can be made. She will be able to facilitate the manufacture of some homemade products.

