
Modern camera models have everything I need to simplify the process of photographing as much as possible. Every lover of beautiful shots knows the problem when it is necessary to take a shot, but by hand this is not always possible. In such cases, a tripod helps, but he also needs an addition in the form of a remote shutter button for a digital camera, which will avoid any slightest vibration and distortion of a beautiful frame.
To make a switch or shutter button, we need:
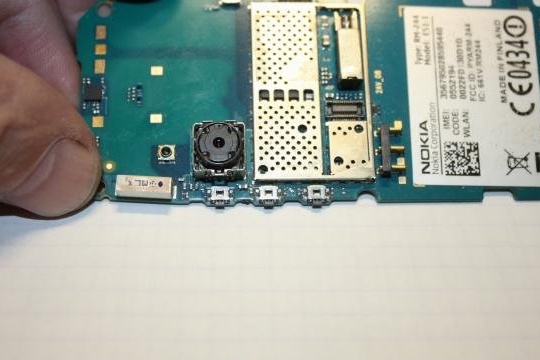
1. an old telephone with buttons;
2. headset;
3. soldering iron;
4. nippers;
5. file.
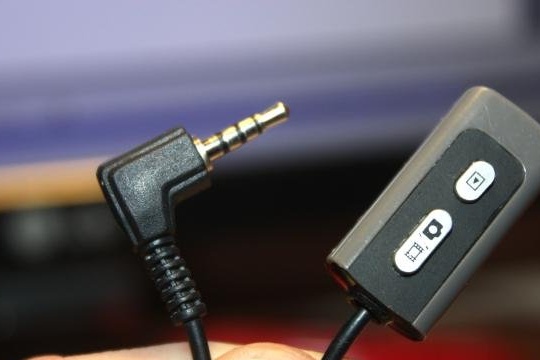
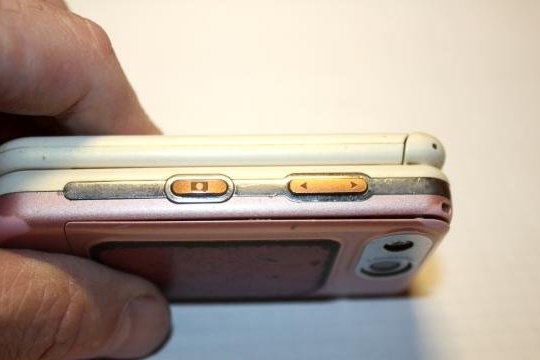
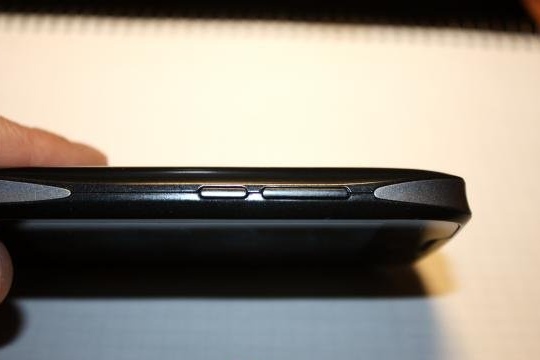
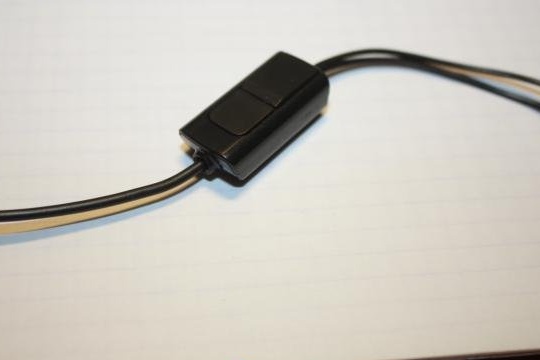
From a push-button telephone, we need the basic buttons, that is, the power, volume or camera buttons, which are present on some models of mobile phones. Often these buttons are located on the side of the cases. Also note that when choosing a headset, you need to pay attention to the presence of buttons on it, and the headset itself should be made in a box, as in the case of headsets manufactured by Nokia, Alcatel and some other companies. We use the headset box as a switch case.
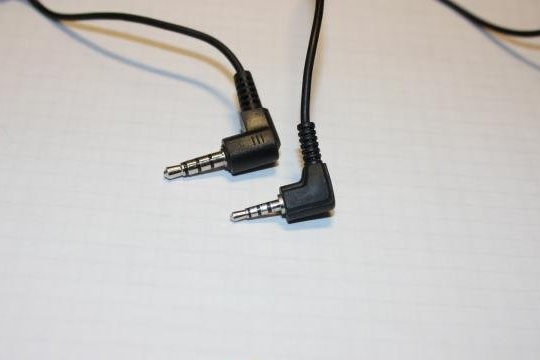
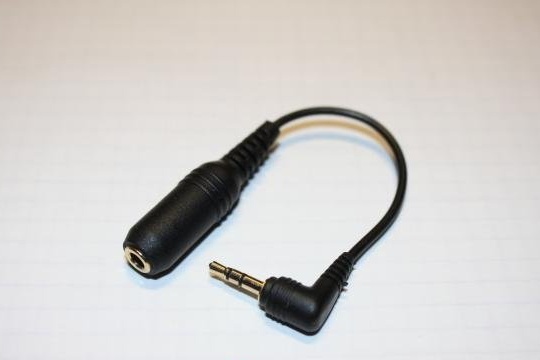
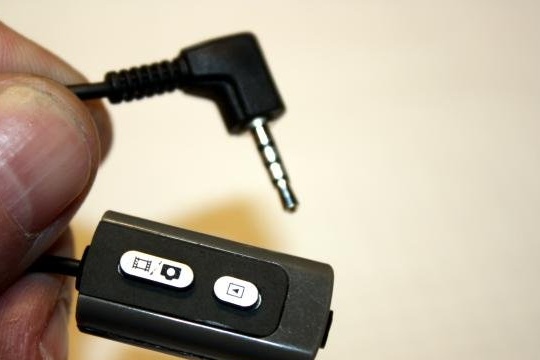
Headset plugs are mainly of two types - thicker and relatively thin. The sockets on most cameras are thin, so we will use a headset with a thin plug. If such a headset is not at hand, you should not be upset and quit work, because you can buy an adapter in stores or make it yourself with the necessary materials.

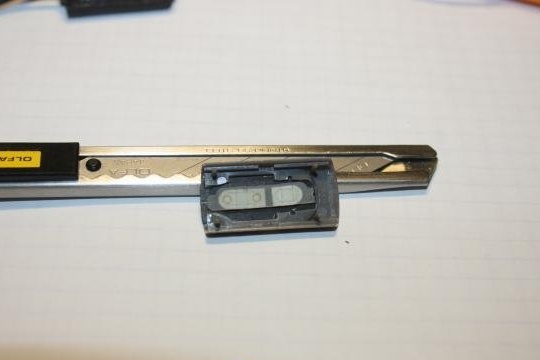
Let's start by disassembling the old phone.
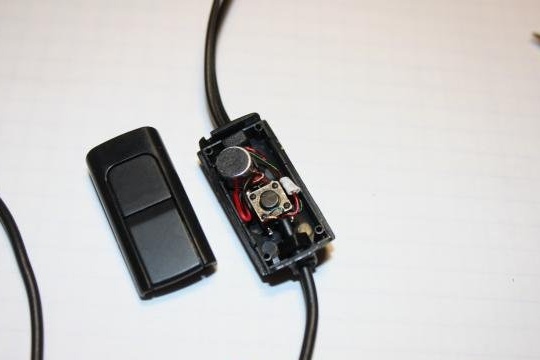
Next, we disassemble the headset. We take a knife with a thin blade, which we divide the headset box into two parts. Inside the headset is a microphone, the power button itself and the wire that goes to the plug. The wire has three thin wiring with screening. Often, these wires are made in three colors - blue, red and green. There is also one simple unpainted wire. All the stuffing needs to be pulled out of the box.
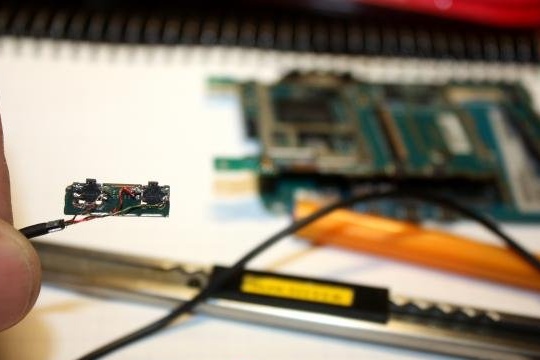
Following this, we cut out the side wires from the phone board. Typically, these wires are equipped with four leads. They work according to the following principle - the two terminals that are located at the top, when you click on the buttons, close the two lower ones.
We stick the plug into the camera, turn it on. We begin to close the wires, remembering which sequence affects the focus of the camera, and which directly affects the shutter. Often, focusing is caused by the closure of the green and red wires, and the shutter is caused by the closure of the red, green, and unpainted wires.
Having decided on the sequence of wires, we begin to solder the first combination to the first button, and the third to the second. Thus, the blue wire was not needed in our design, so that you can just cut it off.
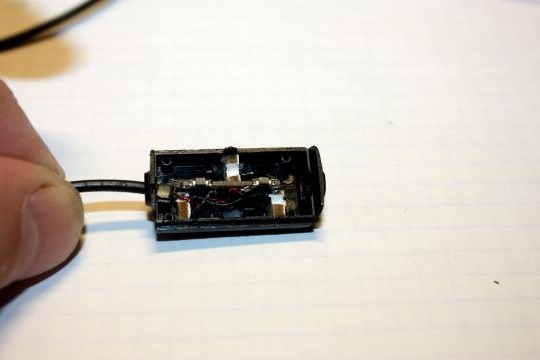
Now you need to properly secure the board in the headset box so that it sits as tightly as possible and does not stagger. For convenience, the focus and shutter buttons should be located slightly lower than the top panel.
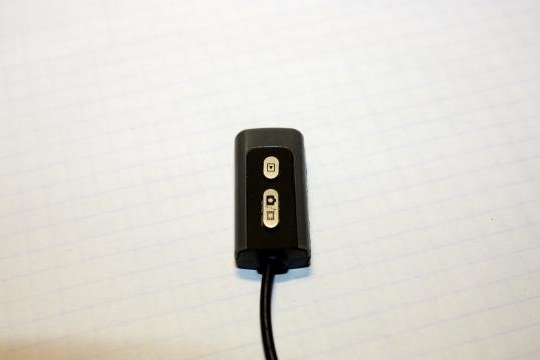
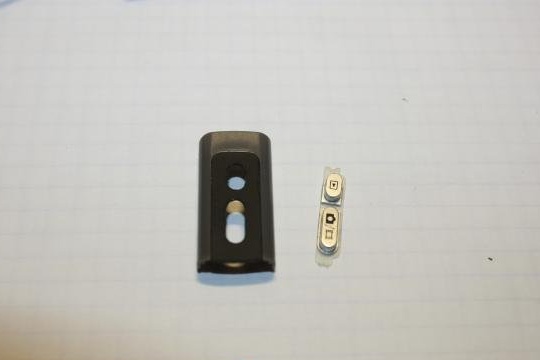
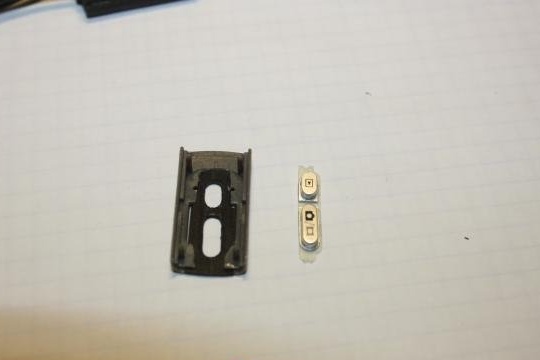
The top panel of the switch can be made using the case or screen of an old telephone, from which we removed the buttons. We make holes for the buttons on the panel, processing them with a file.
Finally we collect the switch and go take pictures of our favorite places and landscapes.