
Many people like to organize big parties, make many friends and dance all night long. During these parties, a stroboscope is required: what would you do without it? However, most of the cheap strobe lights that can be purchased for $ 10 do not have enough power. Having invested about $ 2-3 in this business, you can significantly improve it. We’ll find out how to do this right now.
And let's start improving or modding a cheap strobe by watching the author’s video
We will need:
- a piece of wire;
- screwdriver;
- soldering iron;
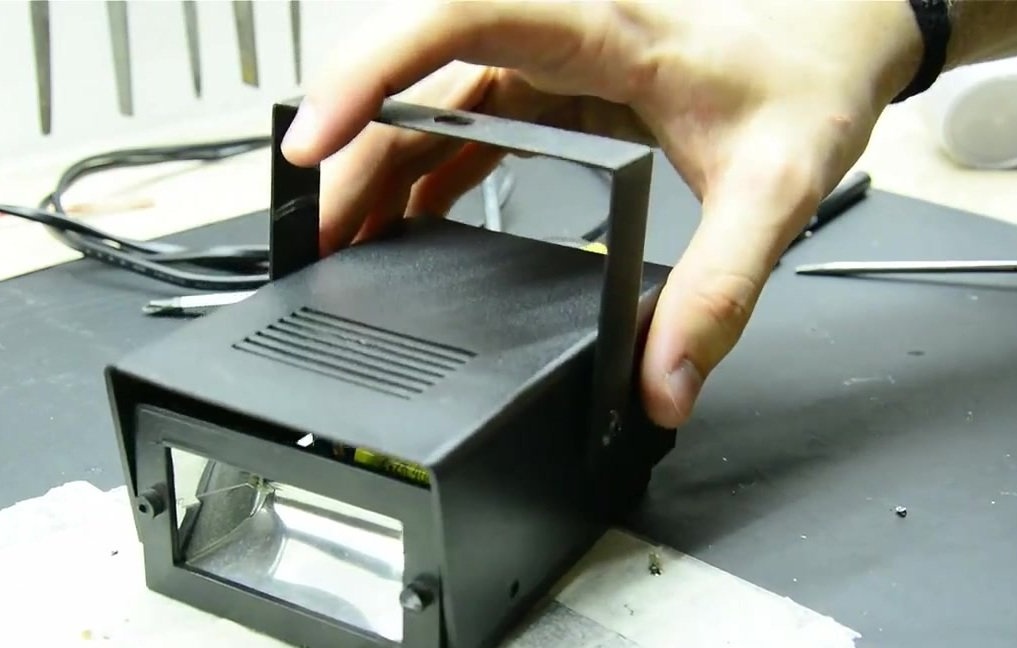
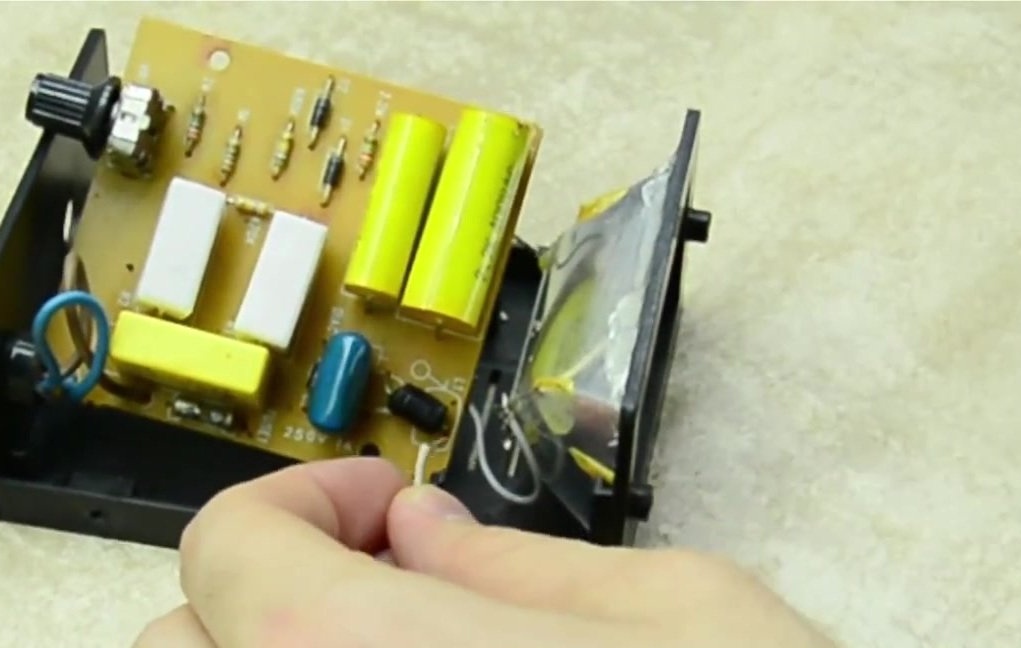
First of all, we need to disassemble the strobe.
Before touching anything, it is necessary to discharge the factory capacitors. To do this, you can take a regular wire and short them.
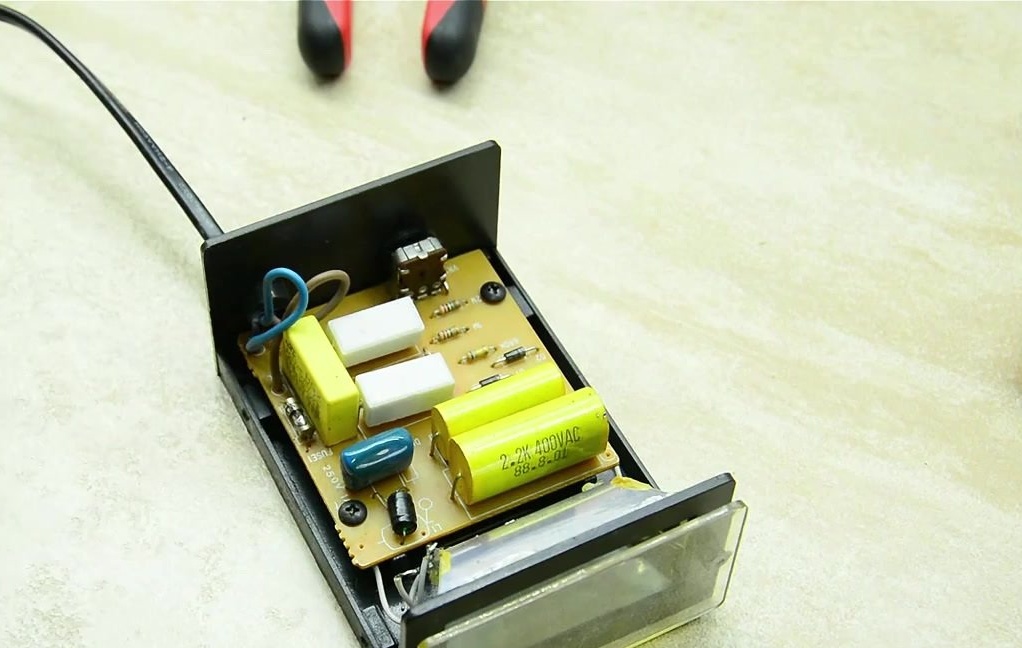
Now we unwind the screws holding the strobe board.
Since you need to remove the board, which, in addition to the screws, also holds a pair of wires, it means that these wires need to be soldered.
At this stage, you need to find the contacts of the factory capacitors. In the case of a stroboscope, which modifies the author of the idea, these contacts are located at the bottom of the board.
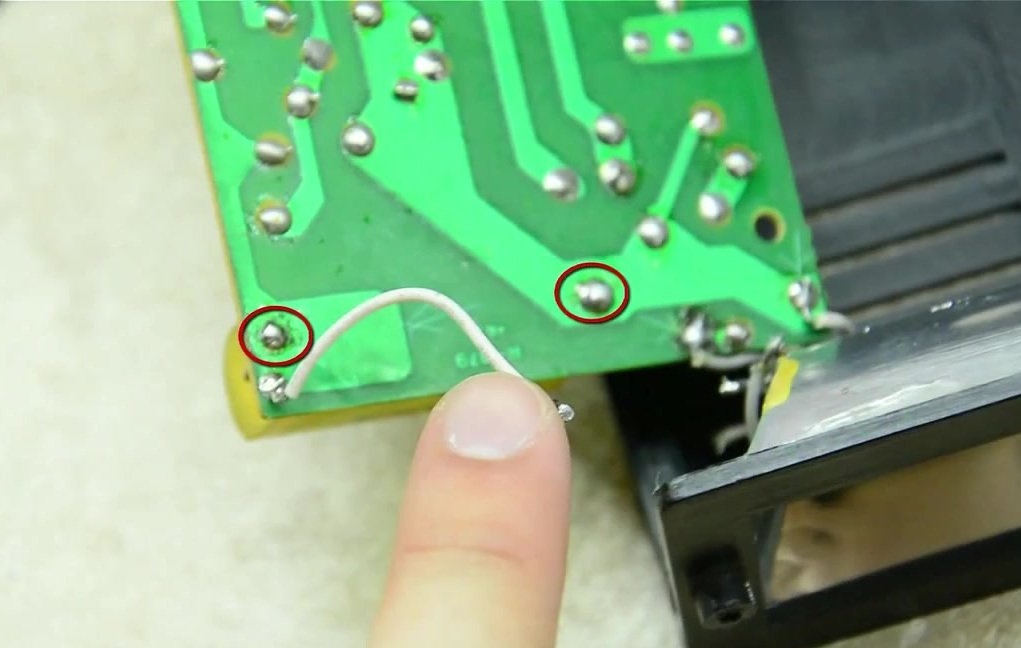
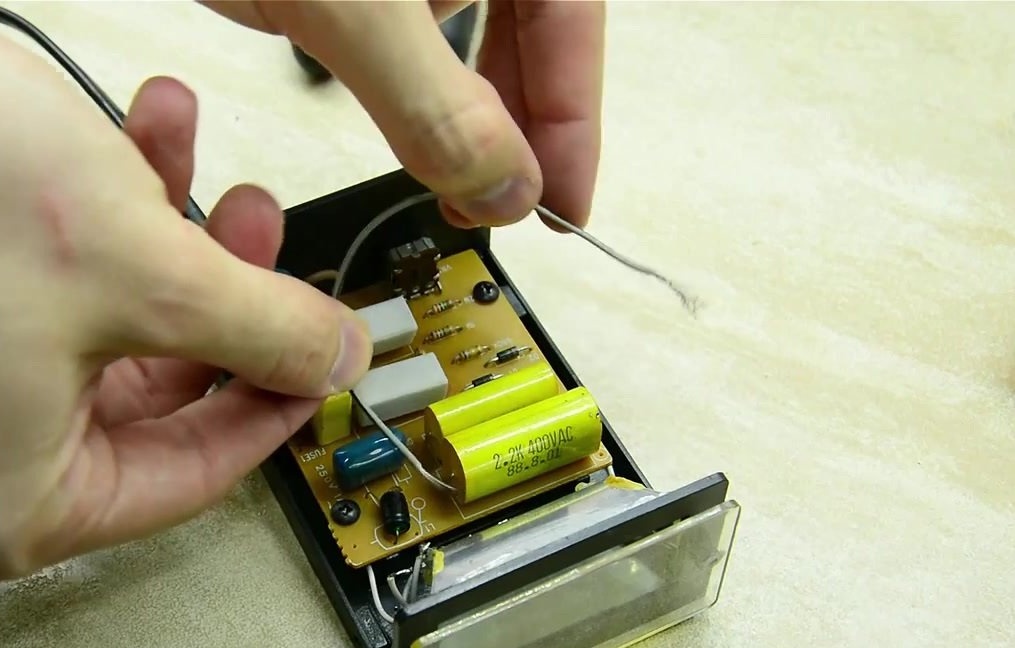
Two wires must be soldered to these contacts.
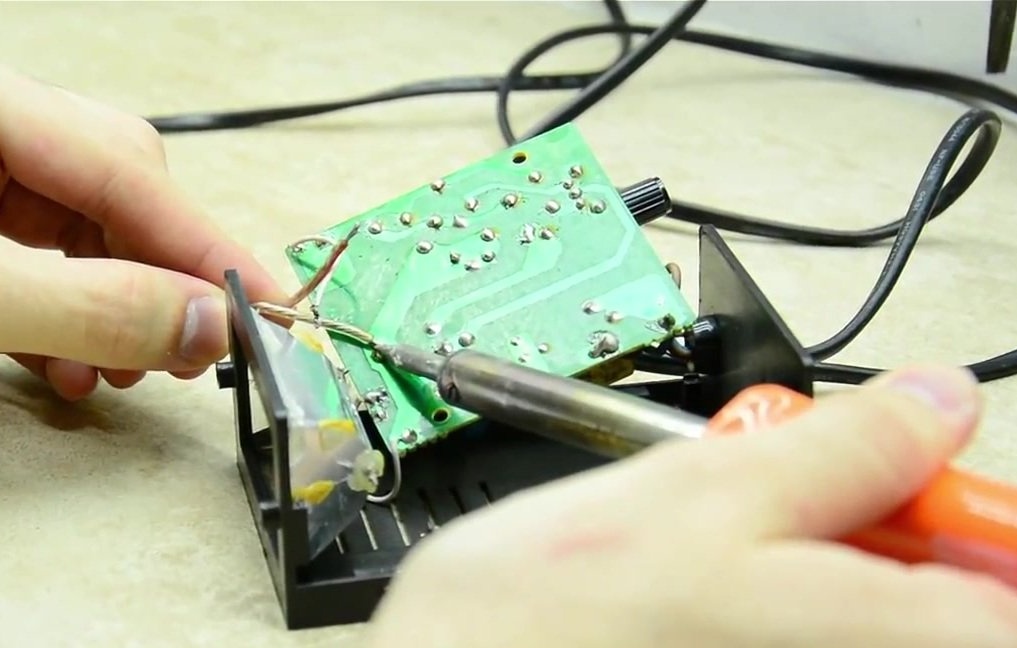
After that, we solder back the wires that were soldered before for removing the board.
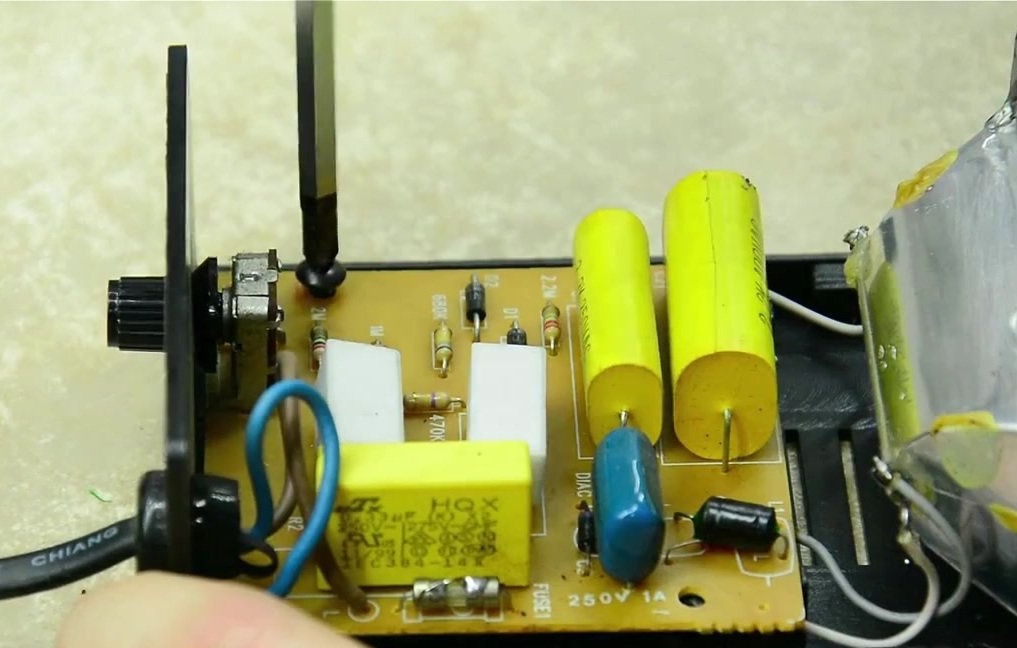
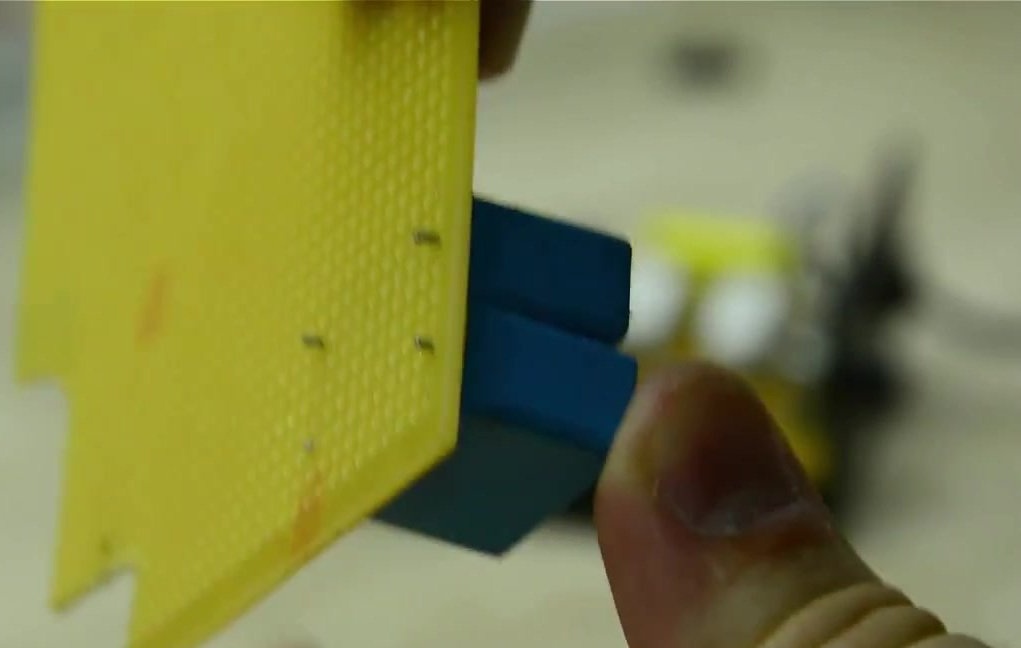
Now the strobe is almost in factory condition, only two wires stick out from it. We connect additional capacitors to these wires.
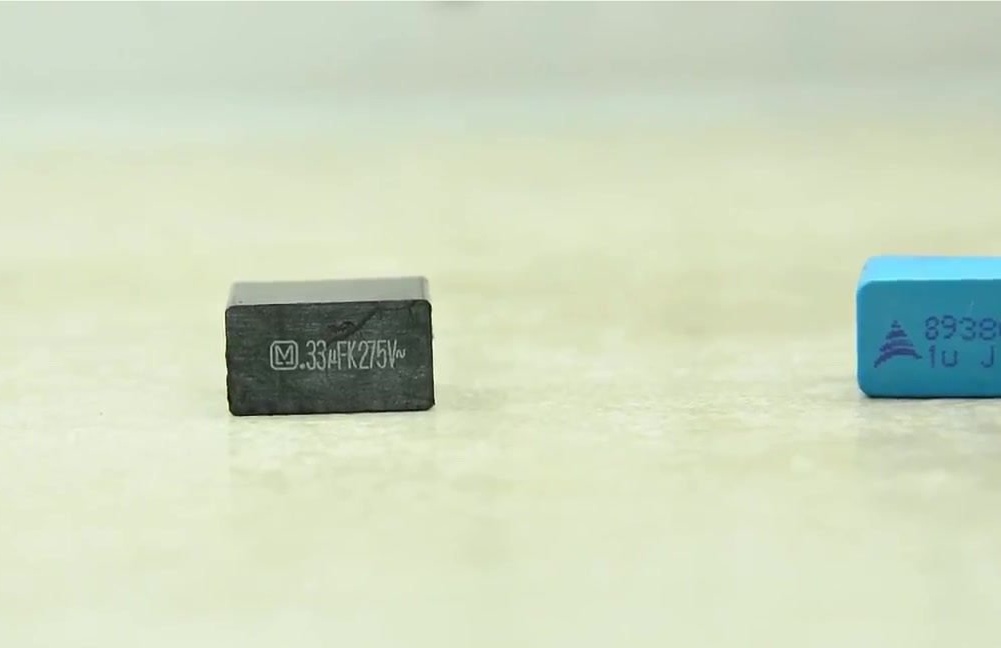
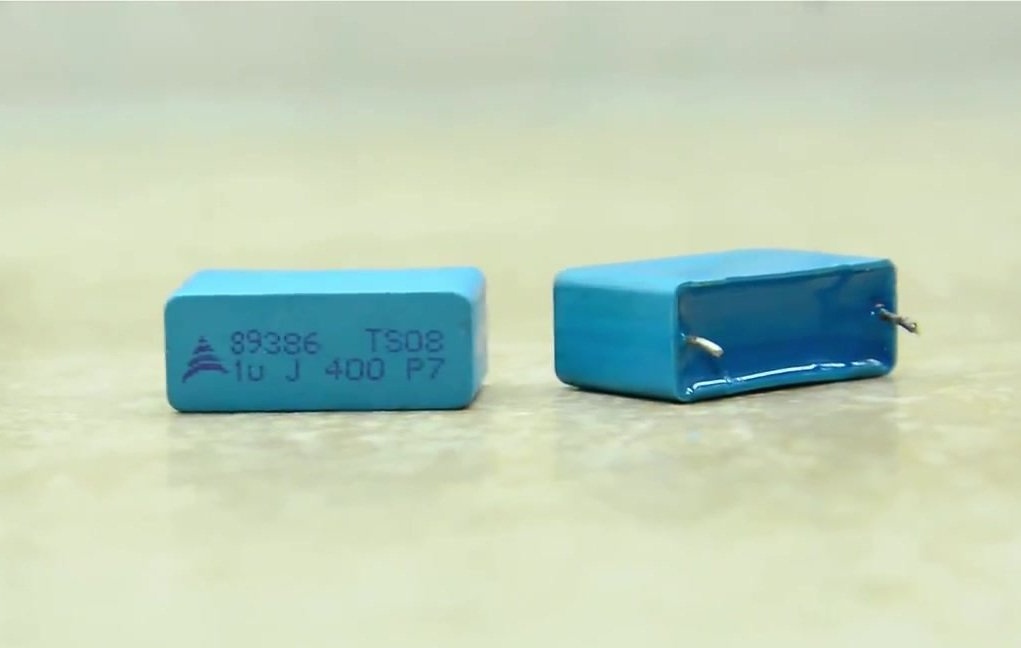
According to the author of the idea, ceramic capacitors are not suitable for this case, since they have a very small volume, and there are no practical differences.
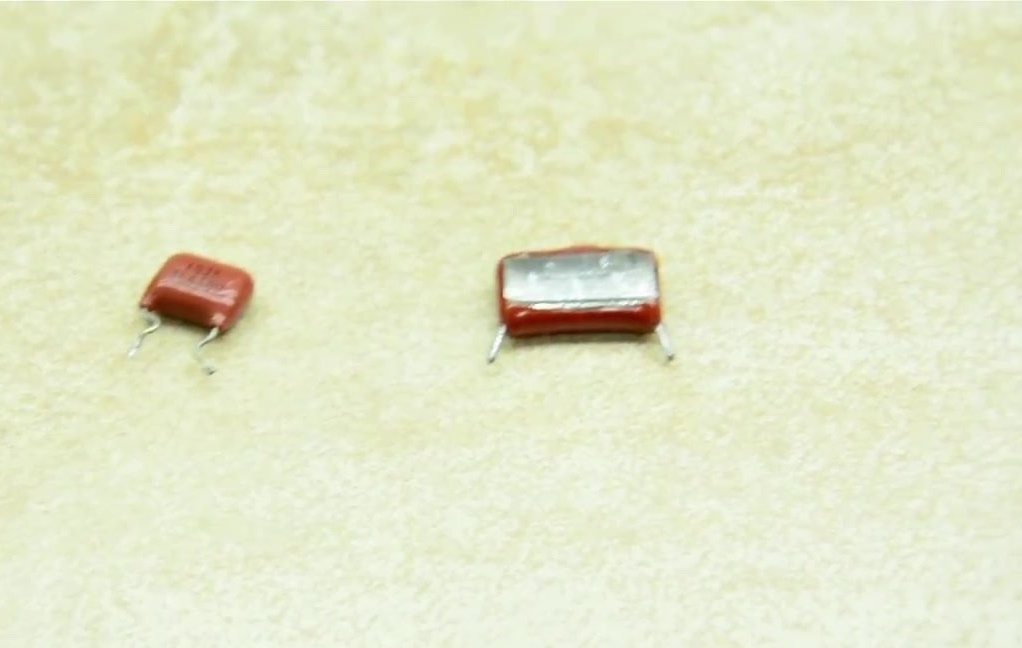
Capacitors proved to be the best, photos with the data of which are presented below.
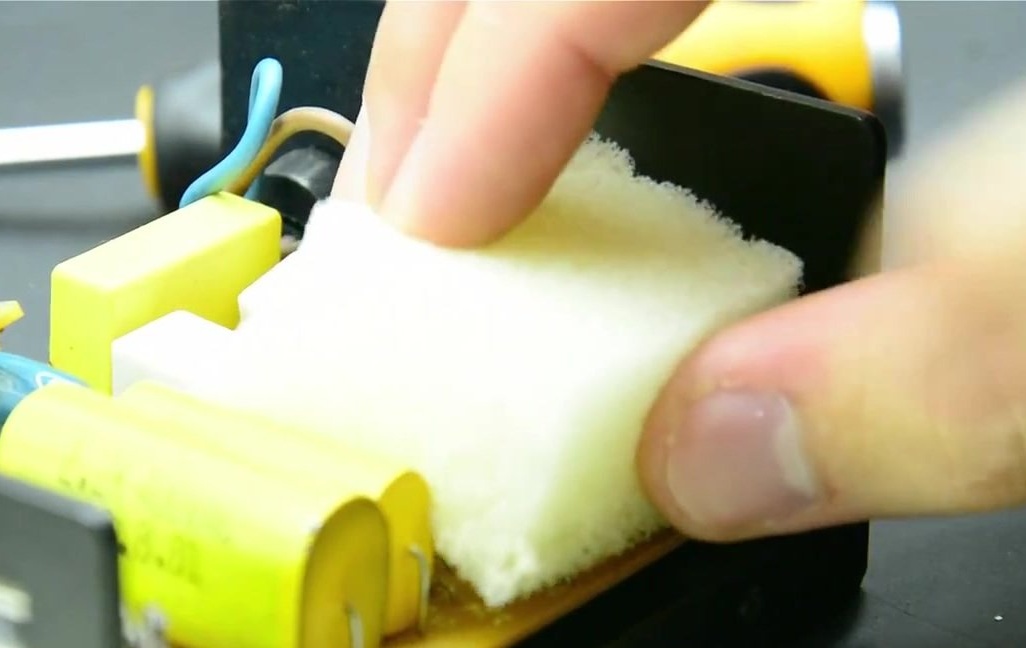
To achieve a greater effect, you can connect four capacitors at once, which must first be soldered together.
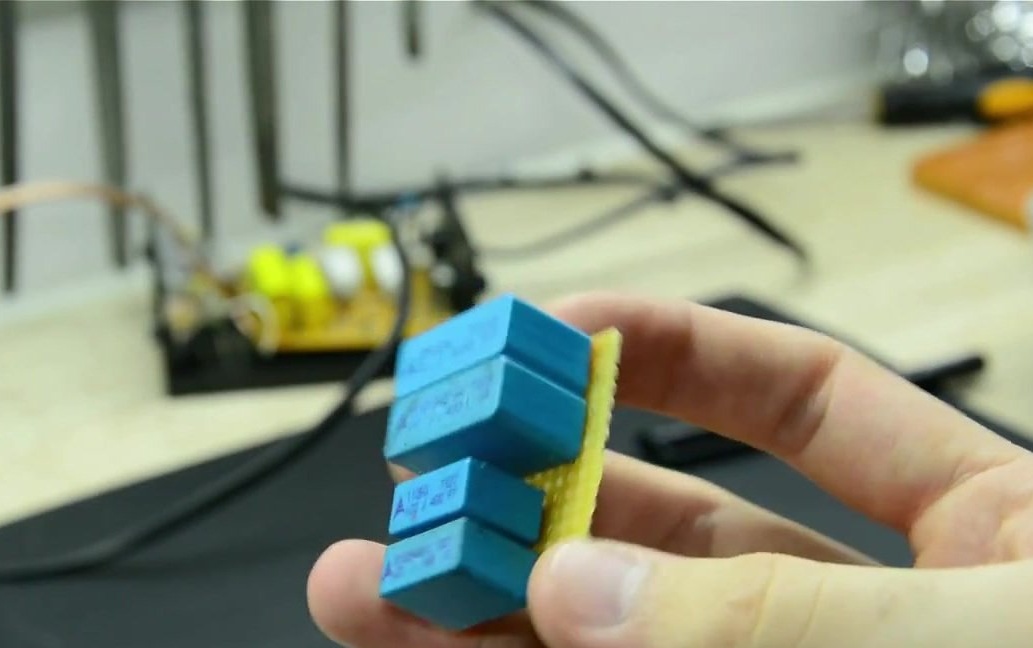
Finally, we put the resulting design of capacitors in the strobe housing. If you wish, you can put them on a piece of foam, which does not allow the capacitors to move even with a big shake.

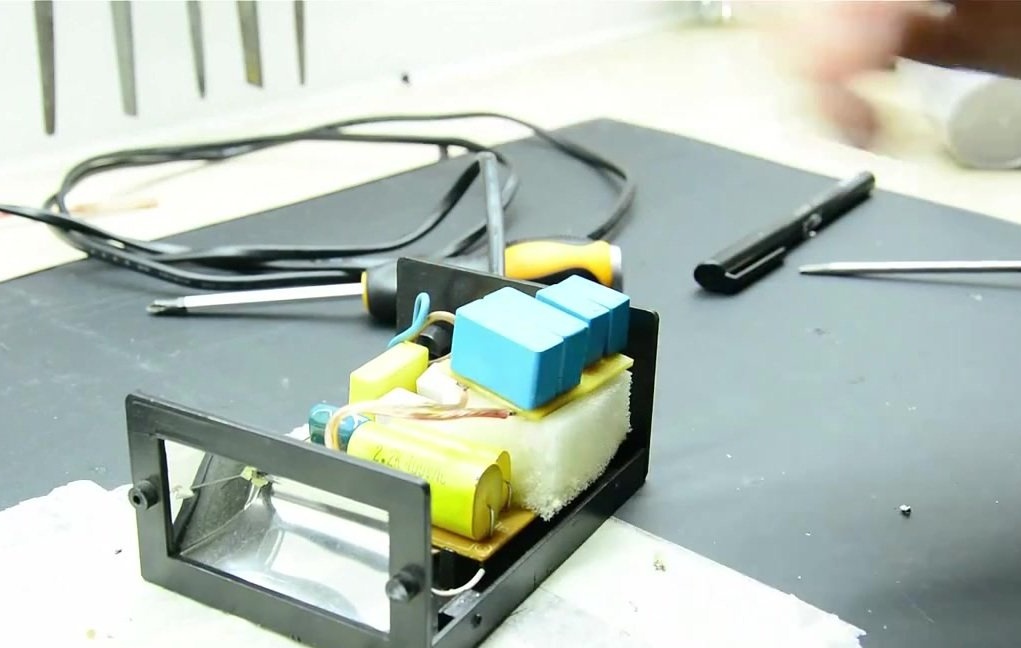
At the end, we assemble the strobe back, tightening all the bolts and screws on the case, since this is the modding.