It’s not a secret to anyone that only specialists should be engaged in servicing and tuning the car. However, there are types of work that you can do yourself. For example, on your own, without the need to contact specialists, you can redo the gear lever cover. Many motorists call this cover a curtain.
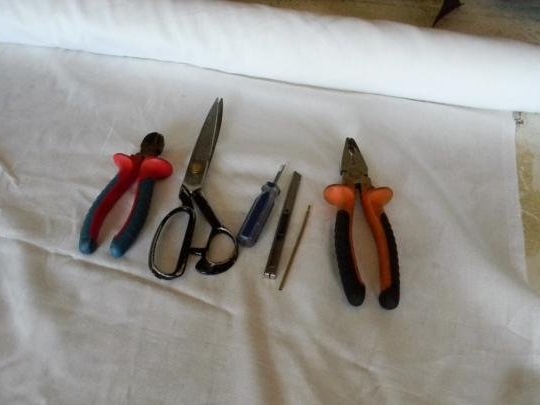
Consider what kind of tools and materials we need:
1. a flat screwdriver;
2. pliers;
3. nippers;
4. stationery knife;
5. scissors;
6. a clamp from kapron;
7. a piece of leather or leatherette;
8. pen;
9. stapler;
10. staples;
11. sewing machine.
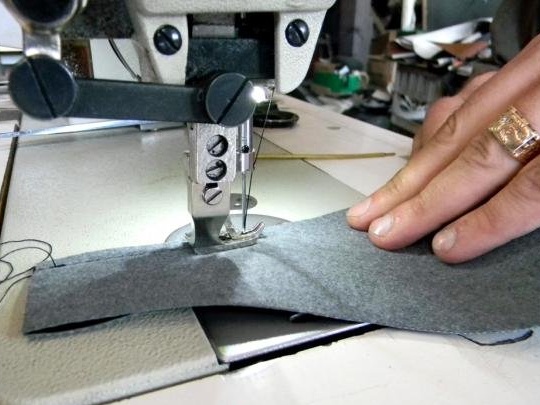
It is important to keep in mind that when sewing a cover for a gearbox made of leather or leatherette, an ordinary household sewing machine is not useful, since a special machine is needed to sew such rough fabric. Let's get to work.
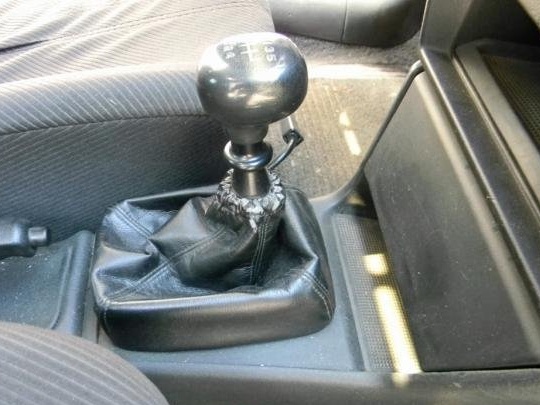
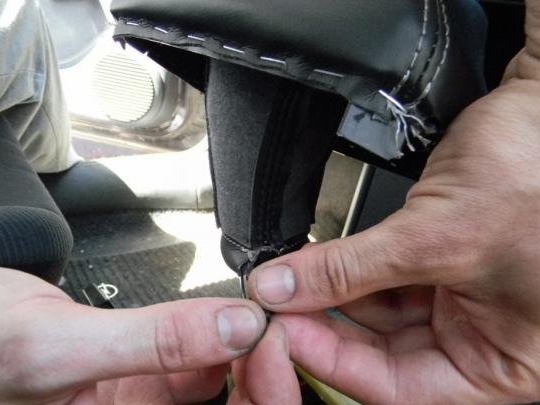
Begin by dismantling the old case. As a rule, factory covers are mounted in two places. Carefully snap the bottom of the cover. This part is often made of plastic. This part can be attached to the center console with special latches. Sometimes for extraction it is enough to use a flat screwdriver, having pressed with it this very base at the fasteners.
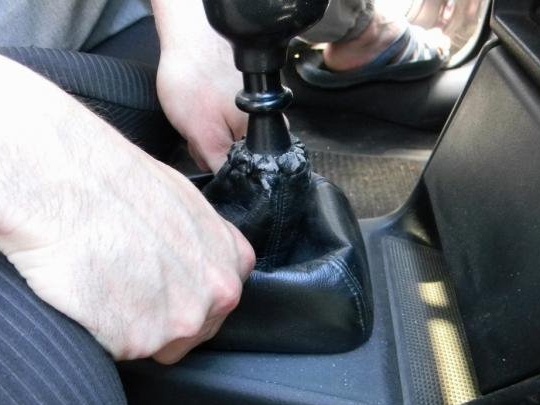
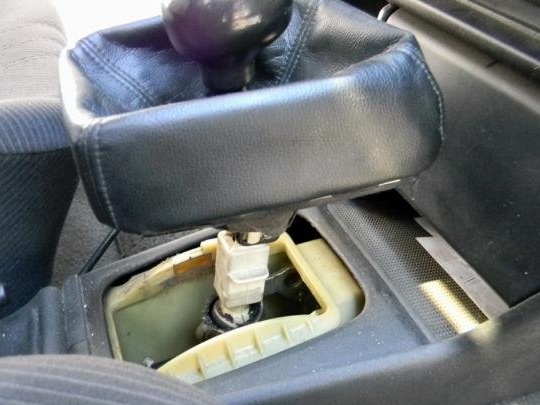
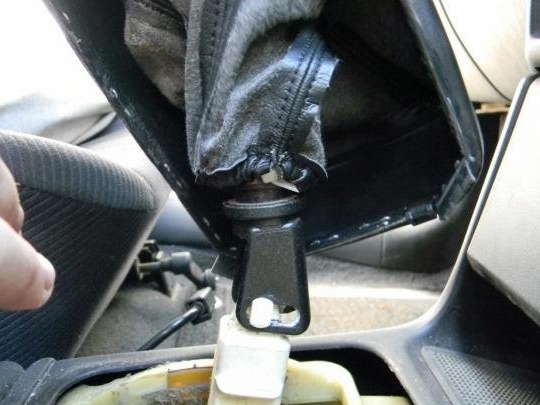
The next step is to unscrew the cover.
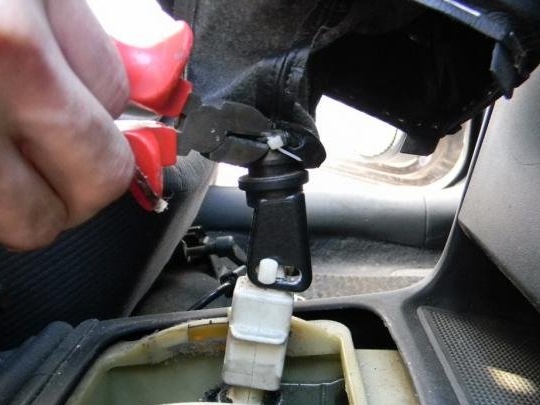
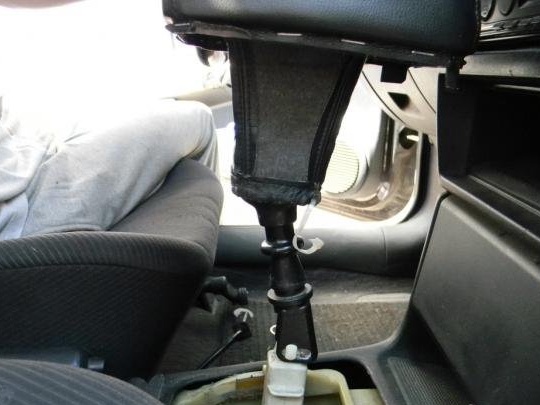
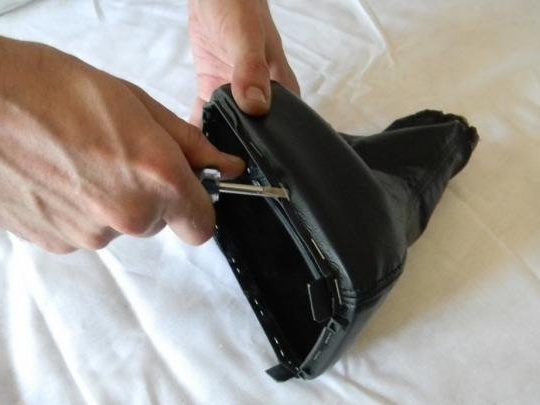
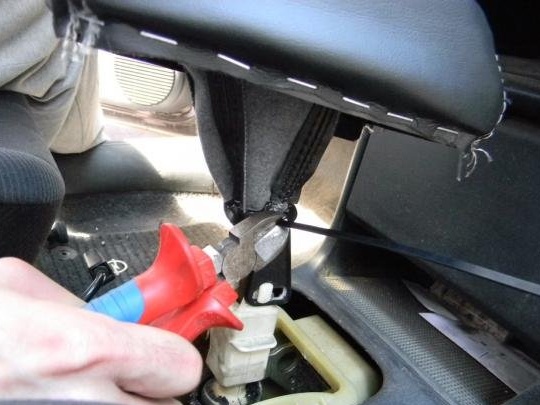
The upper part of the cover is often attached using a nylon clamp. It can be removed with ordinary wire cutters. If they fail, you can use a clerical knife. After that, you can remove the cover through the gearbox knob.
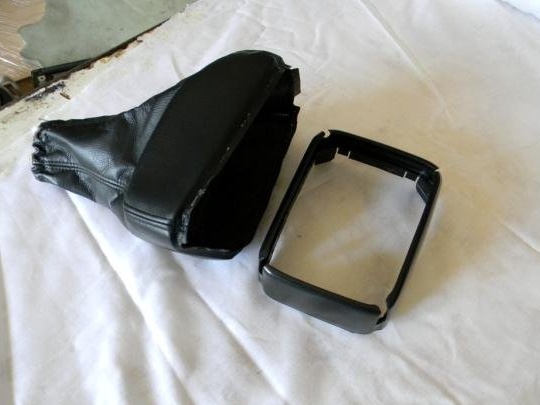
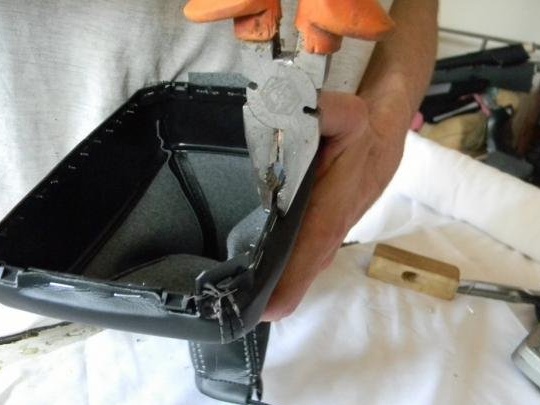
The next thing to do is take care to remove the staples. They fasten the cover to the base. To remove the staples, you can again use a screwdriver or pliers.
Transmission covers are generally stitched using four parts. Rarely can the number of these parts be two or three. At this step, you need to mark on the old case how exactly the parts are sewn together.
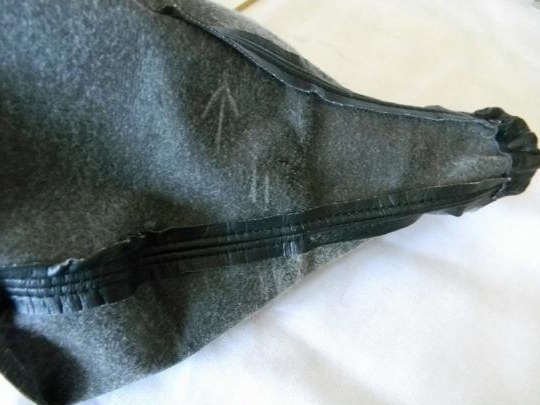
The next step is to flog all the details, thus obtaining ready-made patterns for sewing a new cover.
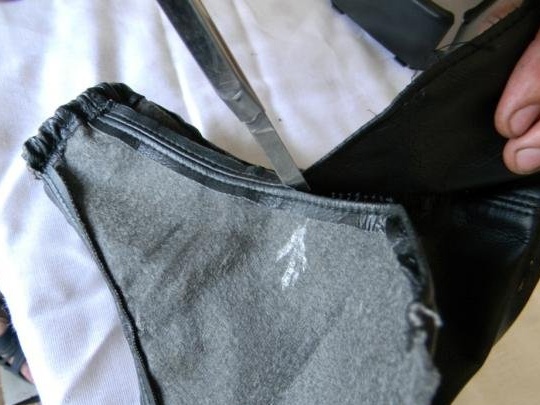
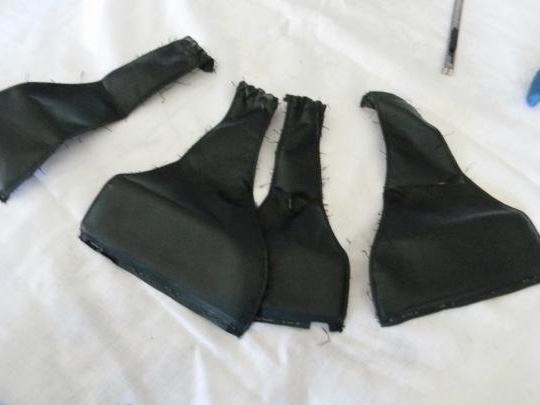
Now you need to transfer all the details to the material from which we will sew a new cover. To sew a new case, it will be enough to use a piece of leather or leatherette measuring 40 by 40 centimeters. You can transfer the pattern to new material, both from the back and from the front. In the first case, do it with a regular ballpoint pen or even a pencil. In the case of markings on the front, use only the helium pen.
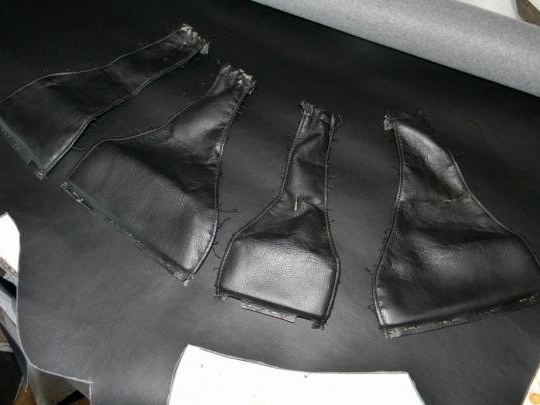
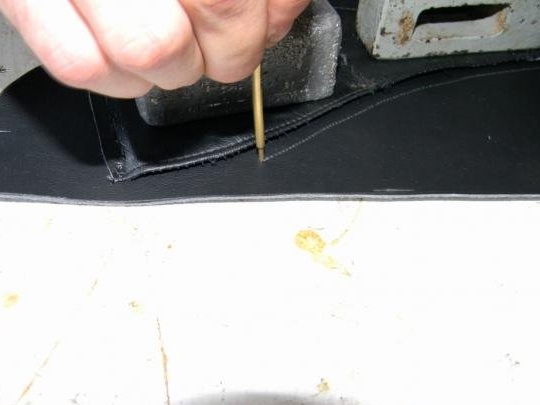
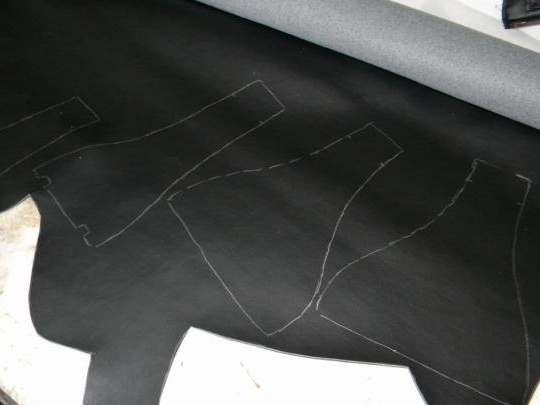
Cut out the marked parts.
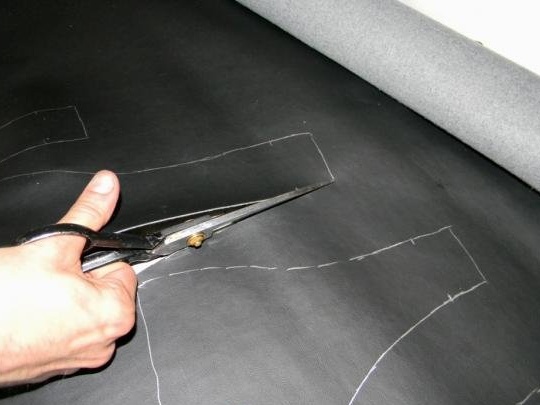
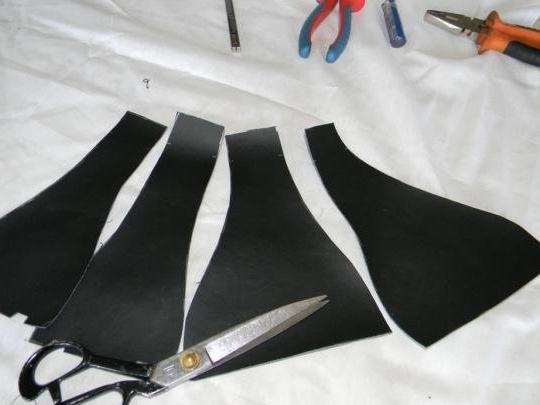
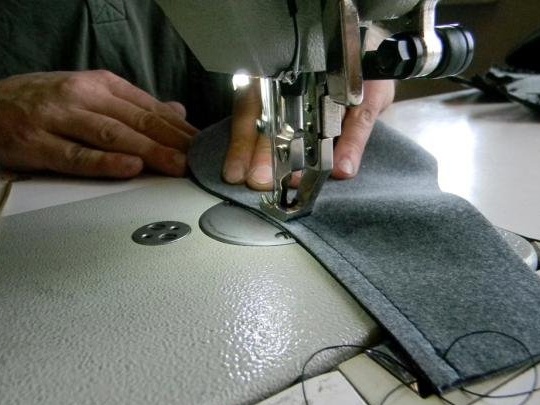
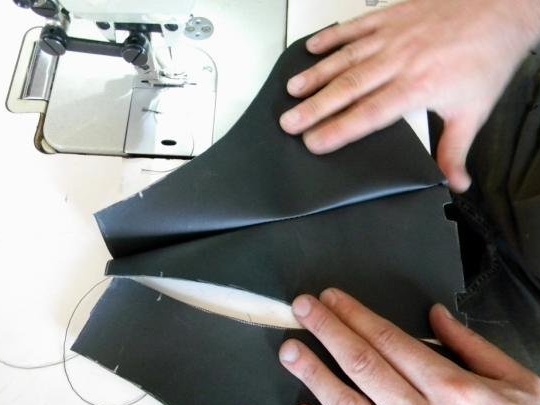
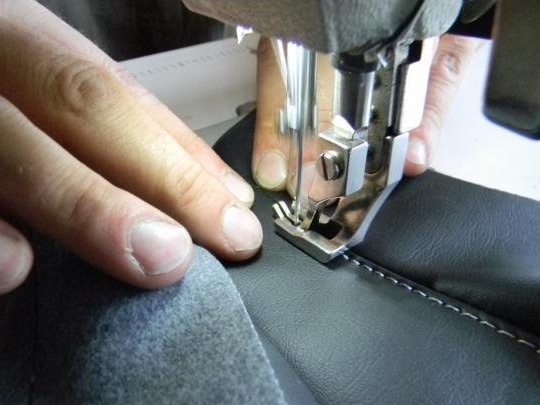
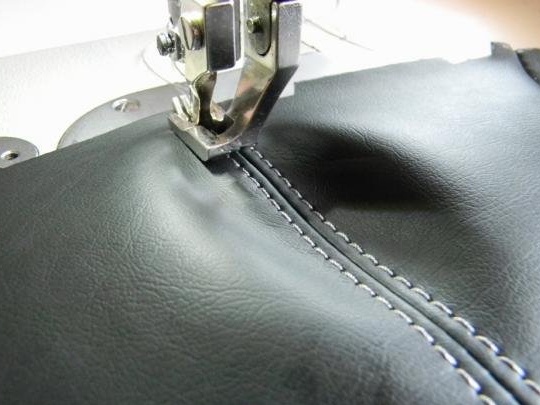
We carefully sew all the details on the marks. You can also use decorative stitching. In this case, the colors and types of threads can be chosen according to your own preference.
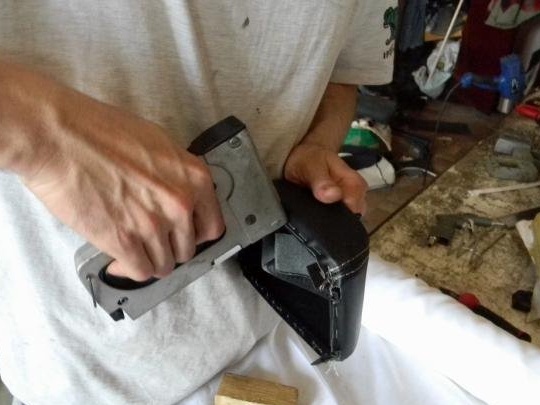
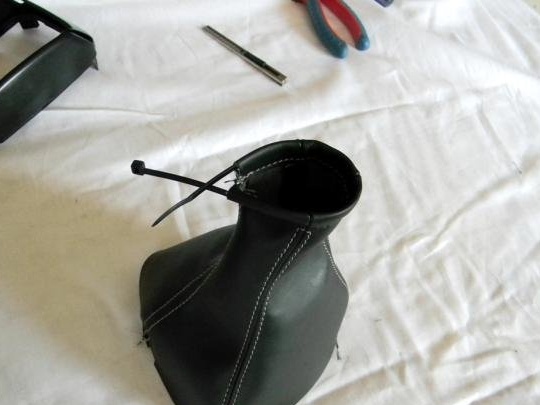
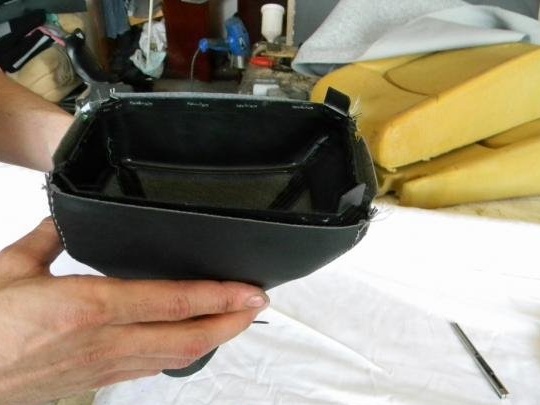
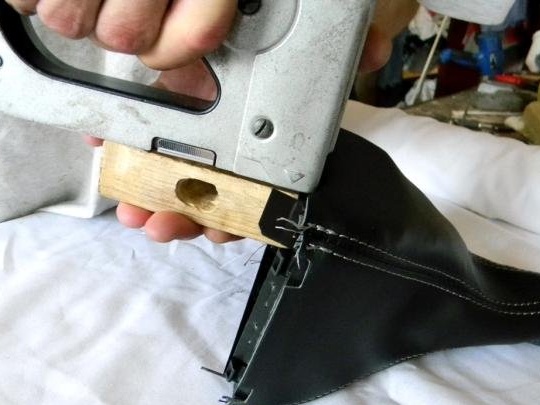
We proceed to the installation of a new cover. We insert a new collar in the upper part of the new cover. After that, you can attach the bottom of the cover to the base. You can use a stapler for this. The ends of the brackets are bent from the inside. In the absence of sufficiently strong staples and a stapler, you can use 88 glue.
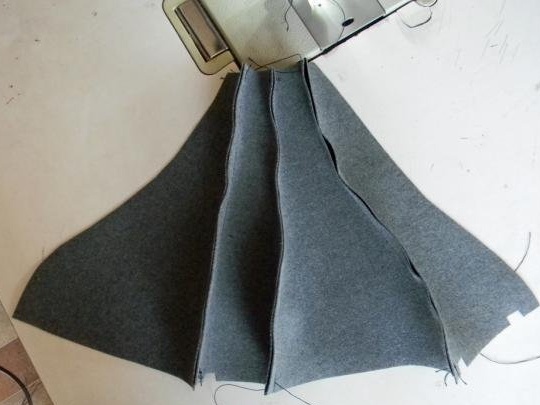
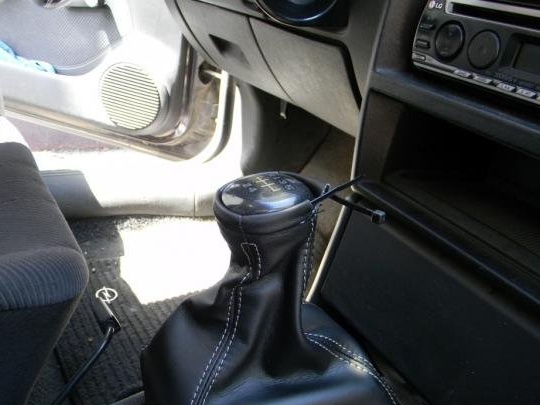
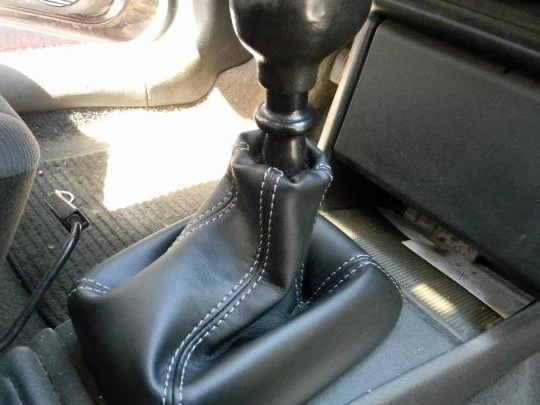
Finally, the new gearbox cover is ready. This means that you can attach it back by first putting it through the gear knob, then tightening the clamp on the top, removing all the excess pieces with a clerical knife or wire cutter, unscrewing the case and attaching the bottom to the center console of the gearbox.
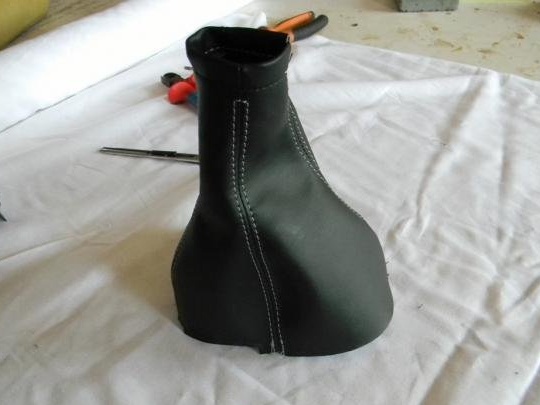
It remains only to spread a new cover and enjoy the result of your own work.
