

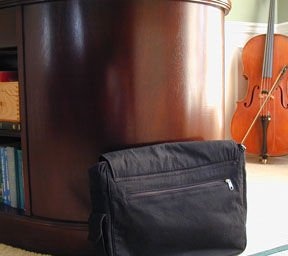
Nowadays, bags have become integral accessories of urban style. It is in the bags that we put all of our gadgets, documents and other trifles. However, you can modify this accessory by adding the possibility of a charger to it. The creation of such an accessory is relevant in that the devices that we use in everyday life need to be charged, and it is not always possible to find a place to recharge the gadget on the road.
What materials and tools we need:
1. bag;
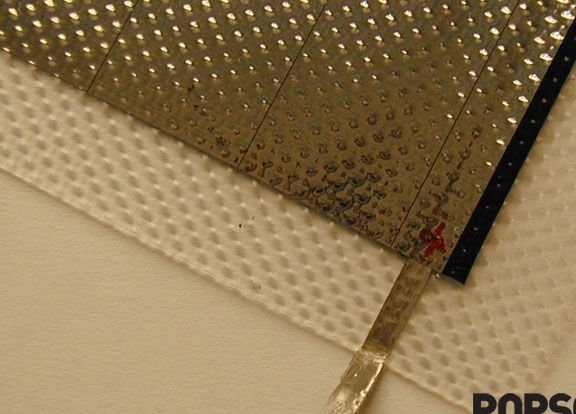
2. Light module Power Film Weather Pro;
3. USB connector with cable;
4. voltage regulator;
5. capacitor 0.45 mF and 50 V;
6. capacitor at 0.1 mF and 50 V;
7. plastic box;
8. vinyl film;
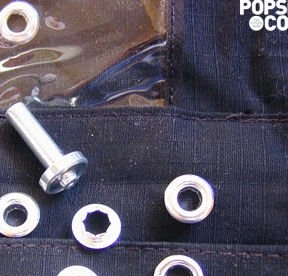
9. accessories for fabric;
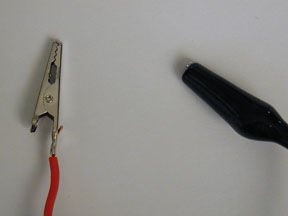
10. crocodiles;
11. wires.
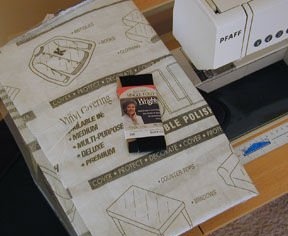
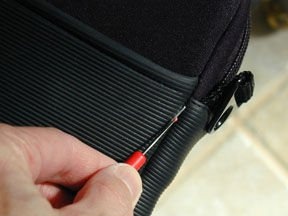
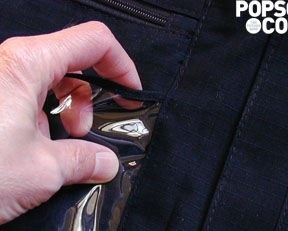
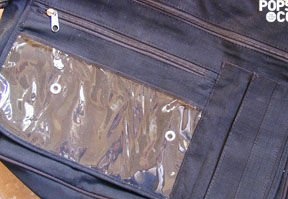
First of all, you need to prepare a seat for the panel. In other words, it is necessary to create a transparent pocket in which the light module will be inserted. To do this, you can convert an existing pocket, or make a new one. The main thing here is that the pocket is sized and transparent. When making a new pocket, you need to use vinyl film. On the inside of the pocket, you must install the eyelet needed to connect the cable.

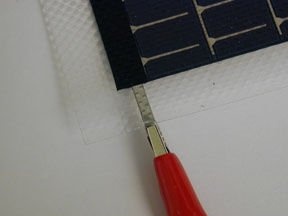
2 terminals are highlighted on the light panel. Thanks to this, work with it is greatly simplified. At this step, you just need to determine their polarity. After that, you can mark them with a marker.
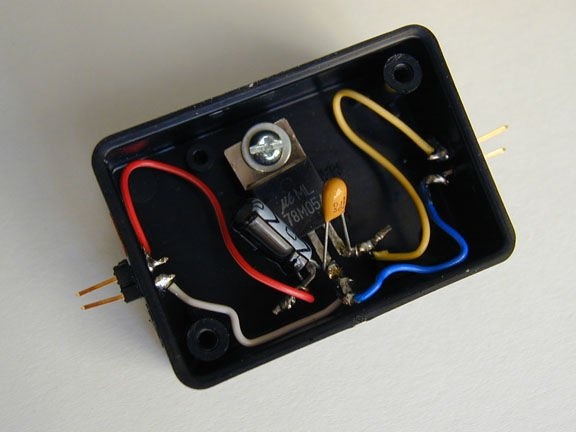
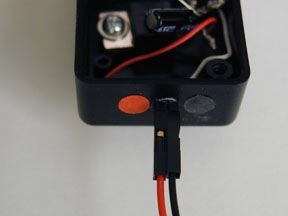
At this step, you must install the voltage regulator in a plastic box.
The photo below shows the connection of the voltage regulator to the electrical target from capacitors. In particular, the positive contact of the capacitor 0.47 mF must be soldered to the input foot of the controller, the same contact of the second capacitor to the output foot, and the negative contacts of both capacitors to the ground of the controller.
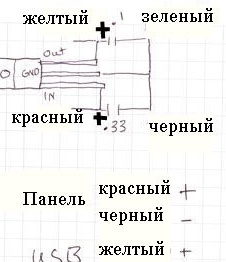
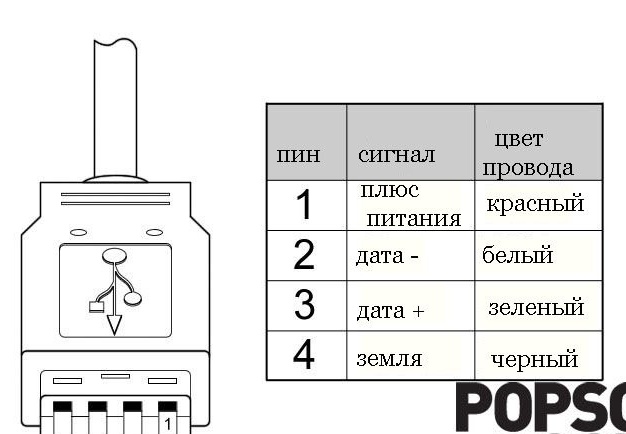
You can take care of the USB connector. We take the cable of the required length and solder it through the USB connector to the regulator. Green and white wires in our case homemade not needed, because they are used for transmission, which is not necessary in the case of a charger. You just need to solder the red wire going from the USB connector to the regulator output foot, and the black wire to ground.
Let's move on to connecting the panel. To do this, you need additional wires that need to be connected to the light panel with a voltage regulator. In particular, the positive contact of the panel must be connected to the input tab of the regulator, and the negative - to ground.
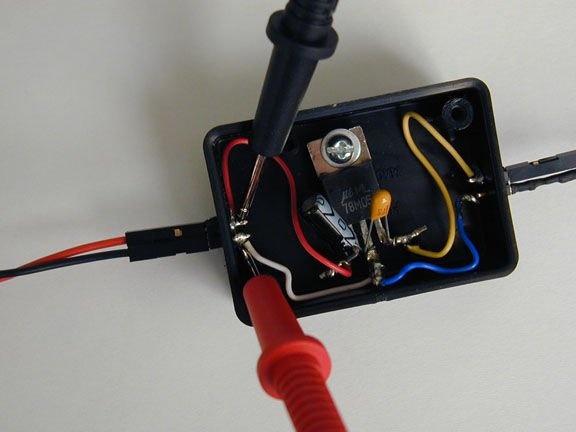
We proceed to verify the design. To do this, just place the panel in direct sunlight and measure with a multimeter the readings in four parts - at the terminals, at the input of the controller, the output of the controller and the terminals of the USB connector.
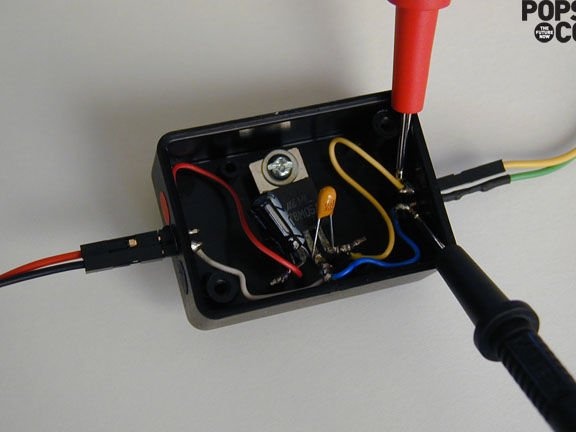
In the first two cases, the voltage should be approximately 7-8 V, and in the next two 5.15 V. If everything works fine, you can safely test the charger on some kind of gadget.
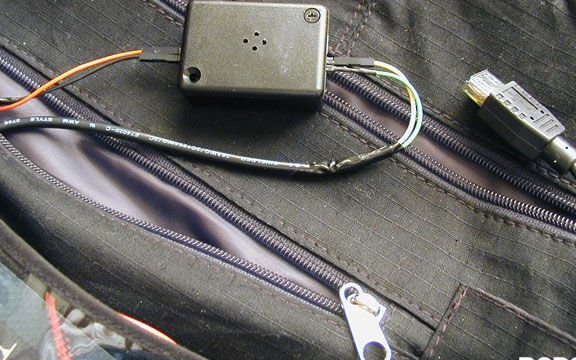
If the test was successful, you can safely install it in your bag and enjoy free and environmental charging of your favorite gadgets.