

Ice lighting is becoming more popular every day. This is due to the fact that such lighting allows you to save a lot of money by giving light that is in no way inferior to ordinary lamps. In this article, we will review a video on making a dimmer for adjusting the ice backlight.
First of all, get acquainted with the author’s video
We will need:
- voltage regulator;
- digital voltmeter;
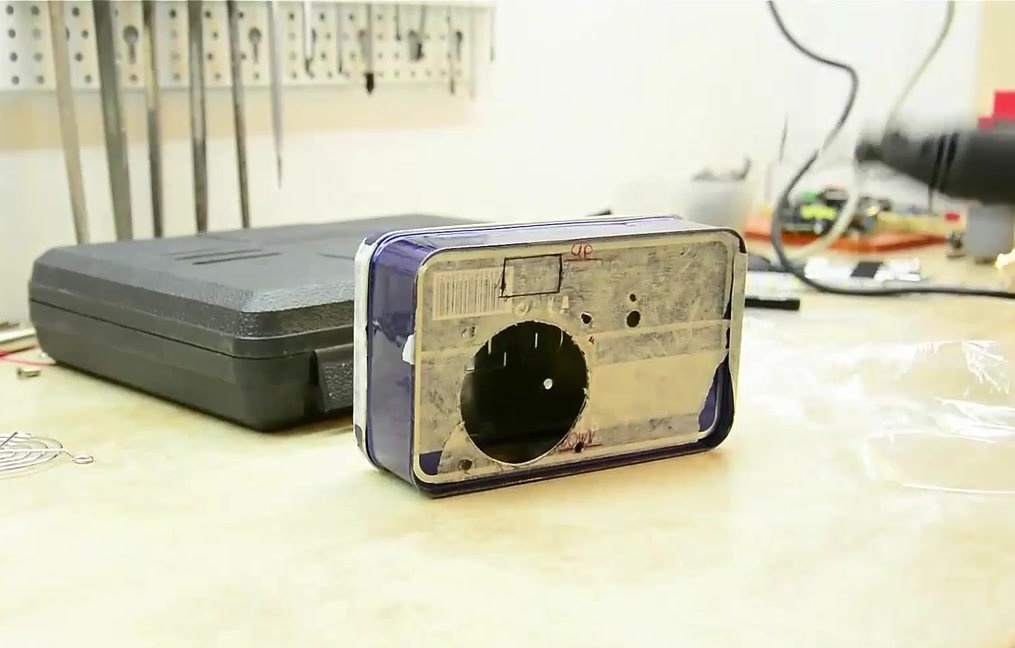
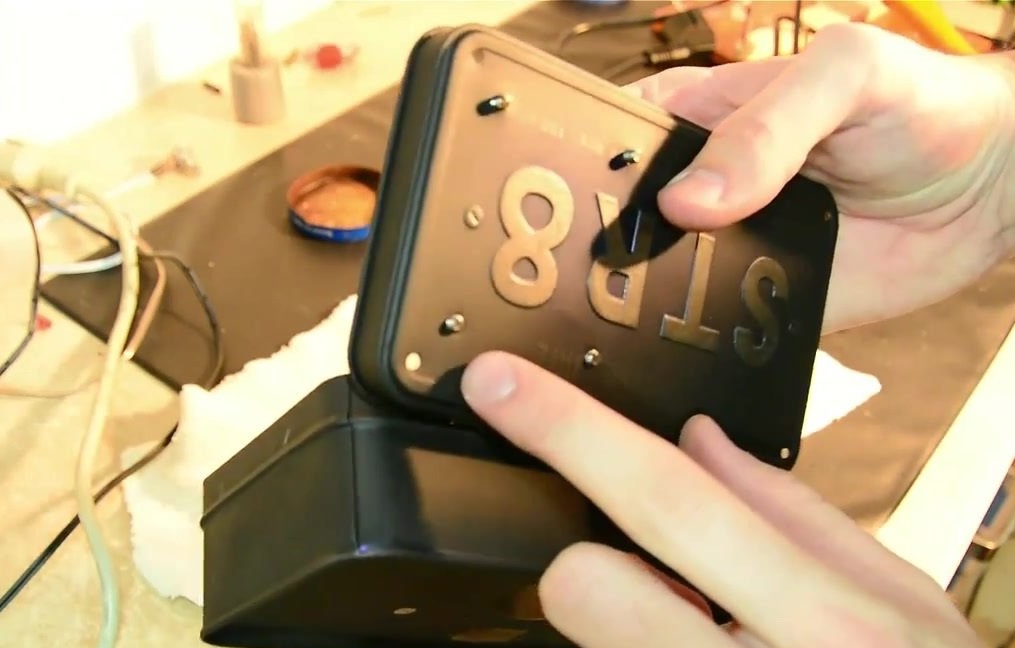
- a small box;
- cooler from an old computer;
- drill or screwdriver.
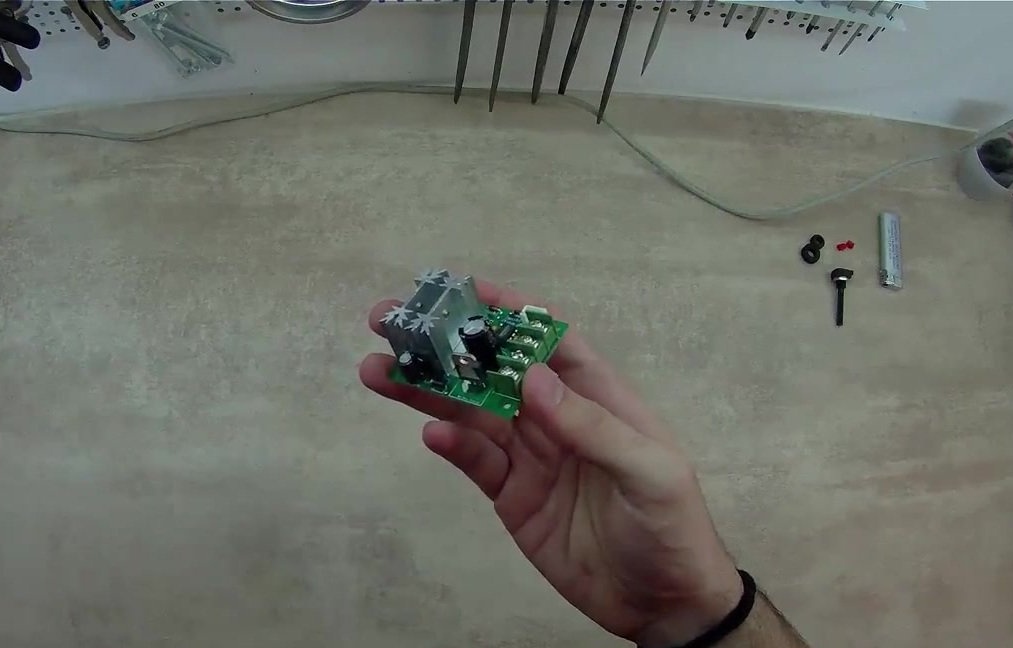
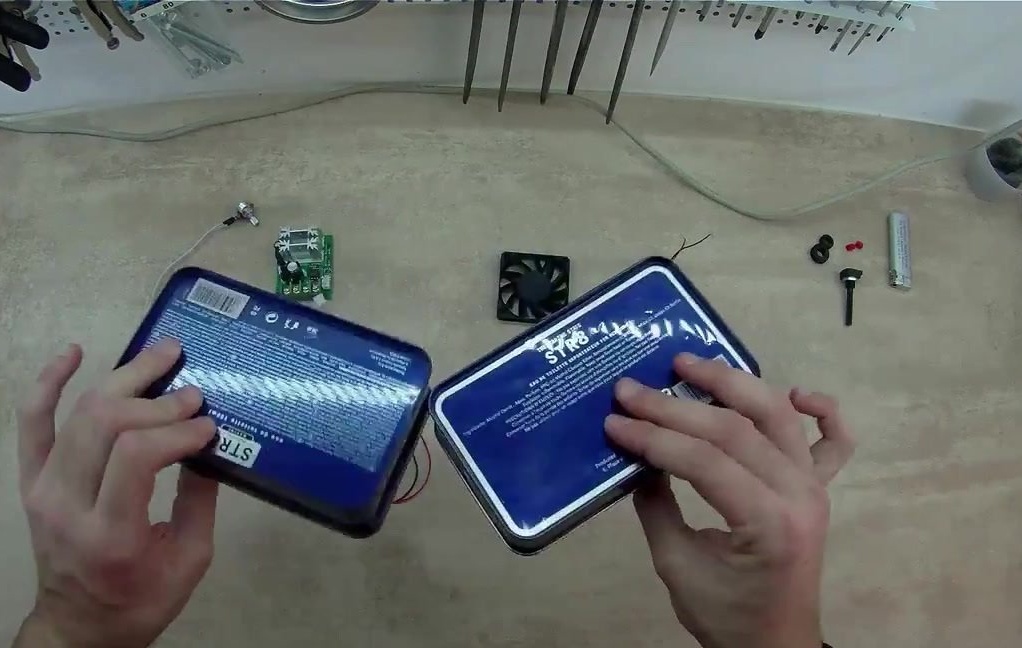
We note right away that when using relatively cheap ice controllers, an unpleasant flicker of light is created, and this homemade prevent the appearance of any type of flicker and will not harm vision. The voltage regulator, according to the author of the idea, can be purchased at the famous Chinese online site for $ 5. The regulator represents pulse width modulation in latitude, however it does not give voltage surges at the output. In addition, it has a small size and operates at voltages up to 24 volts and can withstand loads of up to 10 A. As for the box, you can use any metal box from perfume or something else. Let's get started.
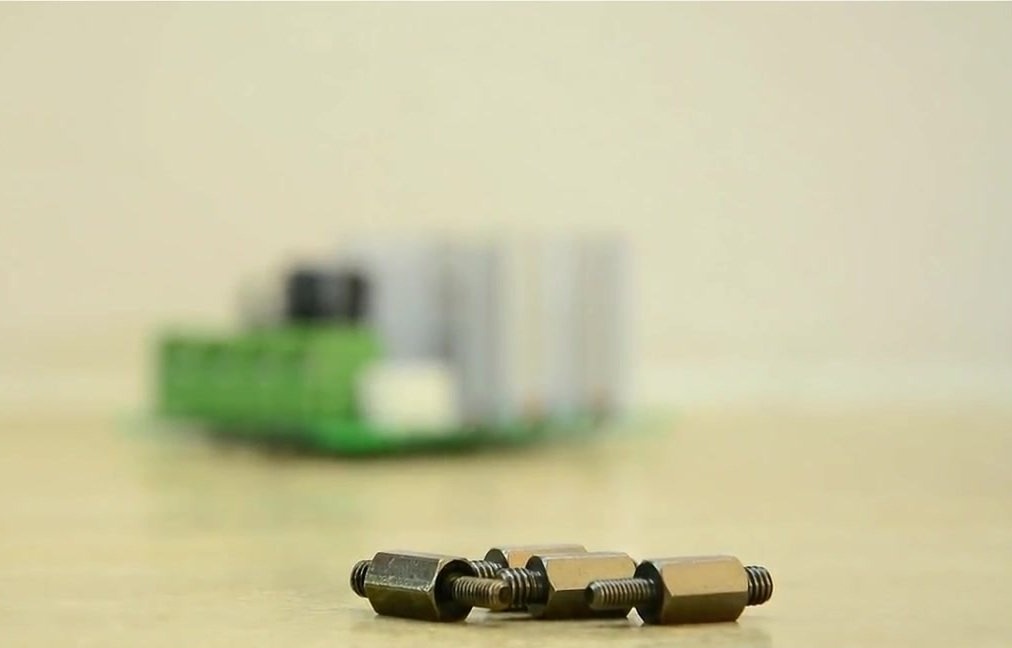
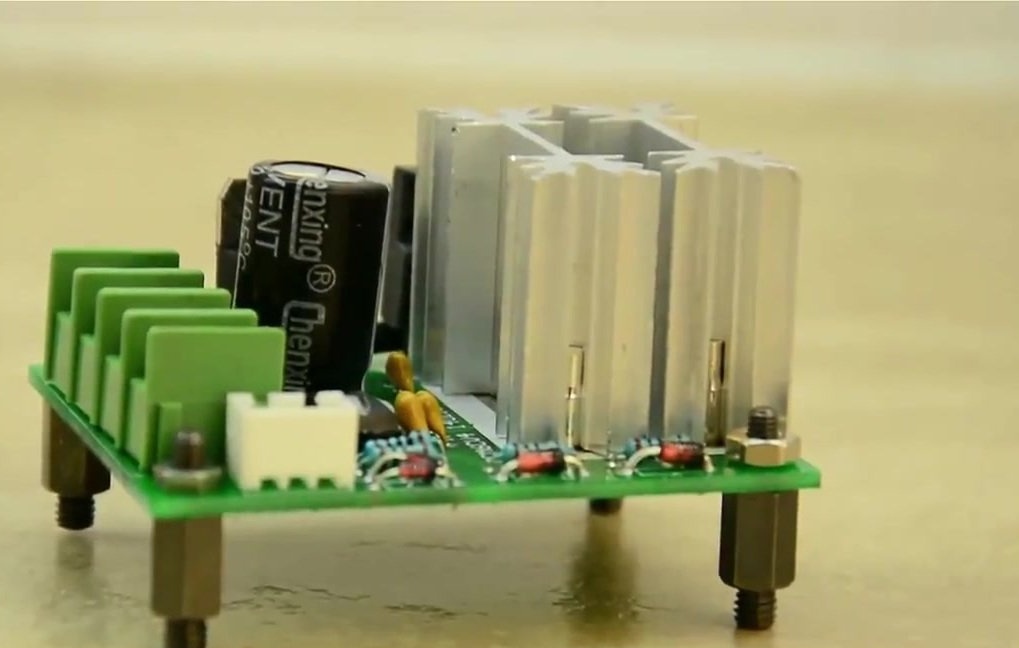
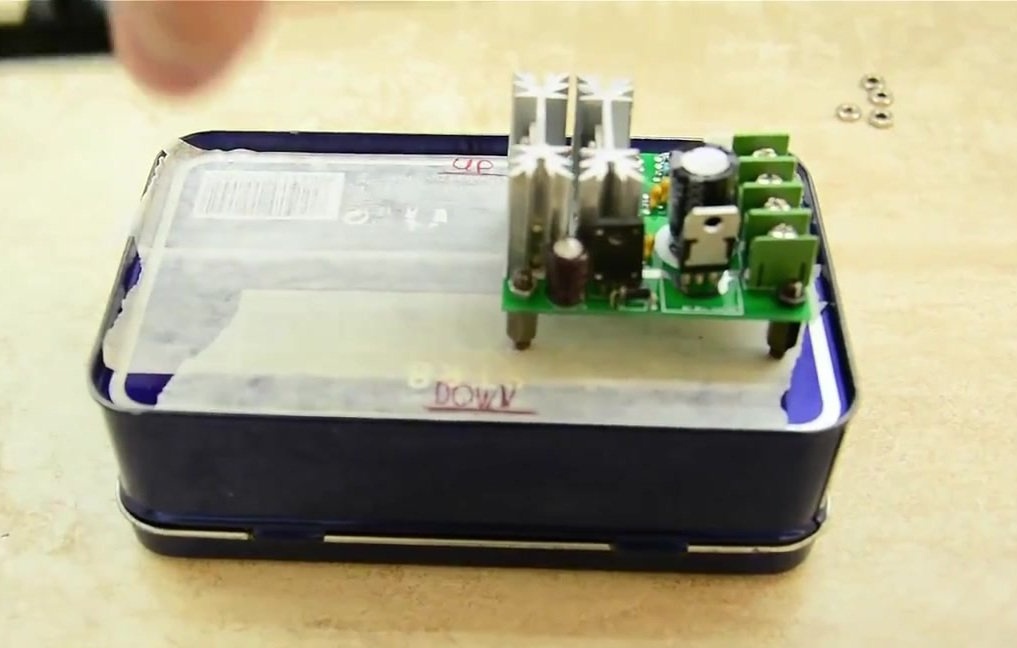
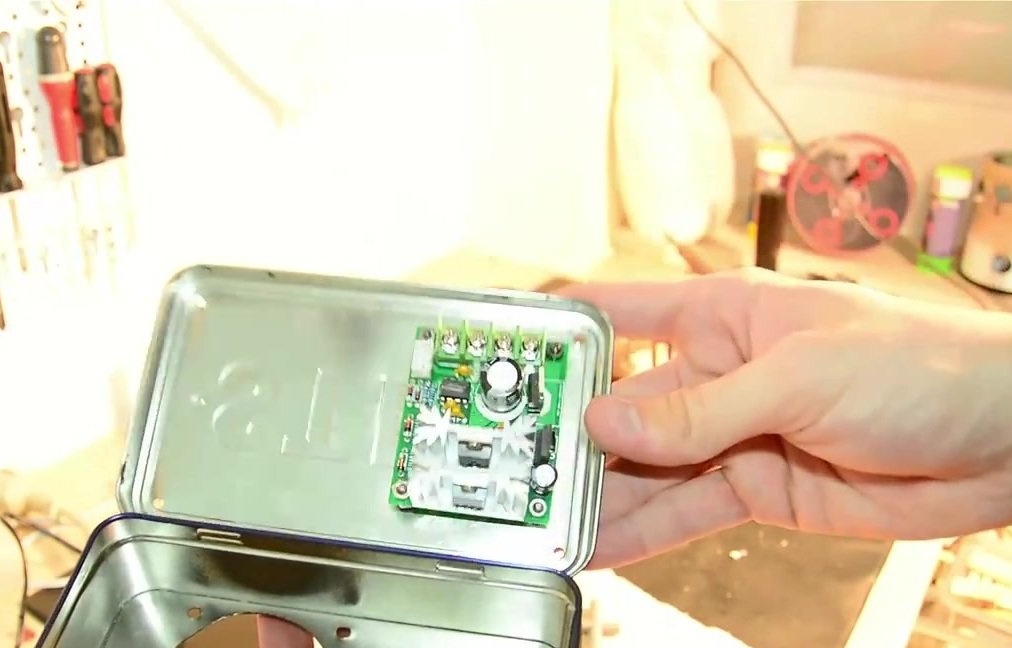
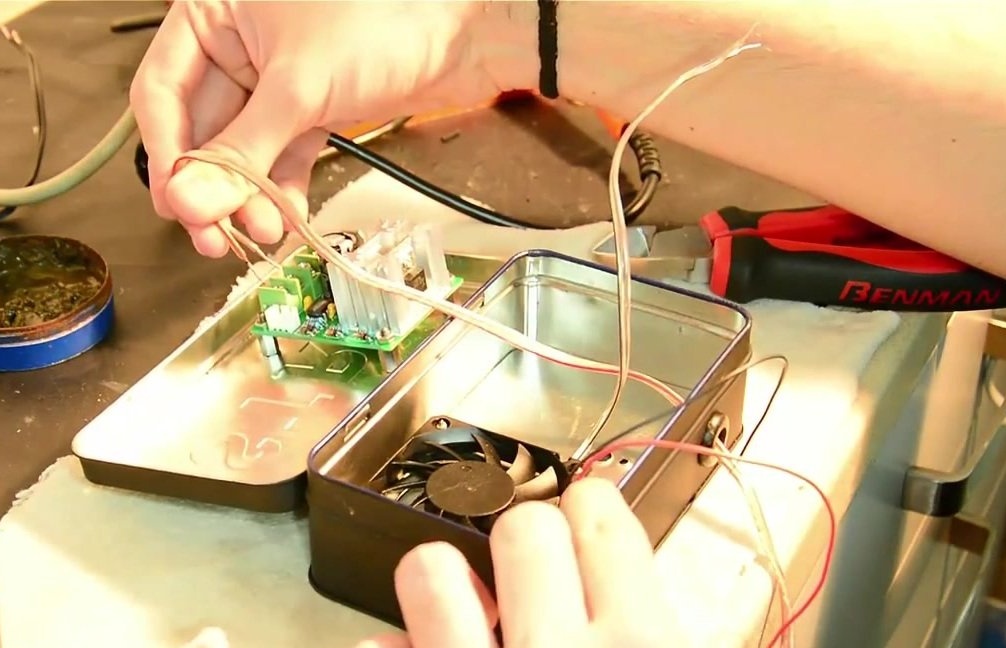
The first step is to ensure that the board does not come into contact with the metal surface of the box. To do this, you can use ordinary bolts and nuts, which we screw into the factory holes on the regulator board, thus lifting it a few millimeters, which is quite enough.
Next, we determine the location of the regulator, voltmeter and cooler, which will be responsible for cooling.
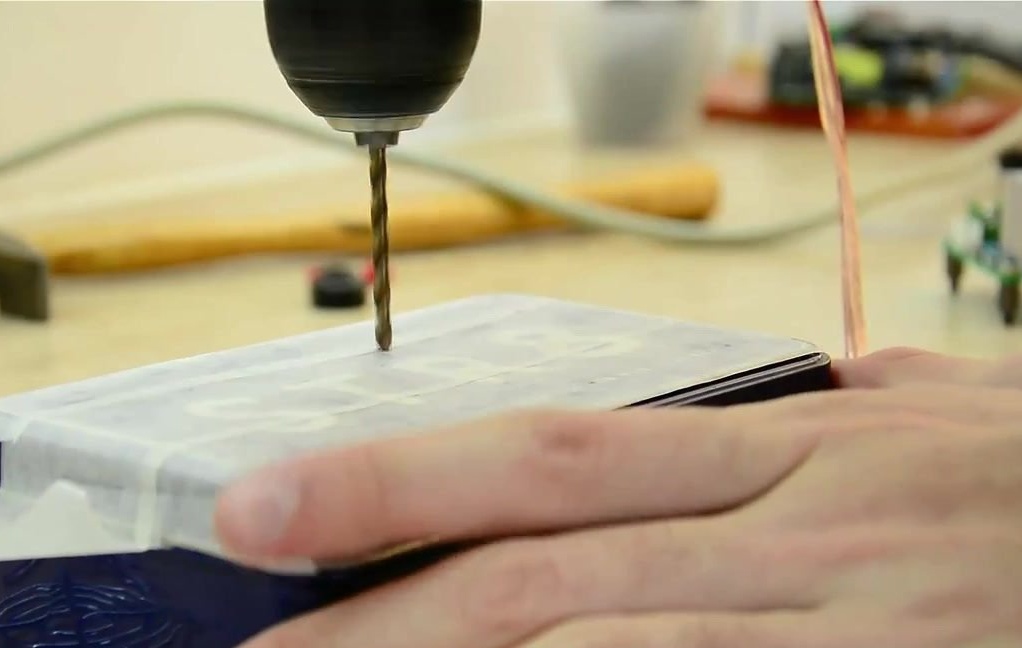
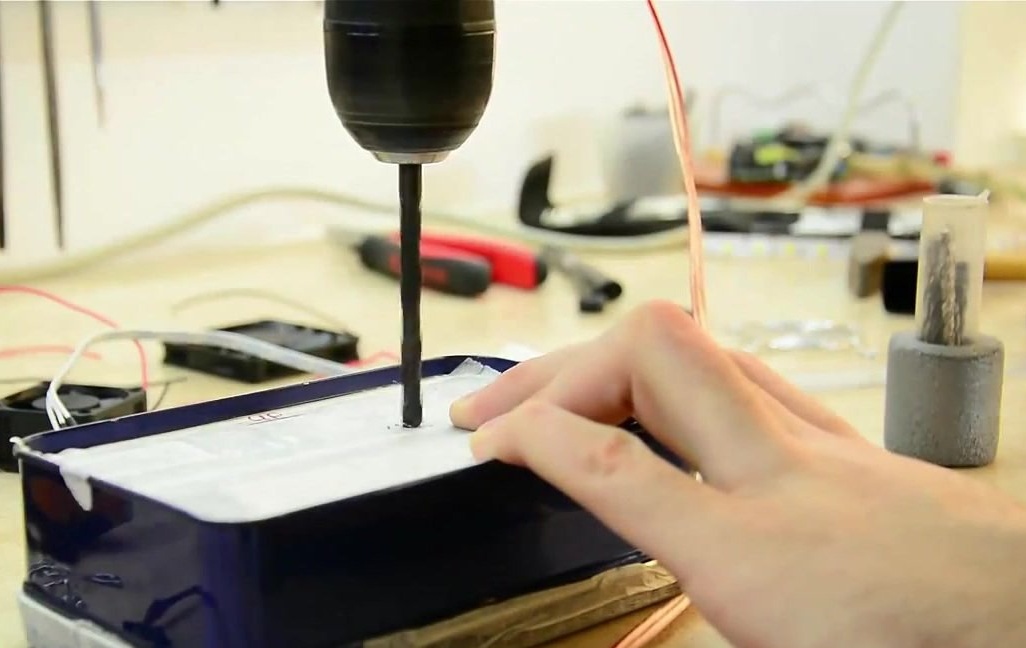
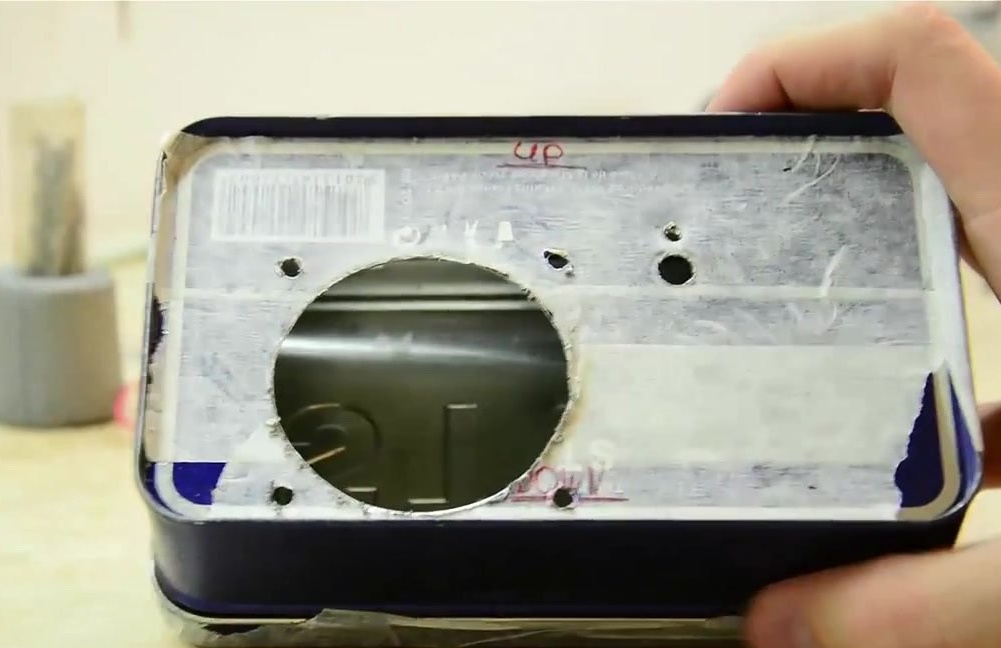
After that, you can start drilling holes for mounting the regulator and fan.
We also drill a hole for the potentiometer, which, according to the author, is included with the regulator. At the hole that is drilled along the diameter of the potentiometer, you need to drill another small one.
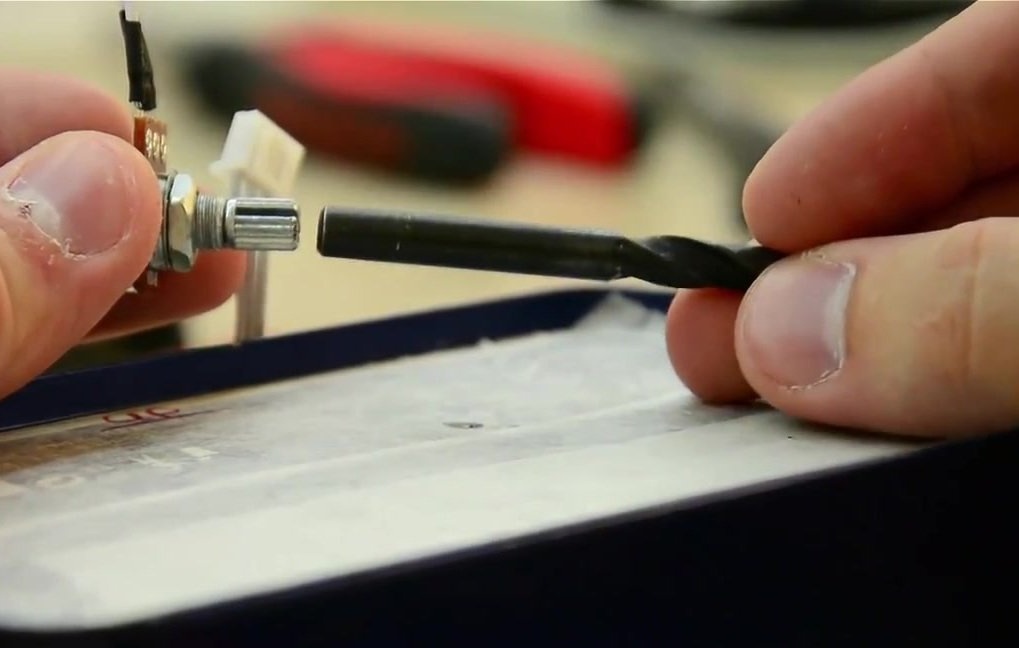
A potentiometer holder will be inserted there, which will not allow it to turn.
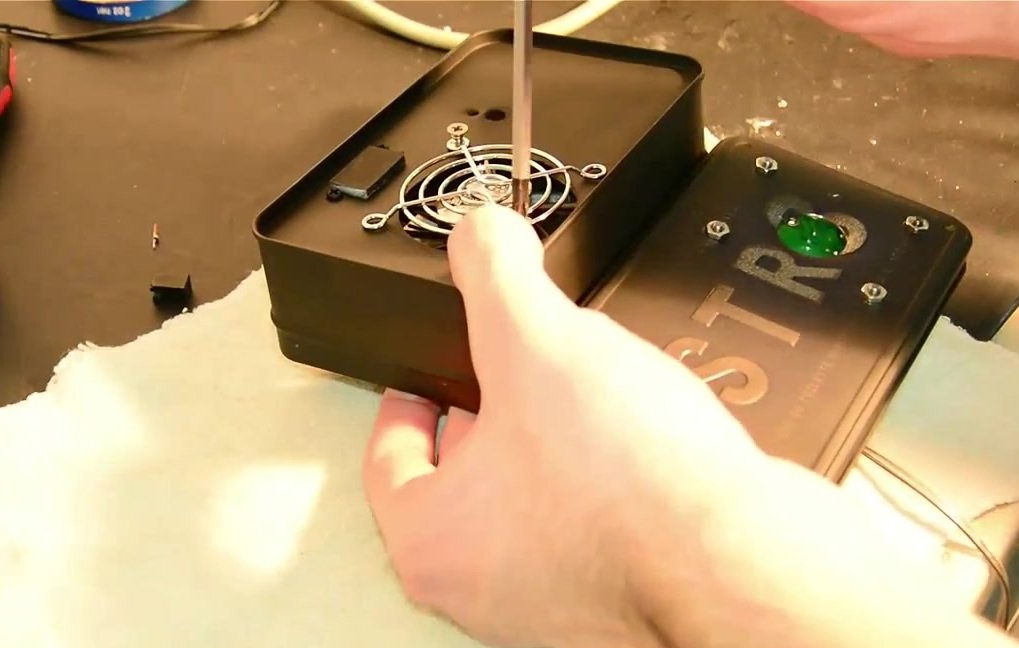
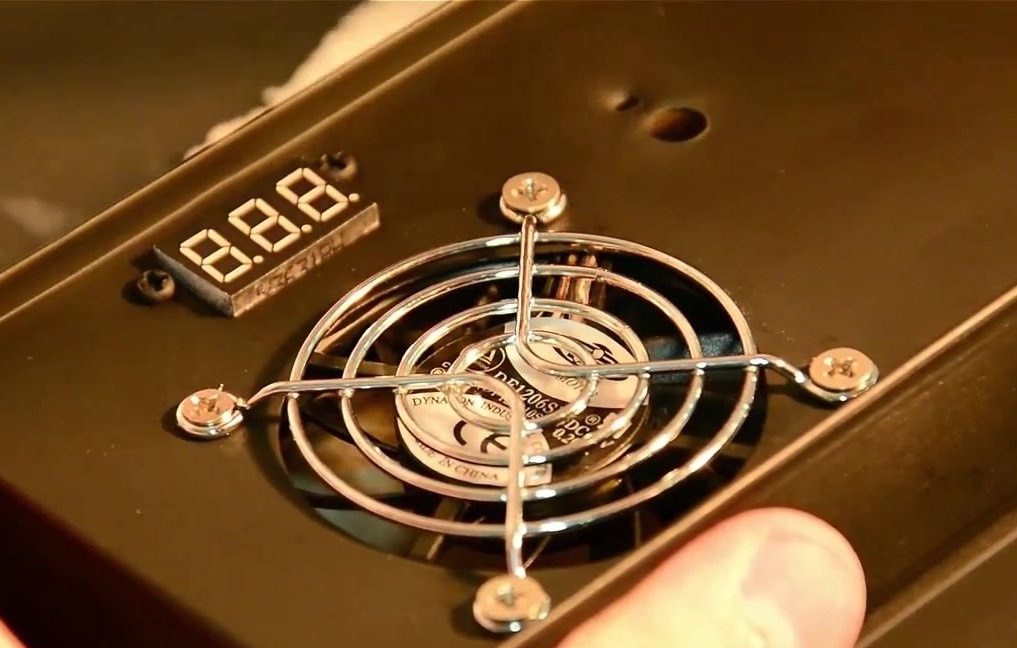
Next, we take the grill from under the fan and measure out 4 points for mounting the cooler.
We drill holes and twist the grill to check whether everything is done correctly.
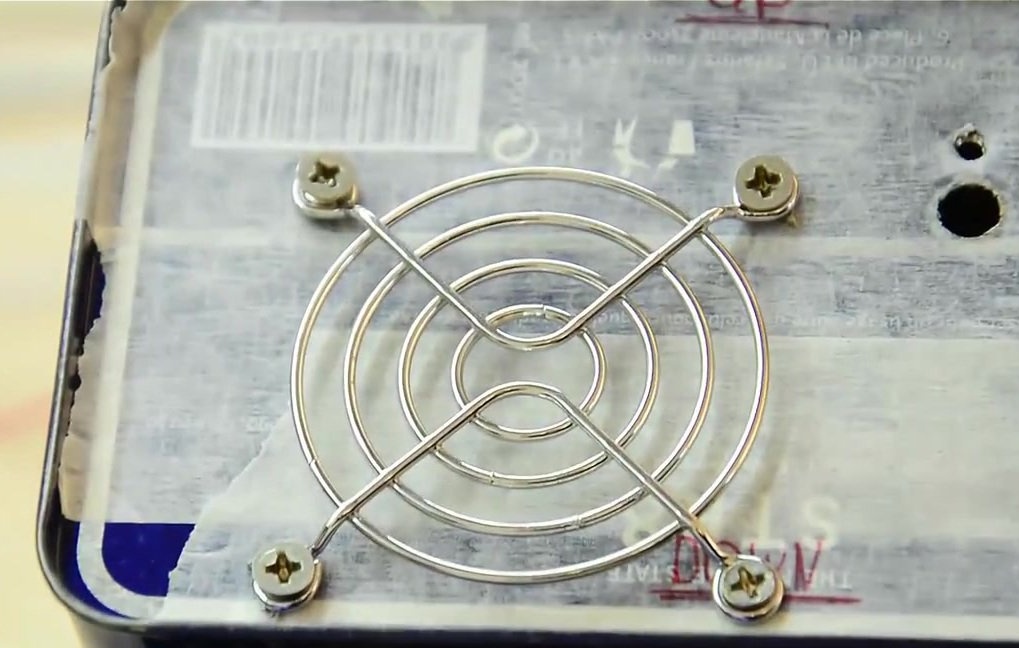
Then we make a large hole for the diameter of the fan so that air can enter the structure.
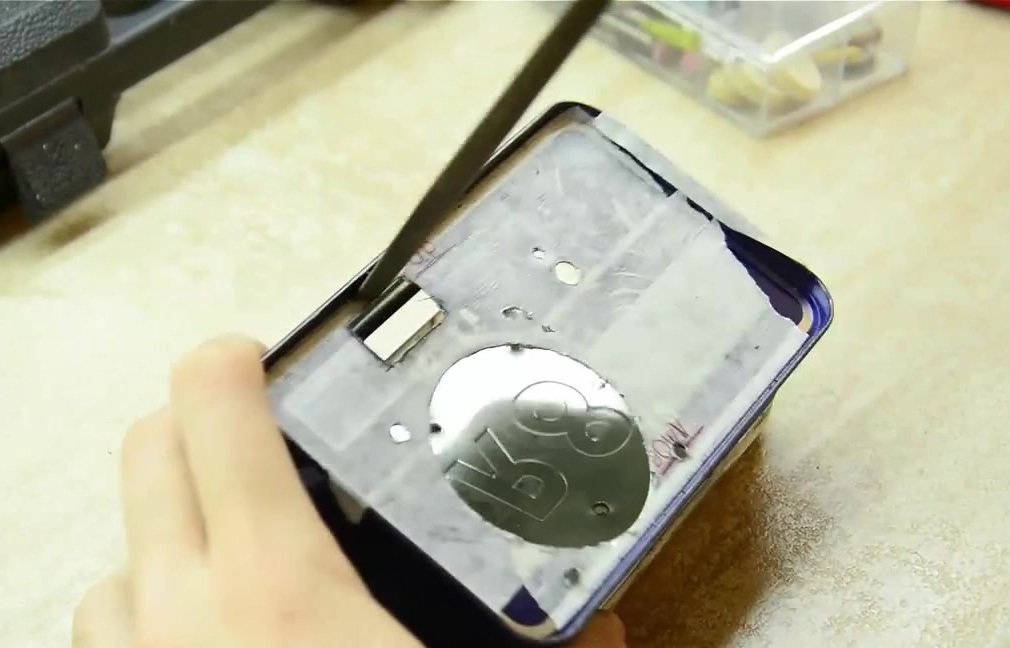
We draw a marker around the voltmeter, thus marking the place of the cut.

Cut out.
We process with a file so that there are no sharp edges.
Now you can paint the box in any convenient color.
Finally, you can start assembling. We insert the board in its place. The legs of the bolt are visible on the back, onto which we screw the nuts. If desired, you can make another hole under the board, so that air also blows on it.
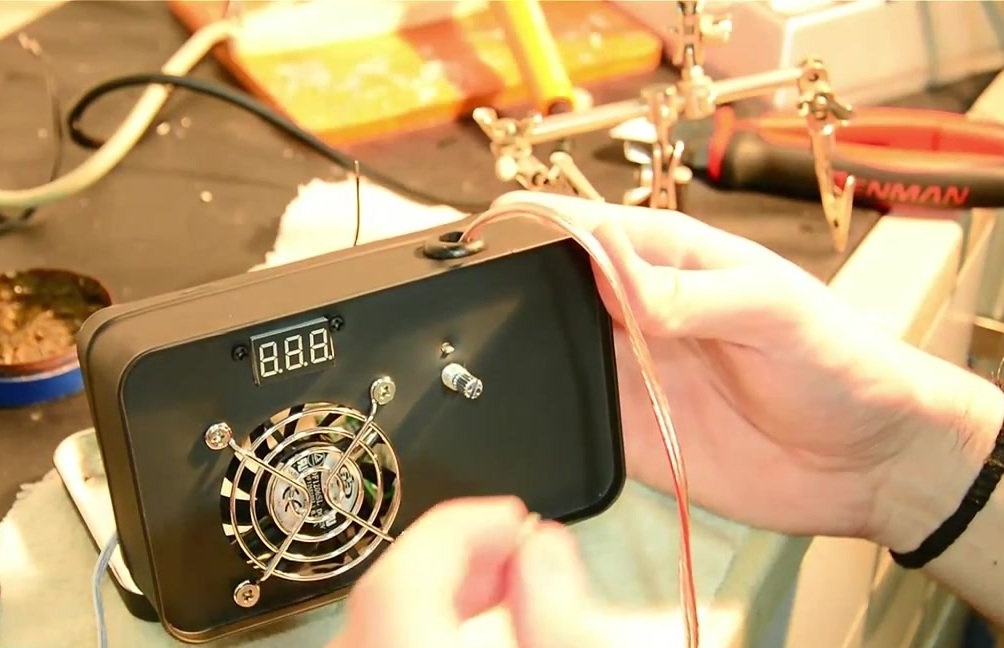
We fasten the voltmeter and the fan with the grill.
Wiring is simple. You just need to put the main power line in the box, and then connect it to the board.

The output is already adjustable.
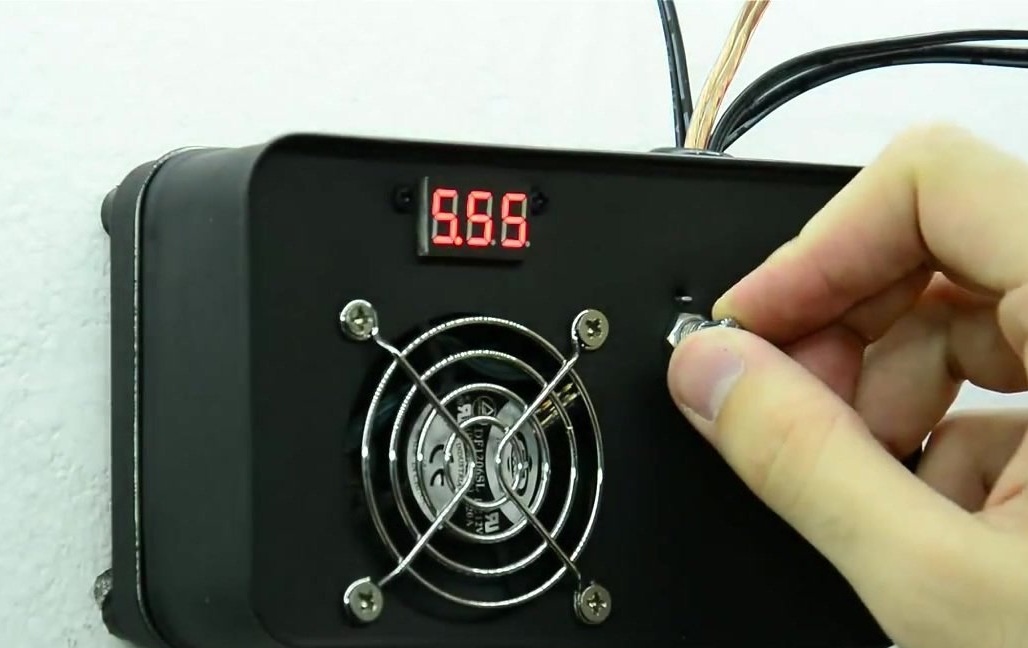
Set the potentiometer.
We connect to the output of the board what we want to control and close the box. The fan can be connected to a permanent line, and a voltmeter can be connected to the output from the board.
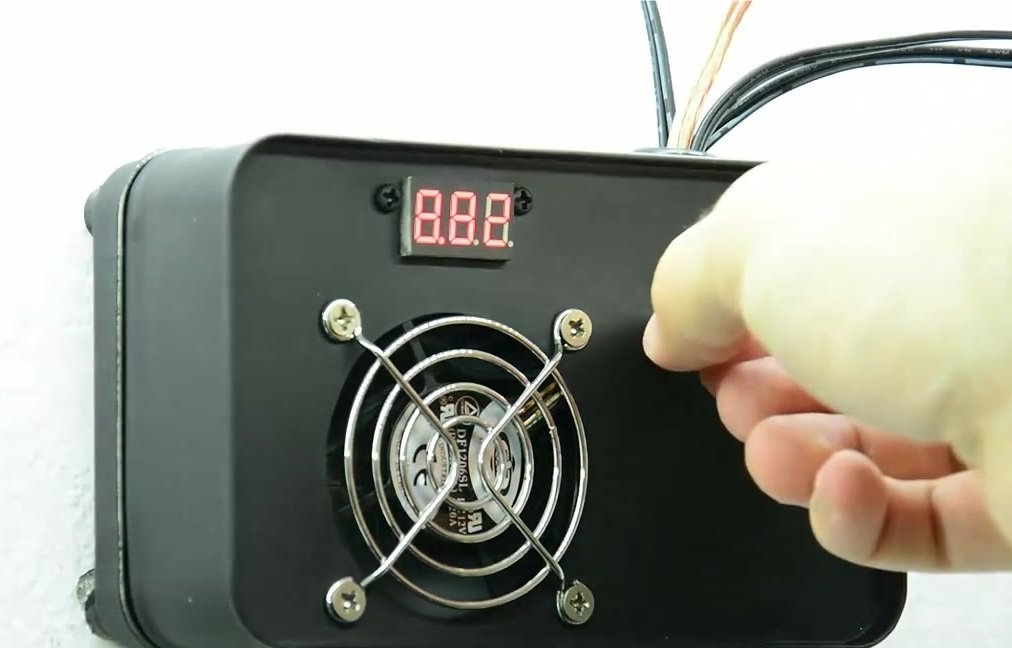
Thus, you can get a light control on the desktop, as well as a speed control on any motor.