
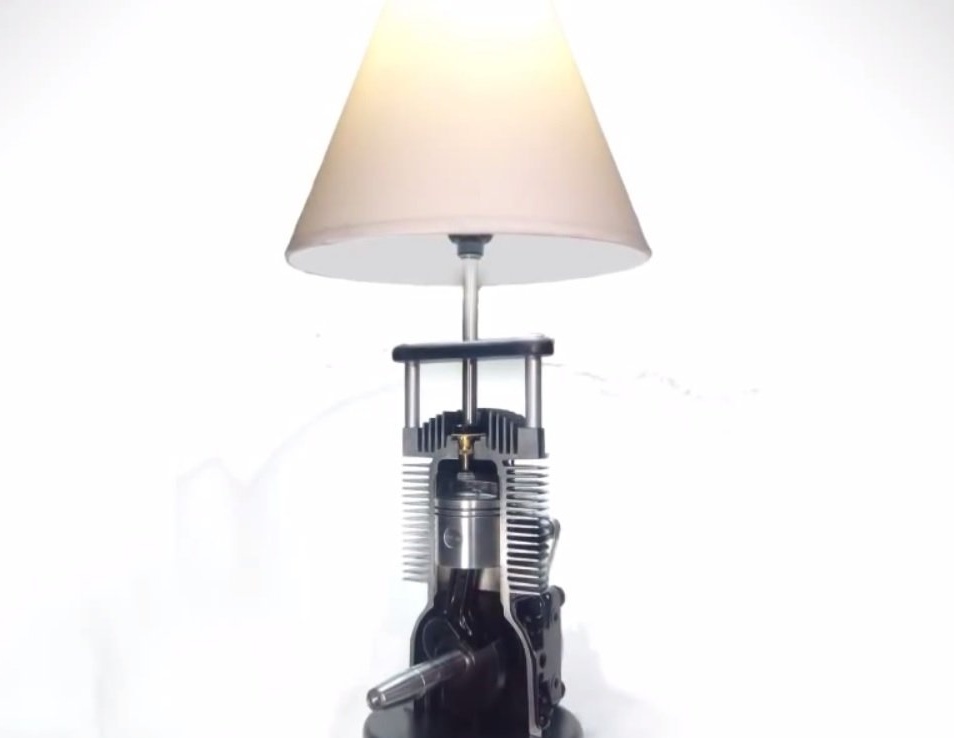
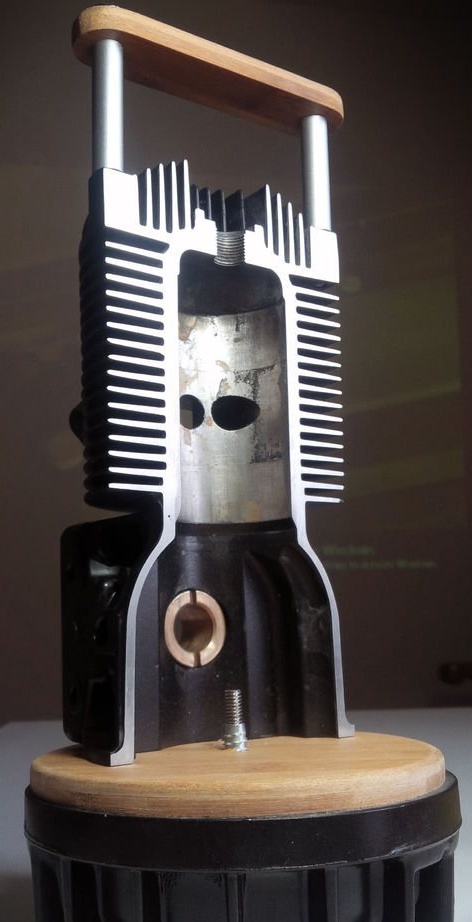
A high-tech table lamp from an old small engine will look very interesting and urban. To turn on / off the lamp, you only need to turn the piston of the engine - it will be the switch that will operate. If you have an idea to make a table lamp out of the engine, then check out the workshop below.
We will need:
- cardboard sleeve;
- old engine;
- a grinding machine, a hacksaw for metal, a wire brush;
- primer, solvent, paint;
- pieces of a wooden board;
- sandpaper, jigsaw, mounting bolts, gaskets made of aluminum tubes;
- a piece of leather, a hammer, nails;
- wires, lamp, sharp knife.
Step 1
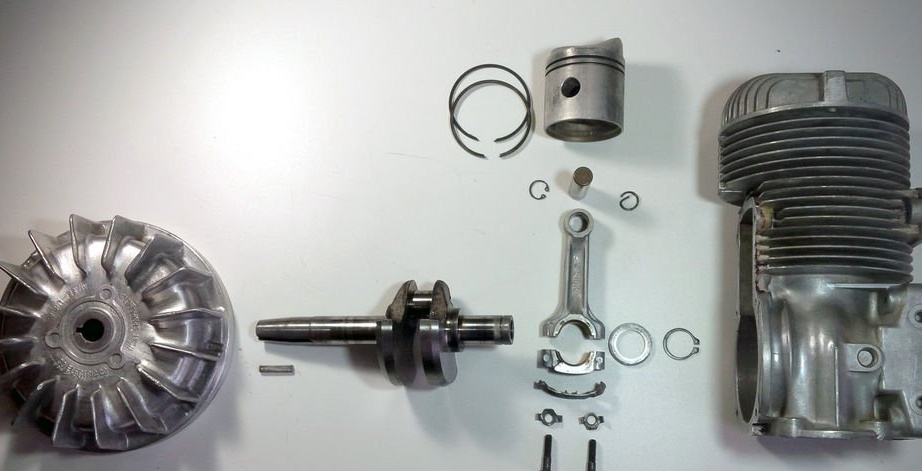
So first, the author crafts advises to disassemble the engine into components. Thoroughly rinse each part of the engine using solvents, concentrated soap solutions, a wire brush, etc. Next, wash the washed parts with a dry cloth, put them to dry completely. It goes without saying that you cannot start working with wet parts!
Step 2
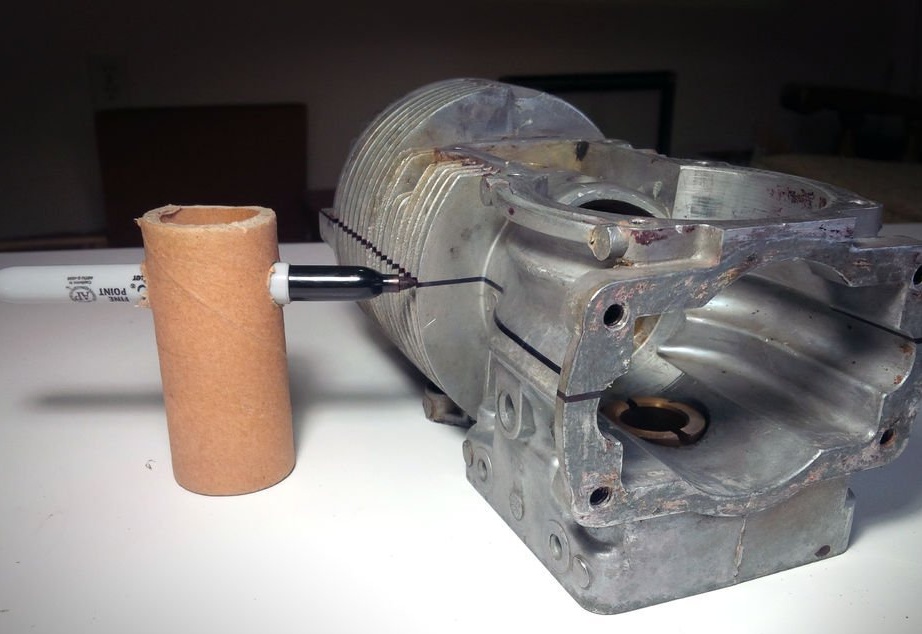
Cut the engine in half: on one side you should get an absolutely smooth and even surface. To do this, draw a straight strip on the engine: build a structure from the marker and the sleeve, so it will be easier for you to draw. Is the strip drawn? Well, now the author cuts the engine for it. If you do not have the skills to work with metal, then, of course, it is better to give preference to a hacksaw - it is easier to work with it. If there are no steel parts in the engine, then cutting will take you no more than half an hour of free time.
Step 3
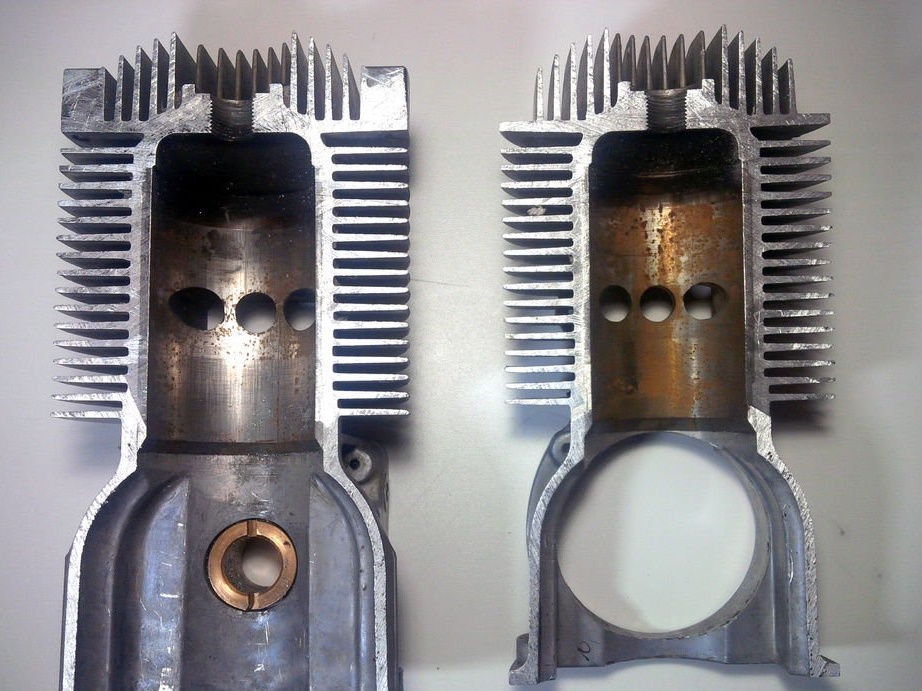
Sand the cut parts of the engine using sandpaper. If there is a special grinding machine - it will greatly simplify your work.
Step 4
Coat the engine with a primer, then paint with a paint - this will make it look more aesthetic, yet the future lamp should decorate your home interior. Paint should be applied from a spray can with a thin layer. There will be several layers - you can’t do without it, so apply them gradually, waiting for the previous layers to dry.By the way, the author additionally applied a small layer of varnish on top of the paint, which gave the product a glossy shine. You can do without this step if there is no varnish.
Step 5
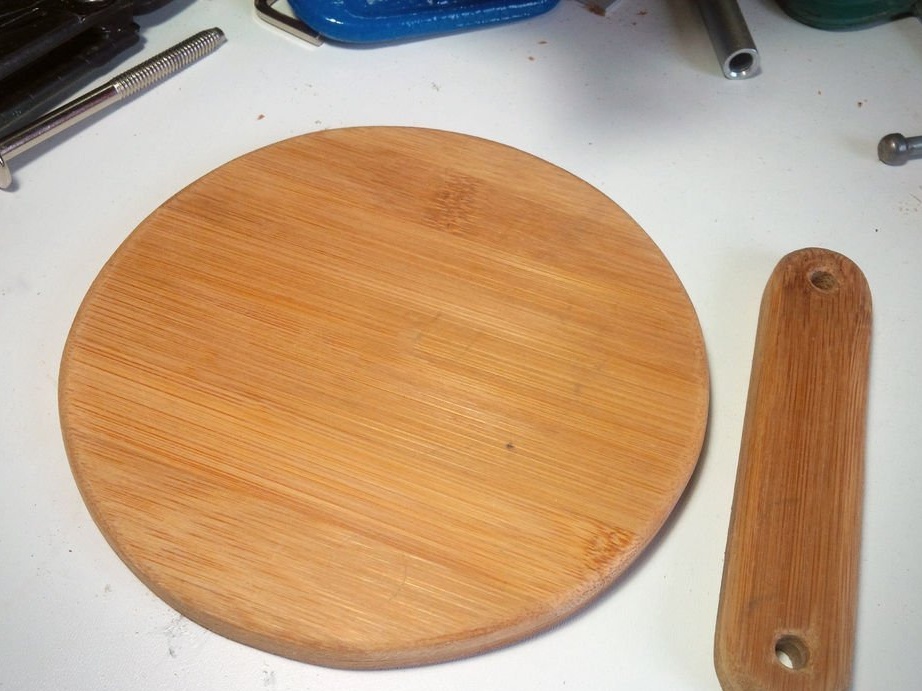
Cut the round base of the lamp from the boards, as well as the fixture for the lampshade of a rectangular shape (round corners). Sand wooden boards, varnish for wood (again, an optional item).
Step 6
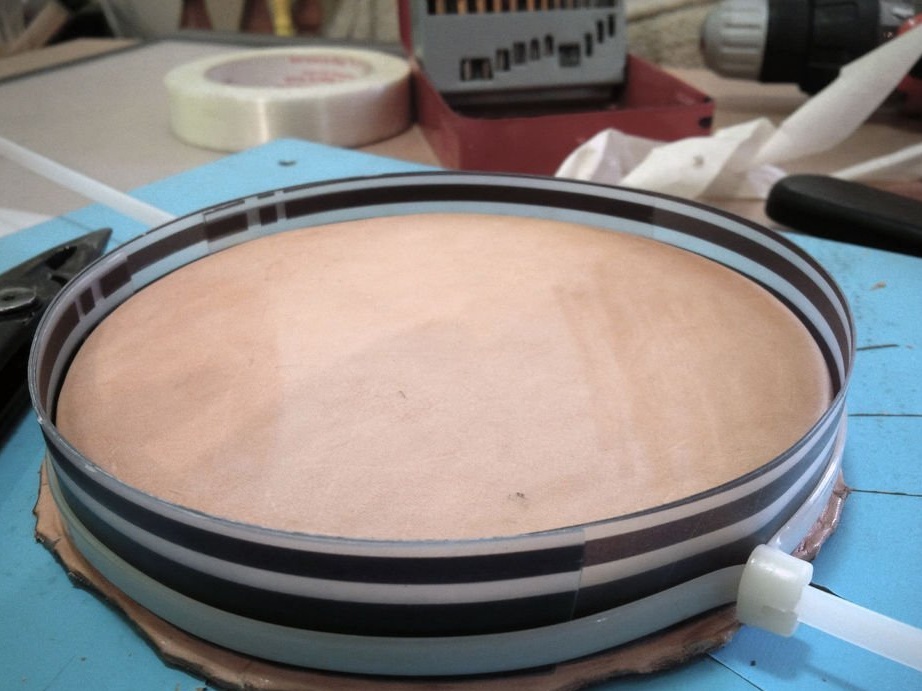
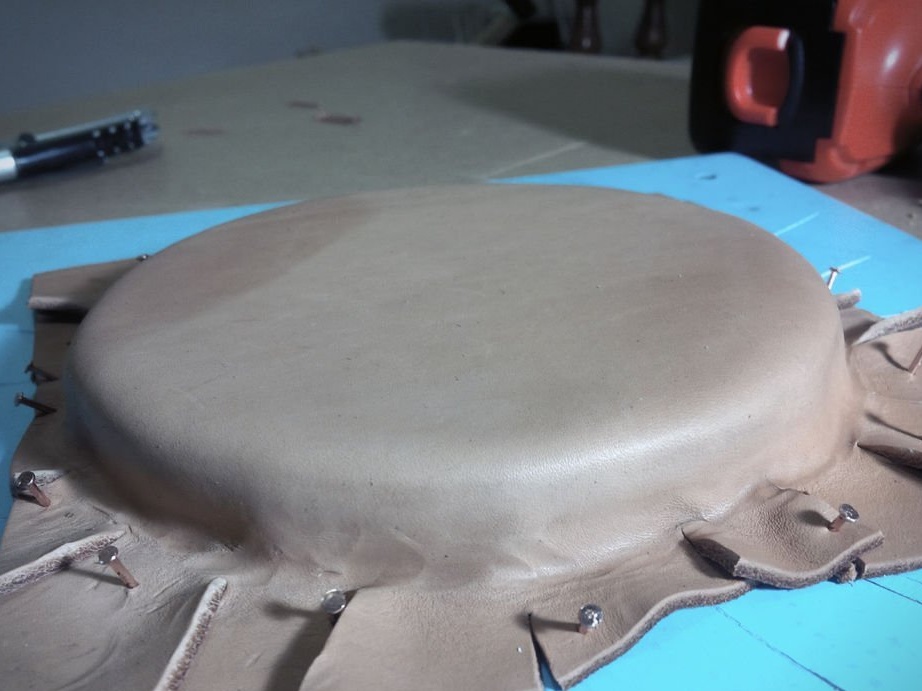
Now you can set aside the wooden parts to the side or supplement them with leather. For example, cut out pieces of leather of a suitable size, soak in water, then pull on wood blanks. Then let the skin dry. You can dry the skin in the oven, warmed up to 80 degrees, but do not keep it in it for more than fifteen minutes! If excess skin remains during the formation, cut them off.
Step 7
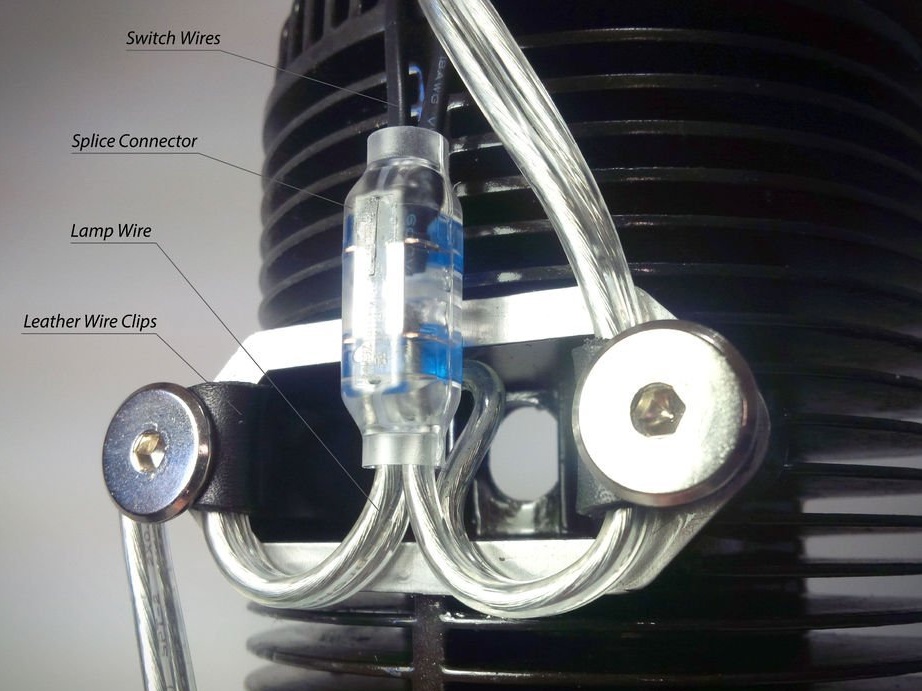
Now the most interesting thing: pass the wires from the lamp through the rack, solder them together. Check if the lamp from the car engine then works.
Step 8
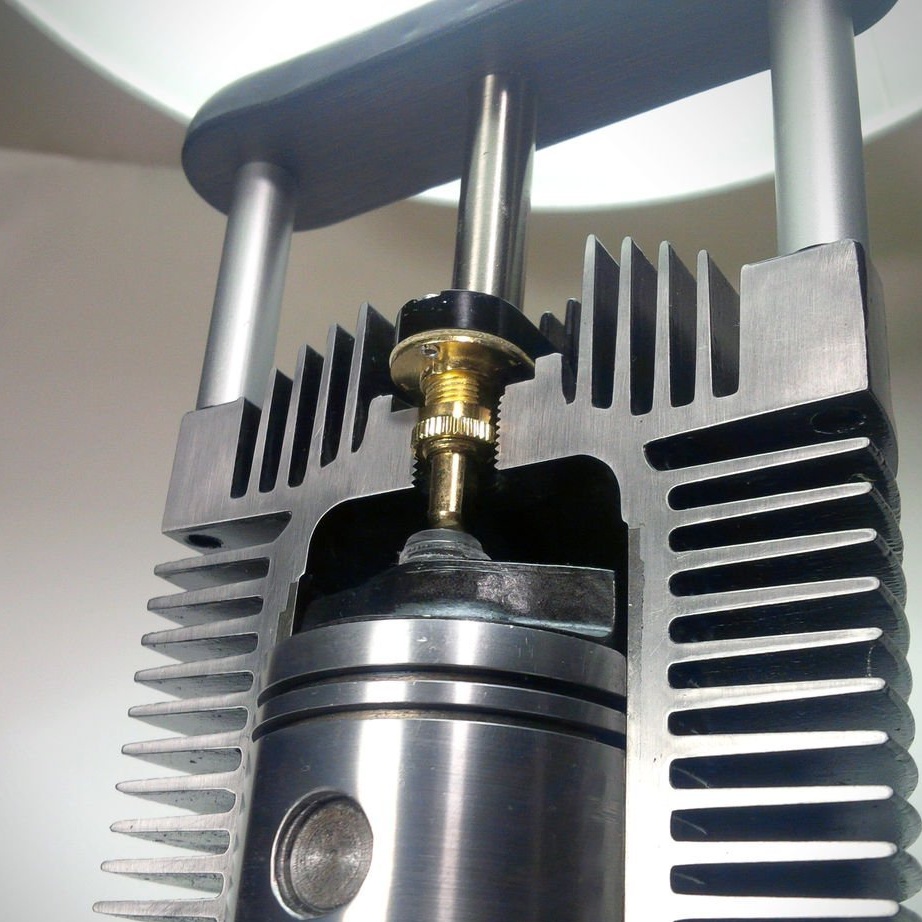
Make several holes in the wooden base to secure the prepared engine parts there. Insert the piston into the engine, do not forget about the lamp switch. Fix the lampshade with a bulb and a cartridge.
Now you can look at the fruits of your labors - the lamp from the car engine is ready!