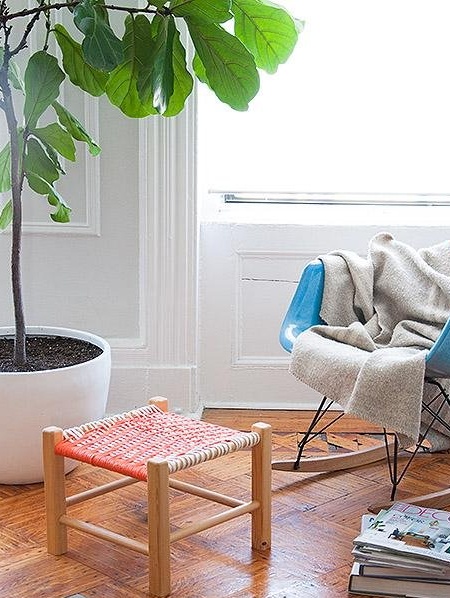
A stool made by weaving technique can become a completely original decorative element of the interior. We will devote this article to the hand-made production of such a stool, which your family members, as well as friends and relatives will definitely enjoy.
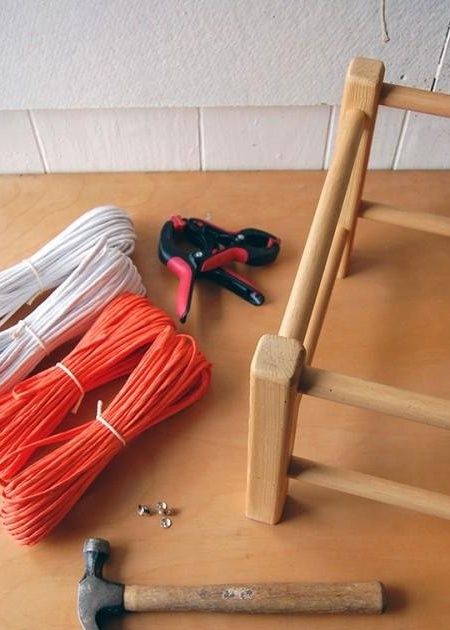
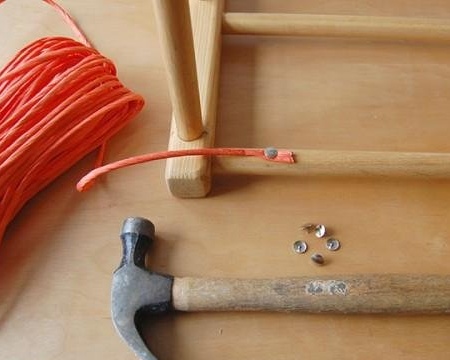
Let's start by listing the necessary materials and tools:
1. legs and a frame for sitting as the basis of the future stool;
2. multicolored paper cord;
3. nails used for manufacturing of furniture;
4. hammer;
5. clamp;
6. scissors;
7. awl;
8. paint.
Note that for the manufacture of stools in addition to paper cords, you can also use linen. Alternatively, we can also offer synthetic cords. To calculate the length of the cord necessary for work, you need to take into account the dimensions of the frame. For example, if the sides of the frame are 30 and 35 cm, then you will need about 17 m of cord to weave the base of the seat, as well as about 8 m, which will be used in the weaving process.
Let's start by processing the basics. For this, in addition to paint, you can use a stain. It is also possible to use furniture varnish.
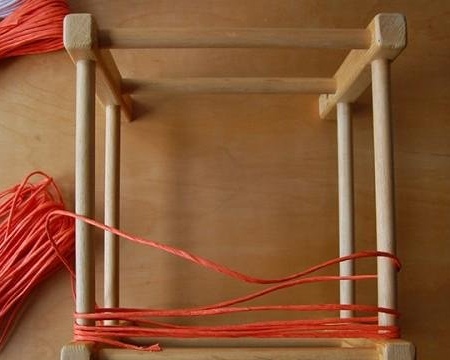
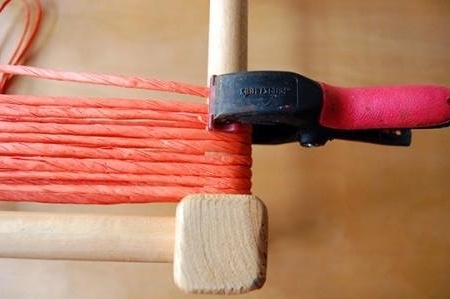
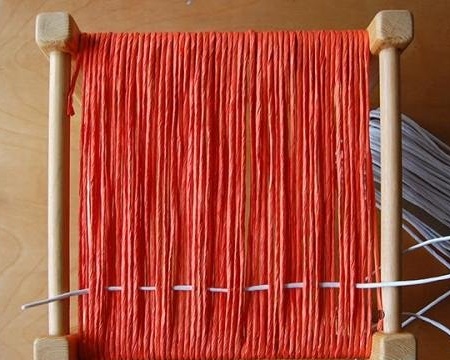
Next, you need to determine in which directions the main threads will be. The process of winding the cord onto the frame can be simplified by fixing one tip on the frame with a nail or push pin. After that, you can proceed to winding the cord onto the frame. It should be noted that you need to wind on two opposite slats of the frame. Be sure to make sure that the turns of the cord are as close as possible. After winding 5 turns, you need to properly pull the cord and take care of its fixation. For this we use a clamp. Repeat this after each winding of 5 turns.
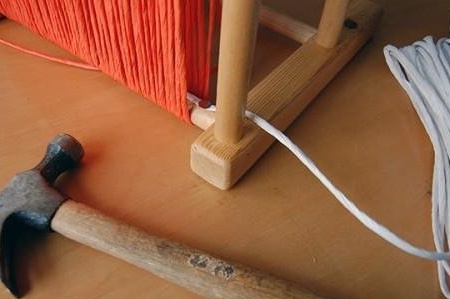
After the frame is almost completely wrapped, it is necessary to fix the cord on the inside of the rail. After this, you can continue the winding, which will allow you to hide the remaining free end of the rail together with a nail that was stuffed at the very beginning. Thus, we continue winding and fix the second tip of the cord on the base.
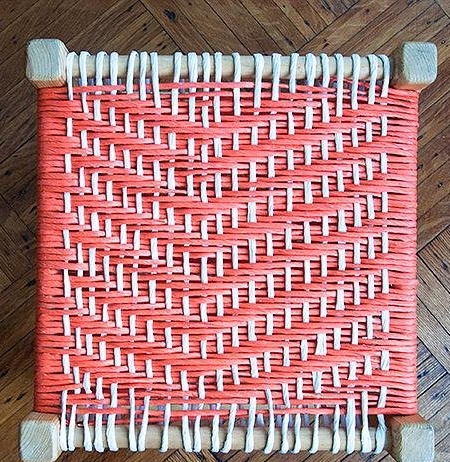
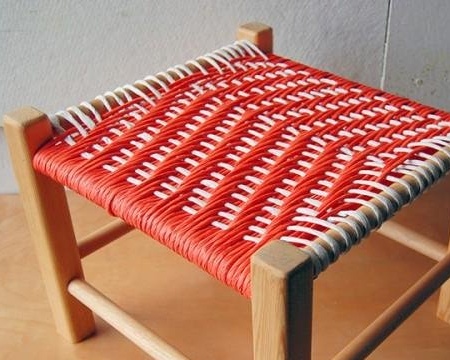
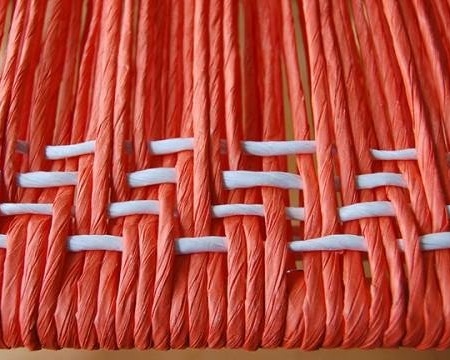
At this stage, you can proceed to weaving the cord into a warp of threads.You can use any convenient scheme, for example, 3 turns from above and 3 from below or 1 from above, 3 from below, as well as two turns from above and from below, or even 5 and 4, respectively. It is important to remember that the number of rows of the base that remains under the upper layer of the sheath depends on how noticeable the sheath itself will be.
We stretch the cord through all the threads that were used for the base, according to our chosen pattern. After weaving the first row, you need to wrap the cord under the bar on the frame and tighten it well. In this case, you need to make sure that the cord, which will be the process of braiding, is moved as close as possible to the side of the frame. We continue to weave, not forgetting that the approach on the second row needs to be shifted one thread forward. With this successive displacement, weaving can be carried out diagonally. At the very end, weaving will be a little difficult. This is due to a gradual increase in the tension of the warp threads. It is here that we need an awl that will simplify the process.

The wicker stool is ready.