
Air rifles powered by CO2 cans are available from specialist stores. However, we offer not to rush to the store, as in this material we will review the video on the independent manufacture of such a rifle. We note right away that we do not welcome violence and present the method for informational purposes only.
Let's start by watching the author’s video
[media = https: //www.youtube.com/watch? v = 56Uimw4r-is]
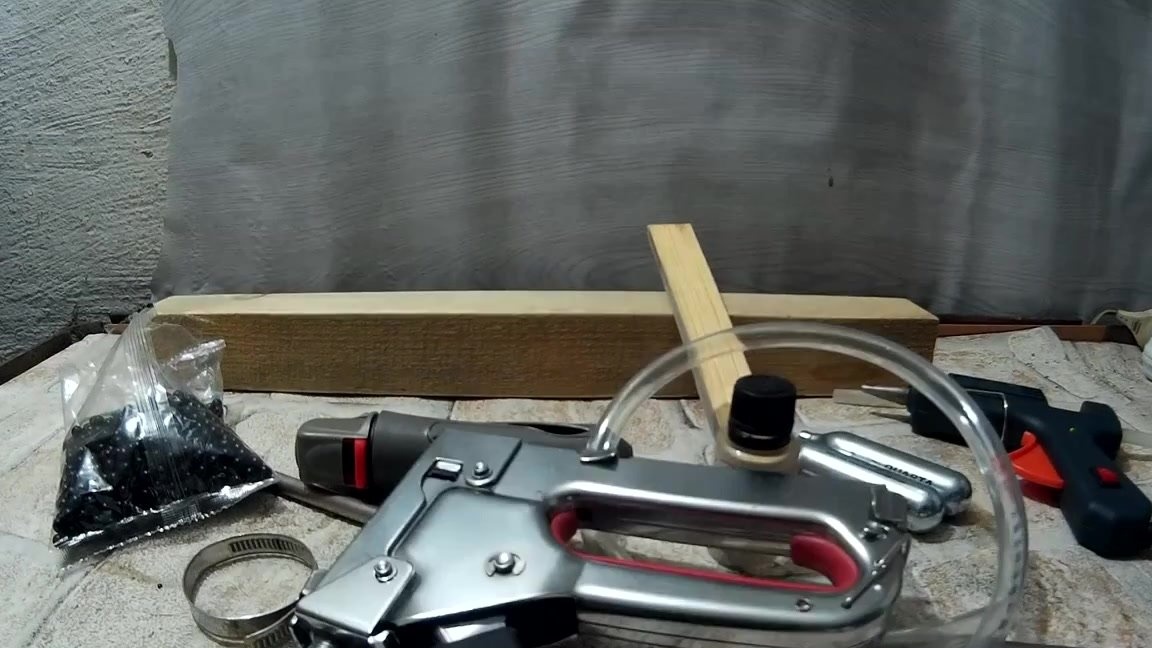
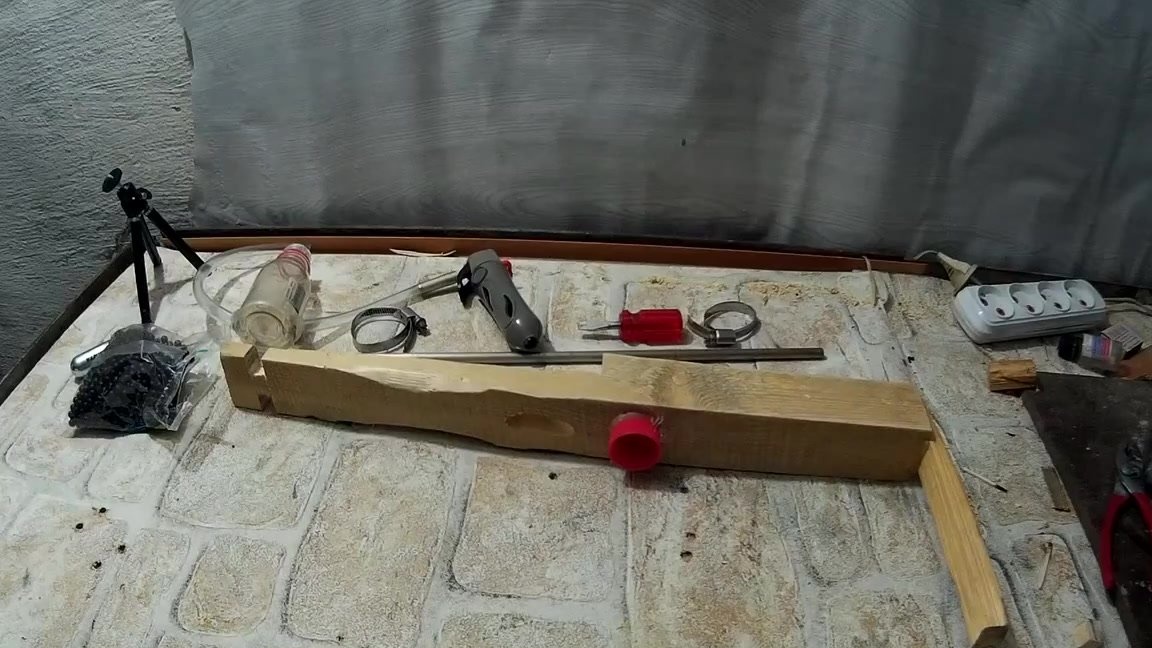
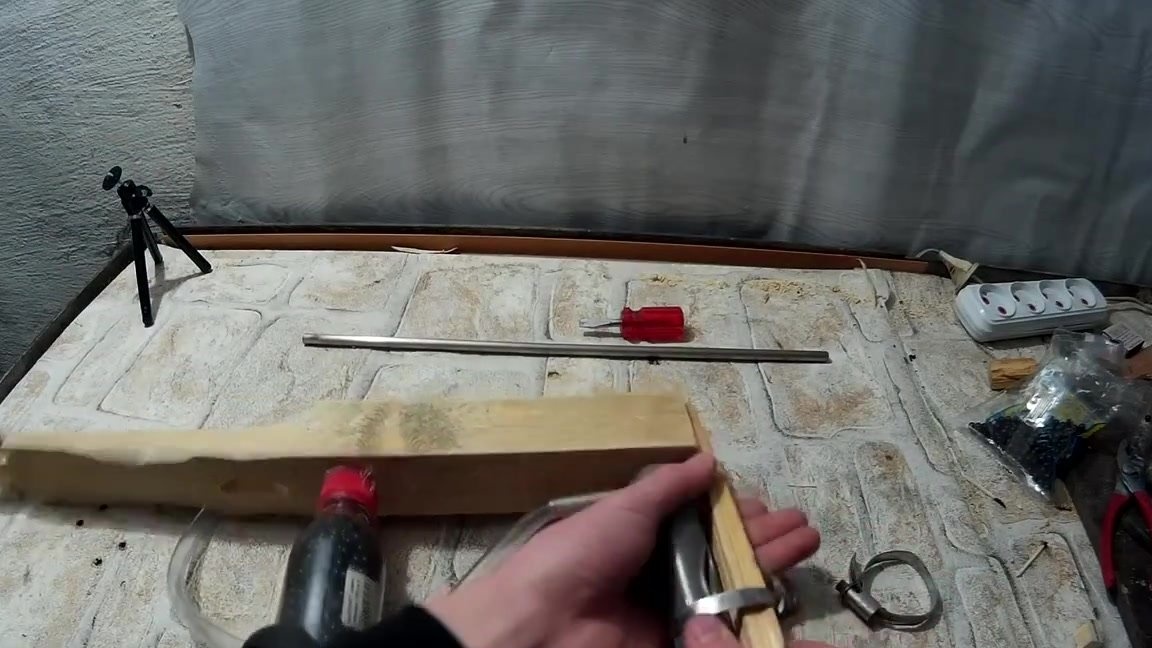
So, for the manufacture of an air rifle, we need:
- a wooden block of a rectangular shape;
- a small bar;
- device for CO2 cans;
- CO2 cans;
- bullets;
- a tube;
- glue gun;
- any jar with a lid;
- plastic tube;
- 2 iron clamps;
- wood stapler.
In one of our past articles, we talked about devices for CO2 cans. They work according to the following principle. A can is inserted into them, and when a button on the device is pressed, air in the can is released under high pressure.
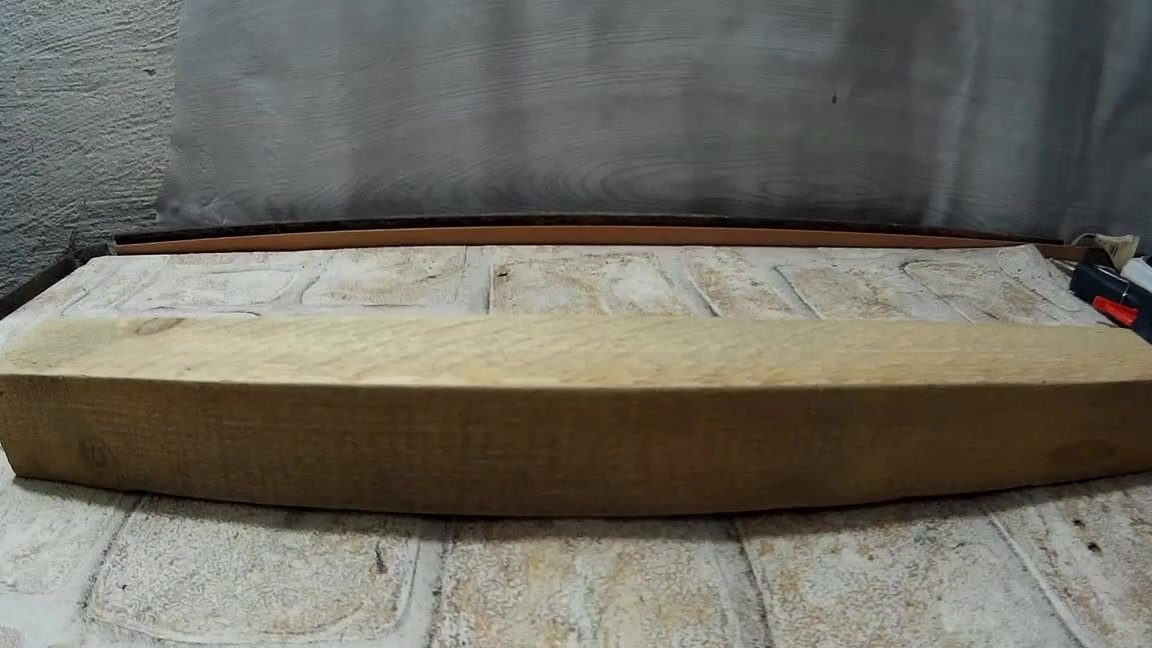
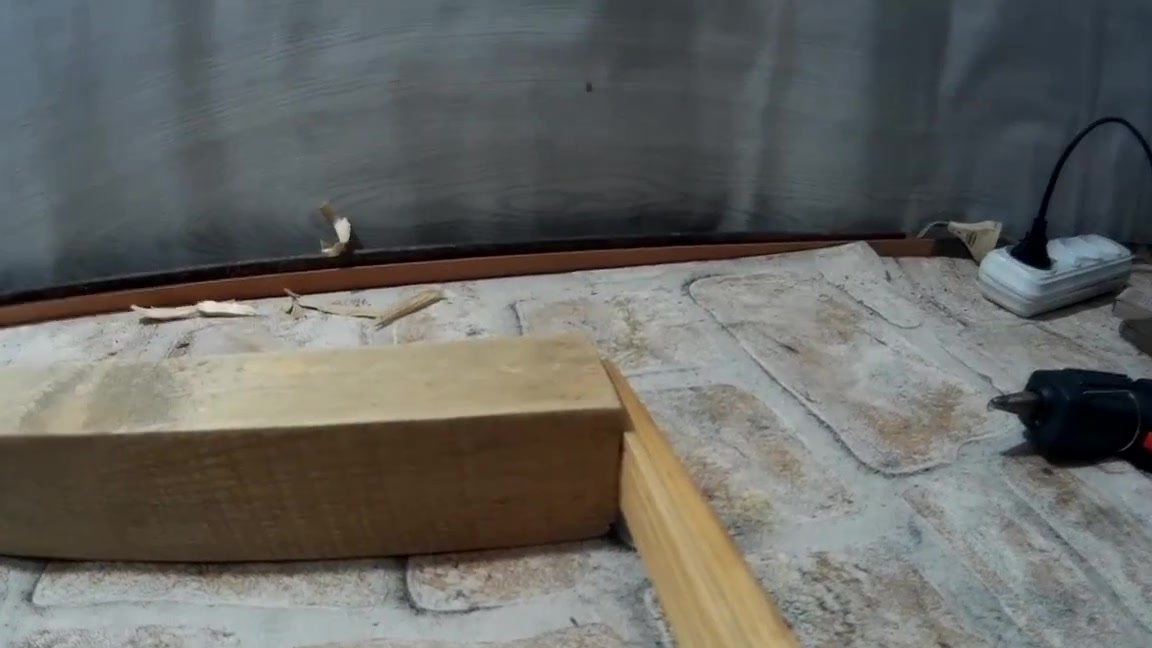
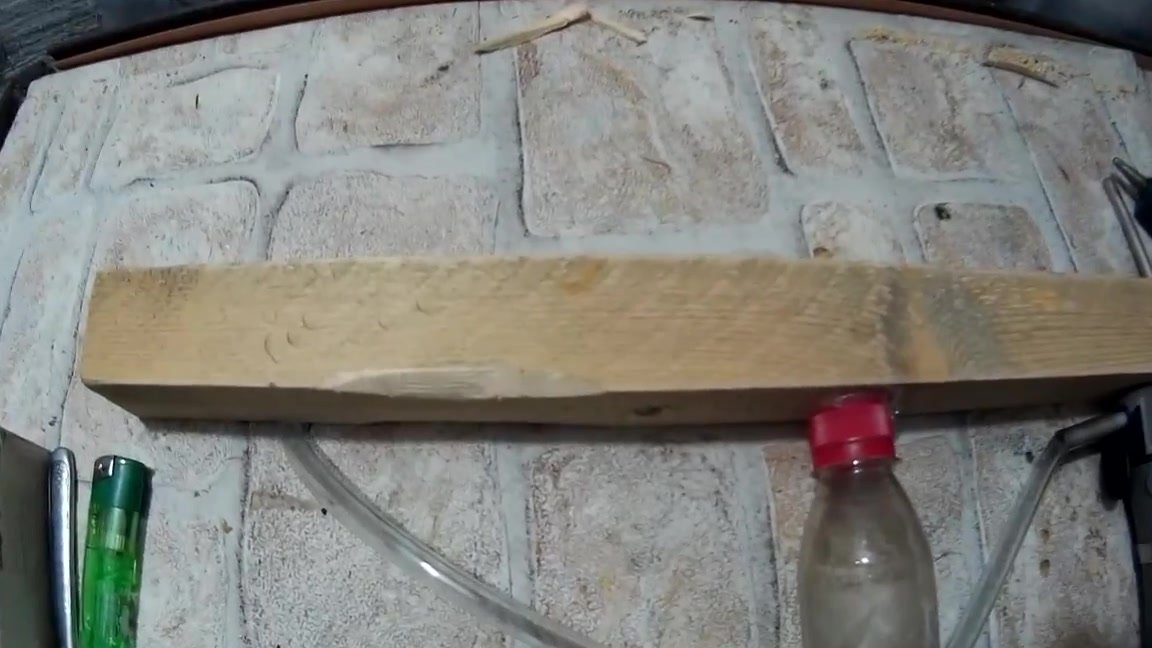
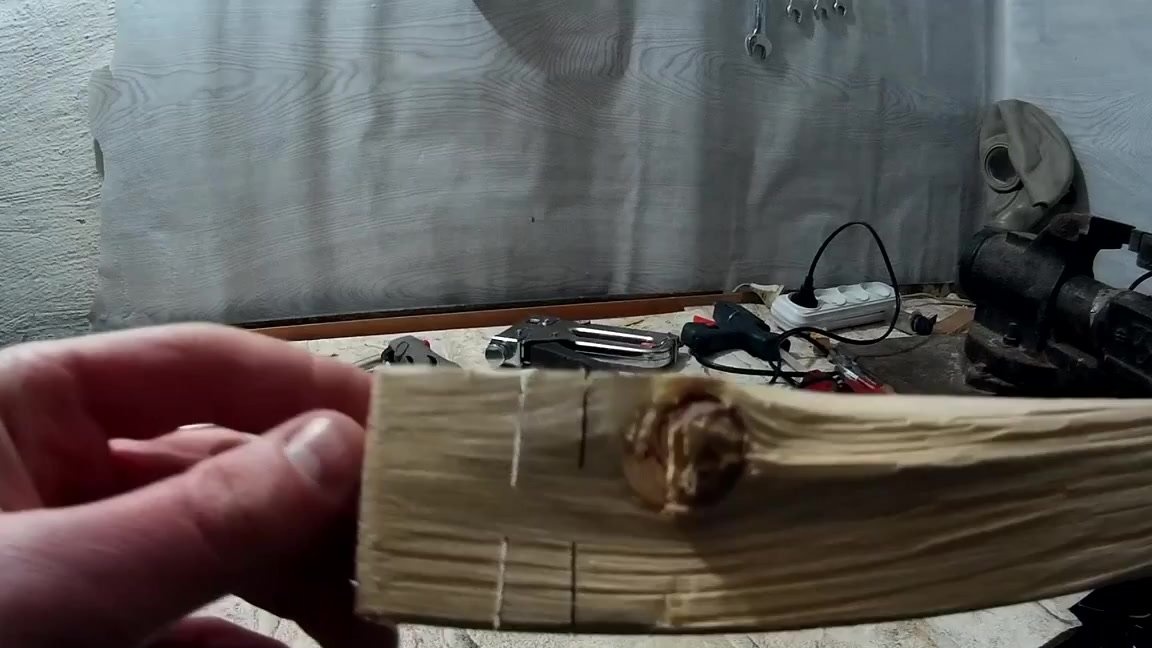
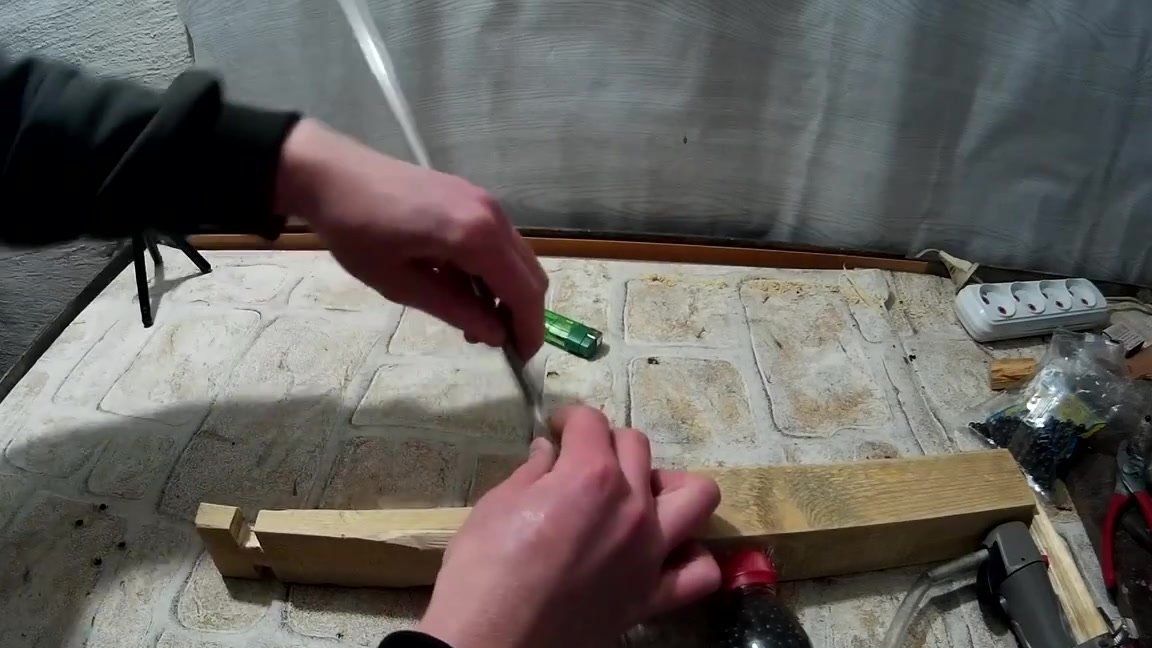
First you need to carefully sand the wooden block with sandpaper.
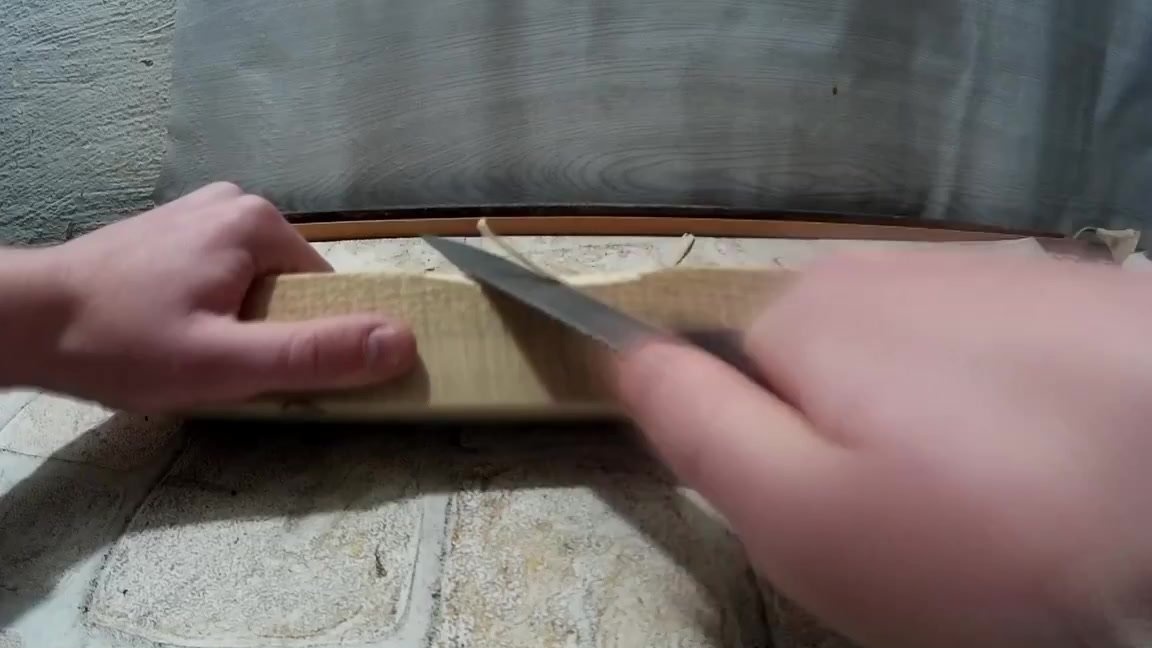
Now we take any convenient knife and make them small hollows. This is necessary to make it easier to hold the rifle.
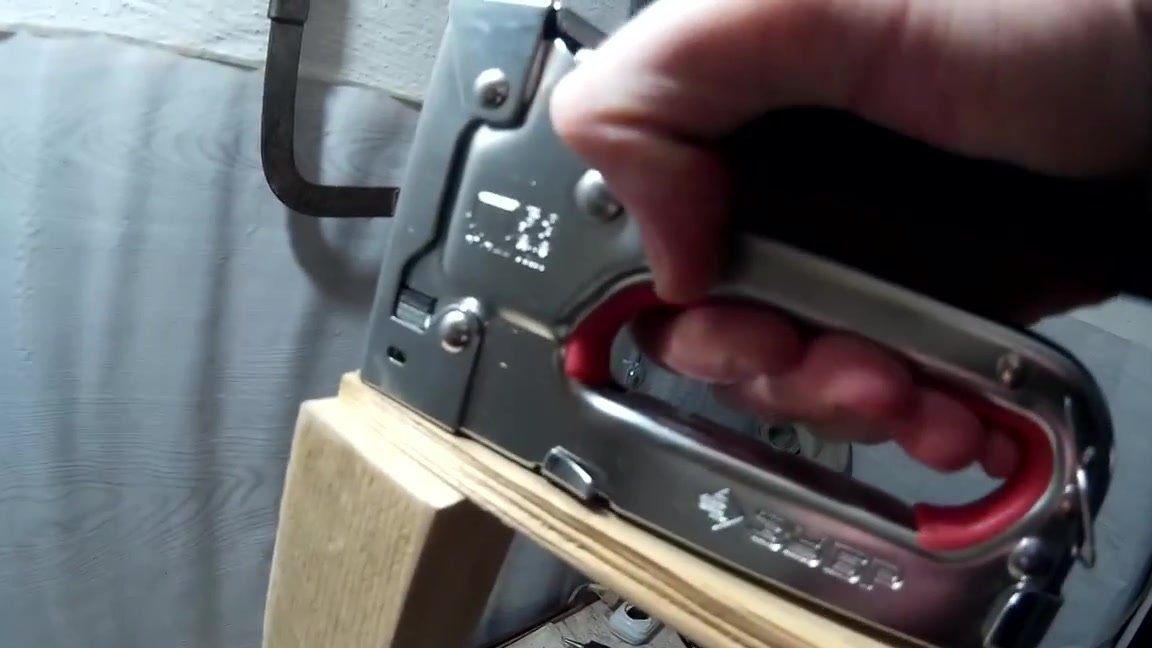
Now we take a small bar, which must be attached to a large one using a stapler. If there is no powerful stapler at hand, then you can use self-tapping screws.
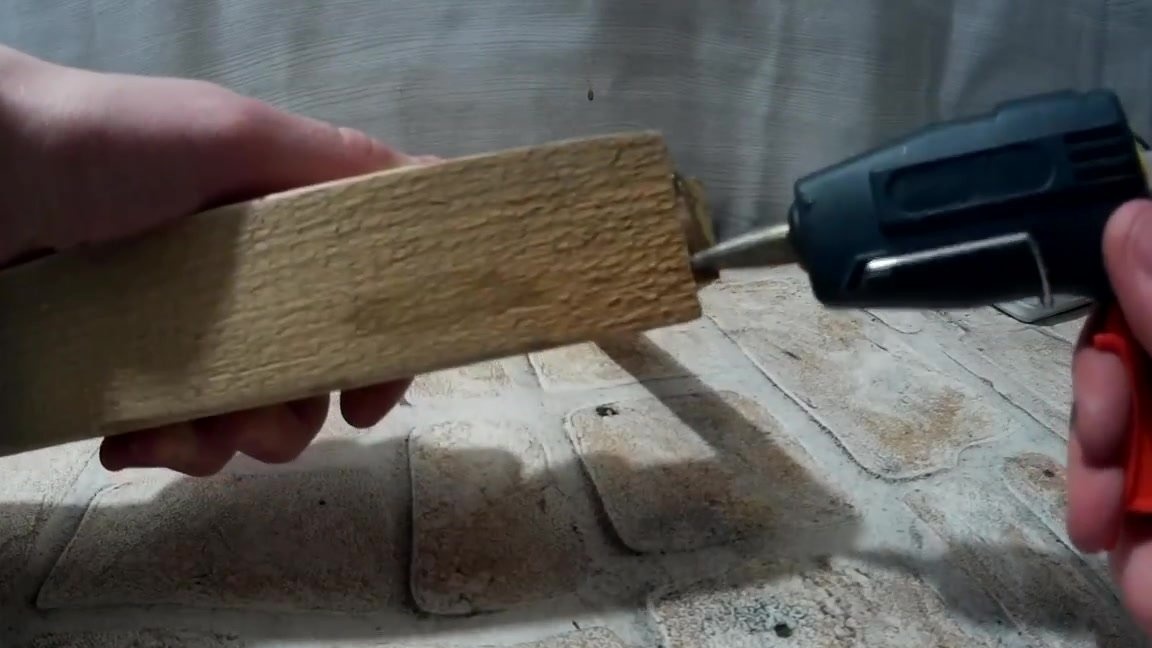
The side parts of the junction of the two bars can be further treated with a glue gun.
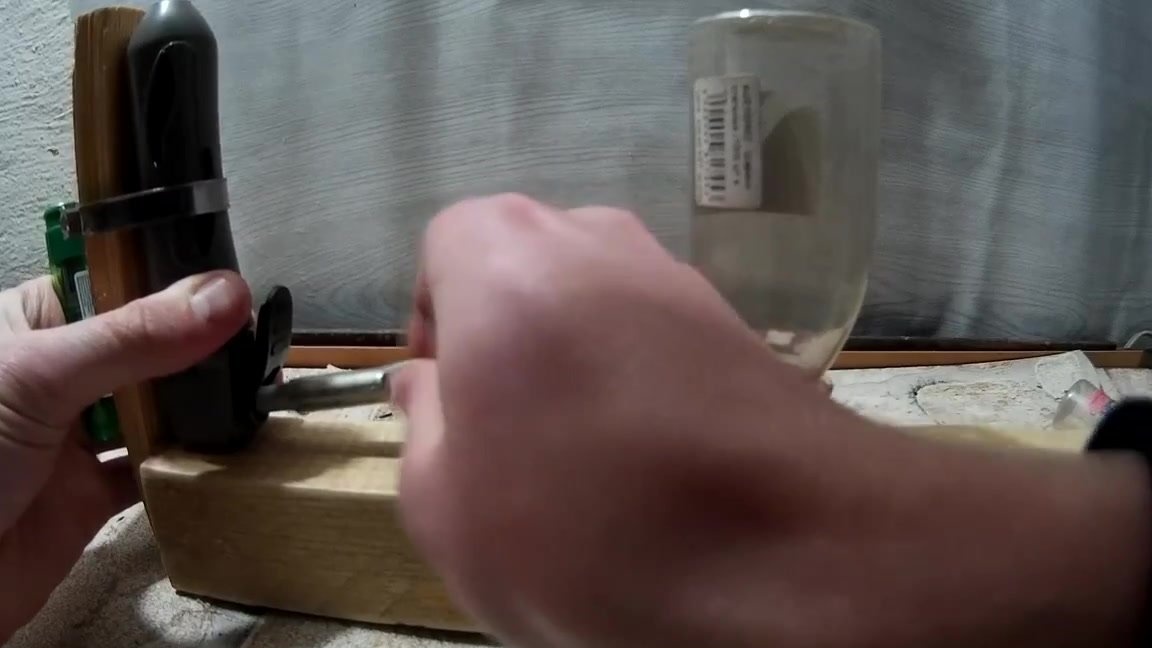
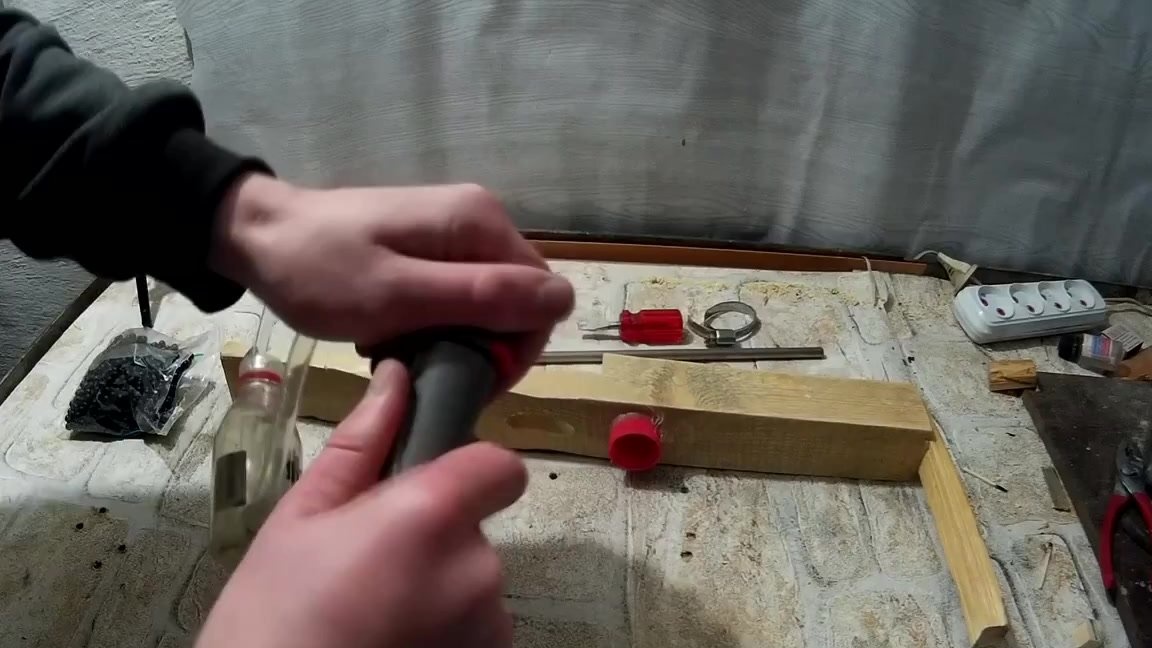
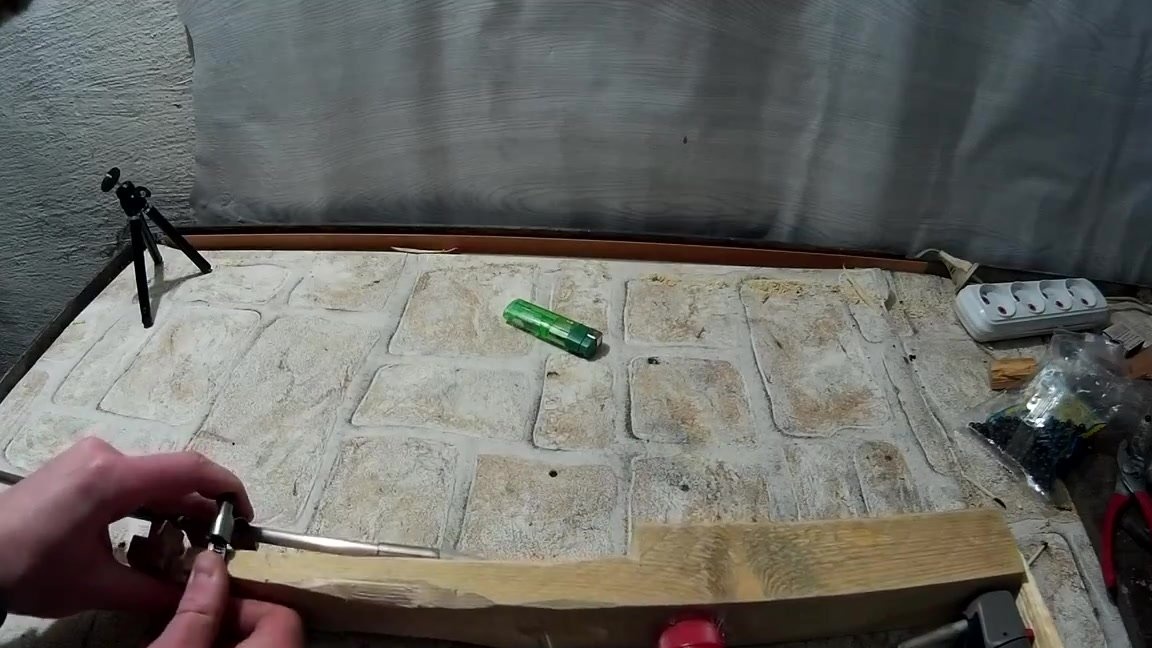
Now you need to fix the device for CO2 cans on a small bar. We will do this with a clamp.

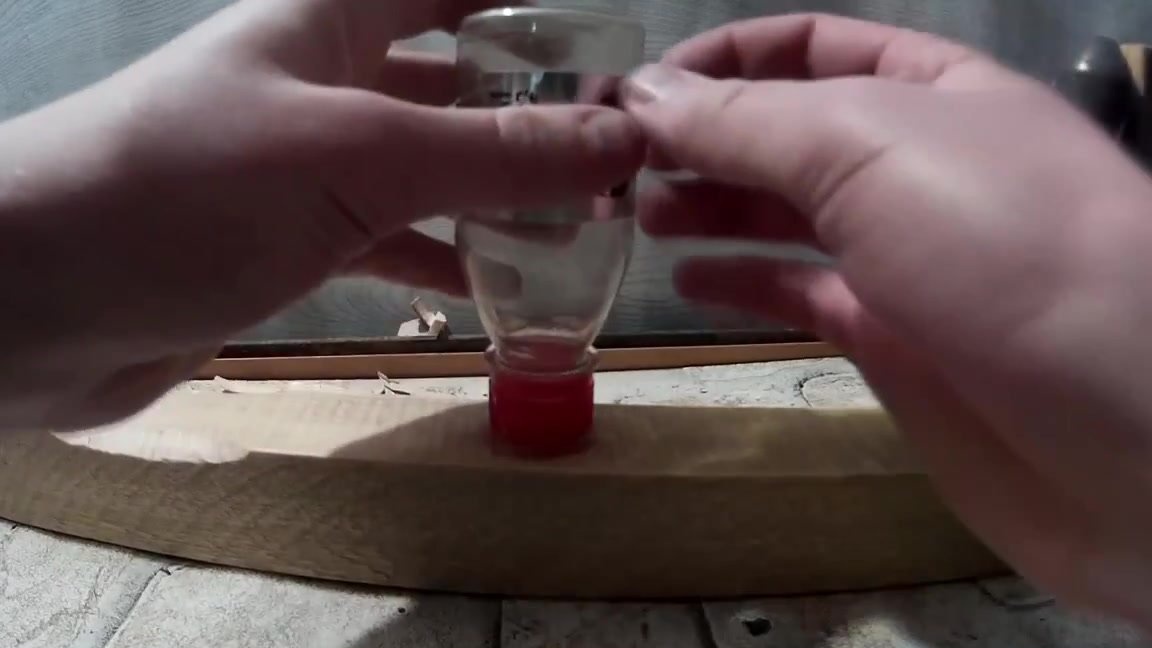
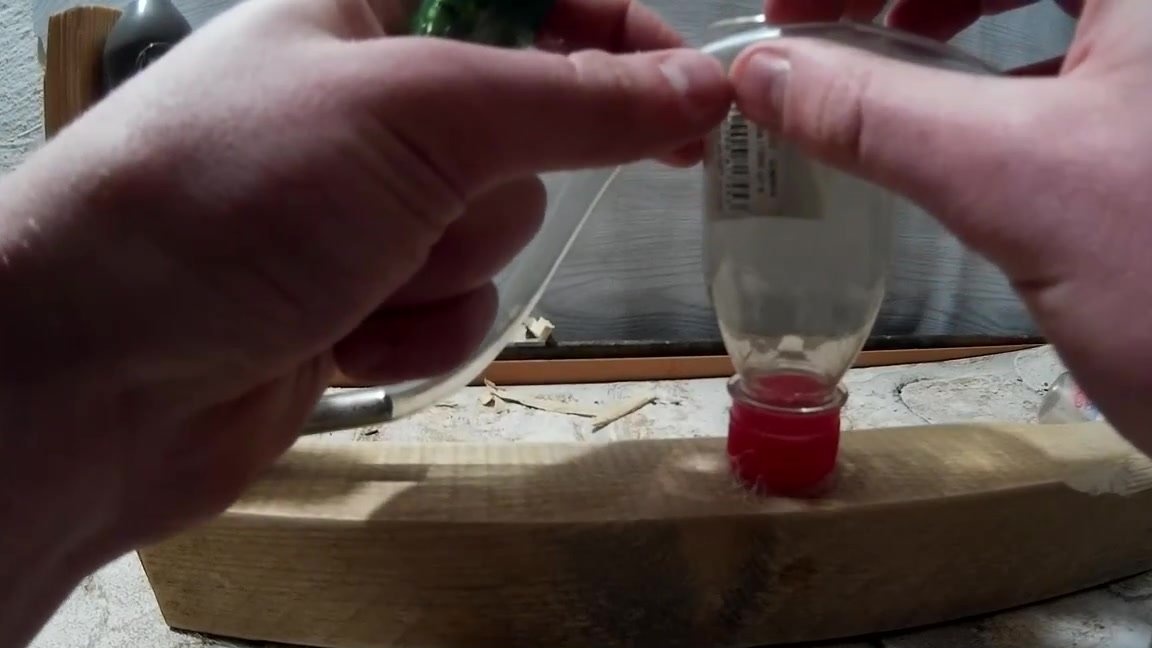
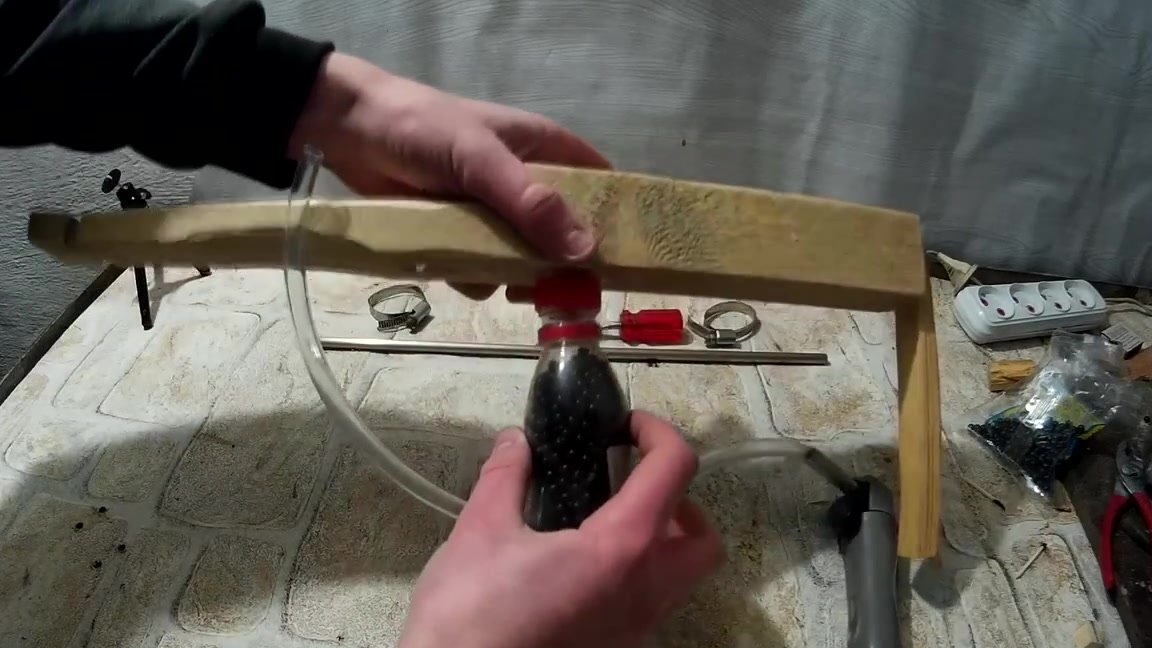
With a glue gun, glue the lid from the jar to a large bar. The jar will serve as a store for bullets.
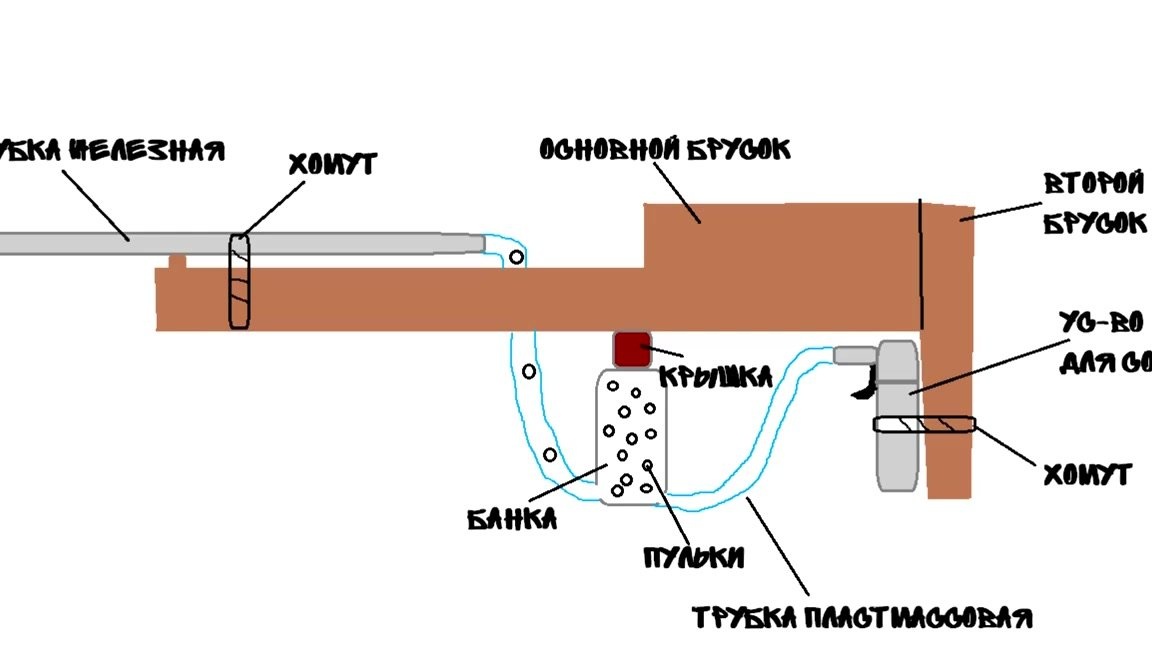
Below we present the scheme of the future rifle so that you have a better idea of the work.
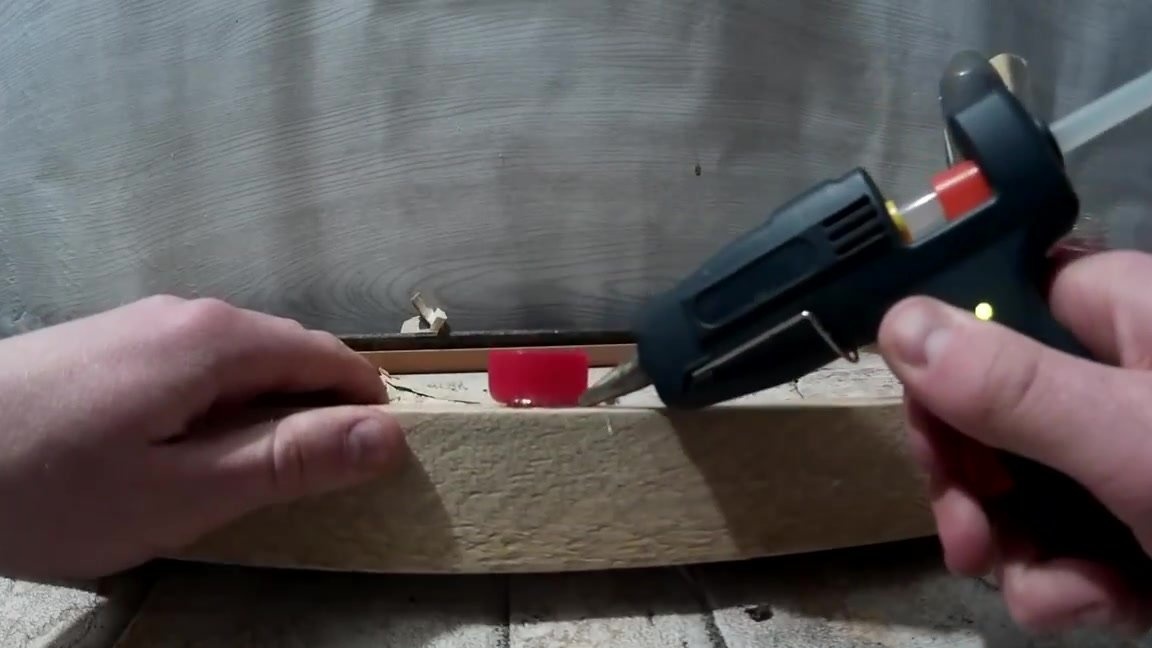
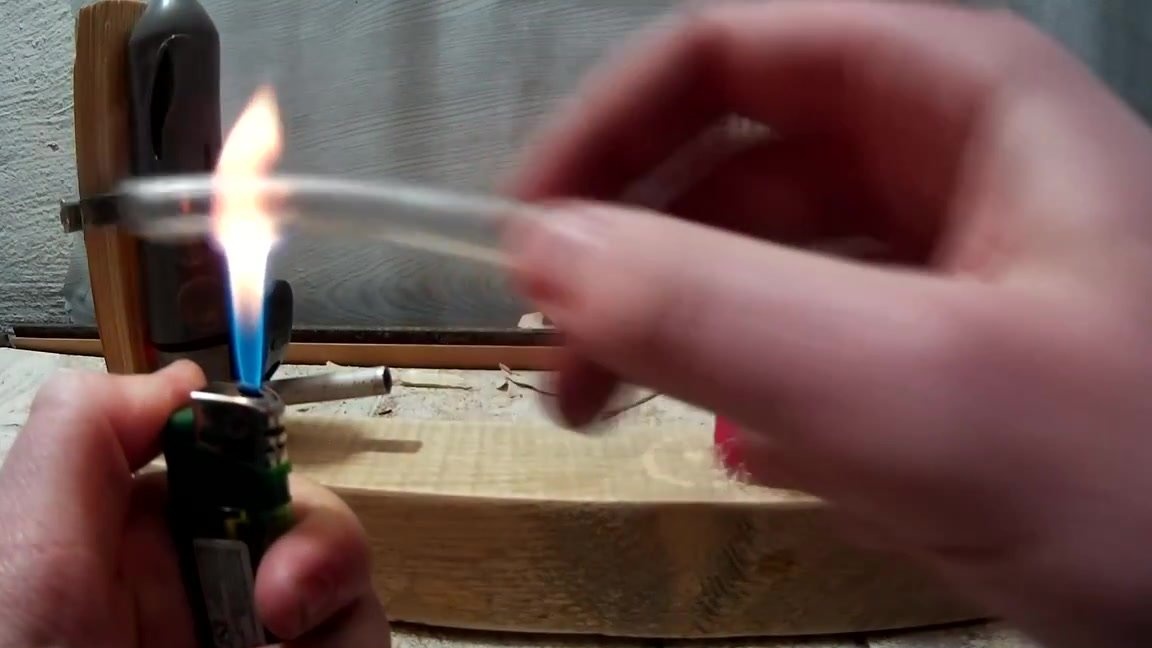
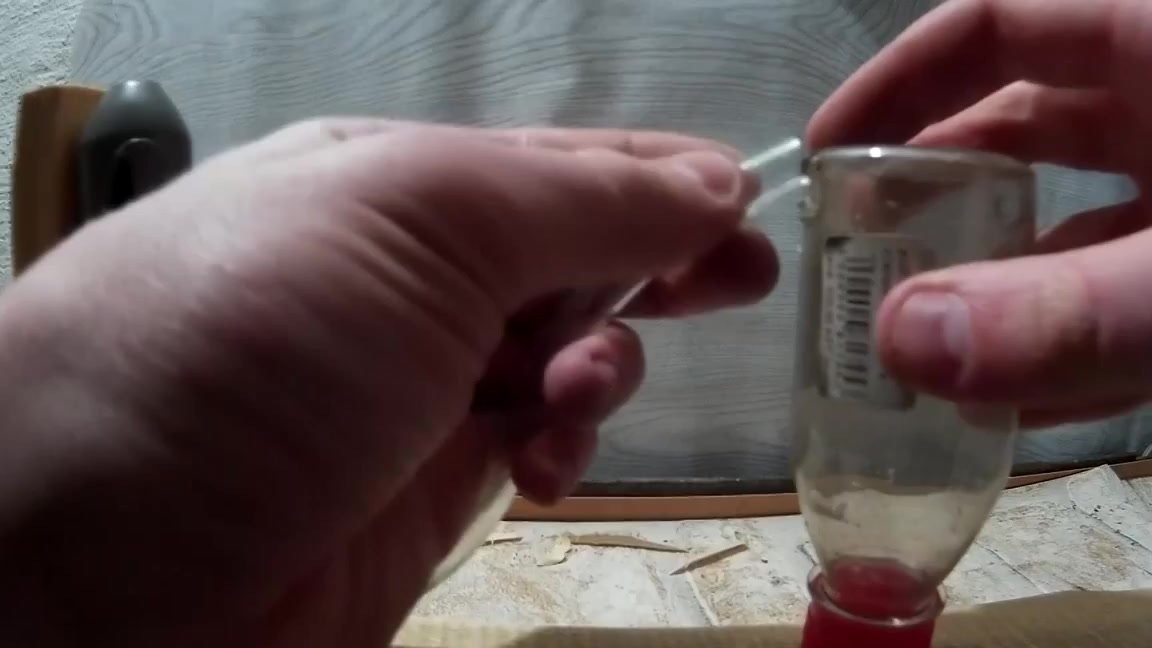
At this step, you need to connect the plastic tube to the canister device. To do this, we heat the tube with a regular lighter so that it becomes softer, and then we boldly connect it.
We cut off the hose so that the second end is connected to the bottom of the jar.
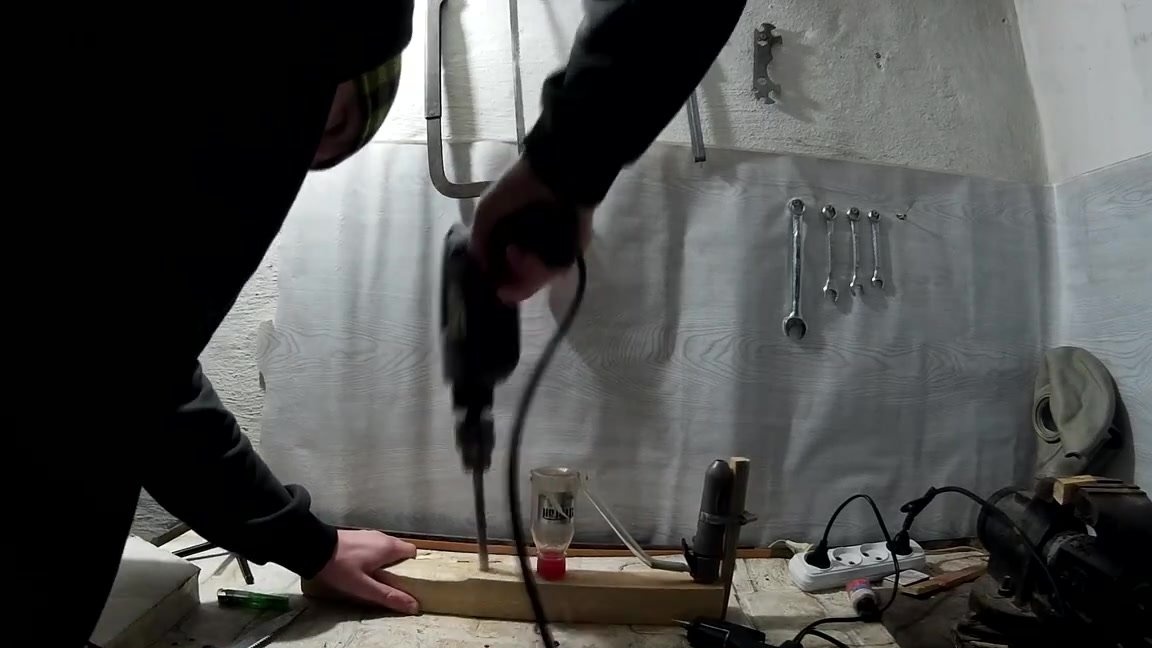
We remove the jar and drill two holes on it from two sides. High pressure air will enter the can through the first hole, and bullets will fly out of the second through it.
We insert the other end of the tube into the hole made and fix it with a glue gun.

Next, you need to drill a hole on a large wooden block to bring out the second part of the tube.
We connect the tube to the second opening of the jar and bring it up through the hole on the bar. We fix everything well with a glue gun.
If you wish, you can cut an extra tree to make the rifle weigh more easily.
Now on the bar you need to make small hollows for the second clamp. Note that this step can be skipped if the clamp used by you is of sufficient length to cover the entire bar.
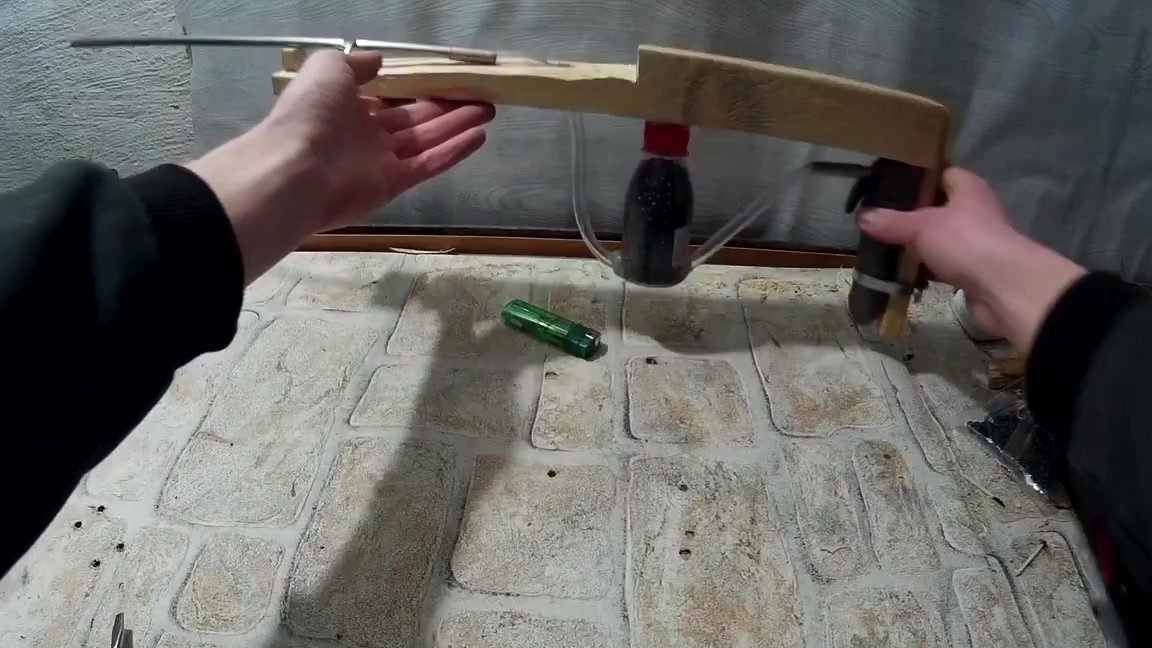
Let's proceed to the assembly. Insert the can into the device.
Pour bullets into a jar.
We fix the device in its place.
The second end of the plastic tube going from the jar up, connect to the iron tube and fix it with a second clamp.
You can shoot from such a rifle both singly and in bursts. It depends on how long you pull the trigger. If desired, you can add a sight to the rifle at the end.