Sometimes measuring the distance between two points is not as easy as it seems at first glance. You can facilitate the work with e line, which can be purchased in specialized stores or ordered on online platforms. However, we do not advise you to rush to spend a lot of money on the purchase of such a line, since in this material we will review a very useful video on the manufacture of an electronic line with our own hands.
We suggest starting with viewing the author’s footage
To make the line, we need:
- toy car;
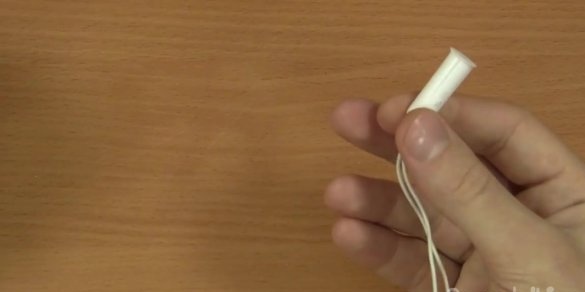
- reed switch with magnet;
- calculator.
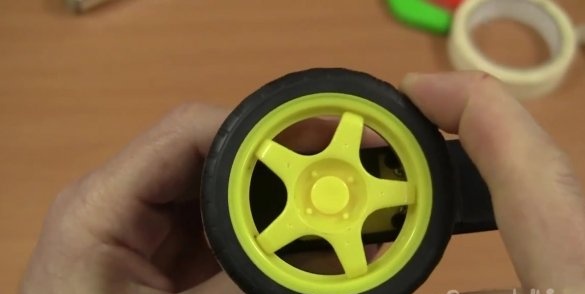
The idea is that the wheel of the toy car has a certain length. Knowing this length, as well as the number of revolutions of the wheel, you can calculate the distance traveled by the machine from the starting point to the target. It is, of course, not very convenient to count the number of wheel revolutions manually, for which the author suggests using the most ordinary calculator. Note that the calculator has a standard function that it uses when adding. If you perform this simple operation, for example, 1 + 1 and press the “=” key sequentially, then the last value, that is, 1, will be added to the number each time. The author of the idea proposes to use this particular feature to calculate wheel speed.
So, first of all, you need to install a reed switch on a toy car, and a magnet on the wheel. The reed switch is able to close and open the contacts, so with the passage of each revolution of the wheel, the reed switch will close and open. This is what we need to automatically add the result to the calculator by closing and opening the "=" key.
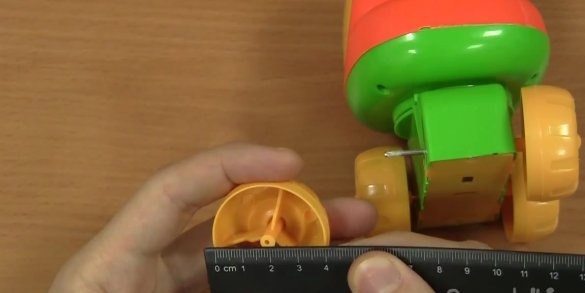
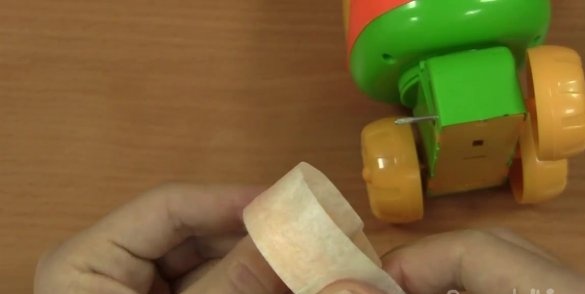
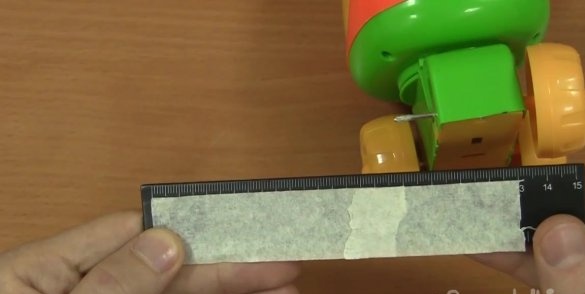
However, before this it is necessary to find out the circumference of the wheel of the machine. This can be done in several ways - by measuring the wheel itself with a centimeter or calculating by the formula "multiply the number of Pi by diameter." If you don’t have a flexible tape at home, and you don’t want to do complex mathematical calculations, you can use a little trick. It is enough to wind a piece of scotch tape or paper onto the wheel and measure the length of the segment using an ordinary ruler. Thus, the circumference of the wheel of the toy that the author uses is exactly 130 mm.
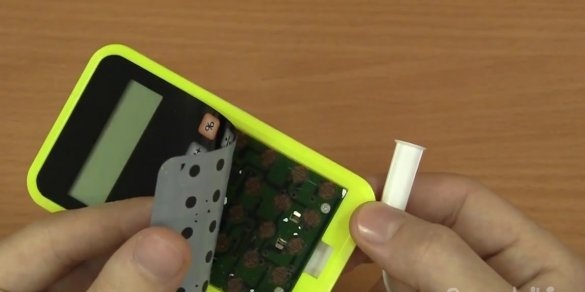
Next, you need to attach the reed switch to the "=" key on the calculator. To do this, you must first disassemble the calculator to see if it is possible to do this by soldering or not.The author, for example, cannot solder something on the keyboard of a calculator.
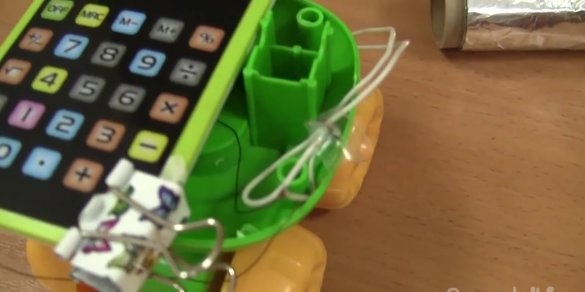
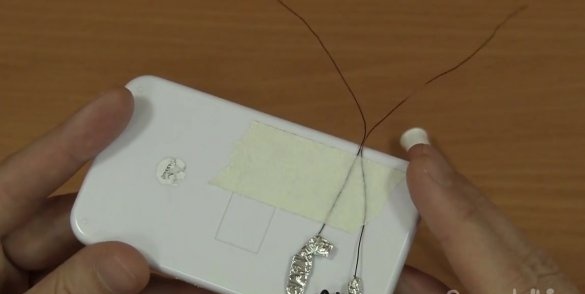
In this case, you can use strips of food foil and fix them with tape.
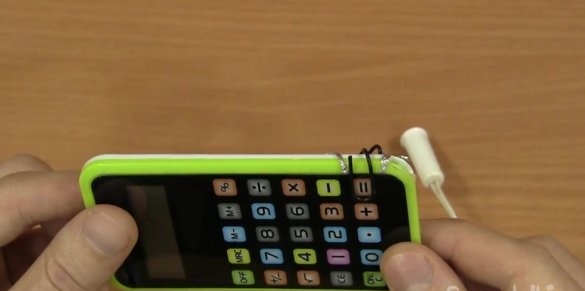
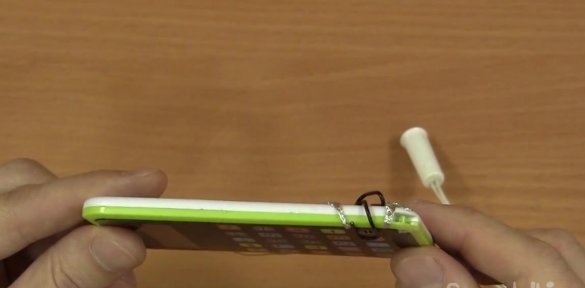
For better fixing, you can press the aluminum contacts with a paper clip. The design is ready. We proceed to fixation on a typewriter.
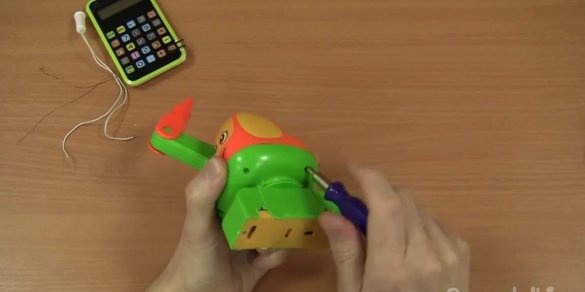
For greater convenience, the author of the idea removes the upper part of the machine, as it rises significantly and can create some interference during operation. If the toy you are using is also tall, then you can also remove its top.
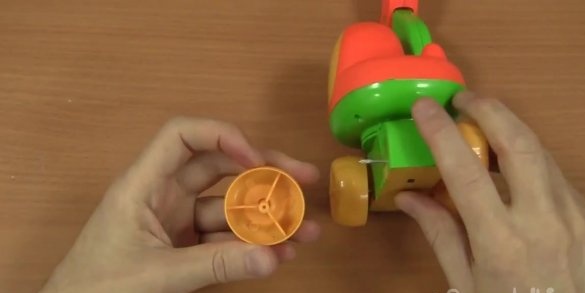
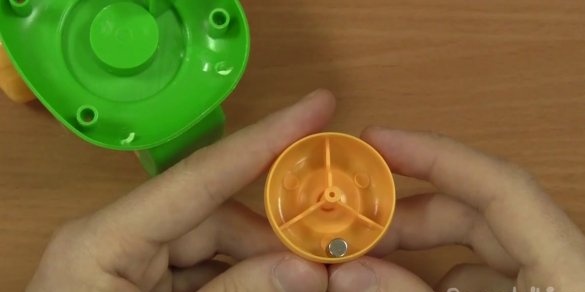
Then we put a magnet in one of the wheels of the toy, fixing it with glue or tape.
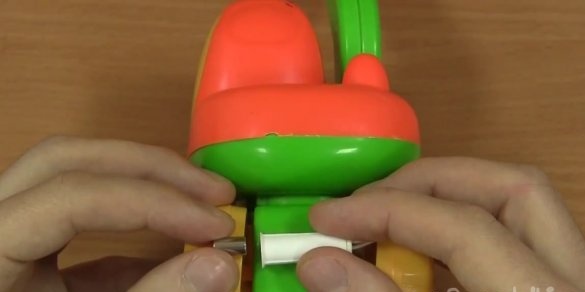
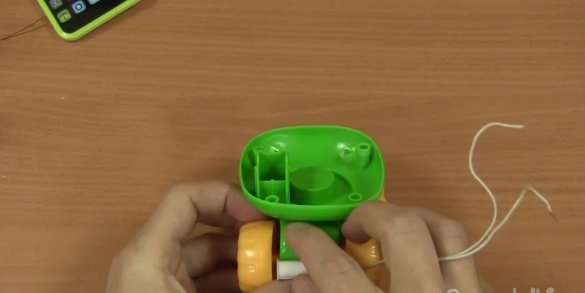
We fix a reed switch over the same wheel, again using glue or scotch tape.
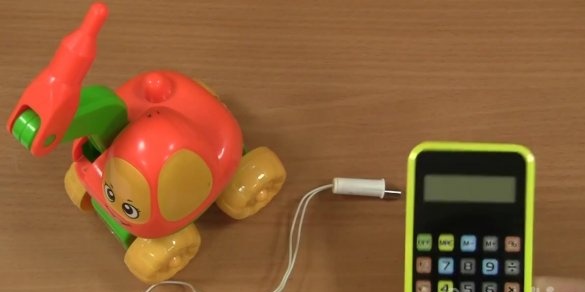
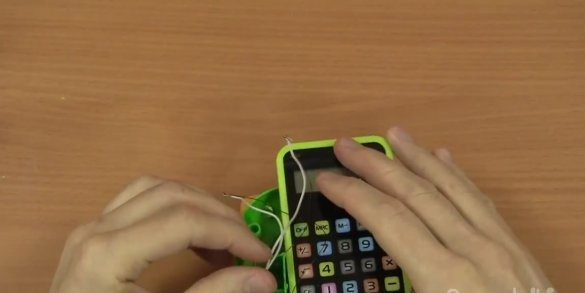
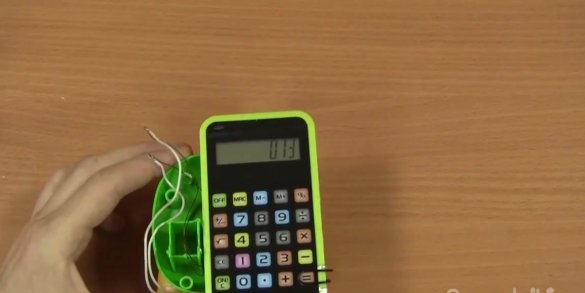
Finally, we connect the wires of the reed switch to the calculator key mentioned above.
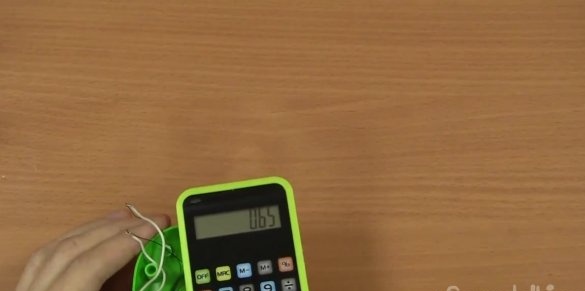
When the wheel of the toy car makes one full revolution, the reed switch is triggered, and the contact of the “=” key closes. In this way, the calculator will show the distance traveled.
Such an electronic ruler is an excellent solution for long distances, when it is necessary to measure several tens of meters. We also note that a home-made electronic ruler can be useful in those places where an error of a couple of centimeters is not so important, because in the end the measurements are not completely accurate.
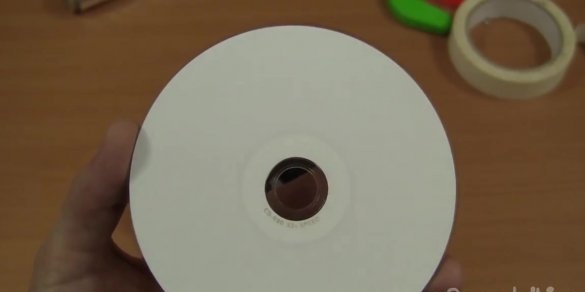
According to the author, this error can be reduced by increasing the wheel, or by replacing it with a compact disc, which everywhere has the same circumference.

