
[media = https: //www.youtube.com/watch? v = Y48zCUd527E]
Who has country house, he probably laid (and more than once) paving slabs. The paths on your summer cottage with the current technology can be done in different ways, but many will agree with me that one of the most beautiful summer cottages is the one that is paved with paving tiles. Such a path will delight your eyes and the eyes of your guests. Due to the fact that we will make the tiles ourselves, we will save our hard-earned money, since the cost of one, made independently, of the tile will be about 5 rubles. In what other store can you find tiles for 5 rubles ??
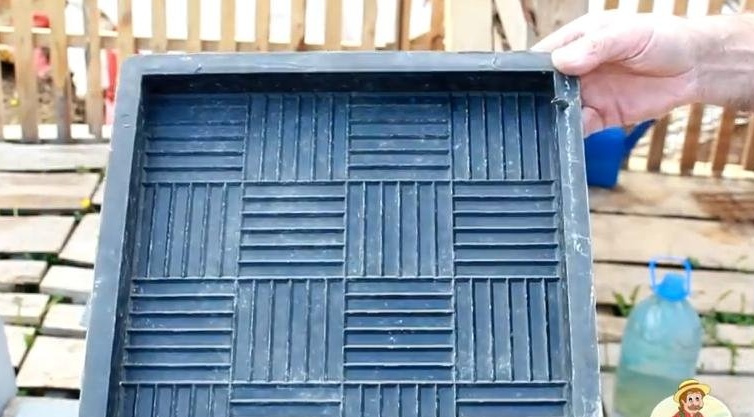
For the manufacture of paving slabs, we need special molds that can be purchased at a hardware or construction store. Also there you can buy a mold for a border (additional decor of your future path):
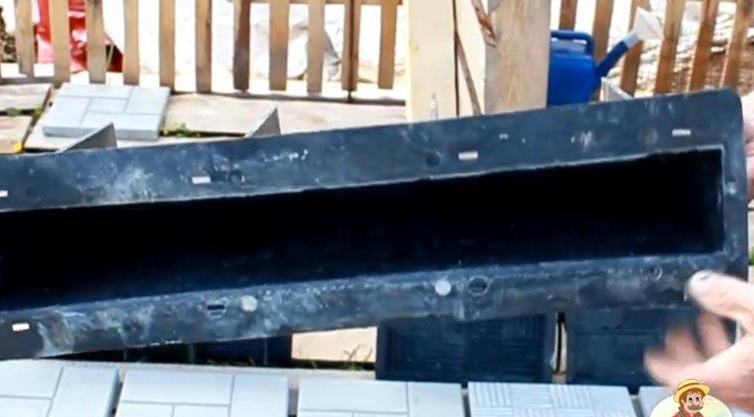
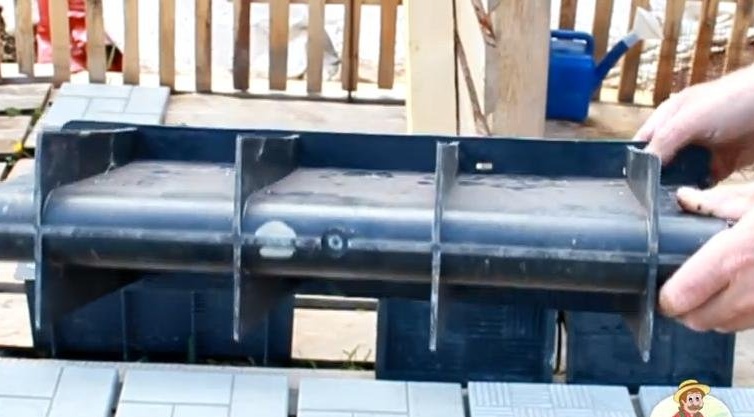
Select the shape of the mold yourself, based on your preferences.
So, we need the following components:
- molds for tiles (30x30 and a depth of 3 cm);
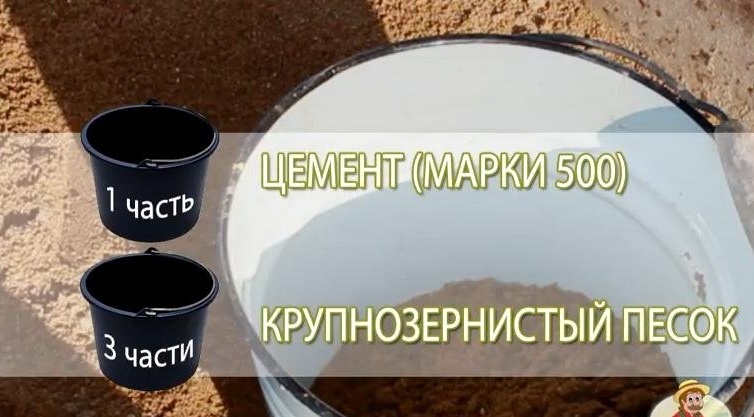
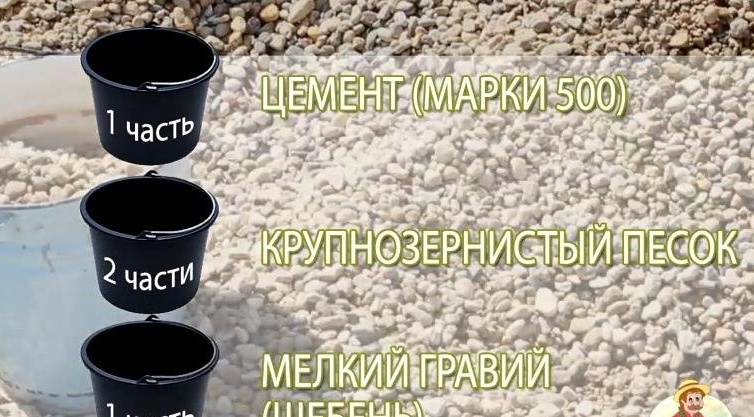
- cement (grade 500);
- coarse sand;
- fine gravel (crushed stone);
- Additionally you can use dyes for concrete and plasticizers;
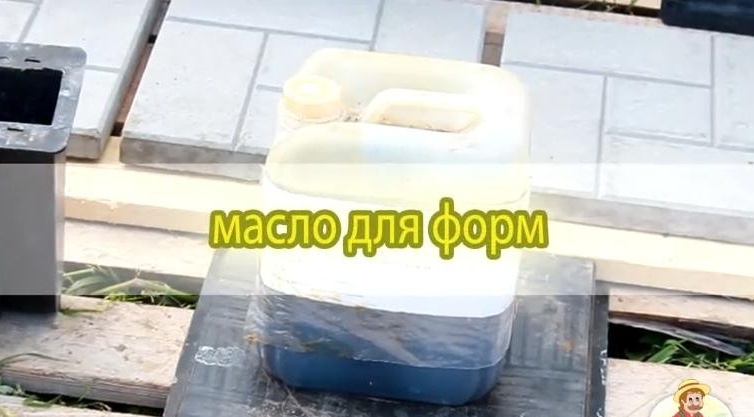
- butter for molds.
We proceed directly to the manufacture.
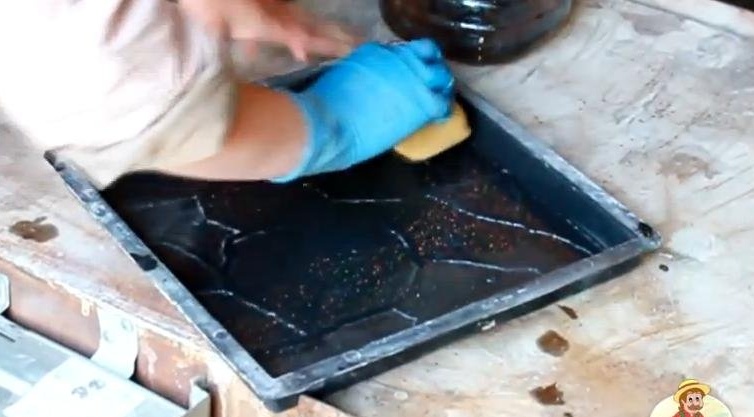
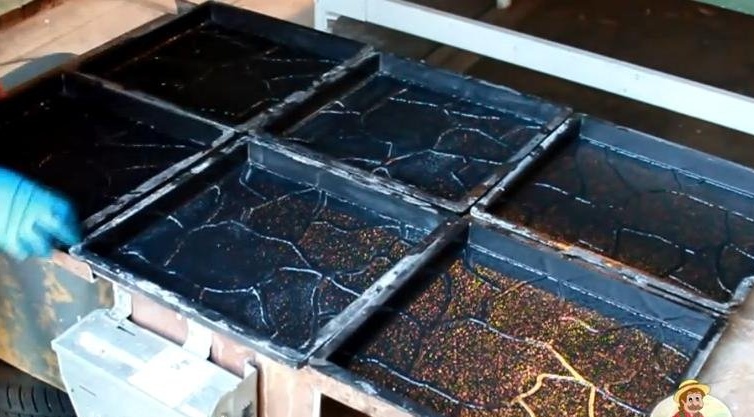
To begin with, gently smear each mold with oil (this is done so that the frozen tile is easily released from the mold):
We are preparing a solution. We mix one part of cement with three parts of coarse sand or, for a stronger connection, we mix one part of cement, two parts of coarse sand and one part of gravel or small gravel + additional dyes and plasticizers (if you wish).

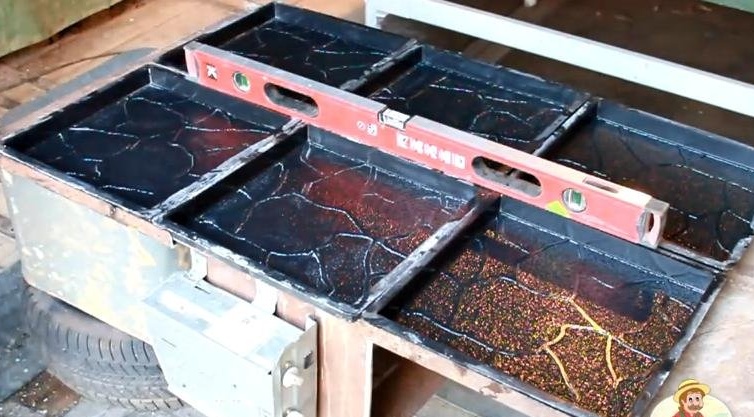
We put all the molds on a flat surface and measure the level:
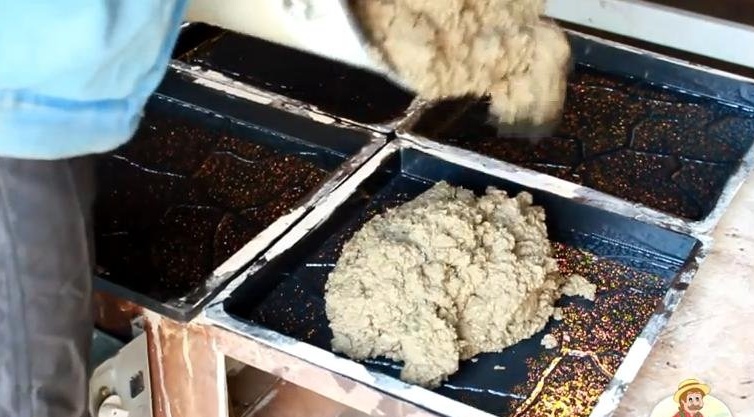
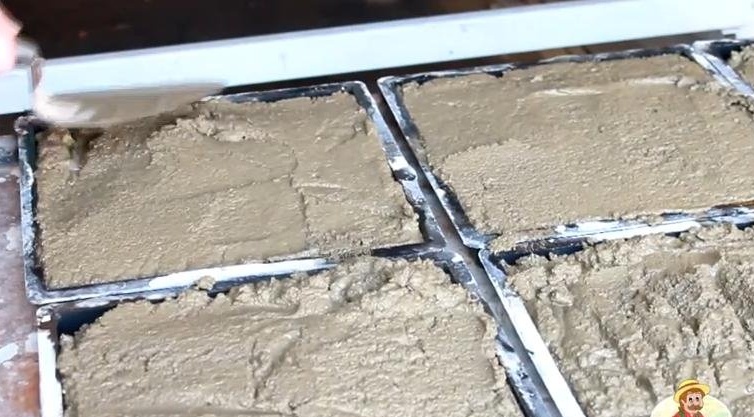
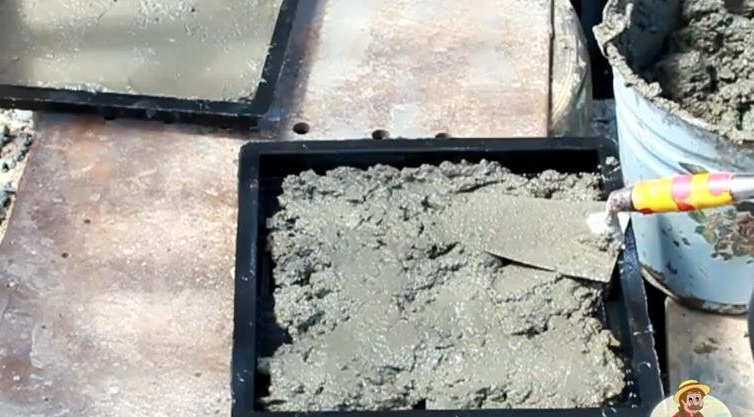
Now gently pour the finished cement mortar into the molds:
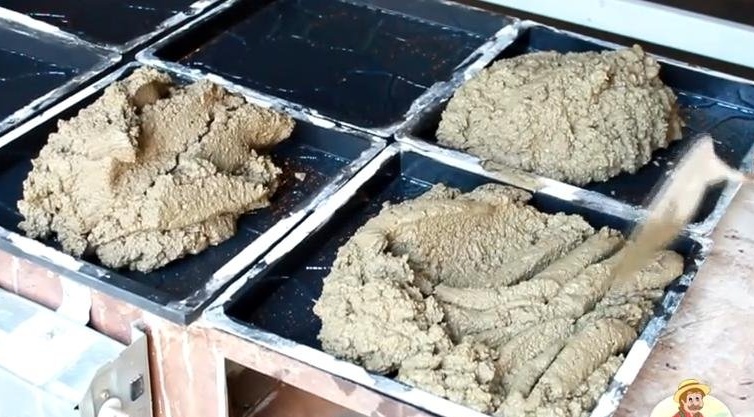
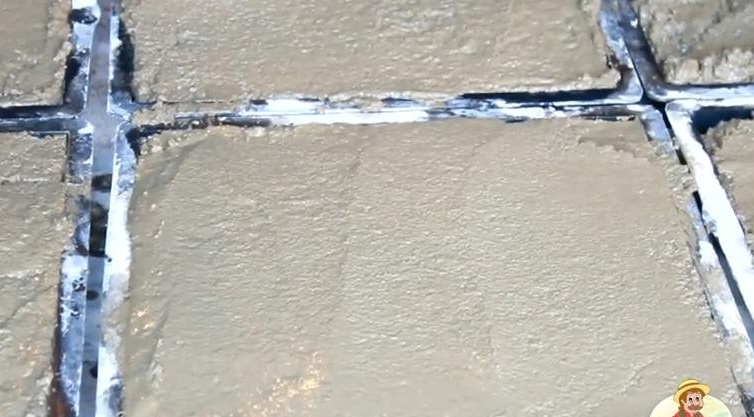
After that, with a trowel, carefully cover the entire surface of the mold with cement mortar, remove the excess solution and smooth it:
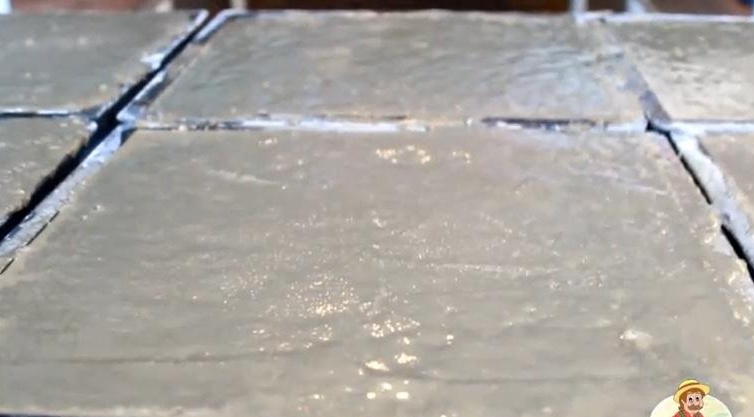
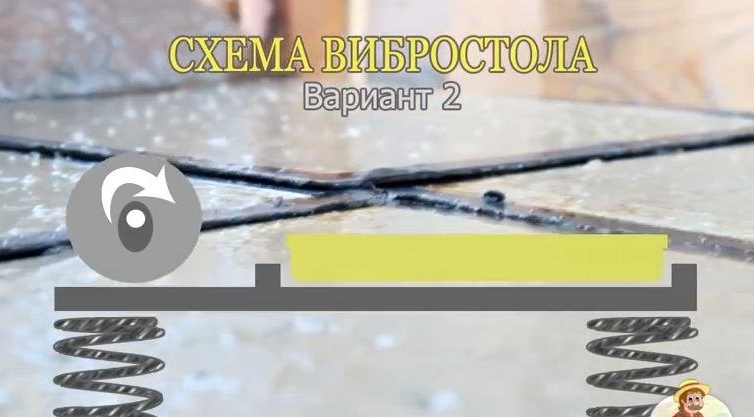
Now important !!! Put the molds on a perfectly flat surface, preferably on a vibrating table (using vibration, the solution is compacted and excess air is removed from it and the solution "lays down" over the entire surface of the mold. Usually, a few minutes of vibration table operation are enough for this.
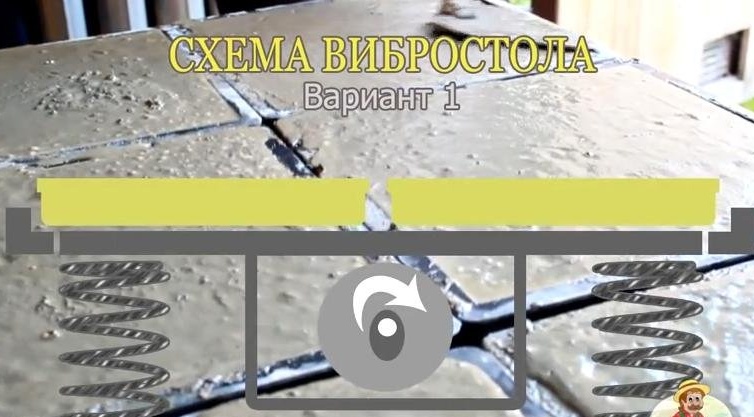
Vibrostol can be made by yourself. The basis of such a table is a metal sheet with a thickness of 8 mm or more, bounding corners are installed along the edges of the table so that during the vibration the molds with the solution do not fall on the floor, there is a niche in the bottom of the table in which the electric motor with an eccentric is “tightly” mounted, on both The sides of the table are provided with a spring mechanism (it can be springs, shock absorbers or ordinary car tires):
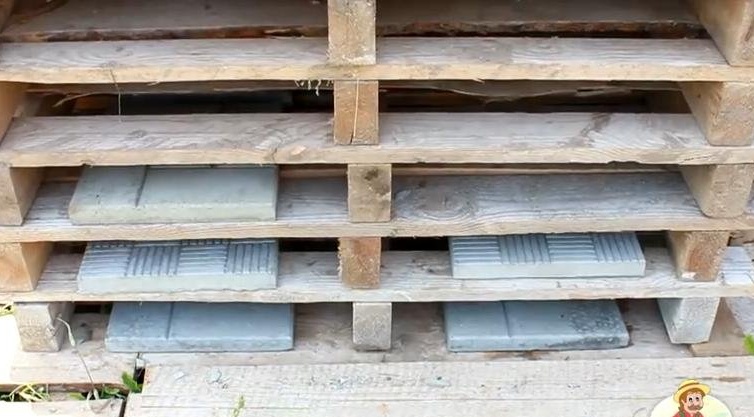
After a few minutes, the vibration acted on the molds with the solution, remove the molds to dry:
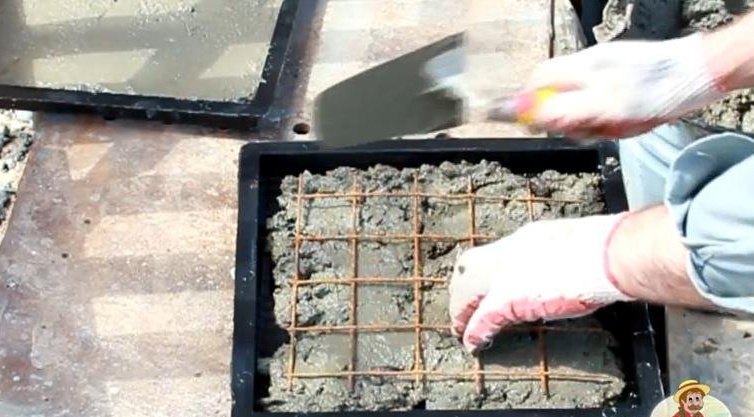
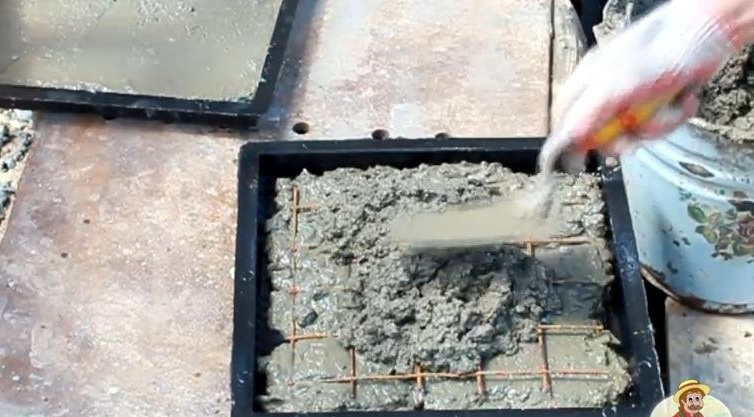
If your molds are large, then for a more fortified structure, reinforcement can be made. To do this, pour a small part of the solution into the mold previously greased with oil, then put the reinforcing mesh on top and put the solution again to the top of the mold, smooth it, hold it for a few minutes on a vibrating table and dry:
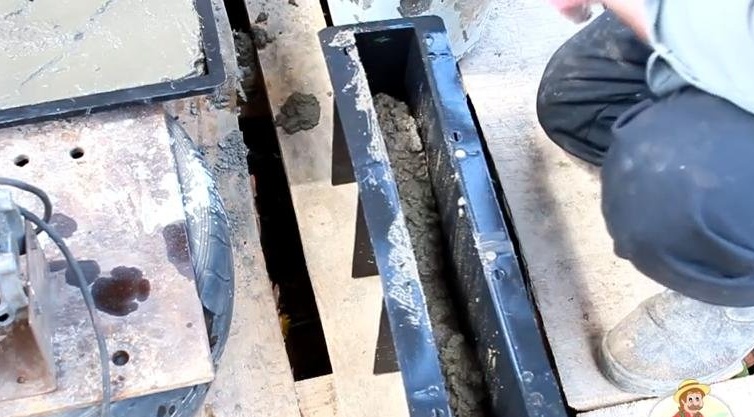
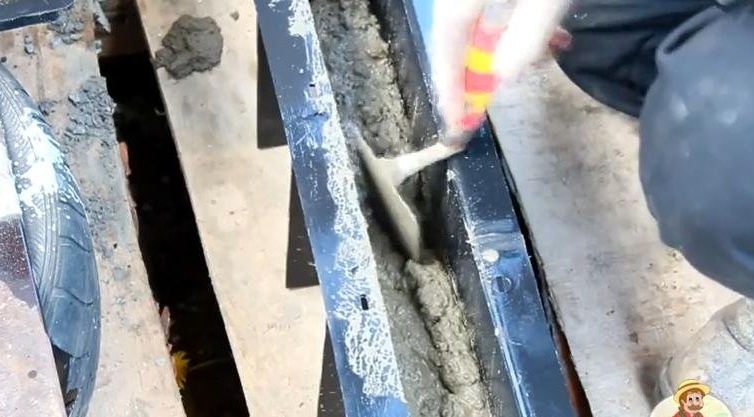
In the same way we make borders. We also fill the mold with the solution, and make the movements with the trowel up and down to better strengthen the solution:
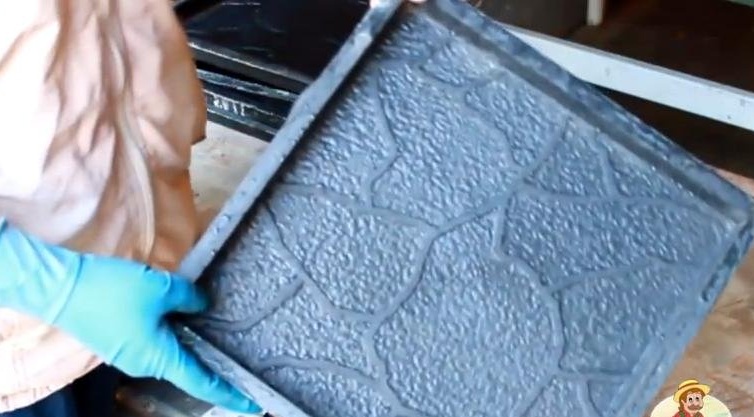
That's all! We are waiting for the solution to completely dry, then carefully remove the tile from the mold and proceed to the direct laying of the tile at your summer cottage !!!