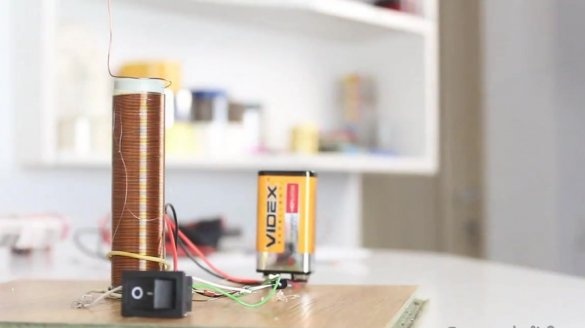
The Tesla coil, which bears the name of the inventor, is an oscillating circuit that consists of two coils. It allows you to get a current of high nominal value and frequency.
Let's start by watching the author’s video:
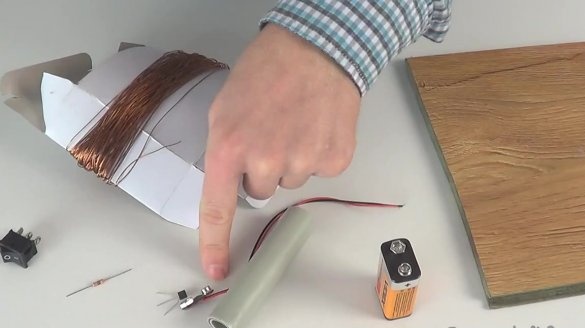
So, what do we need:
- switch;
- 22 kΩ resistor;
- transistor 2N2222A;
- connector for crown;
- PVC pipe 8.5 cm long and 2 cm in diameter;
- crown at 9 volts;
- copper wire with a cross section of 0.5 mm;
- a piece of laminate;
- glue gun;
- soldering iron;
- a small length of wire 15 cm long.
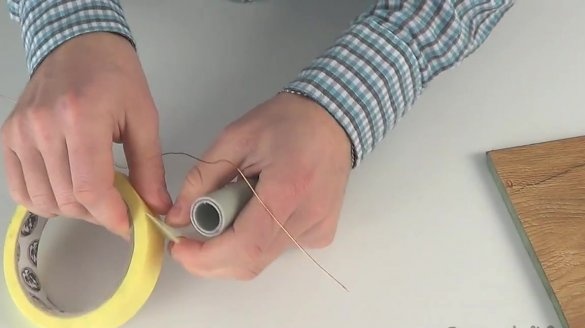
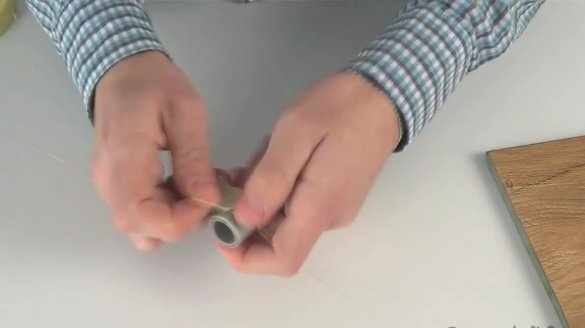
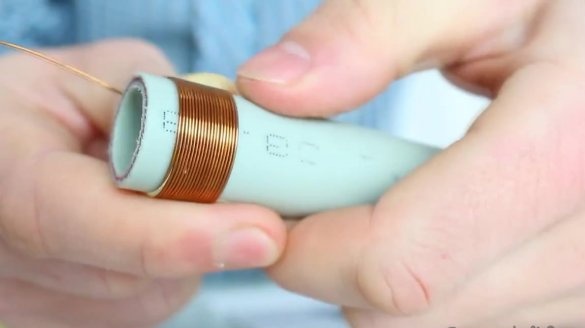
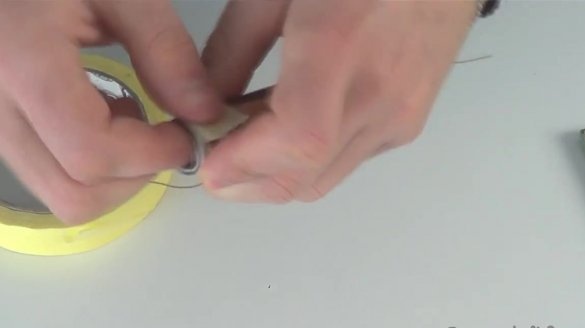
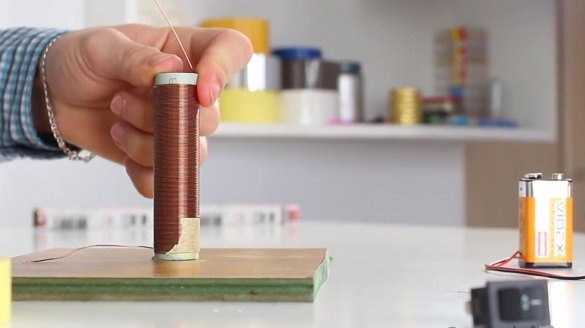
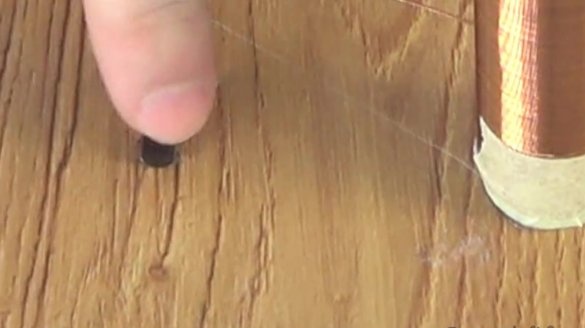
First of all, we must wind the copper wire onto the PVC tube, retreating approximately 0.5 cm from the edges. To prevent the wire from being unwound first, the author of the idea advises fixing its end with paper tape.
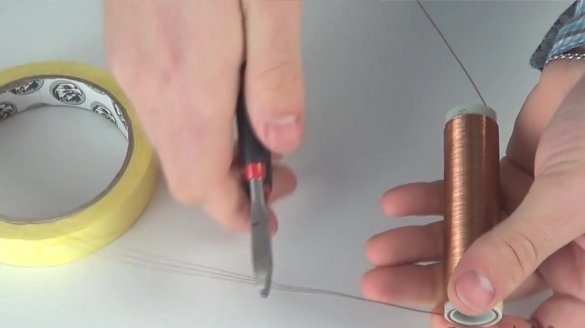
After the wire is wound, we also fix the second end with paper tape so that the wire does not wrap. Cut the end of the wire with wire cutters. The coil is ready.
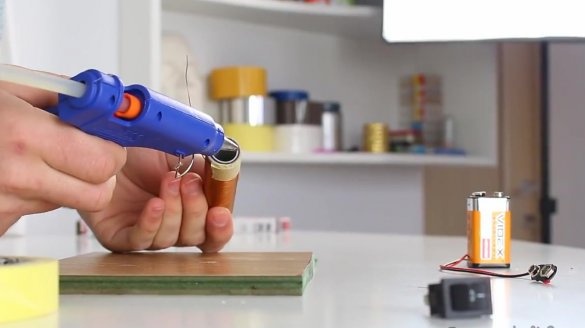
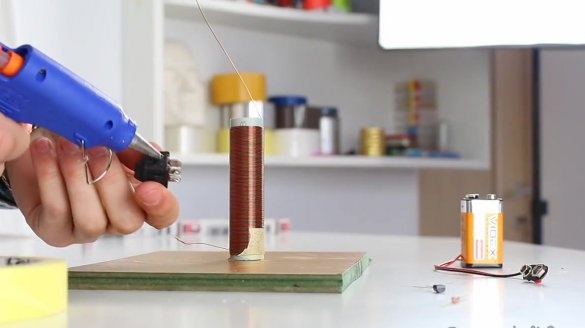
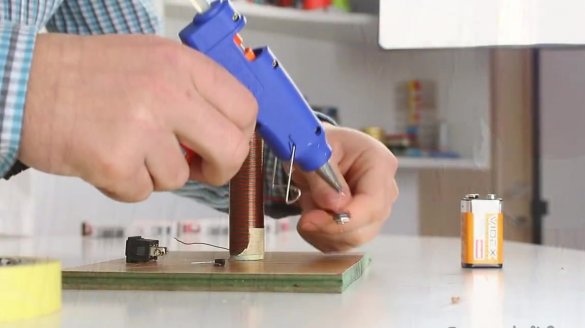
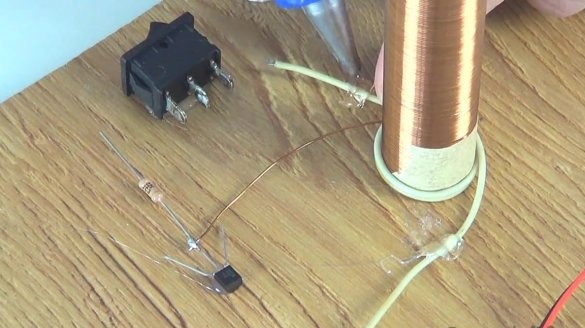
Now you need to glue it to the base from a piece of laminate with a glue gun.
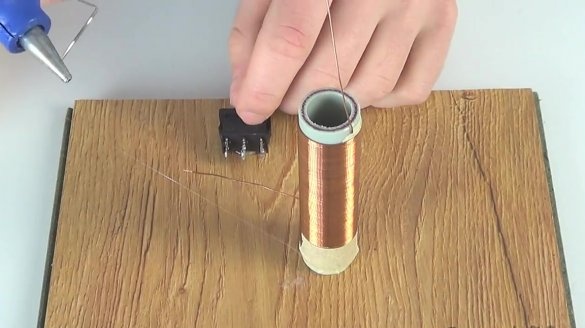
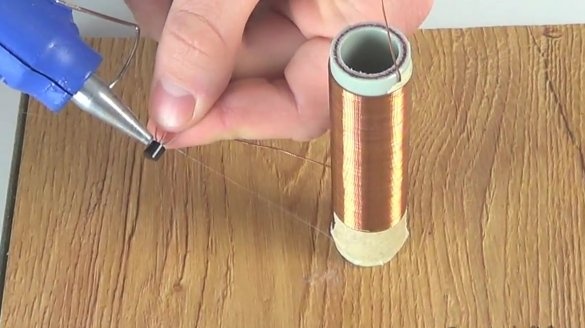
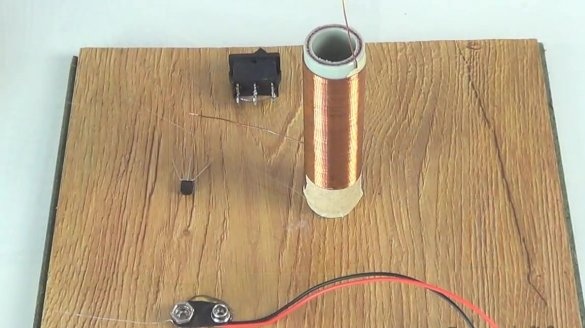
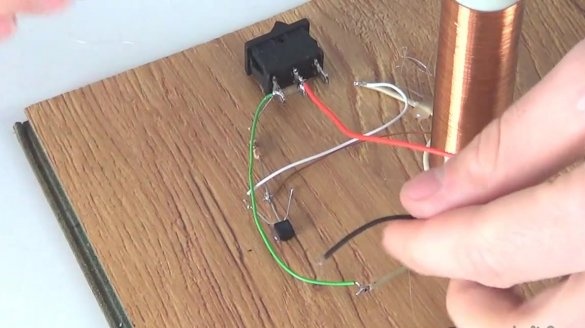
We also glue a switch, a transistor and a crown connector on a piece of laminate.
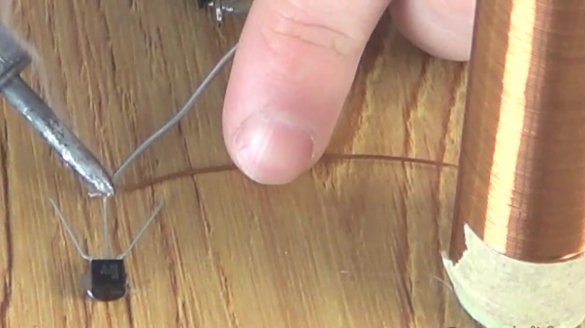
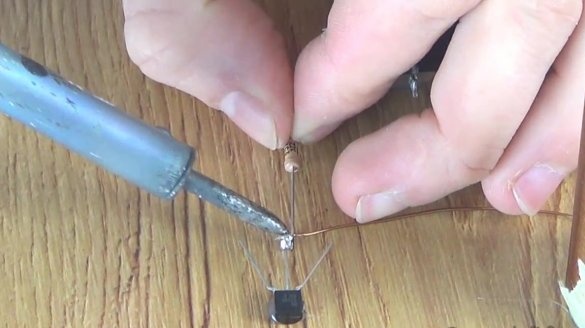
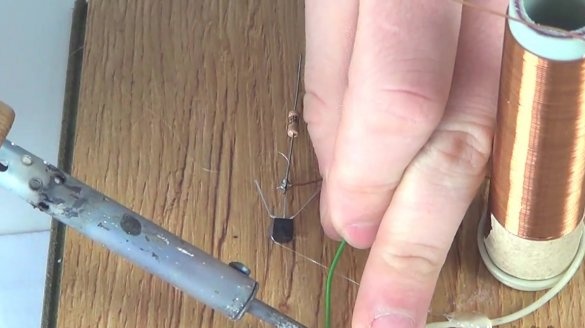
We proceed to the connection of wires. The bottom copper wire coming from the coil is soldered to the middle contact on the transistor.
We also solder the resistor to the middle contact.
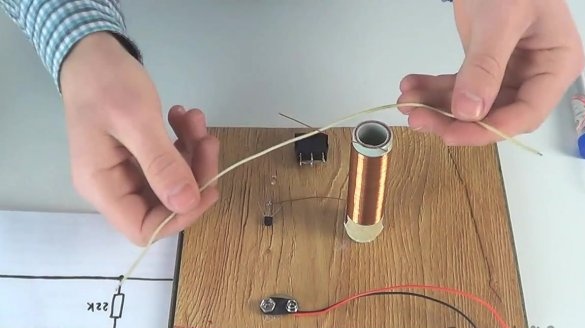
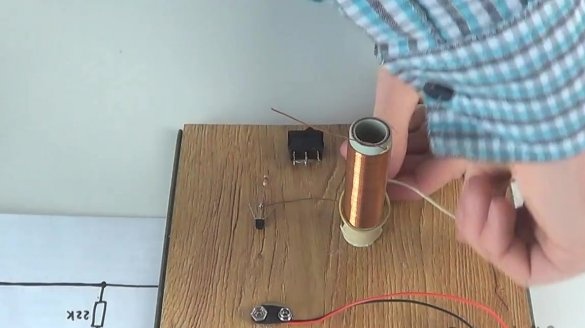
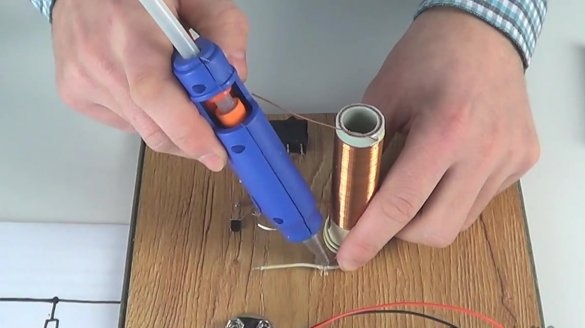
We need a piece of wire for the secondary winding. We wrap it around the coil twice and fix both ends of the wire using hot-melt adhesive based.
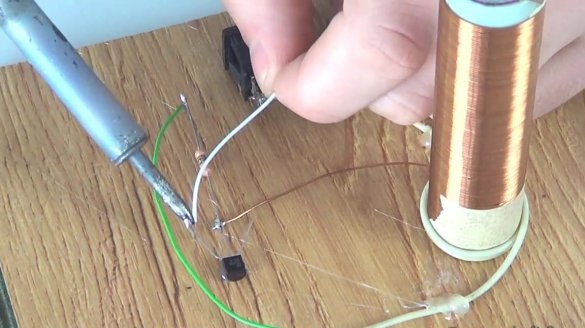
The upper end of the secondary wire is soldered to the free end of the resistor.
The second end of the wire of the secondary winding is soldered to the right contact on the transistor. To facilitate the work, you can use short pieces of wiring.
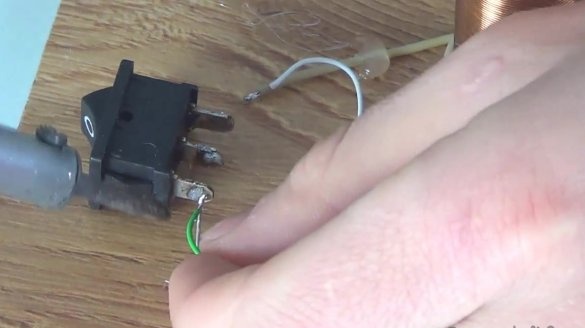
Next, the contacts from the resistor together with the wire from the secondary winding are soldered to the contact from the switch.
The red wire from the crown connector, that is, the positive, is soldered to the middle contact from the switch.
The minus wire coming from the crown connector is soldered to the right contact from the transistor.
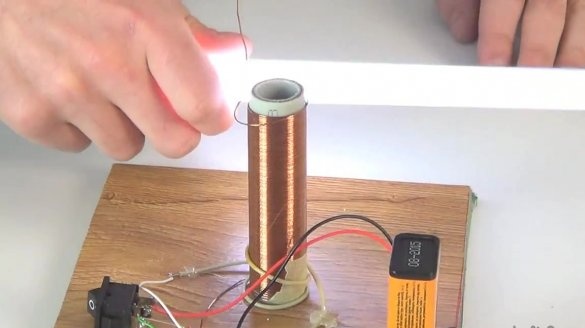
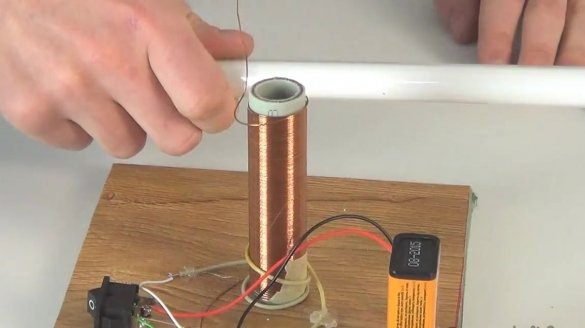
Tesla's miniature coil is ready. Now it can be tested.

