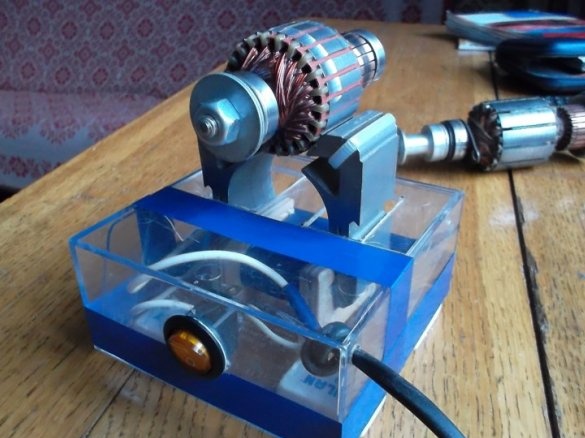
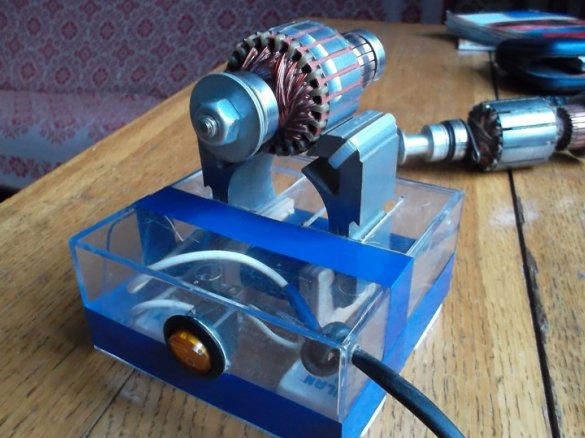
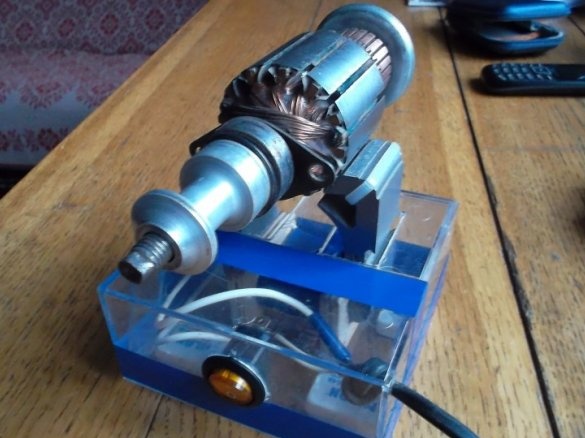
To have your own attractive and mobile device for checking anchors at home for your personal purposes, you only need a few details that are not at all difficult to find, skillful hands and a great desire.
Parts List:
- 1 switch (any form),
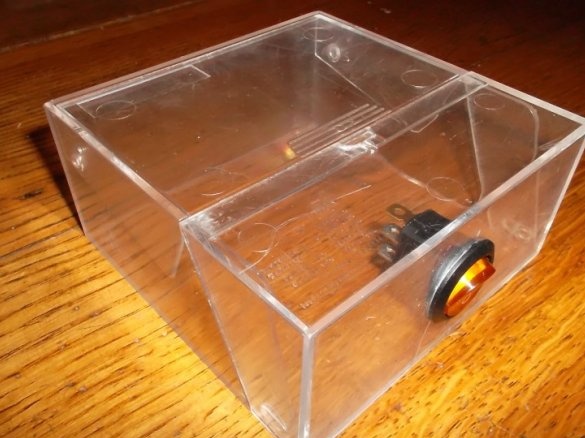
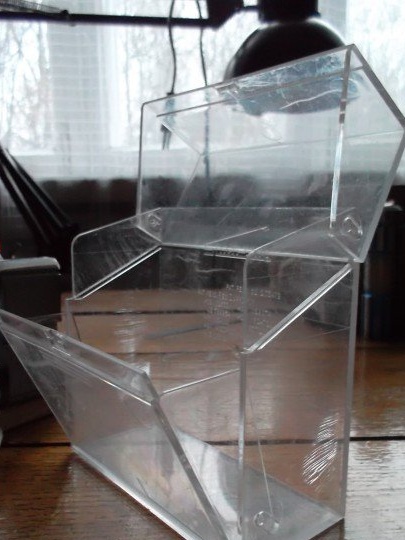
- plastic transparent box from floppy disks;
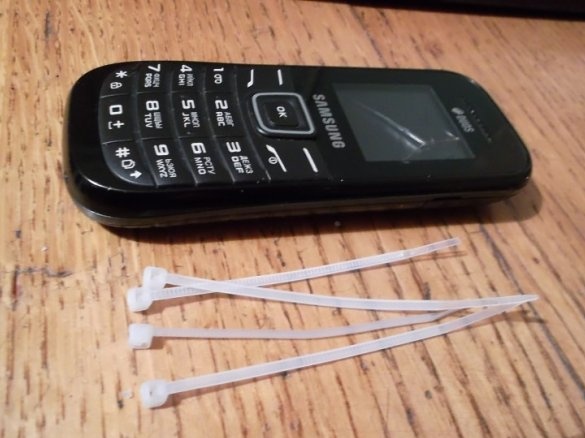
- 4 screeds (from a bag of bread);
- electrical tape
- an insulated wire with a plug at the end that can withstand a voltage of 220 V and a load of 40 watts.
Manufacturing technology:
A floppy disk box is taken and all stickers removed.
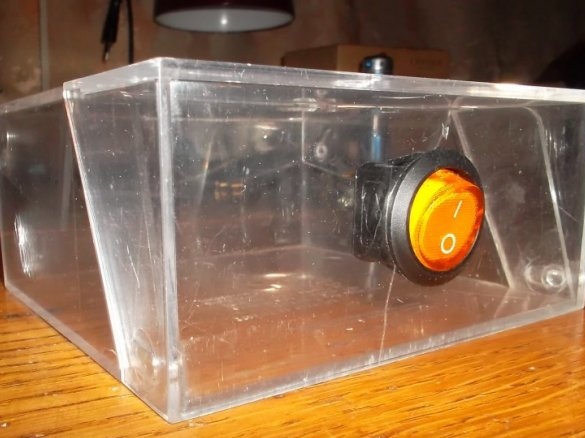
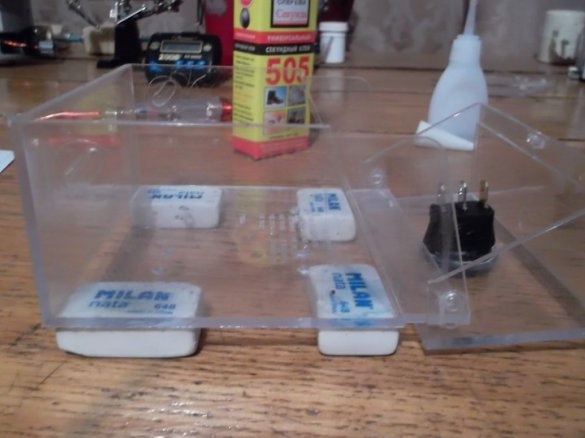
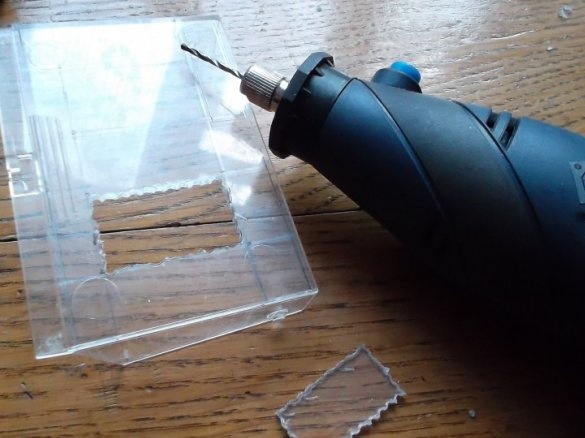
We take the switch, its geometric dimensions are measured, the place on the box from the floppy disks where it will be located is determined, and the hole of the desired configuration and size is cut out.
A switch is inserted into the hole.
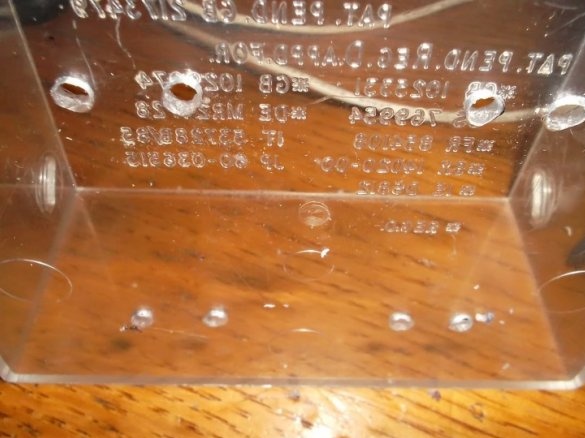
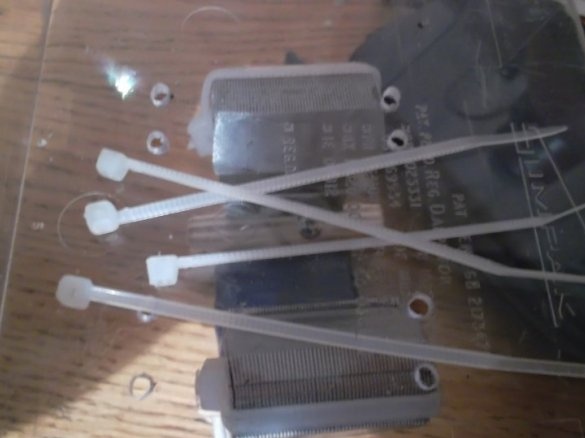
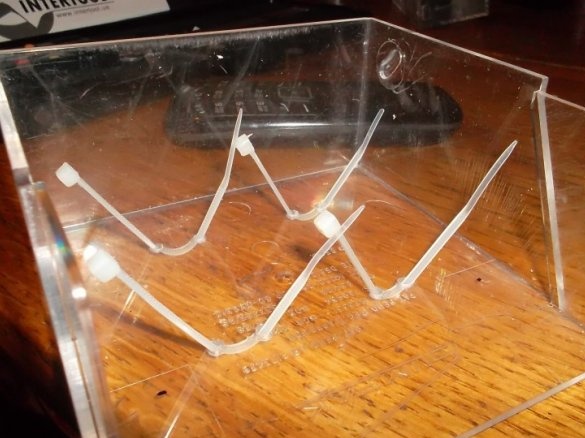
At the bottom of the box, drill eight holes for screeds with which the parts are fixed.
Ties are inserted into the holes as shown.
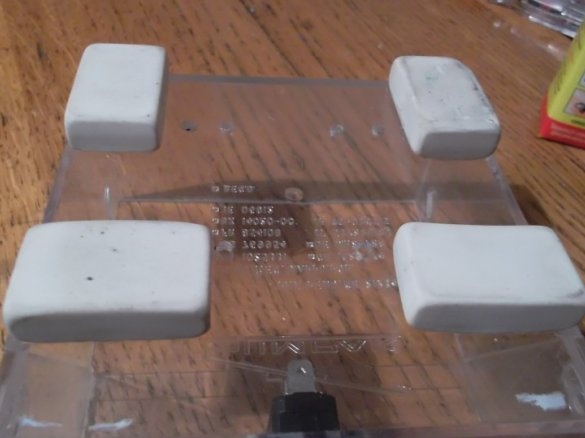
The eraser is useful to protect the device from resonant vibrations, vibrations and remove excess noise, as well as to keep the device in a stationary stable position. The place where the legs will be located is determined. Legs - erasers are glued with super-glue.
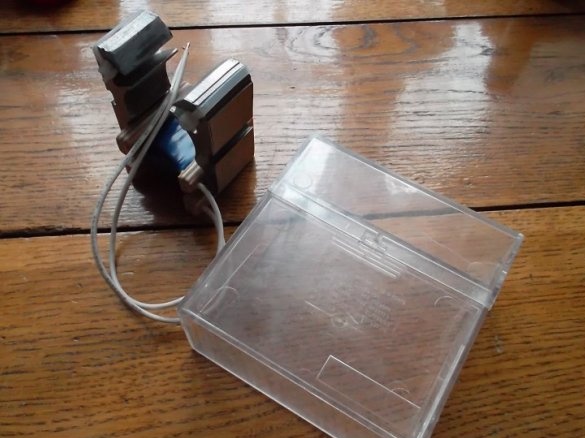
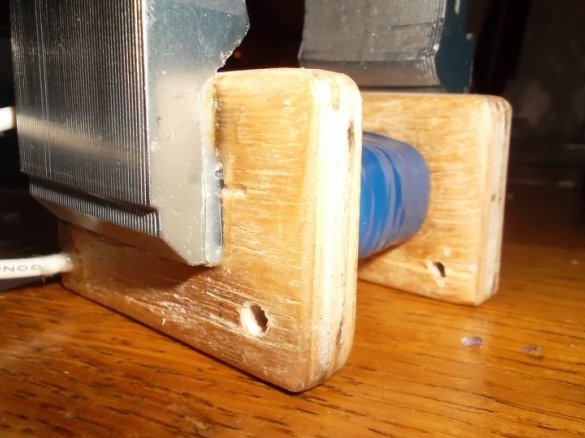
The most important thing in this device is the magnetic circuit with a coil. From the building tools available at home, such as a faulty grinder, or a “baby” electric pump, or the engine from a vacuum cleaner, the core is removed and the groove is cut out at the required angle (in this case, 90 degrees, 45 degrees on each side).
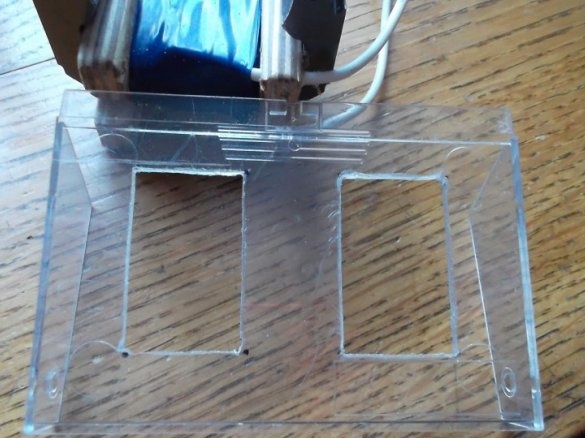
On the other side of the cassette body, two holes are cut for the magnetic circuit.
The hole is given the necessary surface cleanliness (roughness) - the edges of the hole are cleaned with sandpaper or a small file.
The obtained hole sizes are compared with the dimensions of the magnetic circuit with the coil. The coil is taken from any 220 V magnetic starter. The wires are rewound to the personal core.
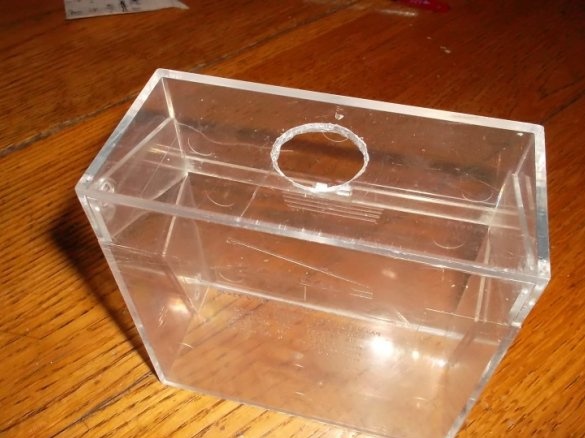
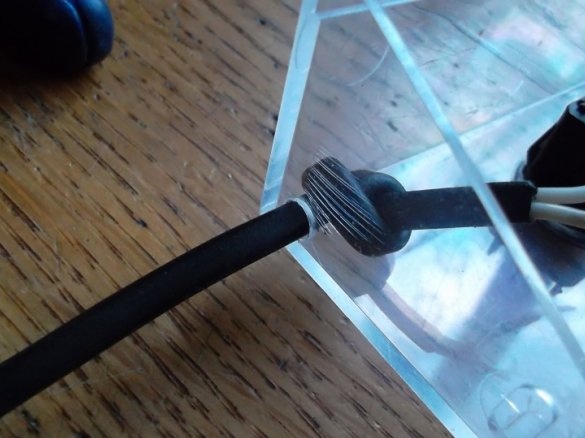
In the cassette lid, where the switch button is located, a small hole is drilled under the power cord.
Now it remains to connect everything together.All the necessary parts and elements are soldered to the magnetic circuit with a coil.
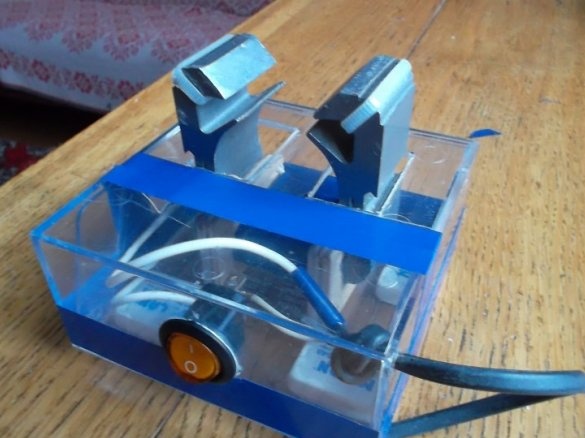
The design is fastened with ties and electrical tape for greater stability.
A wire with a plug is soldered to the terminals of the inductor. The appliance is ready for use.
An anchor is placed in the groove of the magnetic circuit (it is preliminarily cleaned of graphite residues), voltage is applied to the device coil and its operation is checked.
For this, a hacksaw blade or a metal ruler 1 cm wide is taken and placed along the armature body above the grooves with the winding.
Scroll the anchor. In those places where the ruler will rattle or stick, there is a short circuit. Anchor - defective. If no such places are found, the anchor is operational.

