
The sound system in a wooden case is dedicated to those who love the old days and the old radio. Modding a wooden case takes only a few days. But if you have never done this business before, did not hold carpentry tools and a soldering iron in your hands, you will have to work hard. It will take more time to work than professionals. Some of the parts of the future retro radio are best made by ourselves, and some are bought at the store.
And so, you have available: a piece of wood column, car radio, power converter and two speakers.
Case manufacturing technology:
1. Select the shape of the case in the form of the correct closed parallelogram, as the most light and universal.
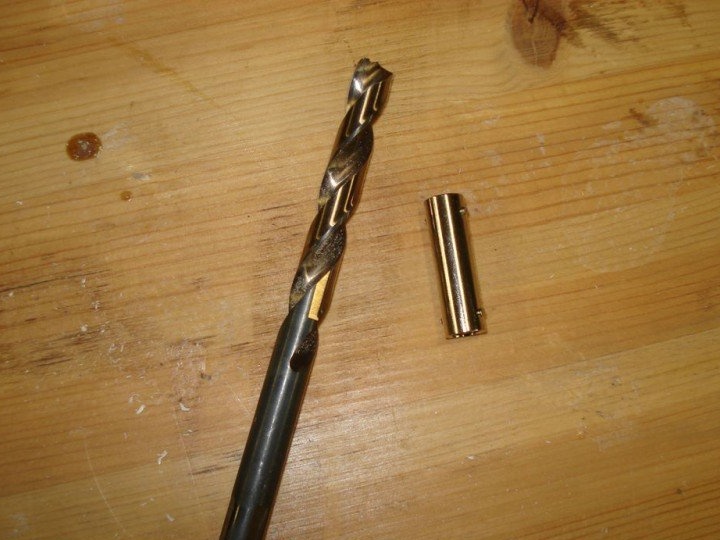
2. Take two pieces of pine boards measuring 69 cm each. Divide these two pieces into two parts to get rectangular pieces measuring 69x27 cm. To do this, use a grinder with a round mill with a diameter of 1.27 cm.
The pine casing provides more low frequencies, and the sound at high frequencies will be clear.
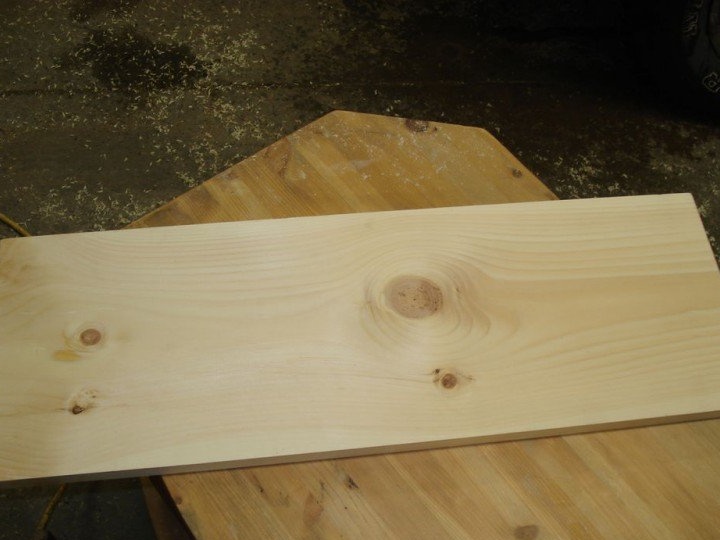
3. Prepare the board for the front panel. The dimensions of the panel, after cutting, should be 61 x 23 cm.
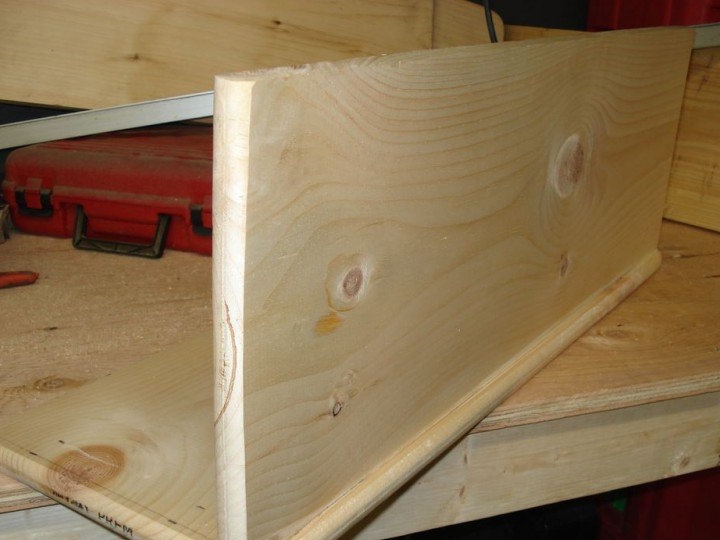
4. Measure and cut two identical pines for the side walls of the speaker system measuring 23 x 23 cm.
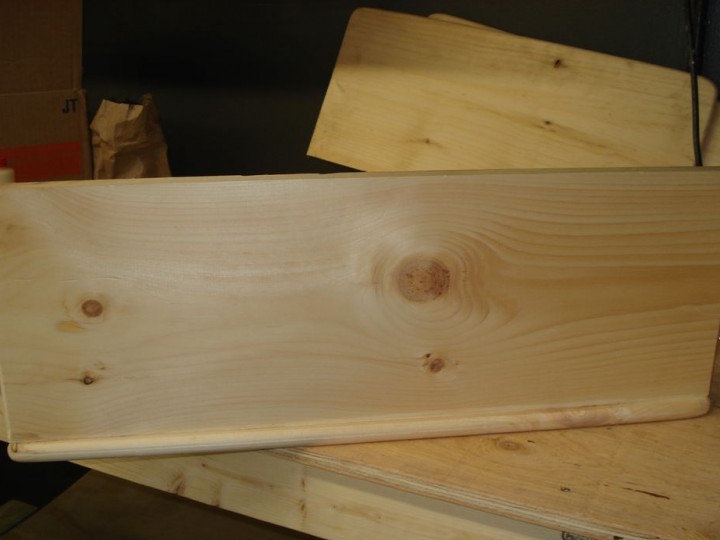
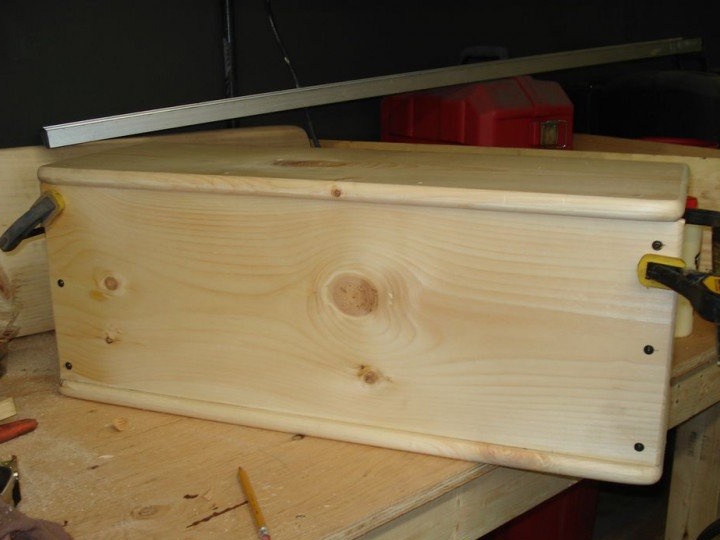
5. Work the boards on the grinder or sand with sandpaper.
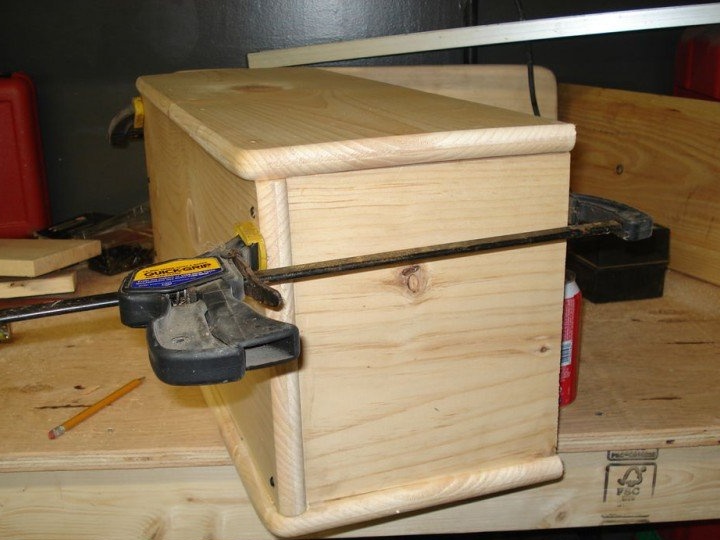
6. Start assembling the parts. Apply a thin layer of hot melt adhesive to the mating surfaces. Use small trim nails and a nailing gun.
7. Do not wait for the glue to dry completely and connect the body parts together, pressing them together using a special tool.
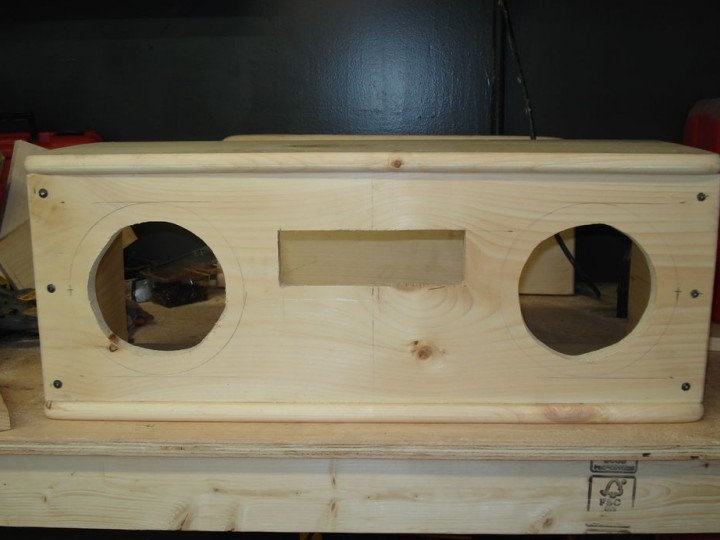
8. Measure the linear geometric dimensions of the radio and the diameter of the speakers. Take a pencil and a ruler and outline a place for the speakers and for the radio.
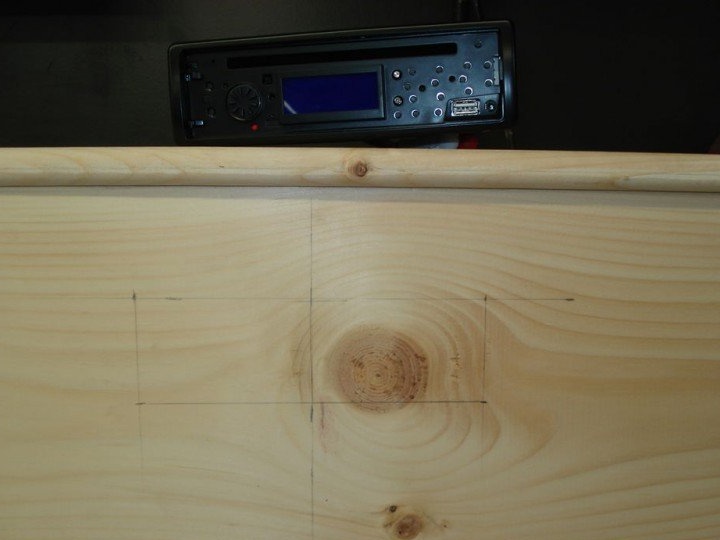
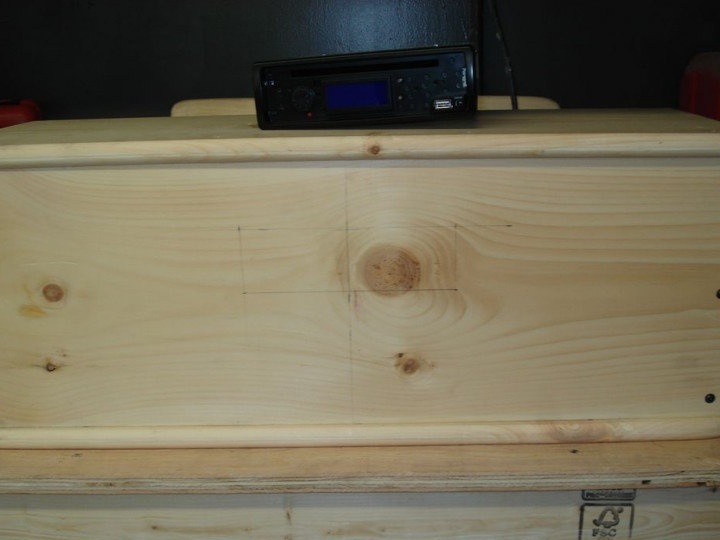
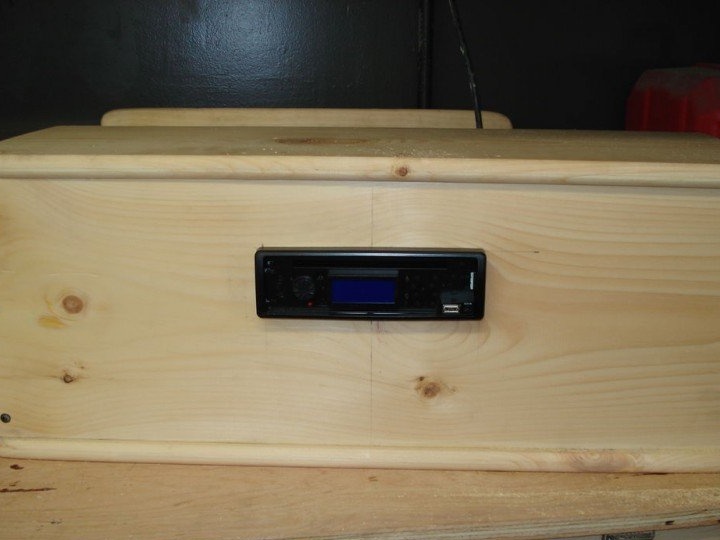
9. Position the radio in the center of the front panel. Having retreated 1/3 of the panel height from the top edge and two speakers symmetrically to it.
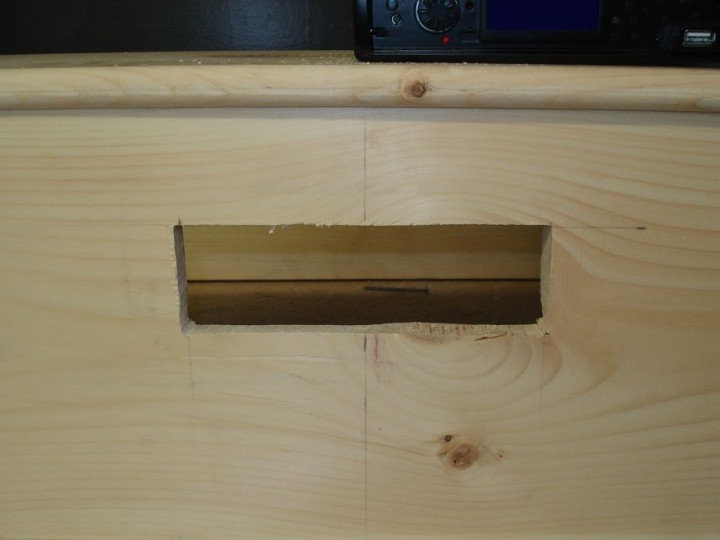
10. Carefully cut openings under the receiver. Sand the outer edges of the hole. Check how correctly and precisely the hole is cut and whether it requires adjustment.
eleven.Cut out the holes for the speakers a little more than the speakers themselves, so that you get a landing with a small gap.
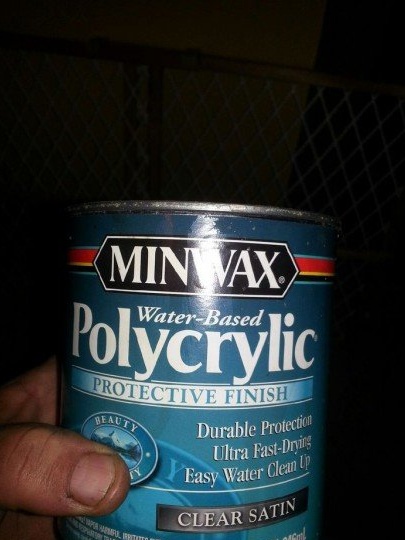
12. Decorate and protect the wooden case by treating it with a stain.
13. Stain easily and freely penetrates the tree, changing its color.
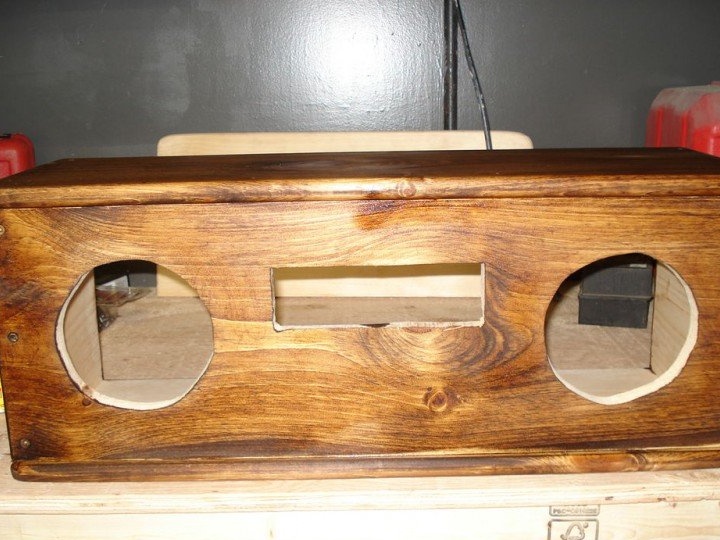
14. Varnish the body with varnish. The varnish will emphasize the texture of the pine and protect the surface from external influences.

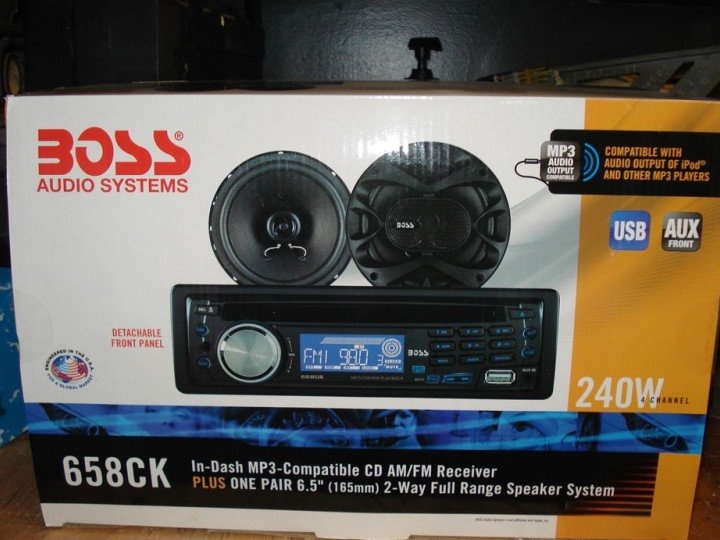
15. Buy a stereo system or grab an old car receiver and two speakers from old speakers.
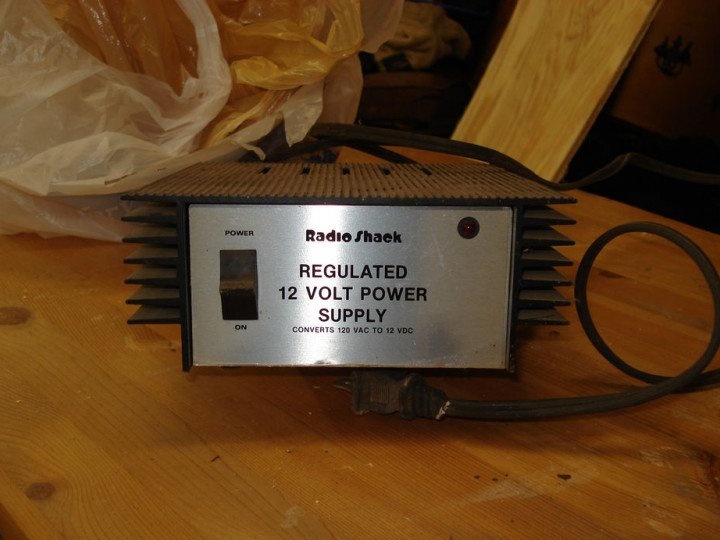
16. Probably, all of you at home will have an old 12V power converter.
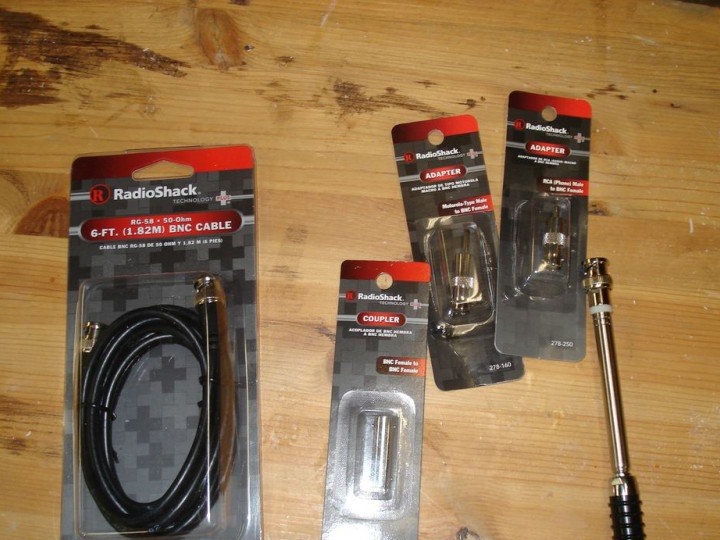
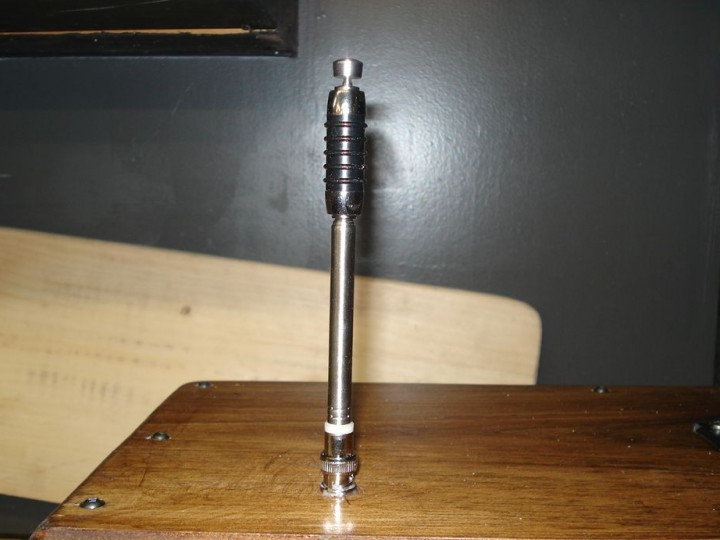
17. As well as antenna cable, telescopic antenna and all necessary components.
18. And now the most basic. Attach the speakers to the holes obtained, securing them with screws
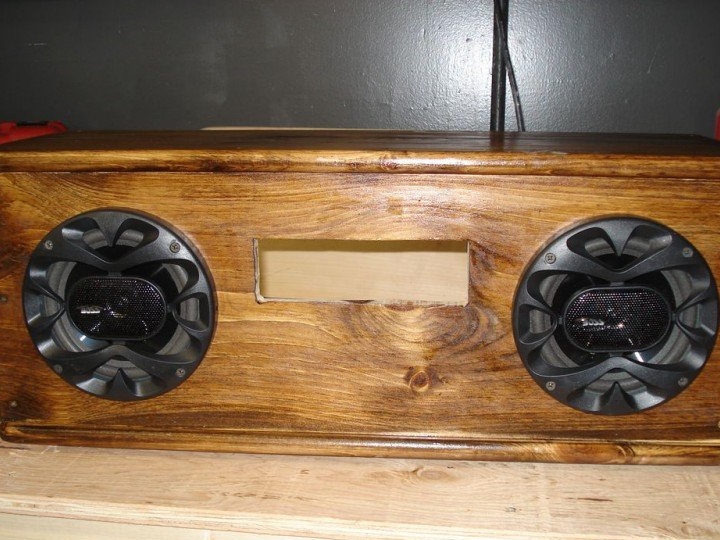
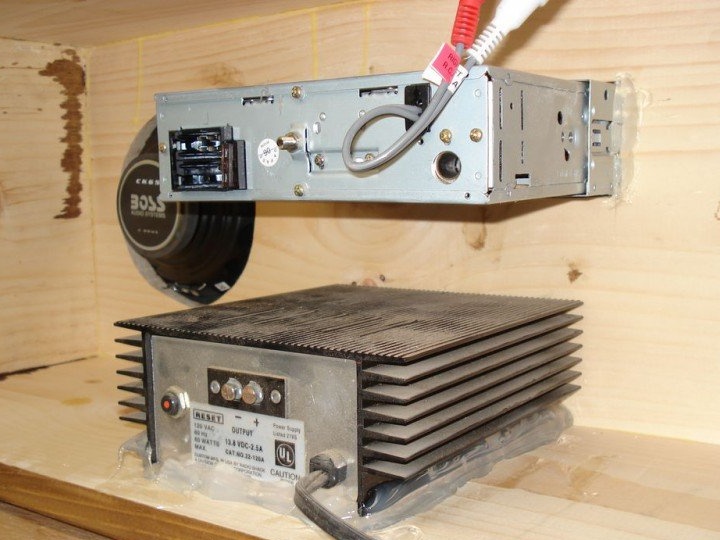
19. In the rectangular hole, install the radio. For a more secure and tight fit in the small gaps between the receiver and the housing, apply silicone sealant.

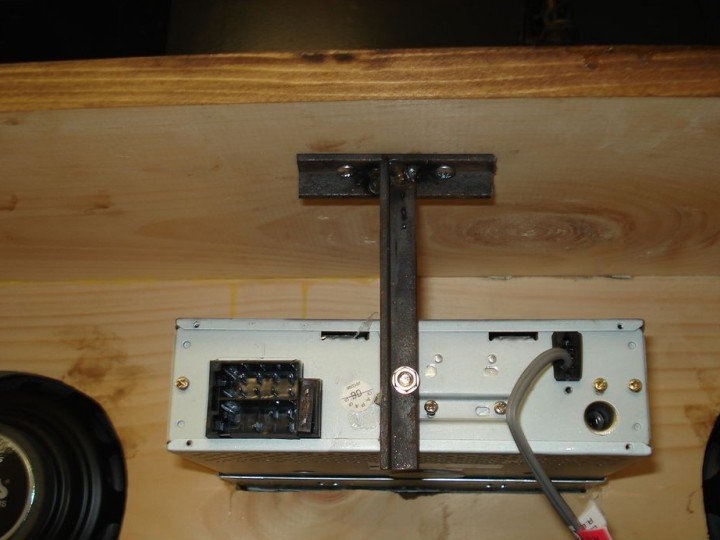
20. In the lower part of the case, on the base board, directly under the radio, install a 12-volt power converter.
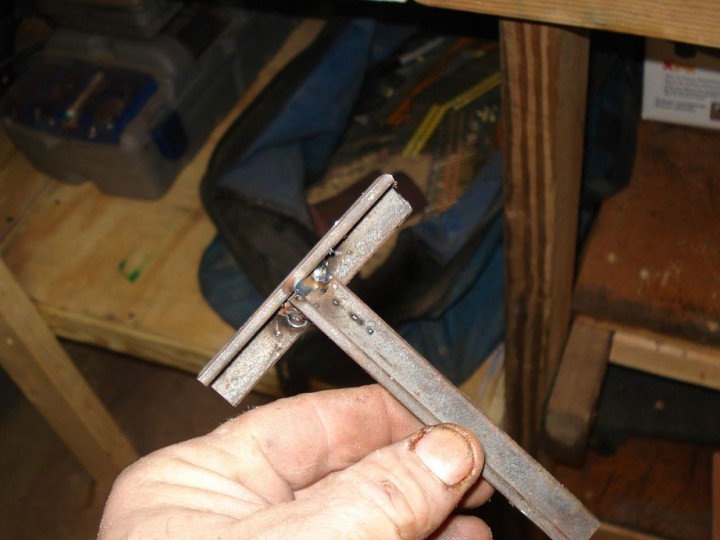
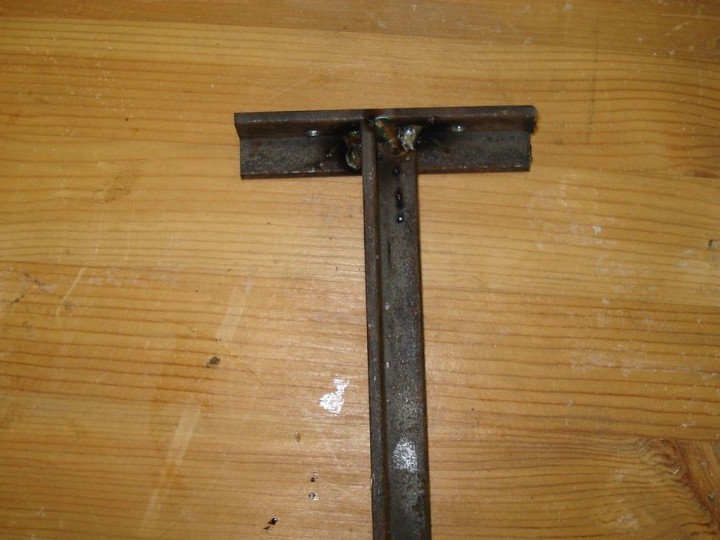
21. For greater stability and reliability of fastening, reinforce the radio tape recorder with a T-shaped bracket welded from iron corners 0.75x0.75 cm, using it as additional stiffening ribs.
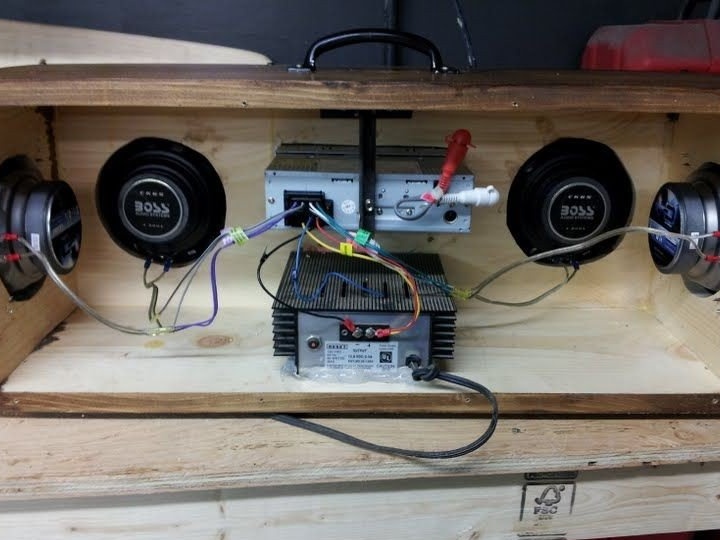
22. The upper four pairs of wires of the left connector are connected to the speakers. The bottom four wires go to the power supply.
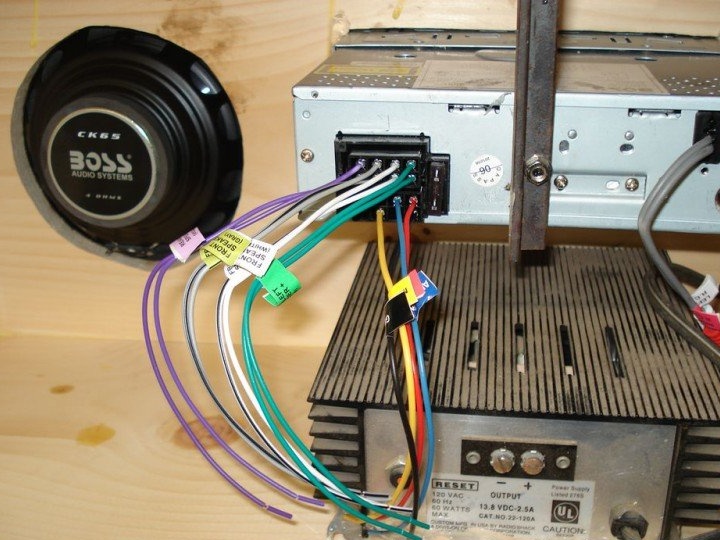
23. Connect the red and yellow wires to the “+” terminal of the transmitter power supply. Connect the black wire to the “-” terminal.
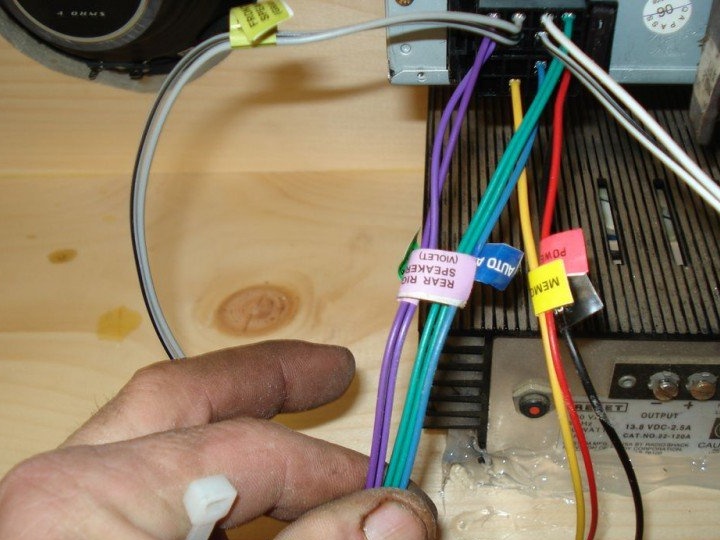
24. To the speaker on the right side wall, connect the purple and purple with a black stripe wire. On the speaker located on the left side wall, attach the blue and blue with a black stripe wire.
25. Connect the gray and gray with a black stripe wire to the front right speaker, the white and white with a black stripe to the left speaker.

26. In a wooden case, in the top panel, drill a hole with a suitable diameter to the telescopic antenna.
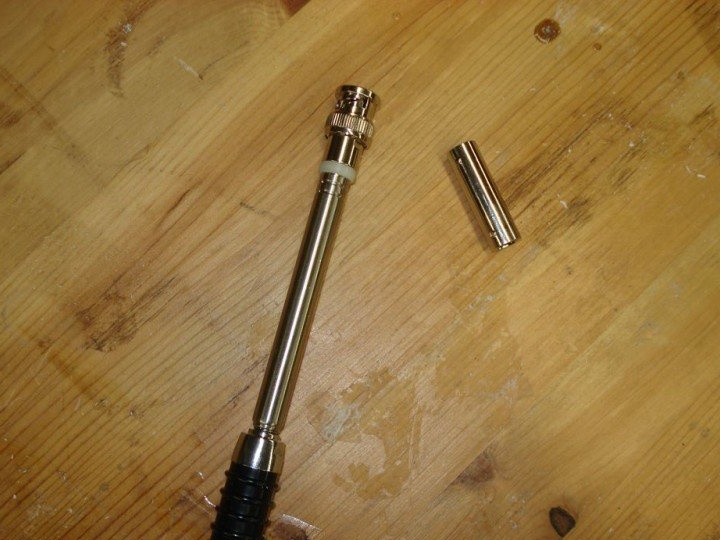
27. Take the adapter to connect to the antenna input of the radio.
28. Insert it into the antenna socket.
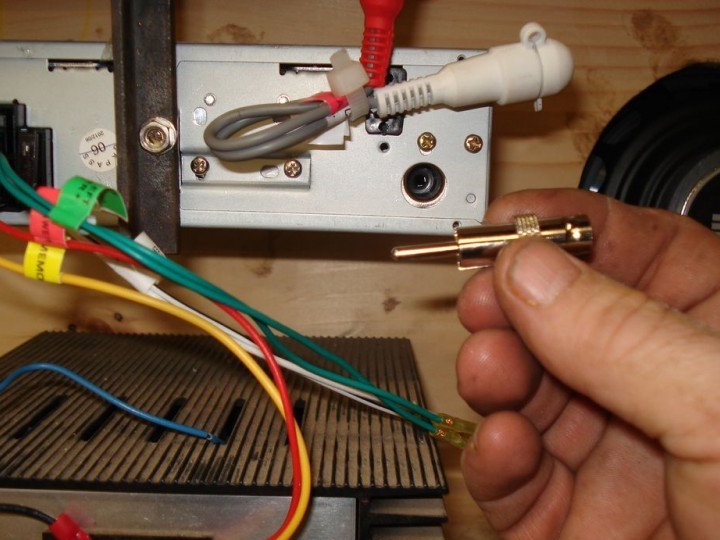
29. Connect the adapter to the antenna using a cable.
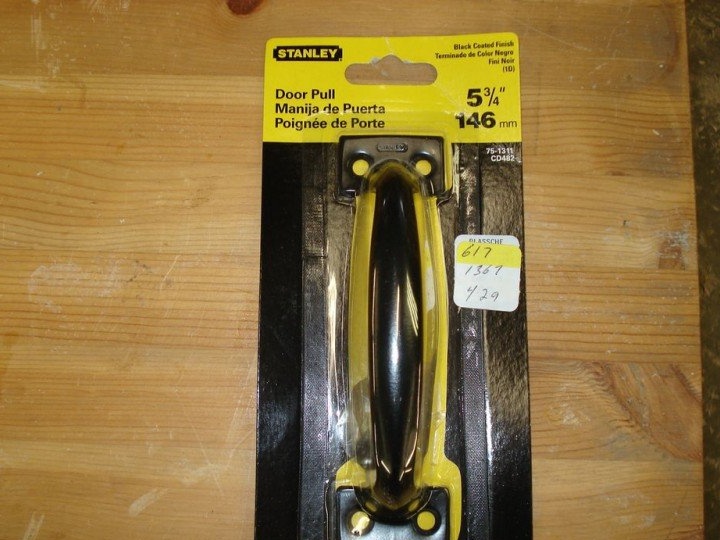
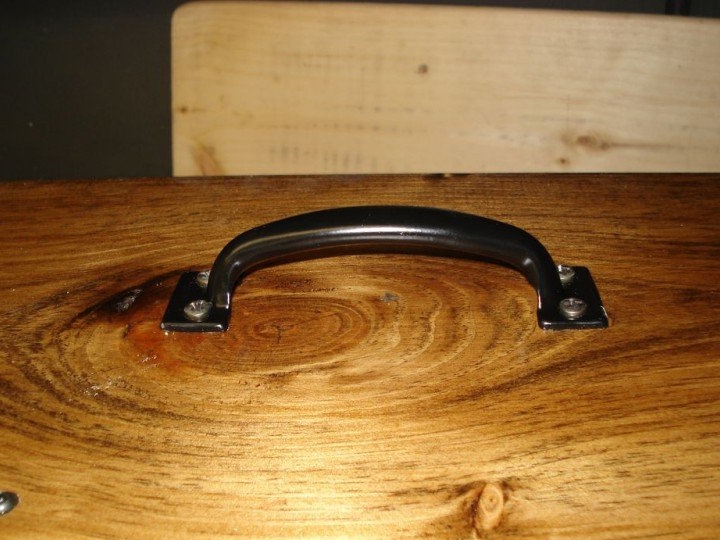
30. For the transfer handle, use a pre-made Stanley handle
31. Install the handle in the center of the upper panel of the case and fix it with screws or screws.
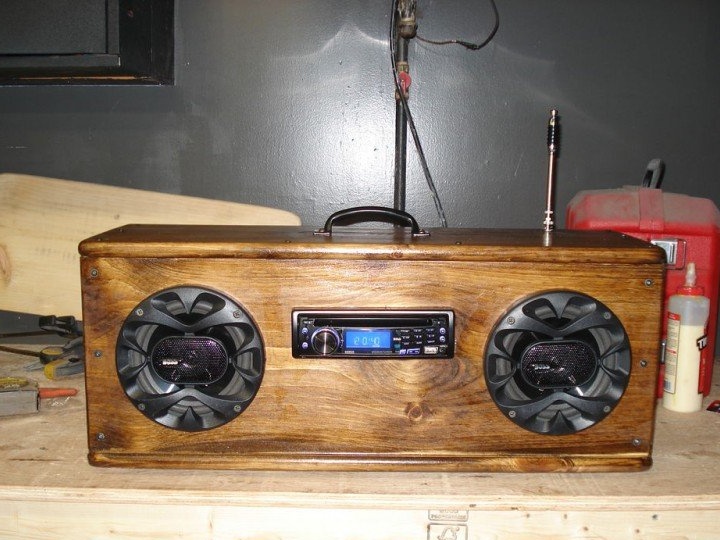
32. A wonderful retro style receiver is ready. On the image
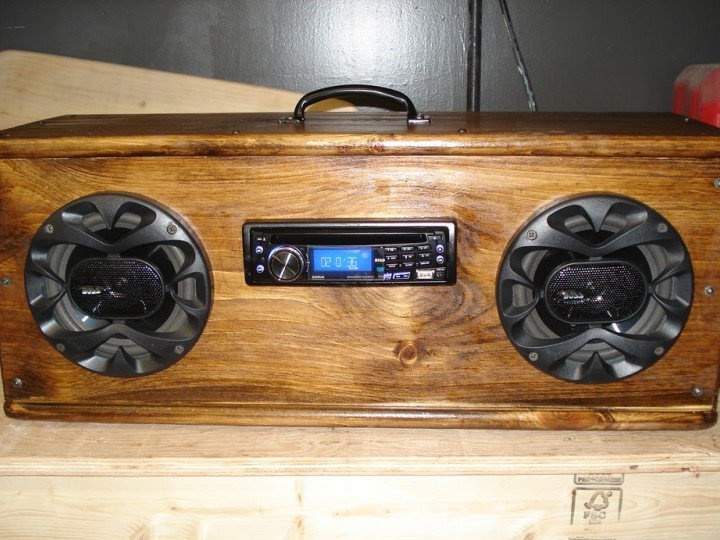
3D view.
Inside view
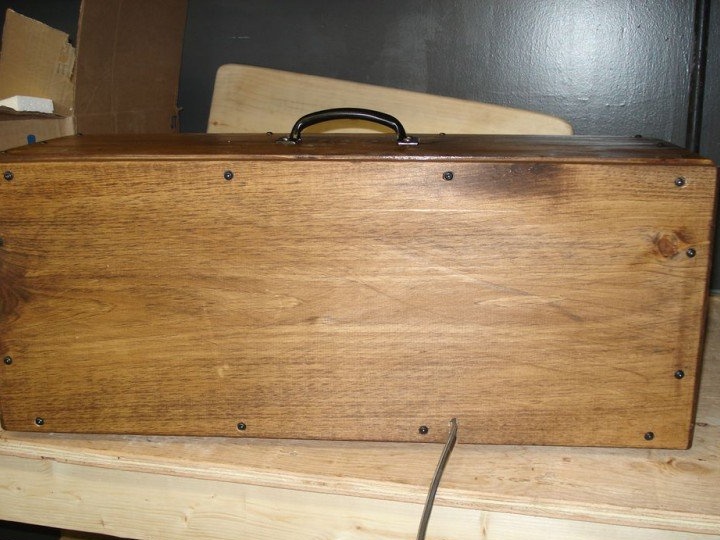
Rear view with network cable
For better fastening of parts, after applying hot-melt adhesive, use a nail gun.