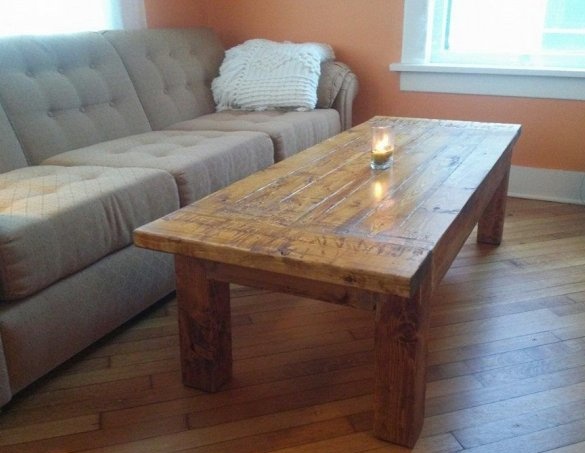
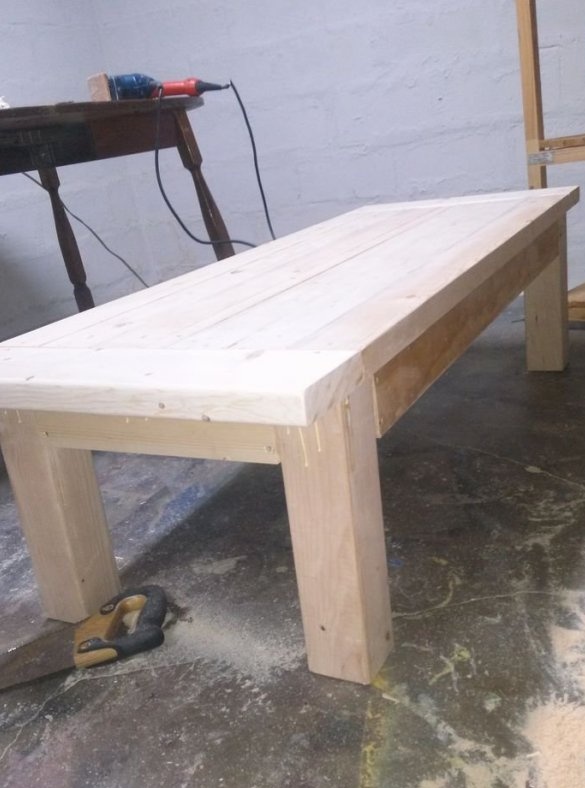
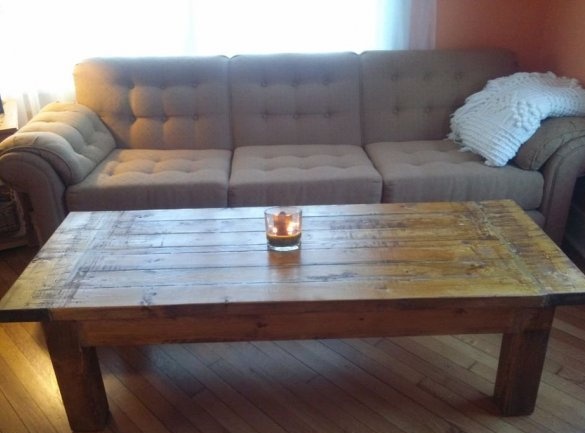
A rustic table can be used in the living room for its intended purpose, or you can take it to the terrace to spend time there in the summer with comfort. The wooden table turns out to be very reliable and strong, it looks outwardly slightly rude and aged - this gives it a twist. After all, the country style differs from the others in this! It is not difficult to make such a coffee table yourself, you just need to make all the exact calculations in advance, as well as process all the components with a hand tool.
We will need:
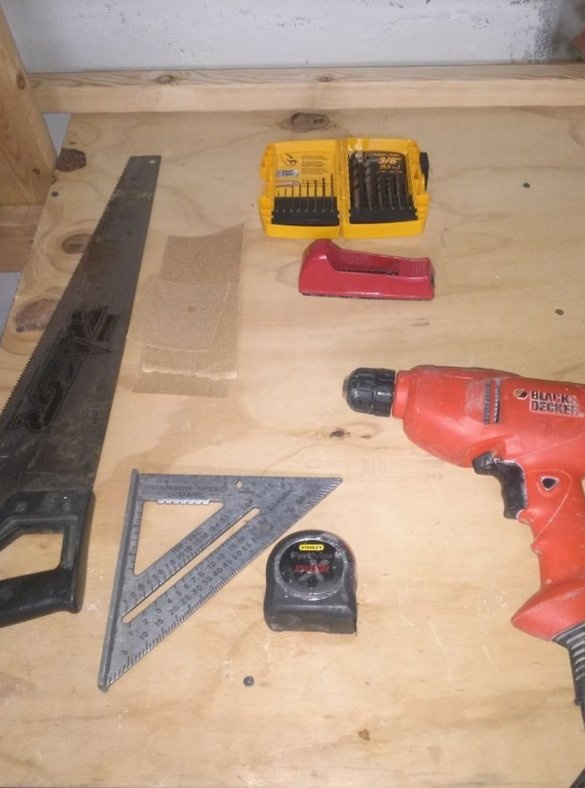
- straight straight boards, 4x4 timber;
- hand saw;
- a drill, as well as drills to it;
- meter, pencil, cogs, carpentry glue, putty for wood;
- sandpaper;
- wax, varnish for wood.
Step 1
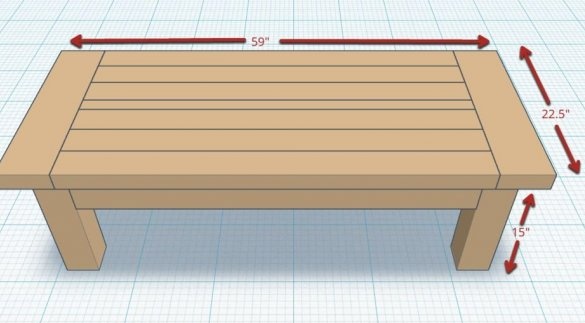
So, first the author of the master class drafted a future coffee table. And you will begin with this: determine its height, the size of the countertop. The author made a very large and low table for his garden. He had a leg height of 36 centimeters, a total height of 40, a countertop length of 140, a width of 54. But you can calculate other parameters so that the table fits perfectly into your interior.
Step 2
Next, cut the bars for the table at a right angle. Here you need to build on the required height of the legs.
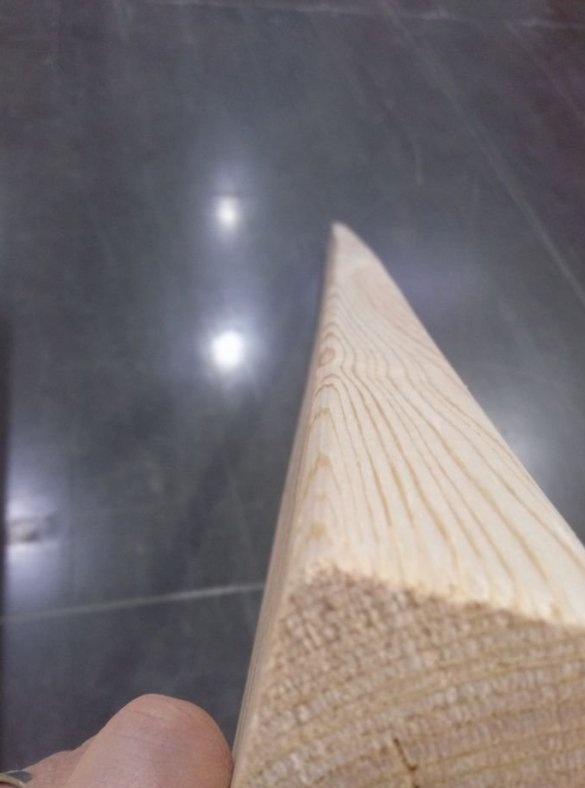
Just keep in mind that all the boards and boards are cut at right angles! This is quite simple to do with flat boards, but a 4x4 bar is a difficult material in this regard. It will be difficult for you to make such a cut with a regular saw. If you are not confident in your abilities, then it is better to contact the store where you purchased the bars, otherwise you can hopelessly ruin the legs of the table. Often in construction stores a related service is provided, according to the specified sizes, you will carefully trim the necessary material.
Step 3
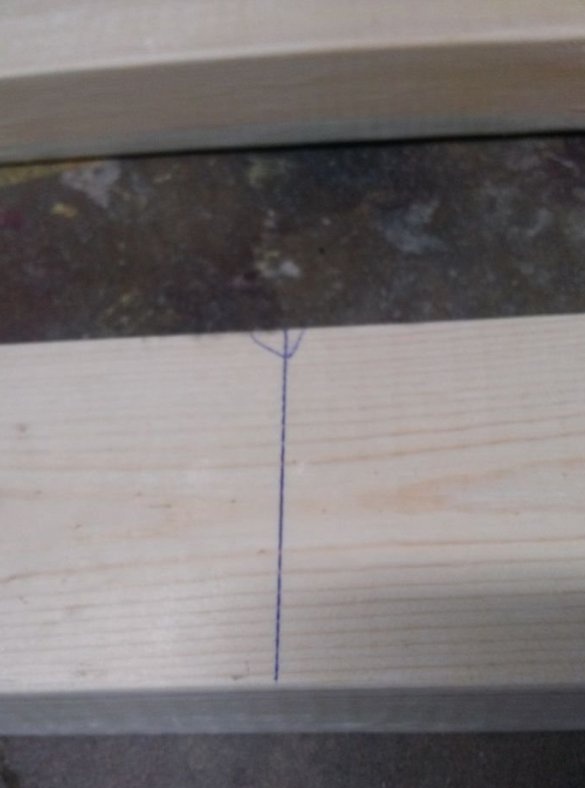
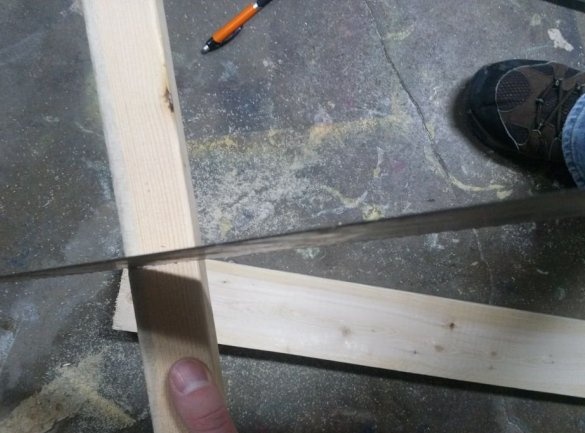
Cut boards to your specifications. Using a meter and a pencil, apply cut lines to the boards. To do this, the boards are fixed on the work surface so that part of it goes beyond the surface. Mark the cut line with a saw, only on all boards it must go from the pencil line on one side - keep this in mind! And then the length of the boards you simply will differ. In our case, even a difference of a couple of millimeters will cause us inconvenience when collecting a coffee table.
Make a file on the side, cut the material of the required length along it. Approaching the end, hold the sawed part with your second hand if you do not want the board to break off. Then all your work will be done in vain, but you hardly want it.
Step 4
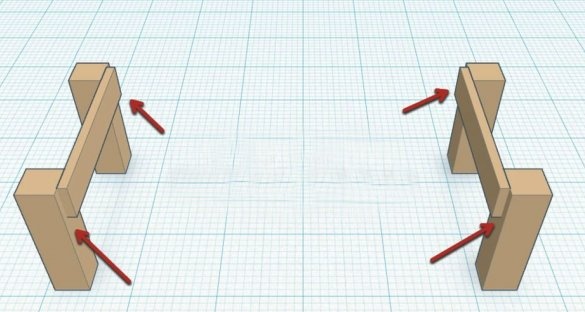
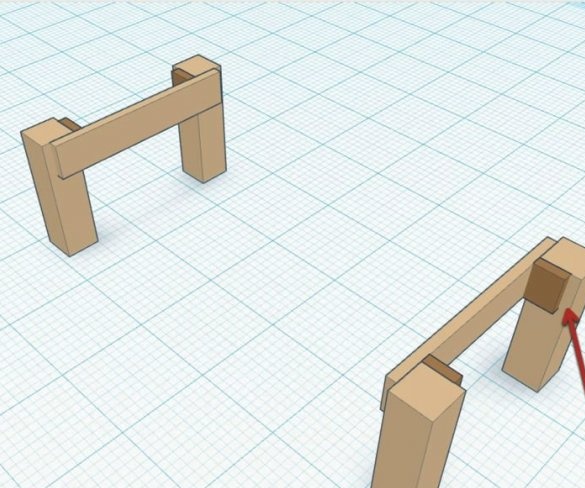
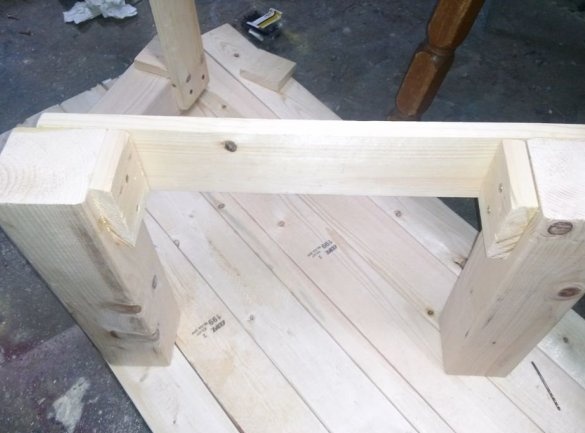
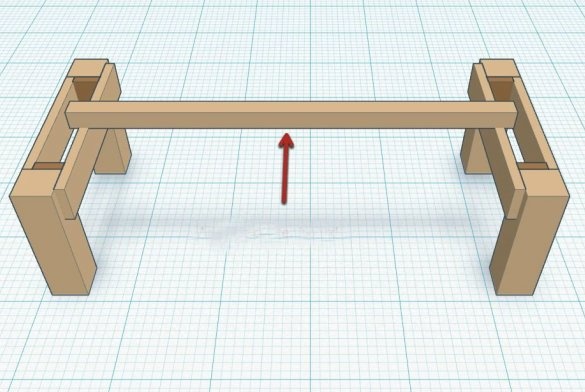
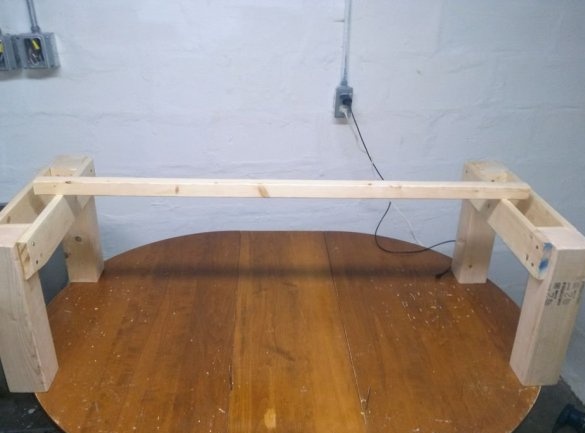
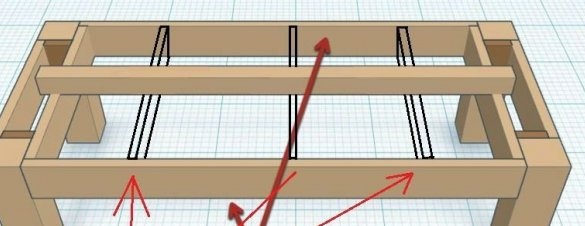
So, are all the materials prepared? At this stage, the author proceeded to the assembly of the table. Assemble the legs and their side parts. In the above photos you can see the schemes by which the boards are attached.
Before fastening, sketch the places for screws with a pencil. Connect the boards, drill holes in them, glue with wood glue. As soon as you see that the glue has started to set, immediately screw in the screws. Then remove excess glue so that the table looks neat.
Step 5
Fasten the longitudinal board of the table. It must be placed clearly in the center.
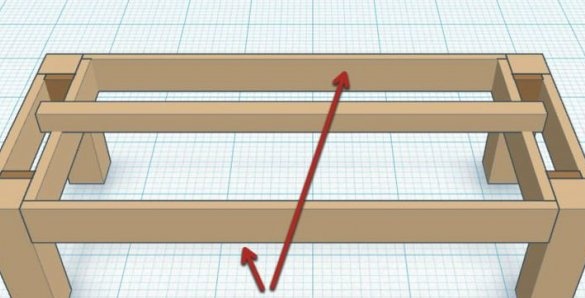
Fasten the side boards of the table, as well as the transverse materials supporting the countertop.
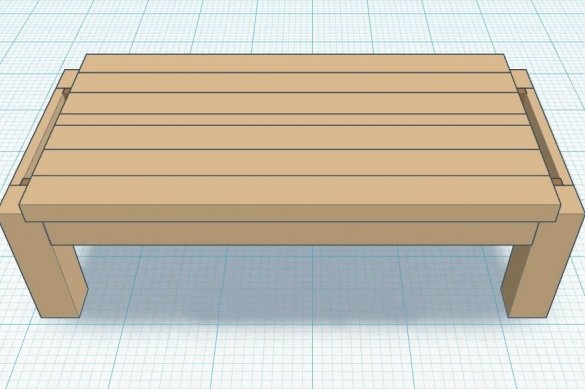
The longitudinal boards of the countertop remain to be fixed.
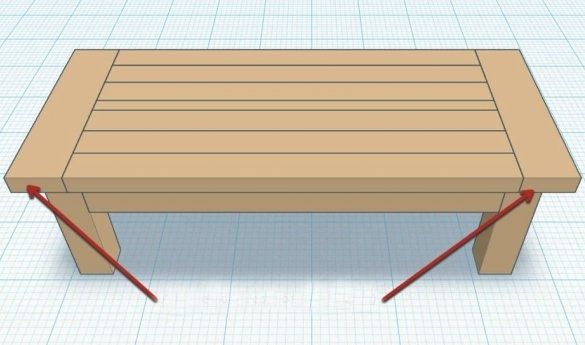
Set the transverse side boards in place, glue with glue, fix.
Step 6
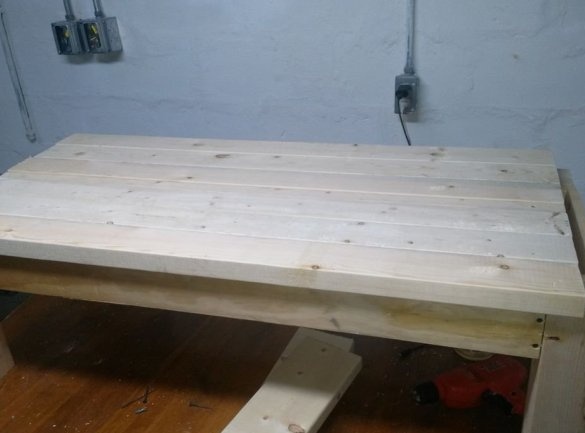
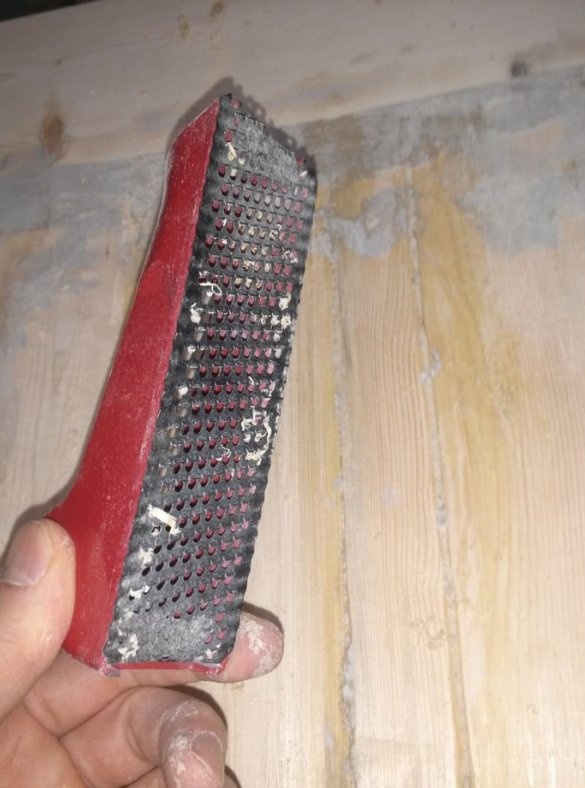
Walk on the surface of the table with sandpaper. Coat the holes between the boards with wood putty (you can also get one at the construction store).
Step 7
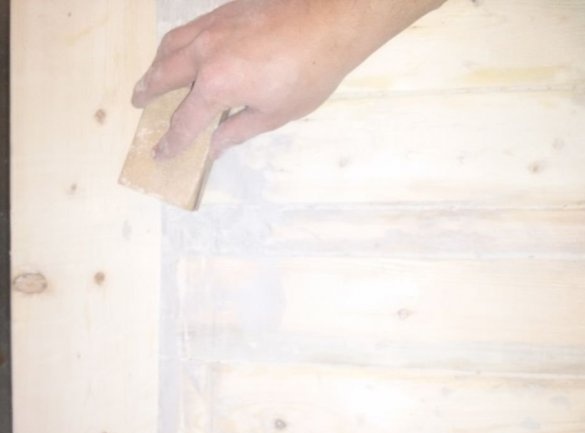
Using fine-grained sandpaper, sand the surface of the coffee table.
Step 8
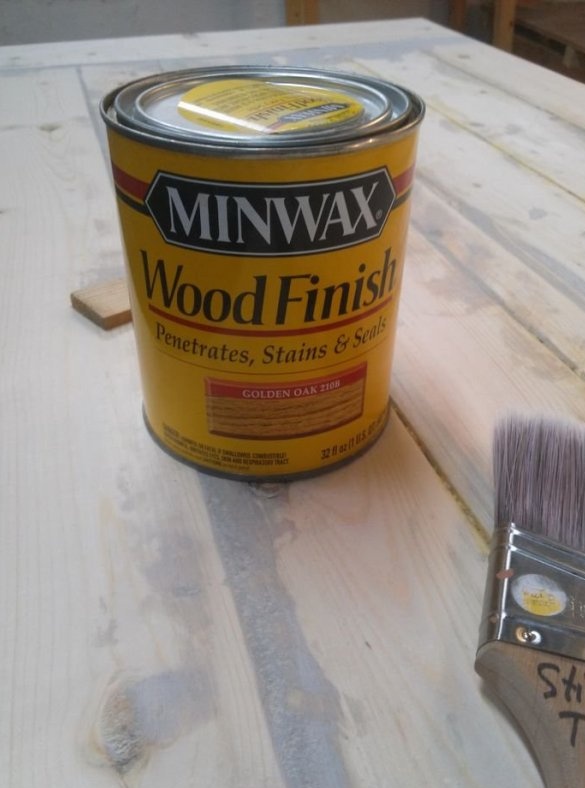
Now it's time for the finish. It is already at your discretion, choose anything: wax for wood, stain or special varnish.
A country coffee table is ready to beautify your apartment or garden!

