
When the battery runs out in the remote control, it stops working. As a result of this, we just start to shake the remote control, hit it in the arm or something else, hoping in this way to restore the battery charge. We offer a way out of this situation, since this material will review the video on the manufacture of self-charging batteries, which can be charged with the usual actions such as shaking, patting the remote control and so on.
First of all, we suggest devoting a few minutes to watching the author’s video
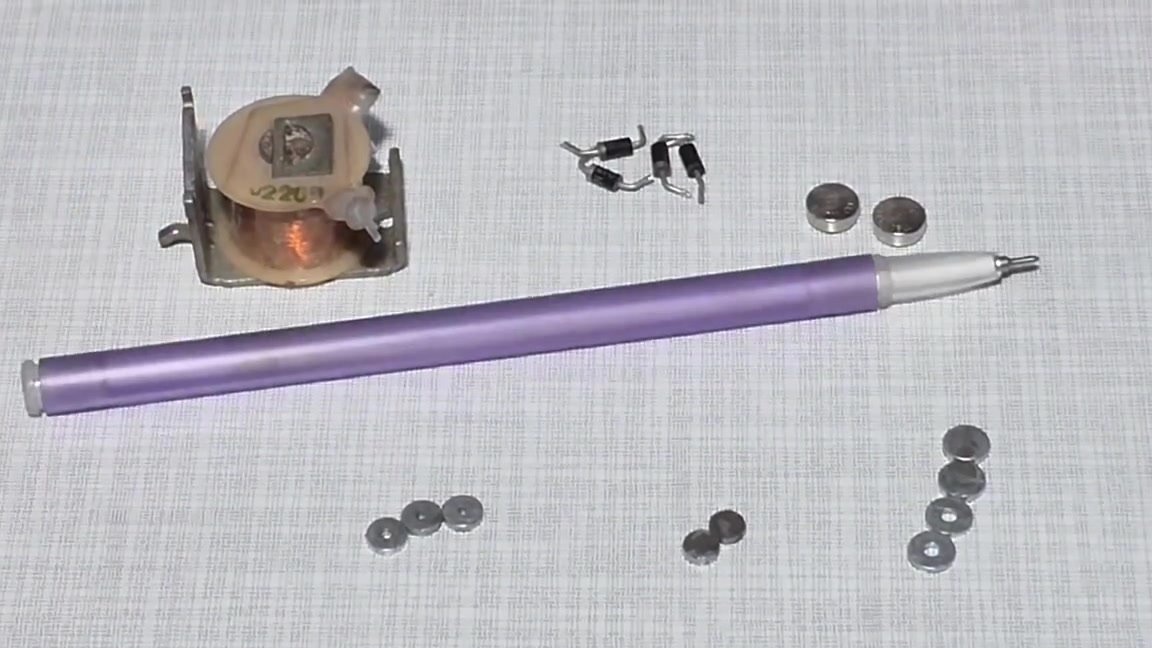
So we need:
- coil with thin wire;
- four diodes;
- two batteries, also called tablets;
- magnets from small headphones under the battery case;
- ordinary ballpoint pen;
- soldering iron.
We will use a ballpoint pen as a housing.
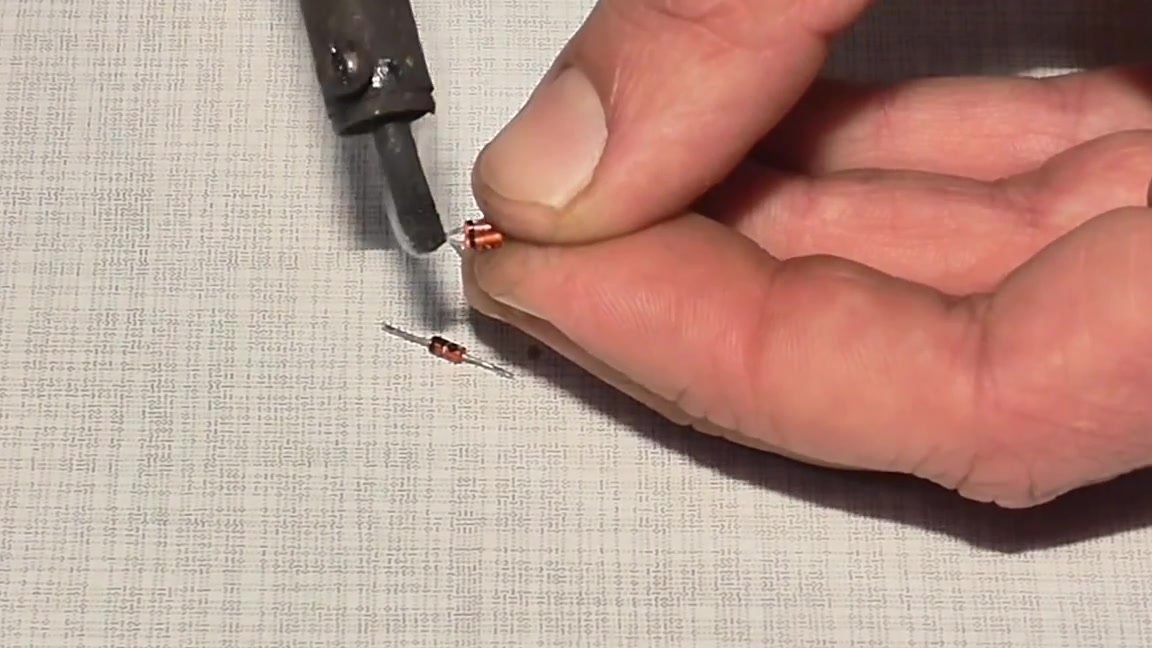
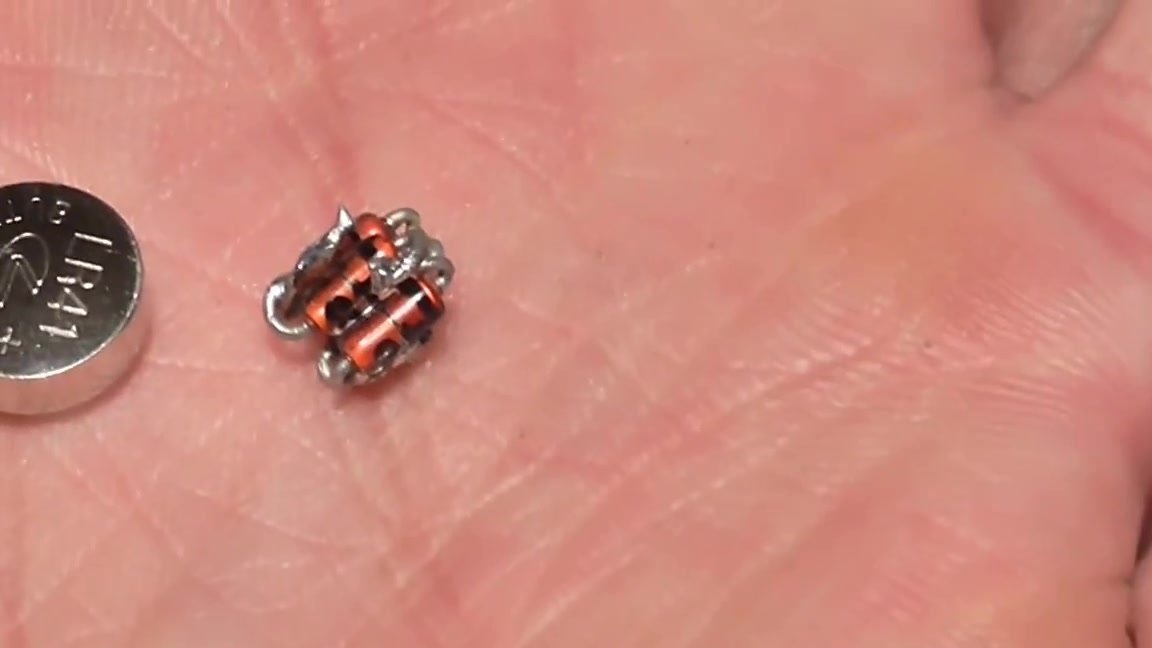
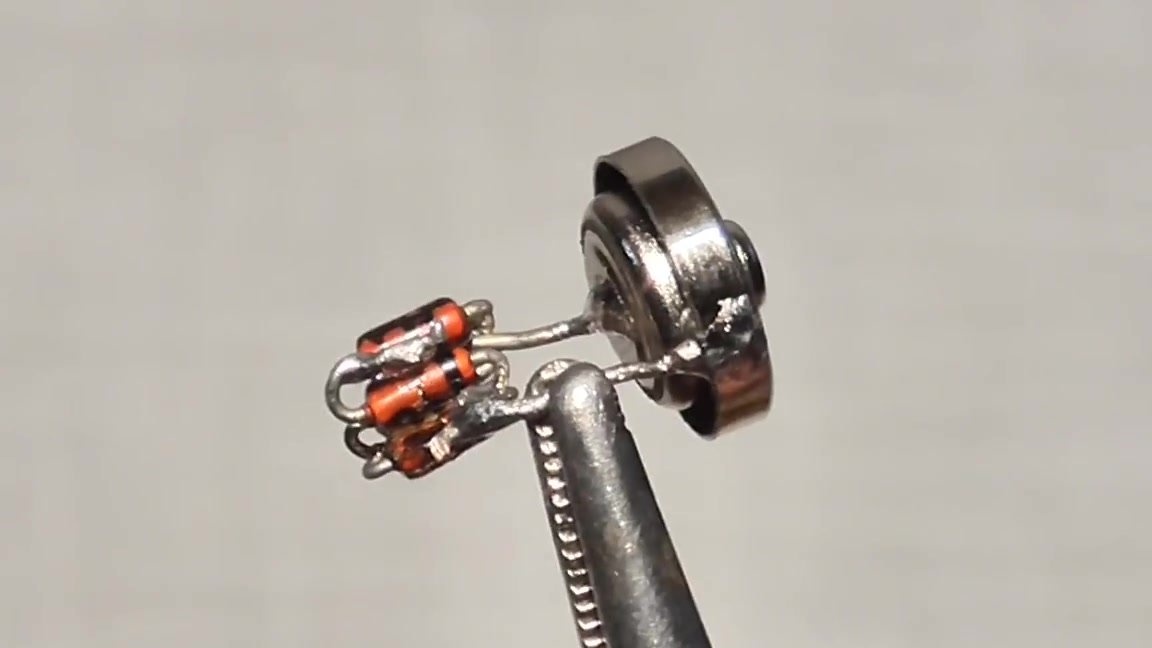
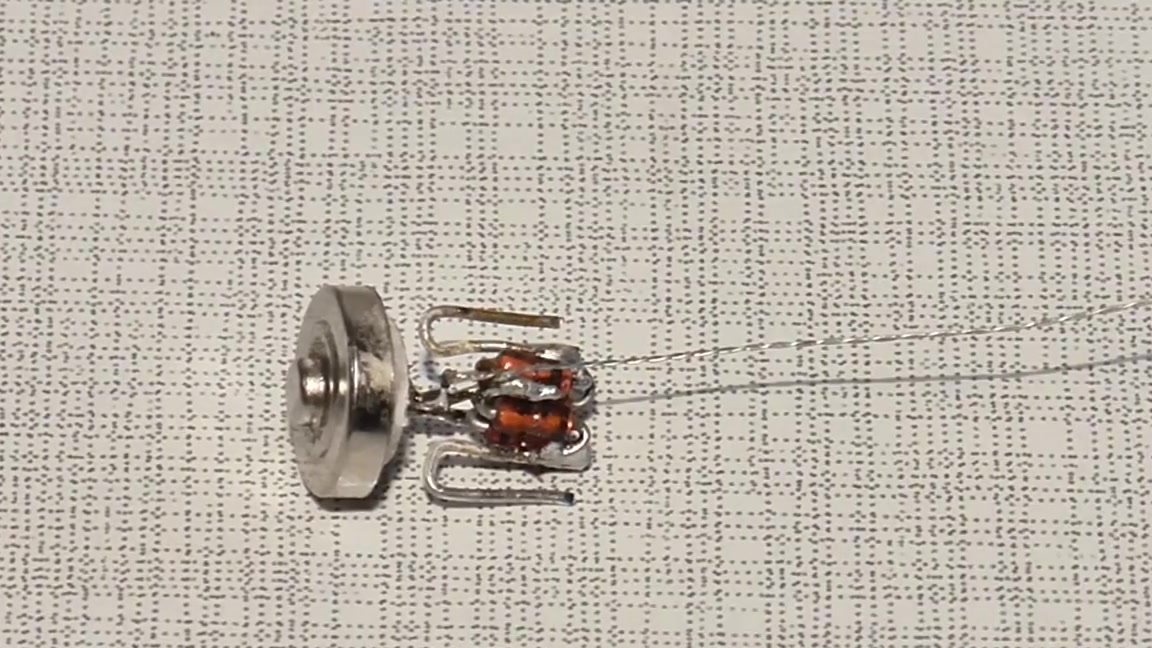
Let's start by soldering the diodes to get a diode bridge.
Next, take a soldering iron and solder the resulting diode bridge to the positive and negative terminals of the battery.
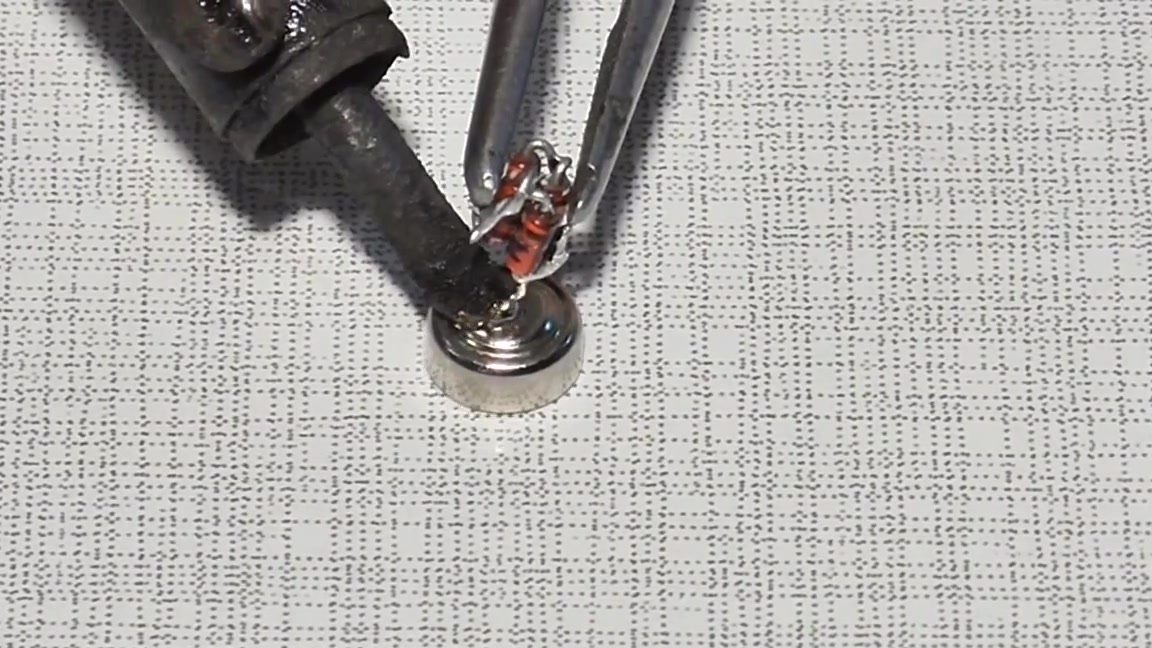
The contacts of the diodes must be directed in the opposite direction from the battery so that a pulse voltage is applied there. Also, a thin wire must be soldered to the negative terminal of the battery, which will allow to extend the minus.
The workpiece is ready, and this means that you can begin to assemble the generator element. First of all, cut a piece from the body of the ballpoint pen along the length of the battery.
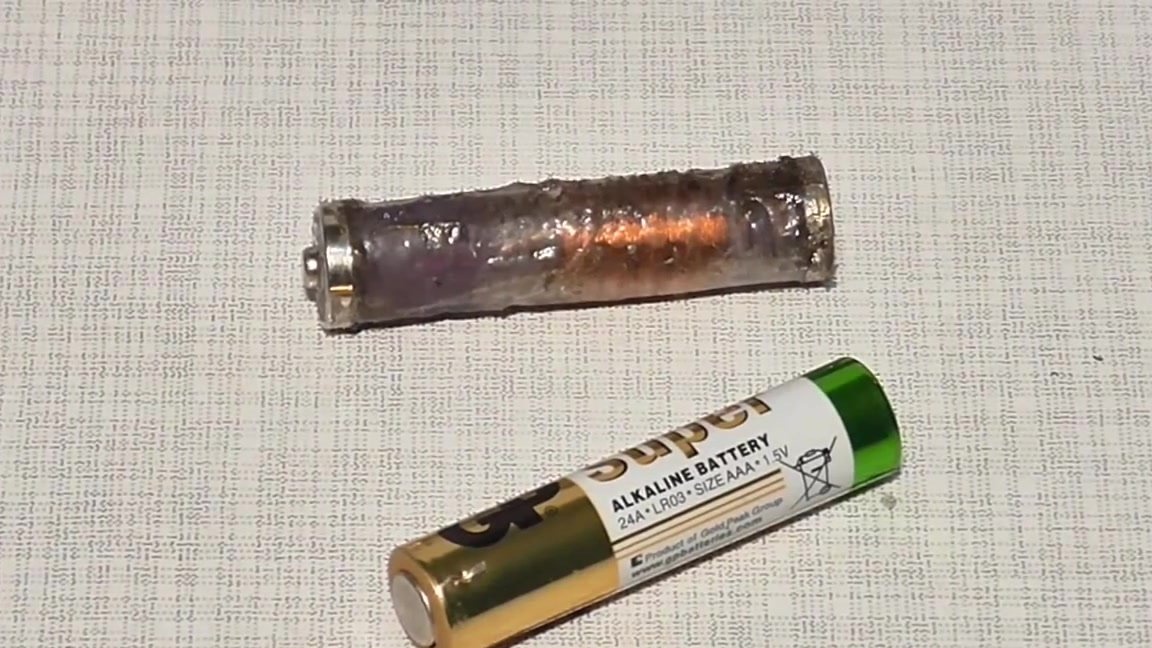
Next, we remove the plus and minus contacts from an ordinary battery.
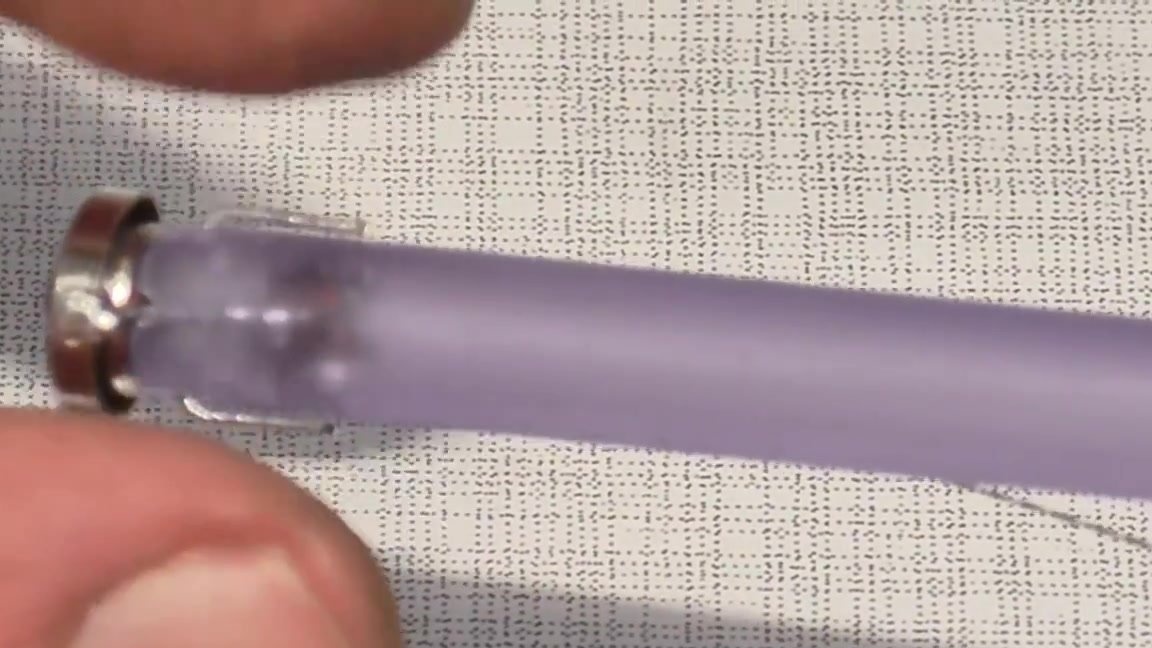
Close with a positive contact one end of the handle body. Under this contact should be located the design of the battery and the diode bridge. We pull the wire from the negative contact out of the case, so that later we can connect it to the negative contact removed from a regular finger battery.
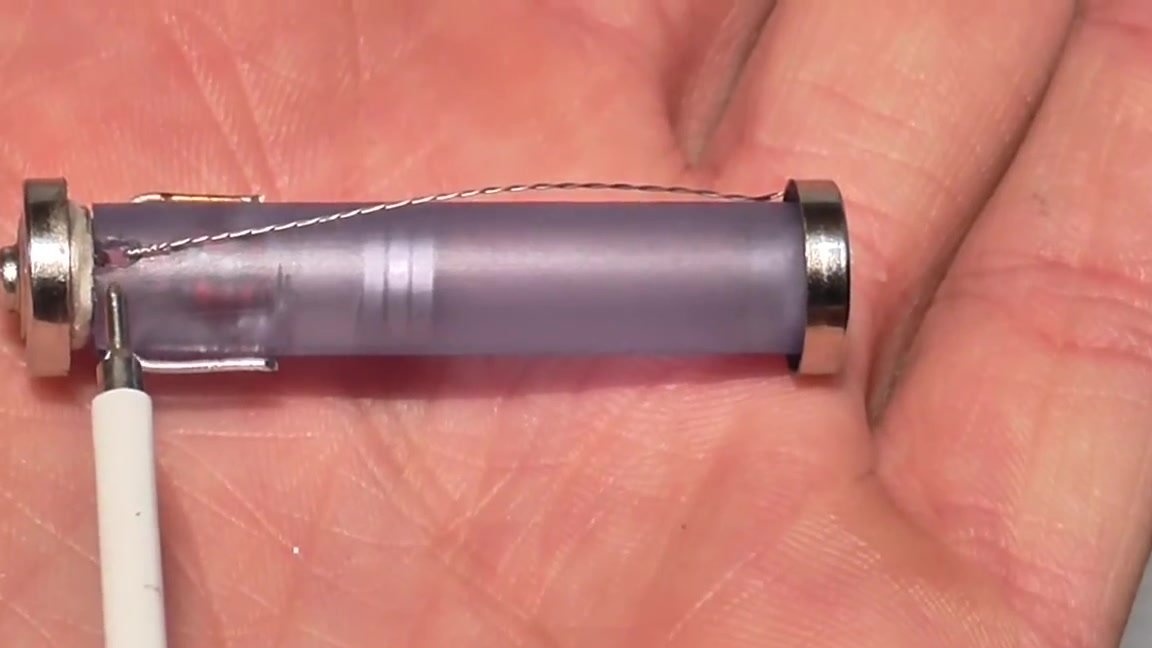
After the construction with the diode bridge, a plastic jumper must be installed to insulate the structure. After the jumper, magnets must be installed. We also isolate the compartment with the magnets from the other end so that the magnets do not come into contact with the negative contact.Finally, solder the wire going from the design with the diode bridge to the negative contact from the finger battery.
The wire that goes outside the housing must be insulated with insulating tape or tape.
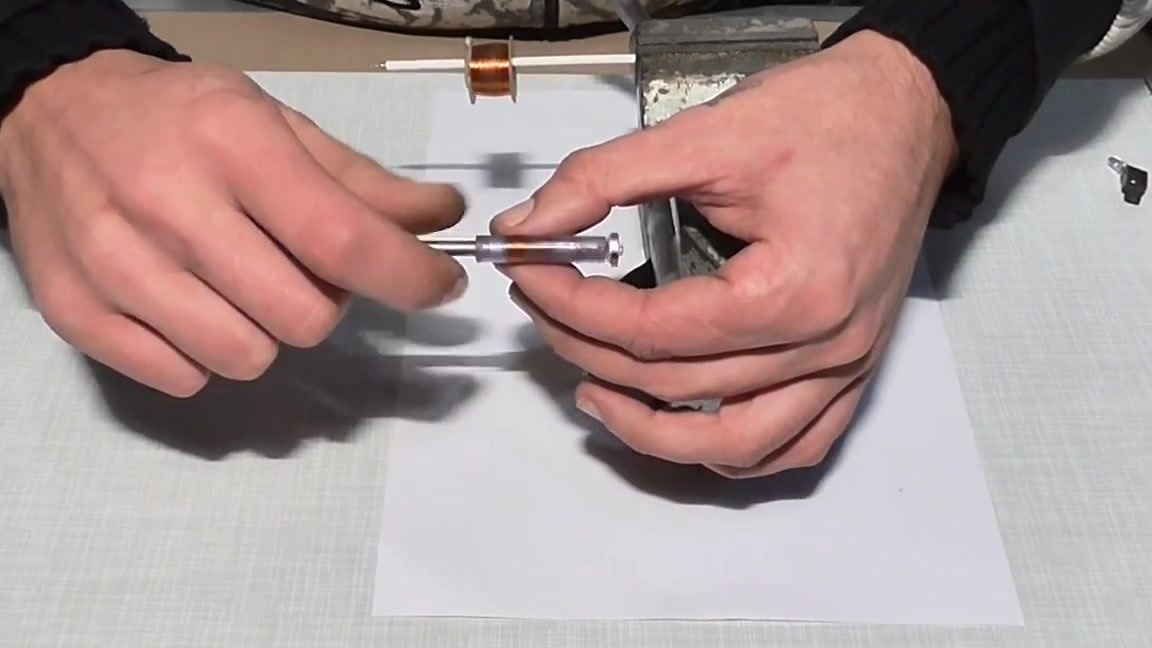
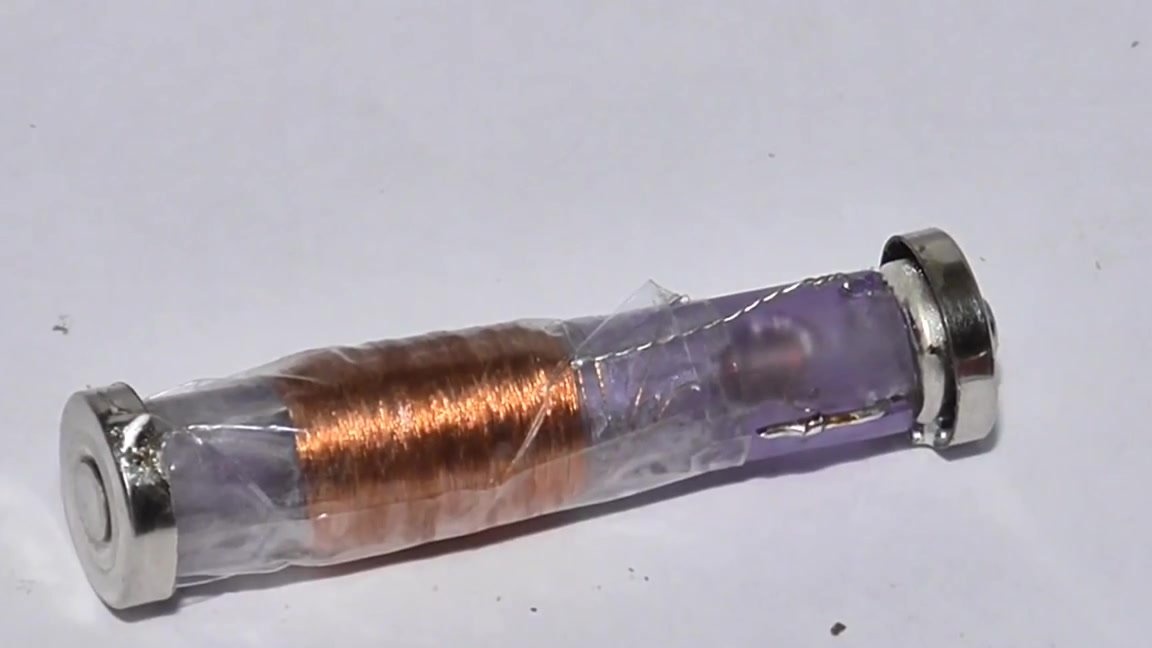
Next, we wind the coil over the entire structure. The more turns you get, the more efficient the battery will be.
After winding, we give the case a final look, covering it with a layer of hot glue.

The author's test on the calculator showed that the battery works as intended at the beginning.