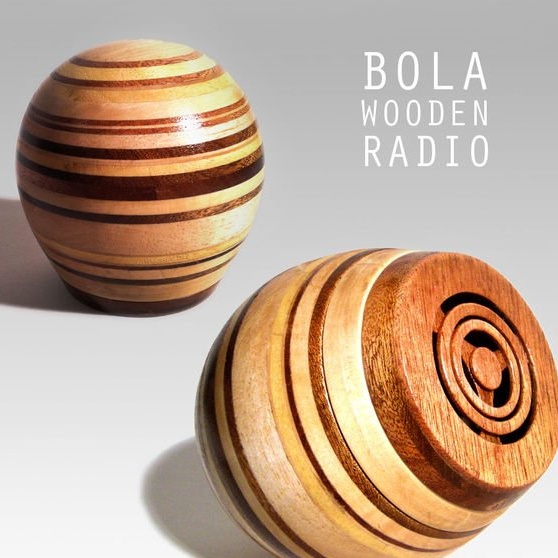
The unique decor and functionality of the wooden radio make it a fairly attractive piece of furniture.
Looking at this glossy wooden object, you feel a desire to pick it up, to try heaviness and smoothness. But that it is a radio, and that it is made do it yourself, only a person experienced in such matters will guess.
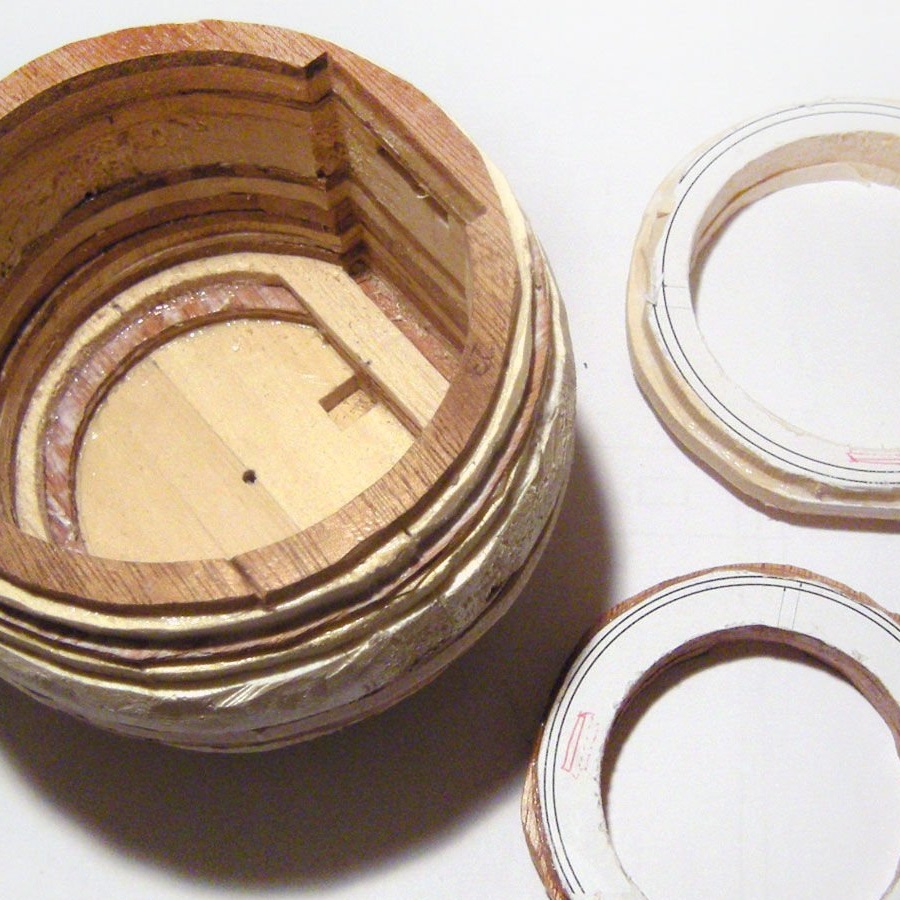
The radio consists of wooden rings, which are made of various types of wood and differ in color and thickness. The rings rotate relative to each other - this way you can increase or decrease the volume, adjust a new wave. If you listen to the radio - you need to put it on its side - it will find a stable position. If the radio is turned off, it is placed on a flat base, and it adorns a shelf or chest of drawers.
Step # 1: Design
This model became the embodiment of the idea of a wooden radio, in which all functions are regulated not by buttons, but by means of rotary wooden rings.
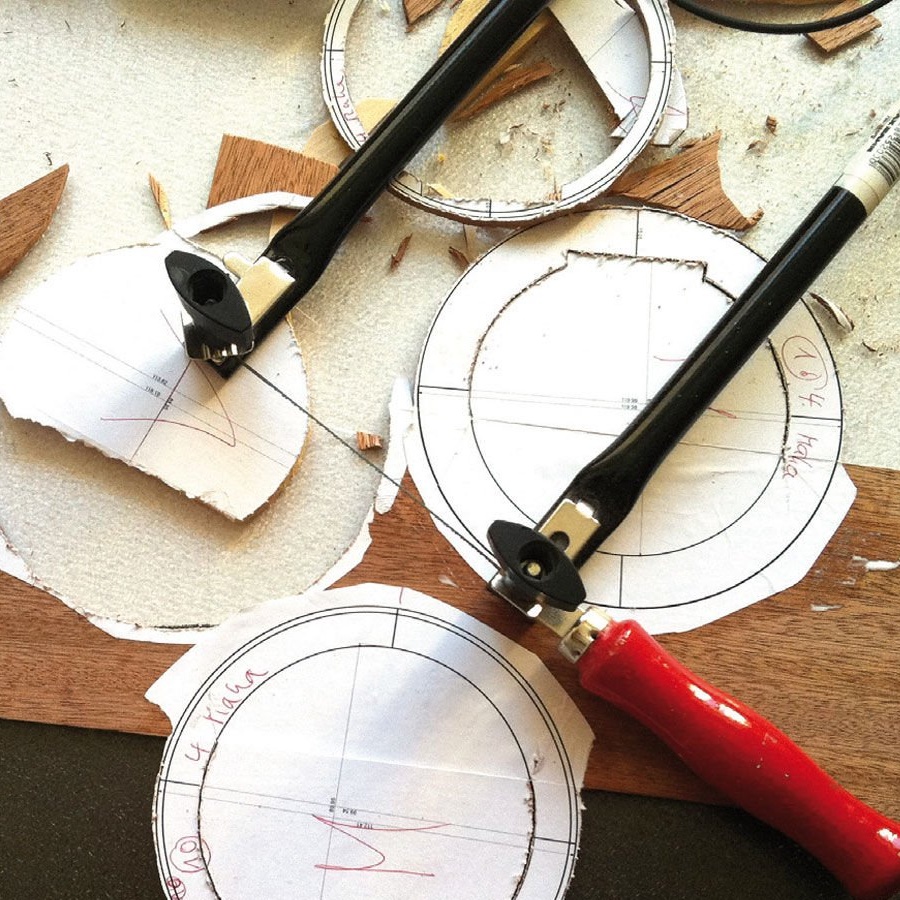
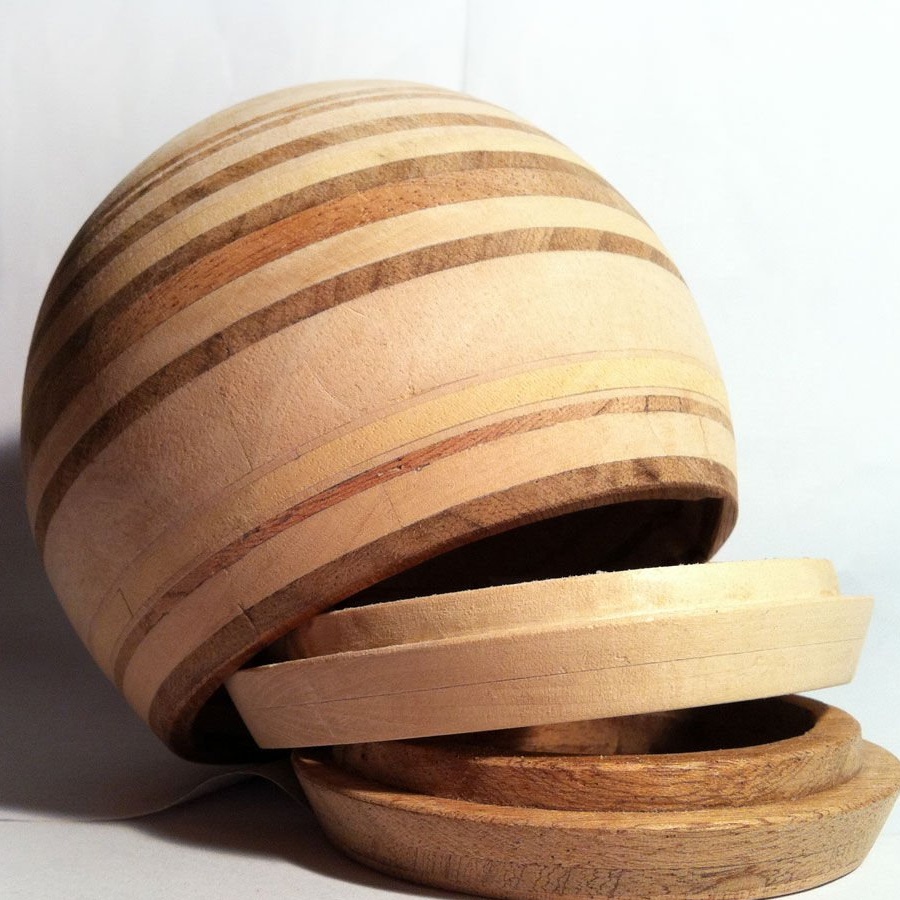
Step number 2: We select wood
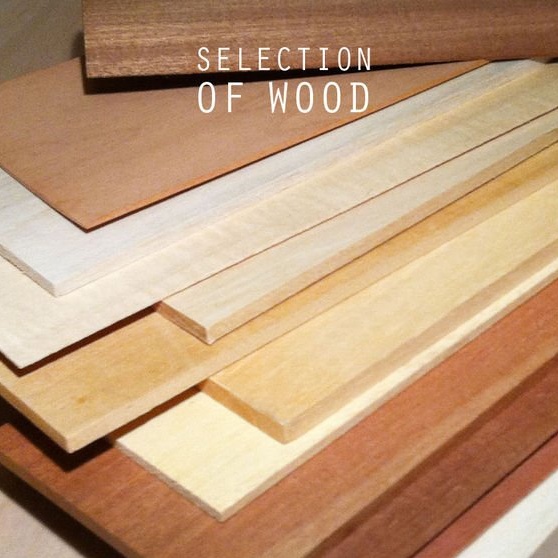
In our case, different types of wood are used to make the radio. After the material is selected, determine for yourself in what sequence the layers will go and proceed to sawing. Note that the layers differ from each other in diameter, gradually expanding in the middle and tapering to the edges.
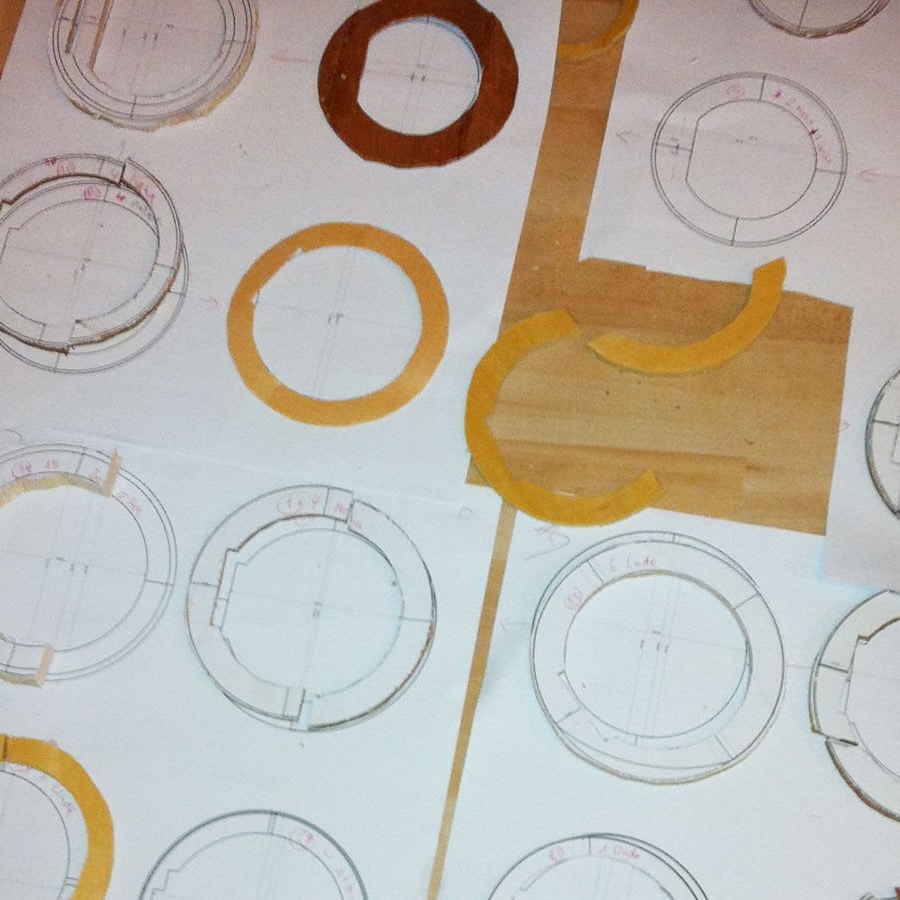
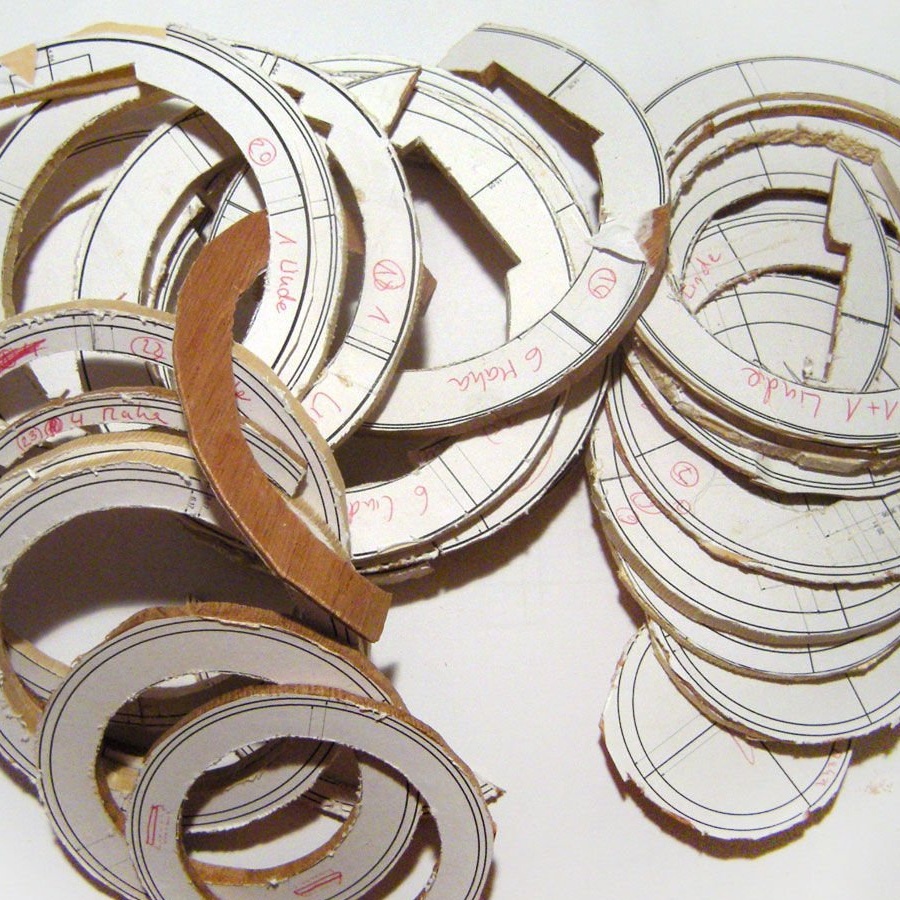
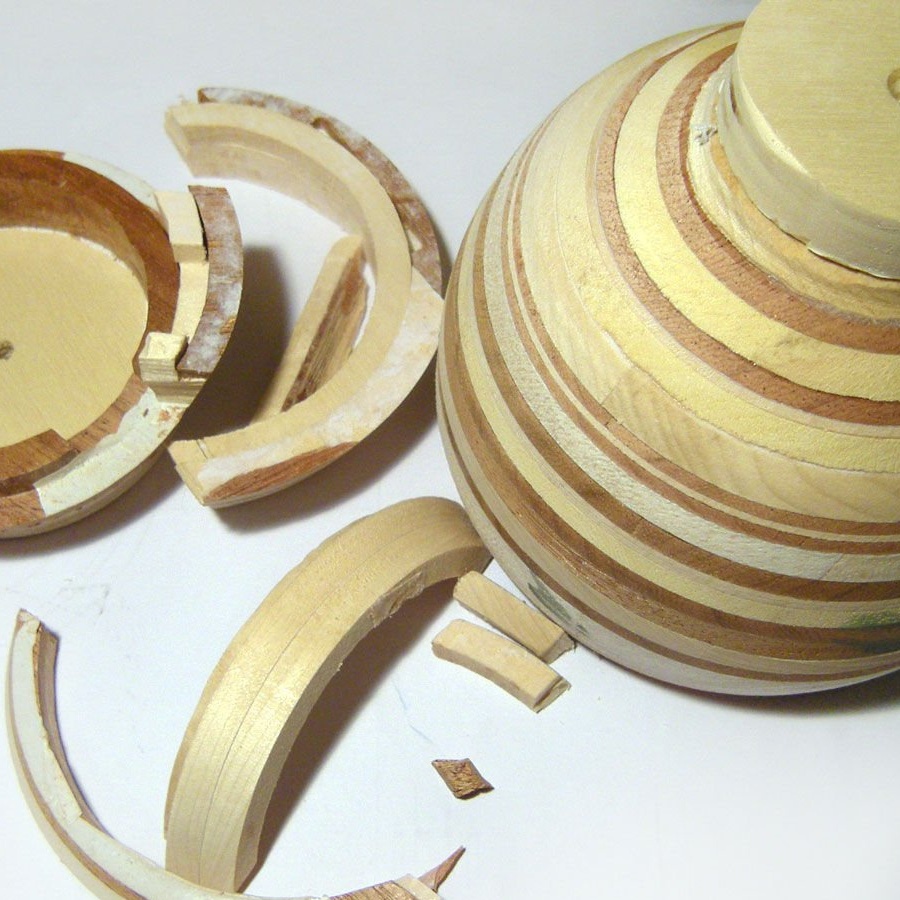
Step # 3: Cavity
Fold the manufactured layers on top of each other in the order in which they will be placed in the finished product.

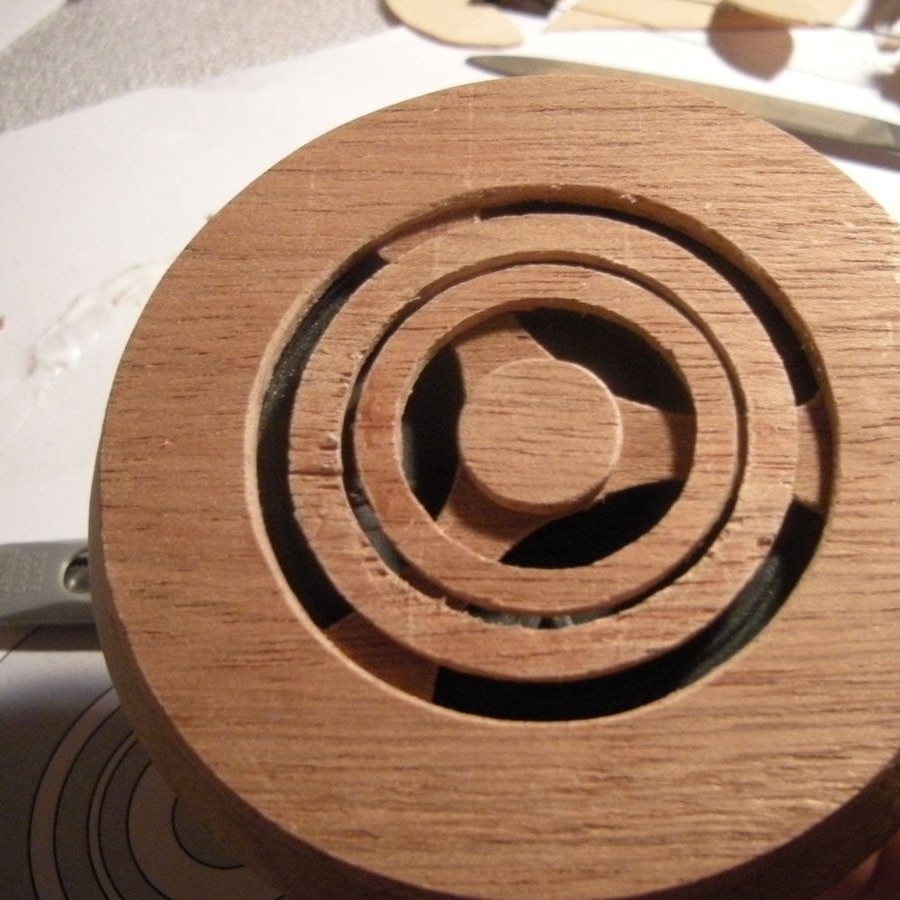
Step number 4: give shape
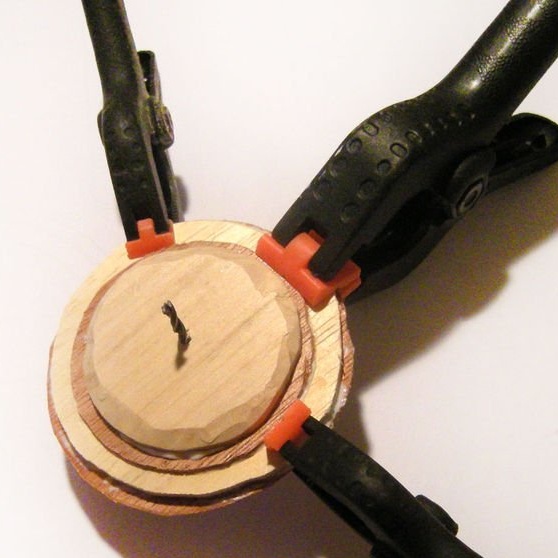
The rings are machined using a lathe.
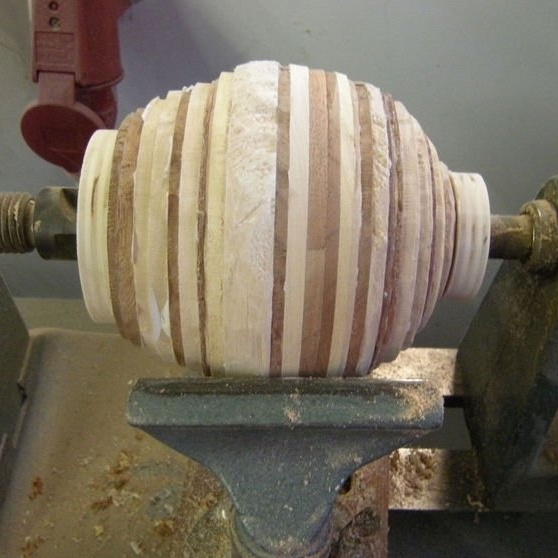
Be careful: one careless move can negate all your efforts. Observe safety precautions and rules for working with the machine.
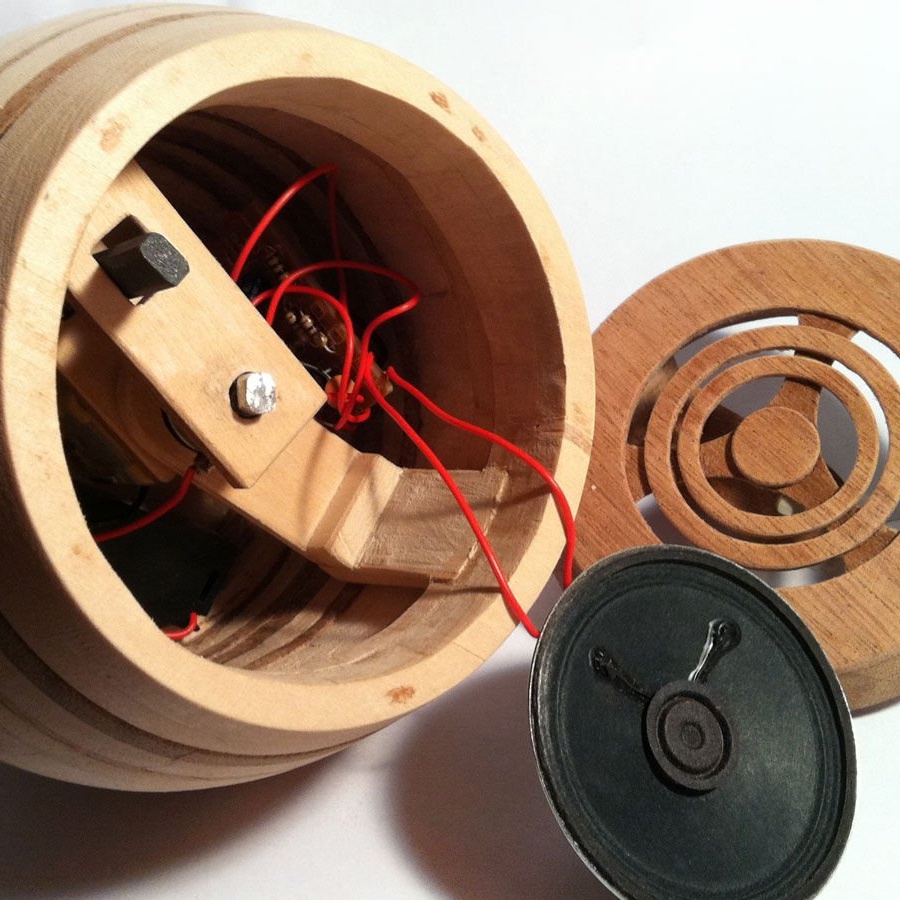
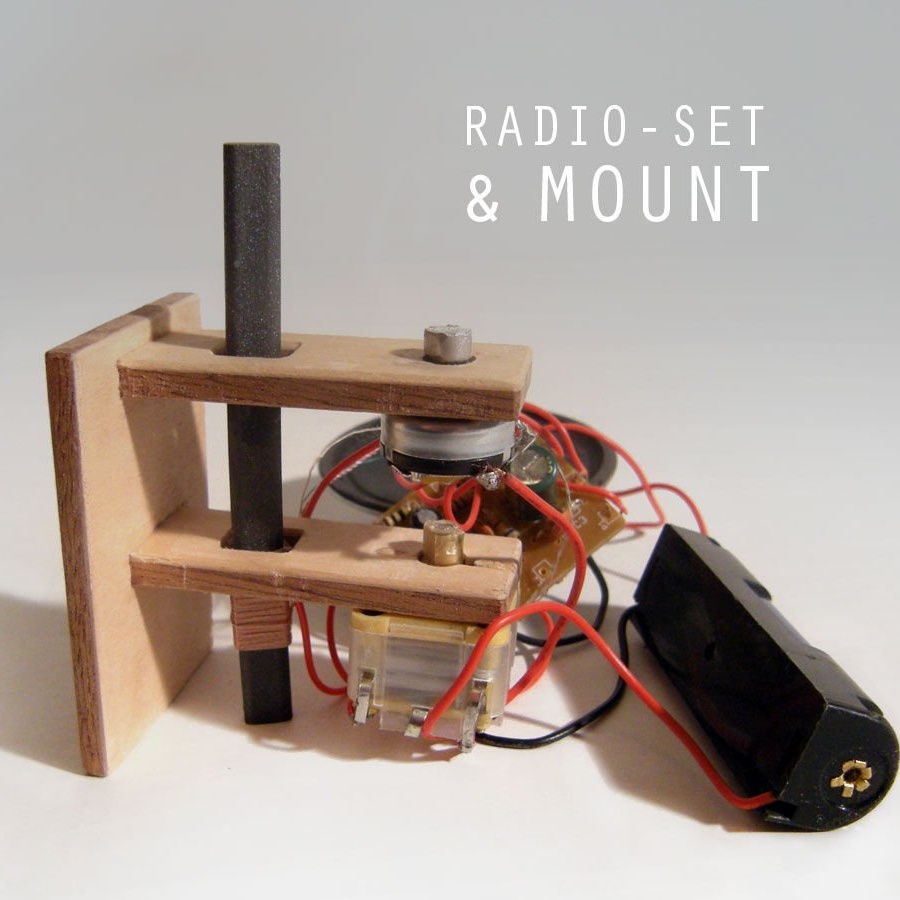
Step number 5: add electronics
The time has come to turn our wooden blank into an operational radio.
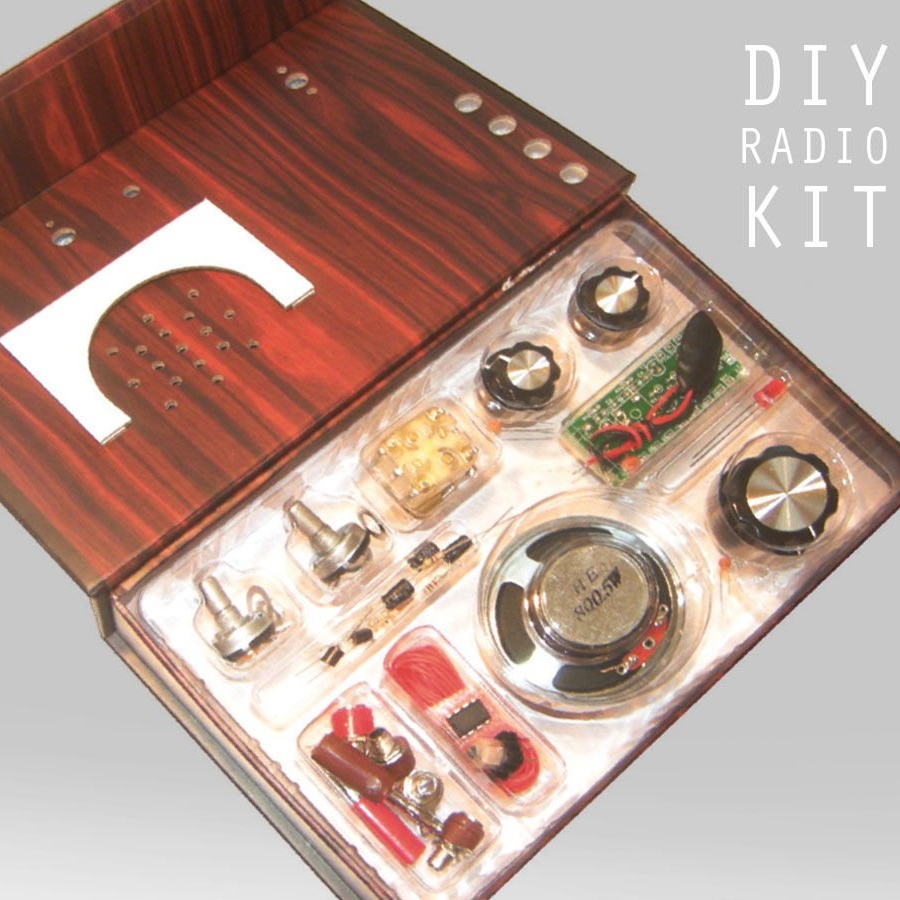
A simple set of radio amateur should include two switches: adjust the volume and change channels. For internal assembly, you will need an additional support for the electronics, which is consistently connected to the push buttons.
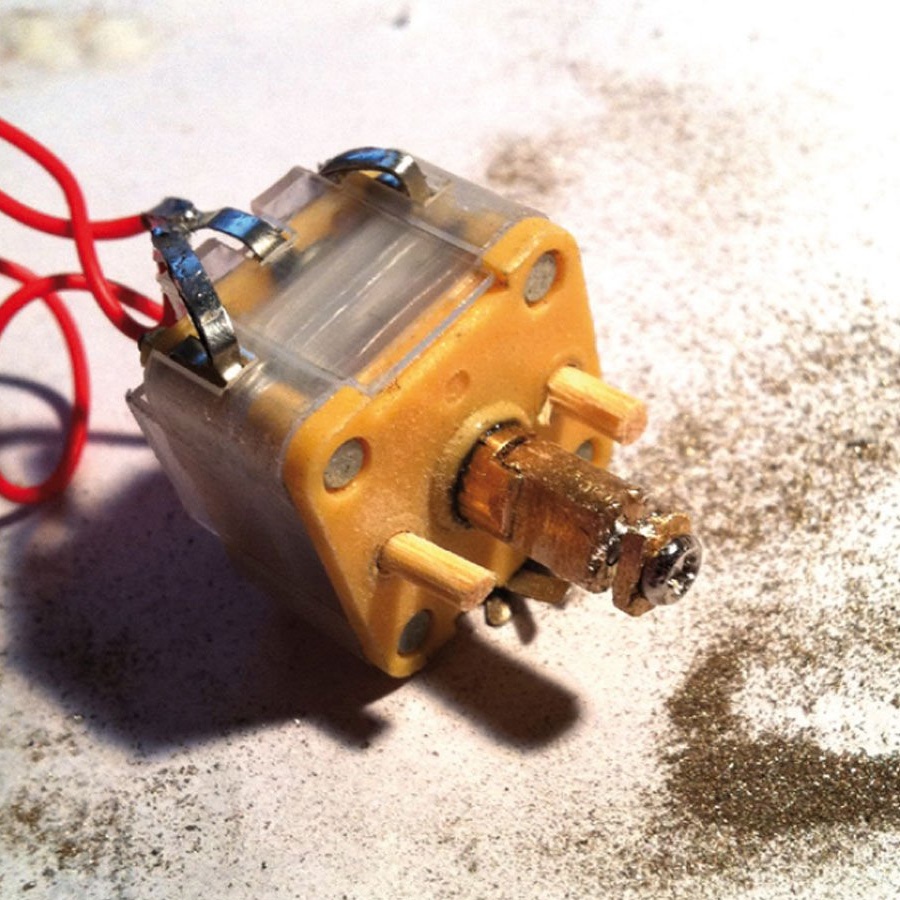
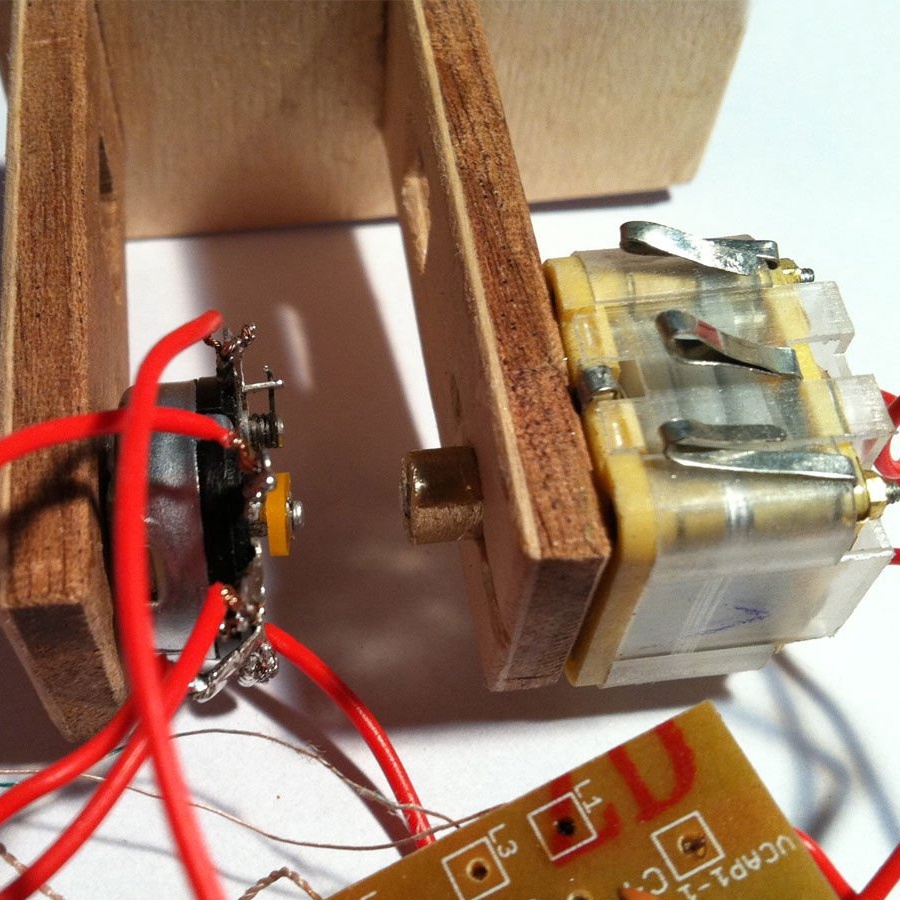
At the top is the volume control, at the bottom is the channel selector.As a result, the switching profile and the wooden rings must coincide and translate in two directions. The rings are inserted into each other, connecting without any glue.
If everything is done correctly, the do-it-yourself radio is ready to use. We hope it will bring you many pleasant minutes.