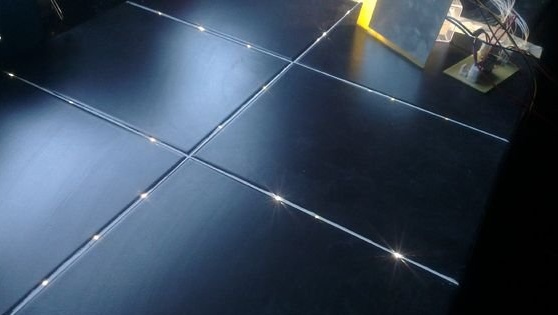
Looking at beautiful designer photos on the Internet, we sometimes sigh enviously. Admiring the beauty of the premises, unusual solutions, we do not even suspect that many of them are quite simple to implement. For example, these are photographs of a shimmering floor glowing in the dark. It seems that fireflies scattered across the floor. The room becomes more comfortable, more romantic, sets in a calm mood. It's hard to believe what a beauty like that do it yourself is quite real.
We offer you step-by-step instructions for manufacturing a “star floor” using optical fiber. Externally, the fiber resembles a fishing line, the principle of operation is based on the fact that when light enters one of the ends of the fiber, the second begins to glow.
Step # 1: Prepare Everything You Need
In order to make magical lighting on the floor, you will need:
• Sex on which you will work
• Optical fiber
• Light source
• Scissors
• Hot knife
• flooring
• Lots of free time
Step # 2: Need a plan!
First of all, determine where the light source will be located, because all the installed fibers will need to be brought to it. It is optimal to place it outside the bathroom - after all, no one canceled the safety technique. Once you have decided on the location of the projector, you can start working with fiber.
Step # 3: Prepare the Fiber
Traditionally, tiles with a pattern begin to be laid from the middle of the room, indicating the axis of symmetry. Due to the fact that the laying of the optical fiber should be related to the location of the tile, you will have to systematically calculate everything and measure it seven times so as not to miss.
Cut the fiber into separate strands and bundle them. The thicker the beam - the more intense the glow will be. Note that the cut must be even and clean. To do this, use a hot knife. And yet, it is important to know that the beam length should be slightly larger than the distance from the source to the end point. Feel free to throw 25-30 centimeters. Before placing and fixing the fibers on the floor, it must be cleaned.
When choosing the directions in which stellar filaments will propagate, pay attention to the even distribution of the optical fiber. Do not allow such a situation when a large number of fibers pass under one tile.
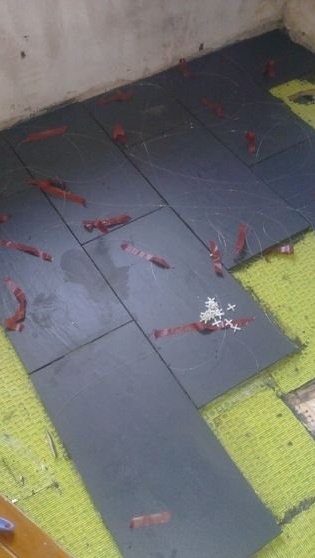
Step 4: Laying the Tile
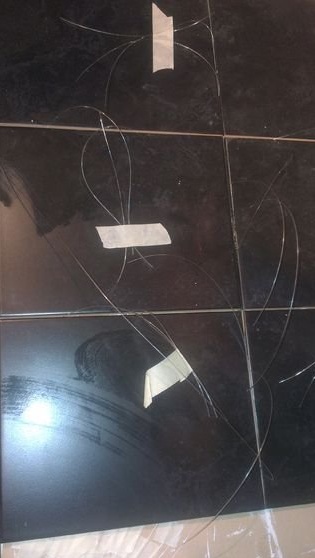
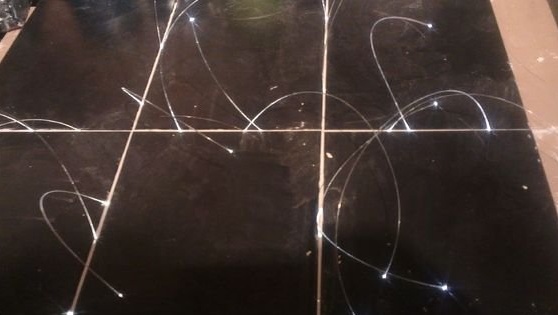
After the preparatory procedures, begin to gradually lay the tiles, releasing bundles of fibers in the seams between the individual squares in those places where the stars should “shine” after.Work carefully so as not to damage the fiber cable, the slightest tear - and your stars will go out, never catching fire. Do not worry if the fiber is long and sticks out above the surface of the tile - you will remove all unnecessary later. Try not to bend the bundles of fibers as much as this will cause them to lose some of the light.
Step number 5: Processing joints between tiles
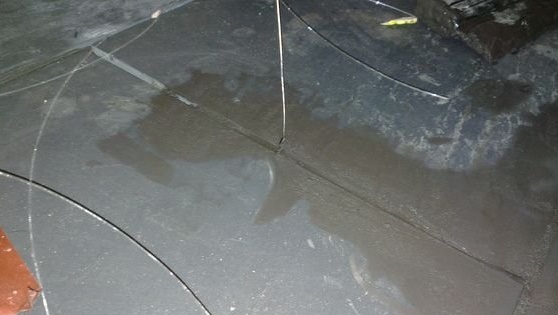
After the solution has dried, proceed to the processing of tile joints. The work is delicate and painstaking .. The fiber is very fragile, and with rough grout the chances of damaging it are quite large. Fill the seams with a fugue and let it dry, the first layer will hold the fibers in position, so do not worry about the presence of small pits or holes. The second layer you fill them.
Cut excess centimeters of fiber with a hot knife flush with the floor. Then cover the joints with a protective silicone sealant or varnish designed for use in bathrooms. This will protect the ends of the fibers from clogging, breaking off, and you from unpleasant sensations that will certainly arise if a broken piece yells at your heel.
Step number 6: Let there be light!
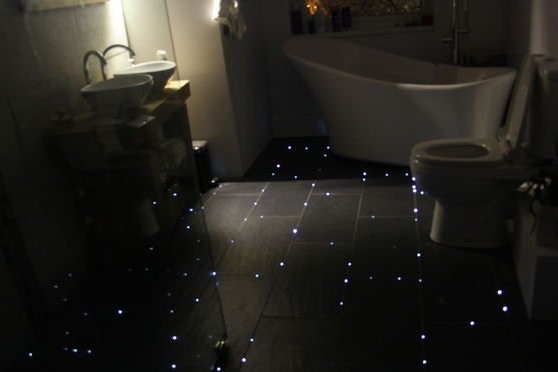
There are projectors that are additionally equipped with accessories for creating various visual effects. In our case, we used the most budget option, which not only looks very nice, but also allows you to save electricity.
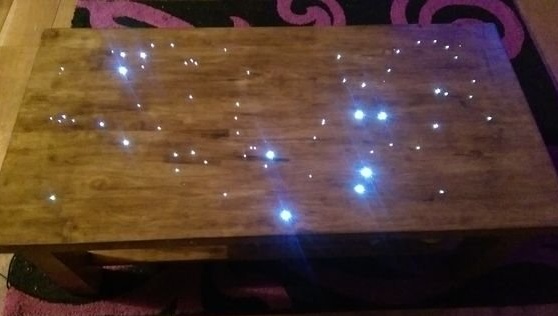
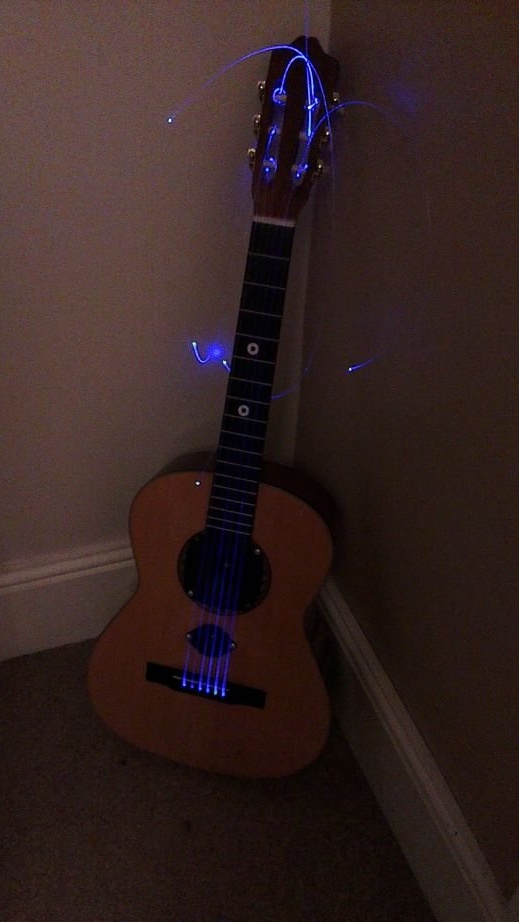
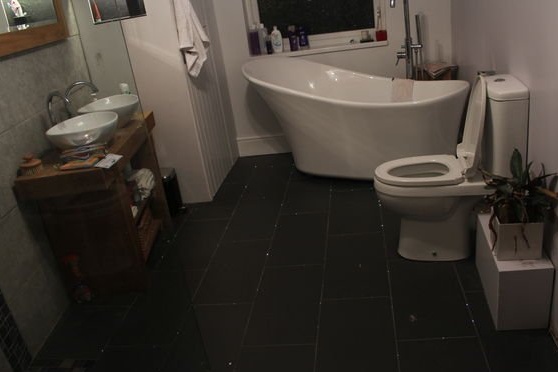
Step number 7: Paul! And not only…
You may have spent a lot of time and effort, but the result is probably worth it. If you show imagination, then in this way you can decorate not only the floor, but also other objects of furniture and interior.