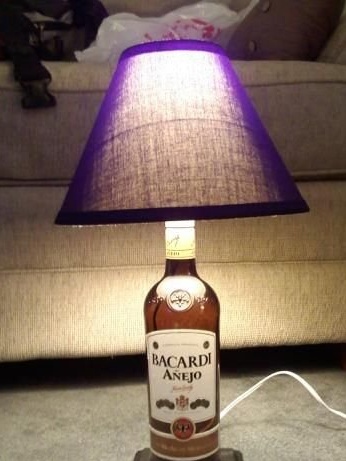
Who says interior parts should be expensive? Nonsense! Sometimes an empty bottle left over from gatherings with friends is enough. Do not believe? We present you a detailed briefing on the manufacture of a creative, budget lamp!
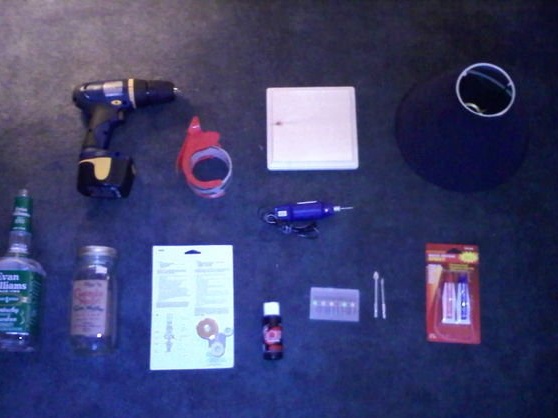
Step 1: Preparing Materials
1. Empty bottle (stable form)
2. Drills
3. Lamp kit
4. Paint / brush
5. Drill with different bits
6. Wooden base
7. Epoxy
8. Lampshade
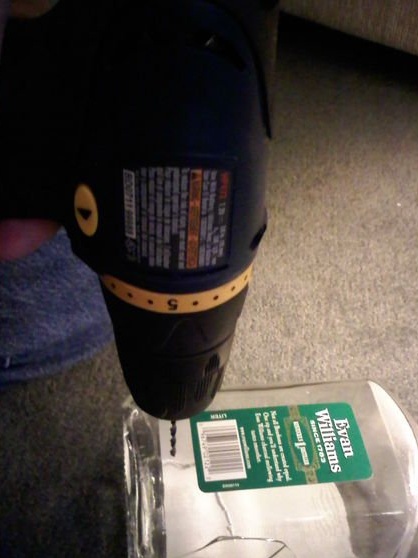
Step 2: drill a bottle
For a start, gloves must be worn for safety reasons. After that, use a drill to make a hole closer to the bottom of the bottle. Use a small diameter drill. When doing this work, do not press hard, as the bottle may crack
Step 3: paint the wood base
Choose the color you want for the base of the lamp and paint it with a brush. Try to avoid places where epoxy will be involved (center and bottom of base). Now you need to drill a hole in the base in order to pass the cable.
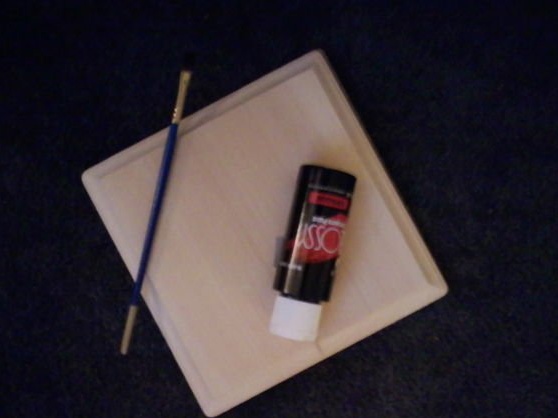
After the paint has dried, take epoxy glue and carefully lubricate the bottle and wooden base. After that, press them together and let dry.
Step 4: Let us install the lamp
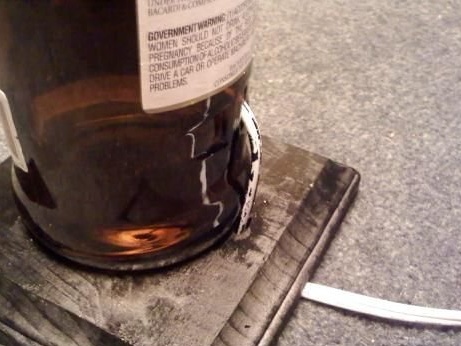
Run the power cord through the hole made in the bottle and pull it out through the neck.
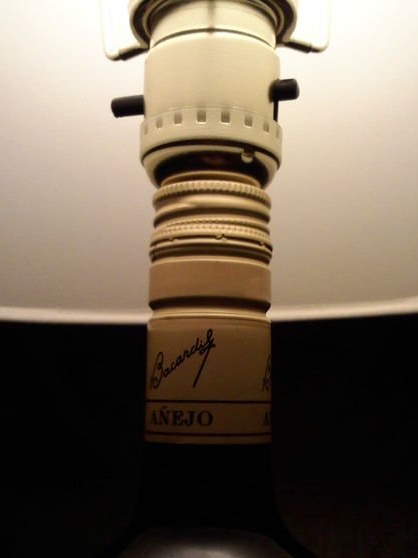
If you want to keep the bottle cap in the decor, then you need to drill a hole in it as well.
Step 5: start the cable
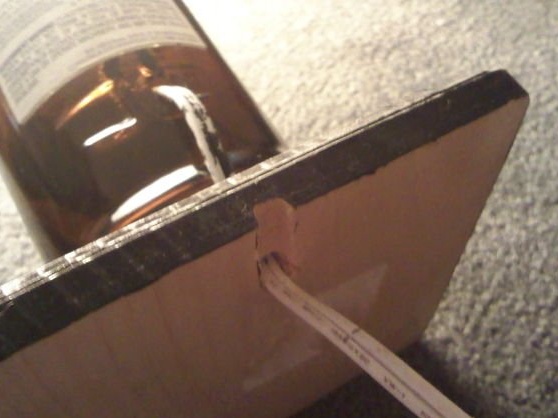
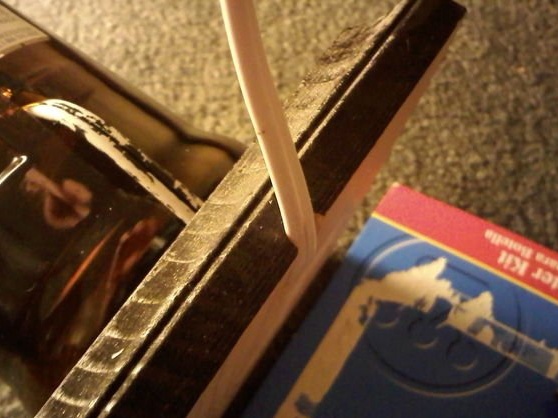
You can leave everything in the form as described in step 4, but we recommend that you also make a groove at the bottom of the wooden base - to allow him to hide the cord.
Step 6: Almost Done
We give time to dry our product.
Step 7: Finish the Hard Work
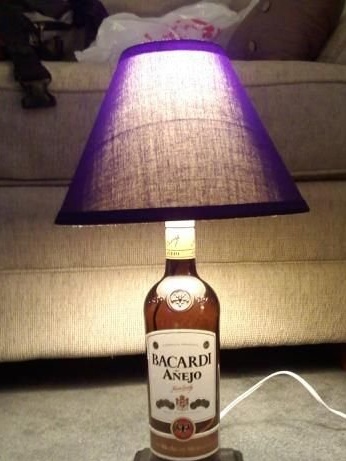
We screw in a light bulb, put on a lampshade, turn on the lamp and amuse pride with our own created exclusive decor element!
None of the guests will lose sight of this magnificent detail. And the light emitted by the lamp will fill your home with comfort.
