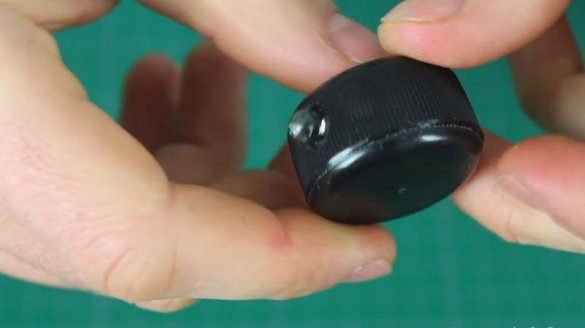
In winter it gets dark early and walking in the dark without a lantern is scary and nothing is visible. And you always forget to buy or take a small flashlight from home. And today I will show you how to make a mini flashlight from an ordinary cork. You do not have to carry large flashlights, and a mini flashlight can always be in your pocket. This flashlight is easy to manufacture and you can make it without extra costs.
First, let's watch the author’s video:
[media = https: //www.youtube.com/watch? v = -TDgdl0mCgc]
Necessary materials and tools:
- 2 plastic covers
- Light-emitting diode
- wires
- 3V battery
- glue gun
- stationery knife
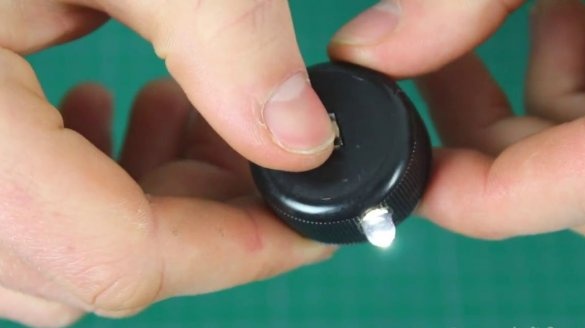
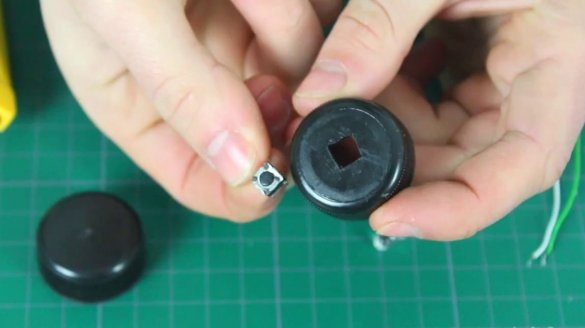
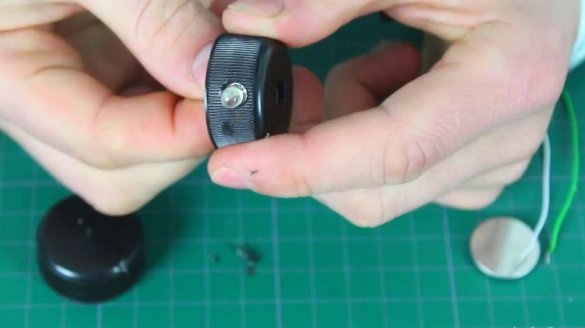
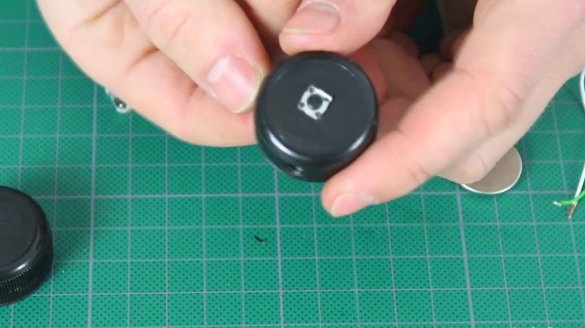
Step 1: First of all, we have to make 2 holes for the switch and LED. On top of the covers we make a square hole for the switch. And from the side to the cover we drill a hole for the LED.
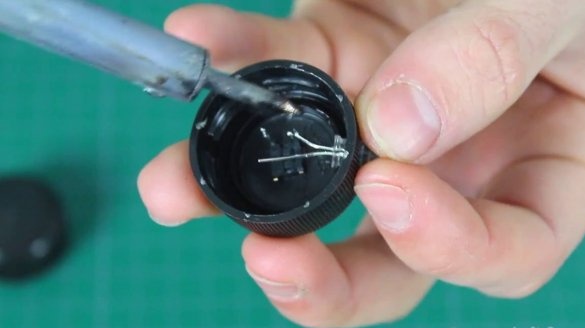
Step 2: Install the switch and LED. Solder the short tab from the LED to the switch.
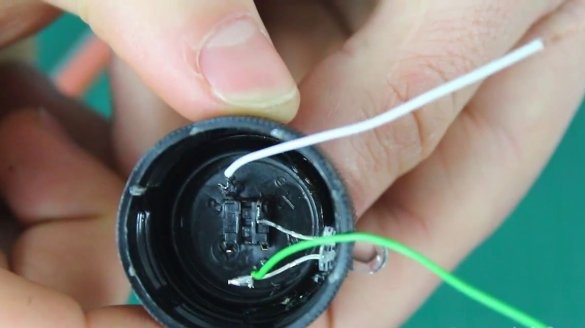
Step 3: Next to the second contact from the switch and to the long tab of the LED, solder 1 wire each. And pour it for insulation, hot melt.
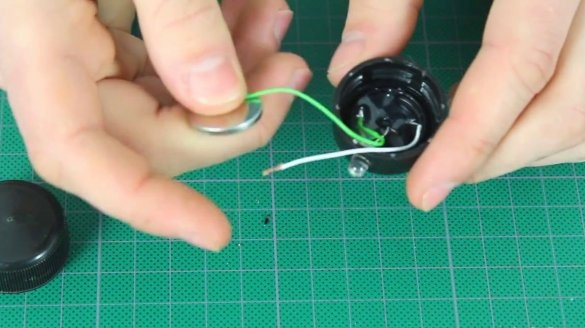
Step 4: Then we connect the wires to the batteries using a piece of electrical tape. Plus from the LED we connect to the plus from the battery and from the switch to the minus of the battery.
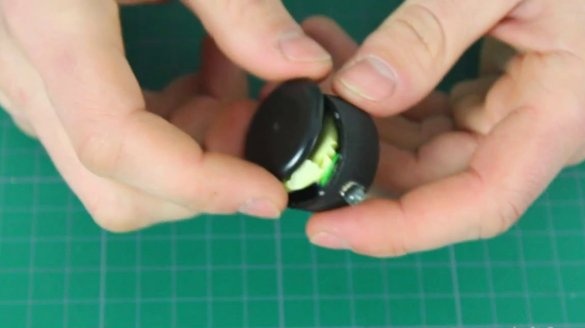
Step 5: It remains for us to make a cover for the flashlight. We take the plastic cover and cut the bottom with the help of a clerical knife. And then glue it on hot-melt adhesive. There is not much glue needed, and if the battery becomes unusable, you will not be able to tear off the lid.
Our mini flashlight is ready!

