Sometimes we get tired of sitting at a regular computer table, it’s impossible to stretch our legs high and we have to move a low footrest to the table. We offer you a solution to this problem: a low game table on casters.
STEP 1. Here's what we need:
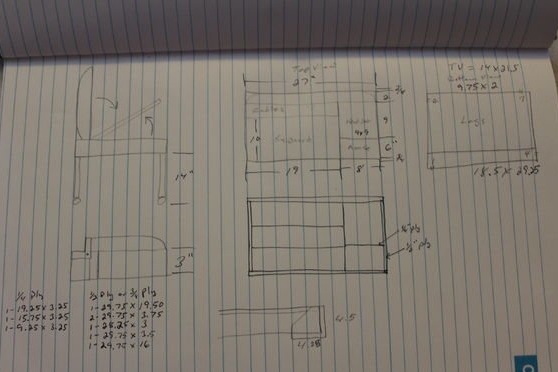
• 2 pine boards with dimensions of 75 * 50 * 11 cm
• 8 boards of pine of different lengths for the formation of walls and compartments inside the table
• 4 iron legs. We took the legs from the old iron box and shortened them to the length we needed
• 4 iron plates with holes for screws.
• 4 small squares of pine 8 * 8 * 2 cm in size. We will attach them to the bottom of the table: legs will be screwed to them
• 1 rectangular board in the size corresponding to the leg of the computer monitor
• glue
• Appropriate number of screws
• Screwdriver
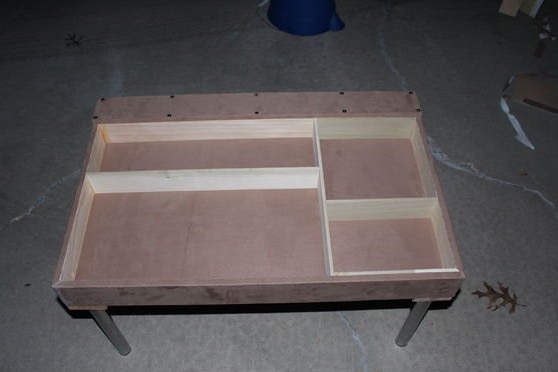
STEP 2
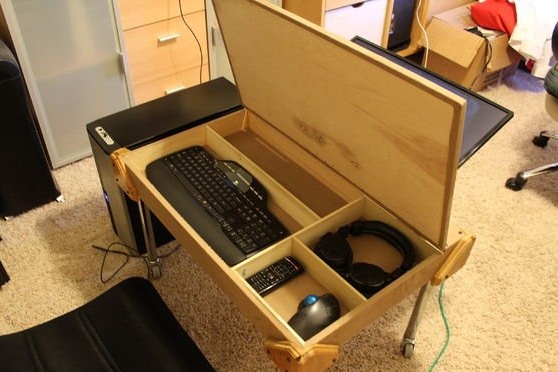
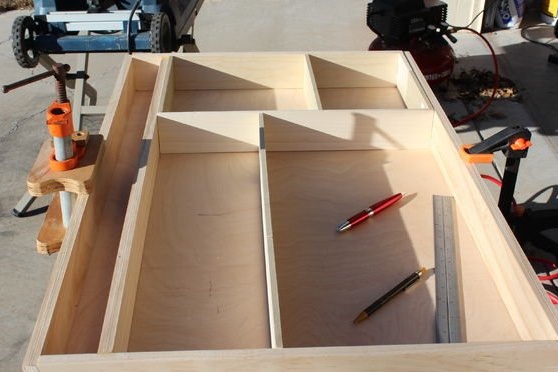
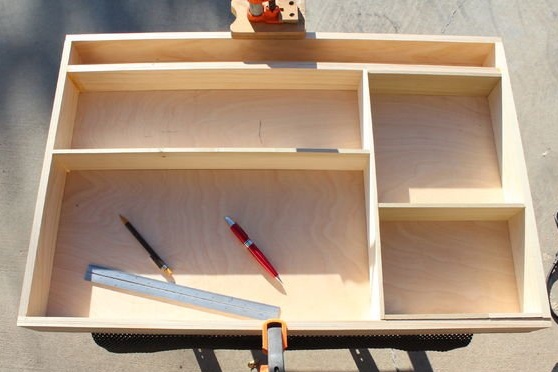
We collect pine boards together to get such a drawer with compartments. We use screws and some glue to glue the boards forming the departments inside the table
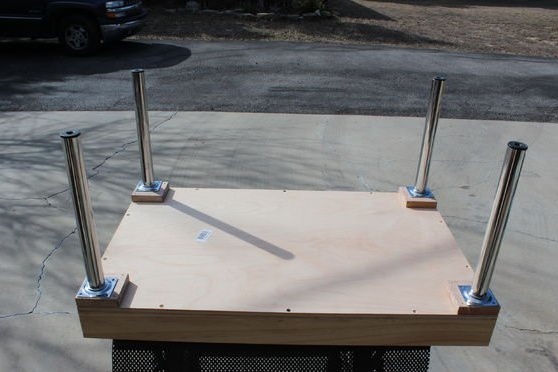
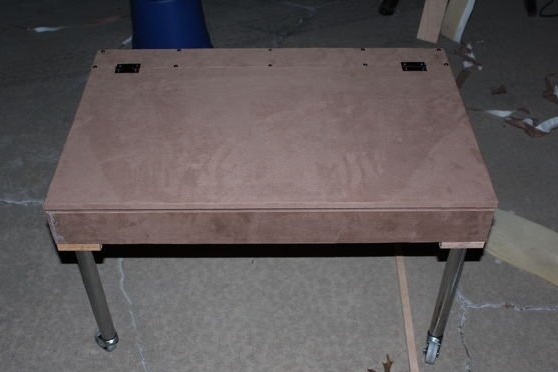
Again, with the help of screws, we attach on the inner side in the corners 4 squares for the legs, as shown in the picture below
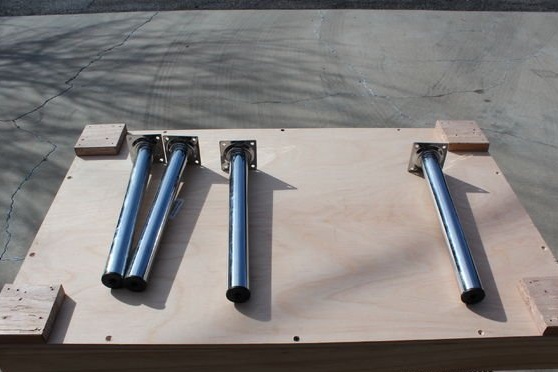
After that, in the same way we attach the legs to them
STEP 4
Putting a table together
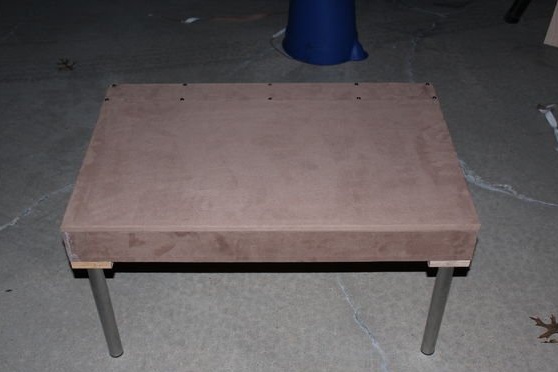
Using all the same materials, we fully assemble the table. We screw the table top so that it lifts, since we need access to the compartments inside. We fasten the wheels to the legs. Not everyone has legs and castors at home, but they can be found on sale.
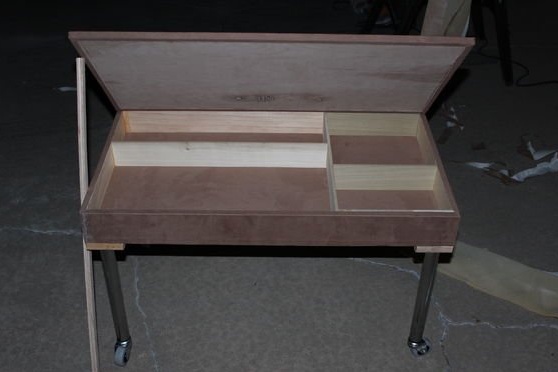
STEP 5
Monitor Installation
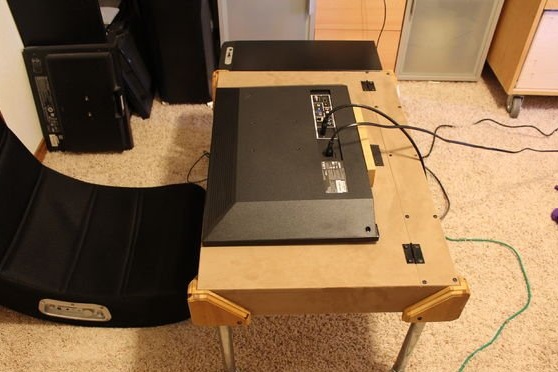
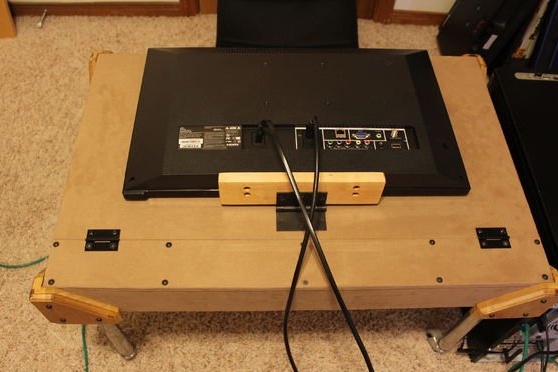
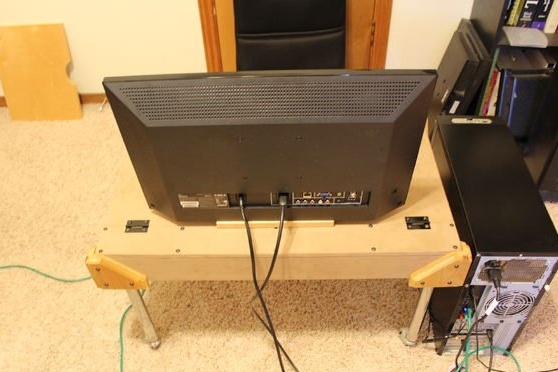
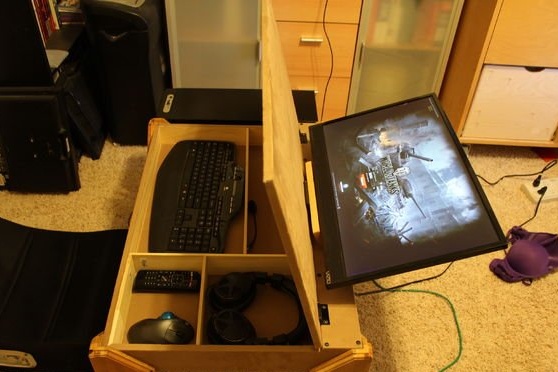
Now we need to install the monitor. Imagine this situation: you need to get the keyboard in the drawer of the table, and the monitor is at the top. You take off the monitor, open the tabletop, take out the keyboard, close the cover and so on. Not comfortable? We agree, therefore, we offer a creative solution: let's attach the monitor to the countertop, and you do not have to remove it and put it back. To do this, we take a rectangular piece of the board, remove the stand under the monitor, and instead attach it to the board with screws. On the reverse side of the lid, we again fasten the rectangular board itself with screws.If everything is done correctly, then when you open the lid, the monitor will not fall, it is firmly "sitting" on the surface.
STEP 6
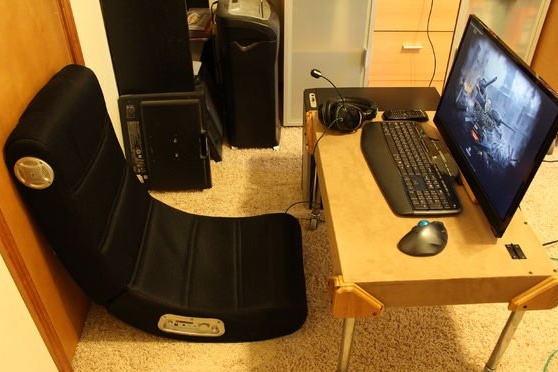
The table is ready!
So, you are the owner of this creative table on wheels. A mouse, keyboard, headphones and everything that used to lie next to the computer and constantly disturbed you are stored inside. Now, thanks to this unique little table, all components are hidden inside and nothing bothers you!