
We suggest you create a unique crib in a rustic style for your child. We liked just such a design, but you can redo it at your discretion.
Necessary materials:
• Crib plan
• Aspen logs of different thicknesses and lengths
• Metal springs for the mattress (or slats, if you want to create a base from wood)
• Chainsaw
• Drill and drills of various diameters
• Ordinary knife
• Chisel
• Sandpaper
• Bolts for fastening
• Several hooks
• Belts for screed
• glue
Foundation preparation
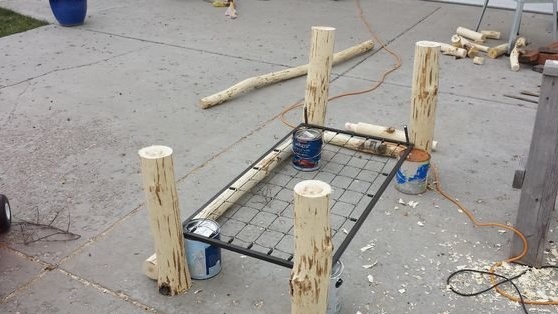
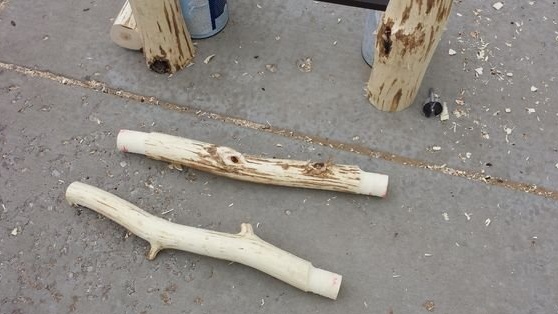
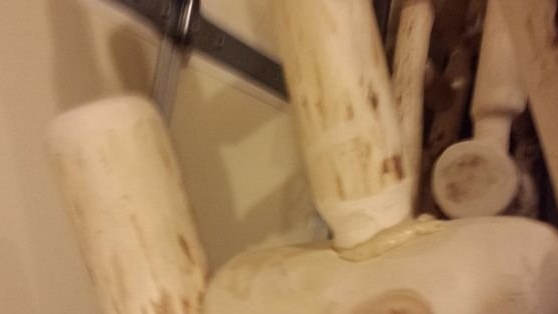
If you already have springs for the mattress, then first you need to use four chainsaws to cut the required length and diameter for the corner posts using a chainsaw. Put the springs on the stacks of magazines or on cans of paint of the right height and cut out the longitudinal and transverse logs. The wood must be sanded so that it is smooth and pleasant to the touch.
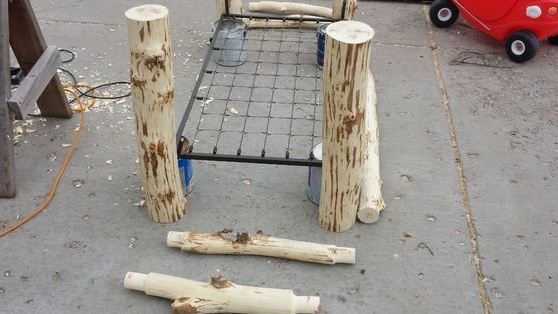
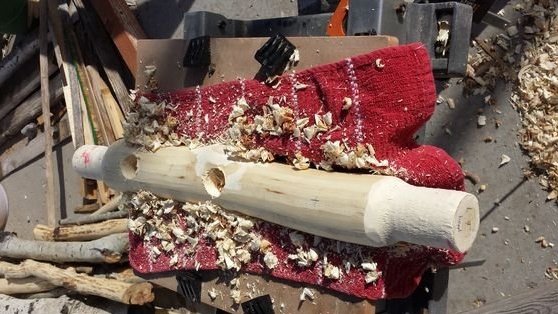
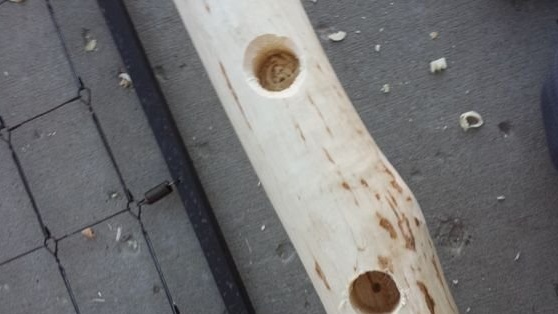
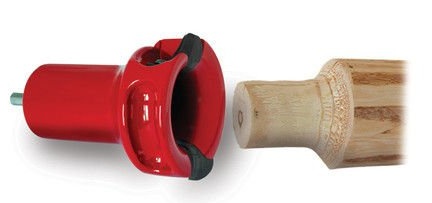
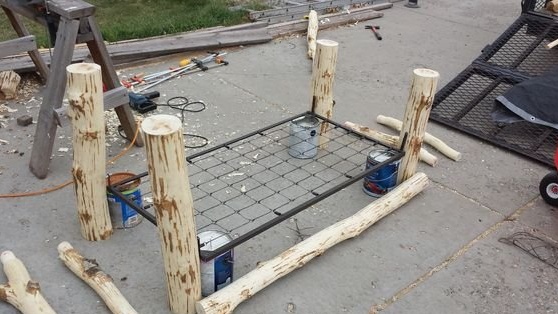
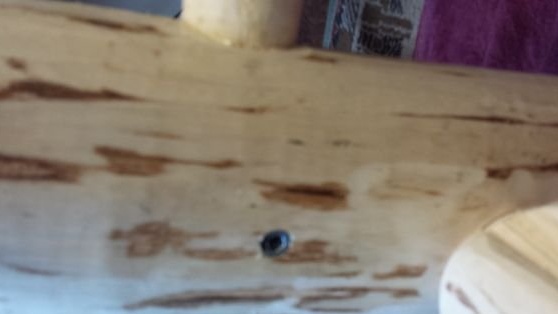
Drill small holes in the corner posts where the longitudinal and transverse crossbeams of the bed will be inserted. On the prepared crossbars we sharpen the ends so that they completely coincide with the diameter of the holes on the corner posts. This can be done with a chisel or with the help of a machine that grinds the ends of the logs like a pencil sharpener.
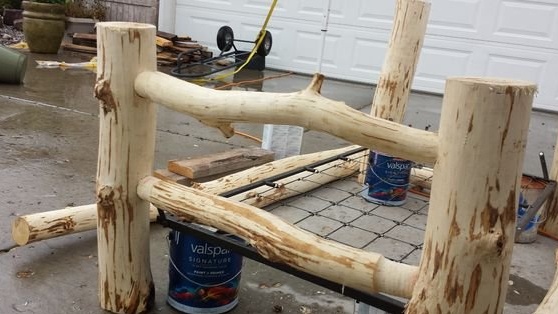
In the same way we create a railing for a bed. We recommend making the railing a little shorter than the length of the product so that your baby can freely climb out of the crib.
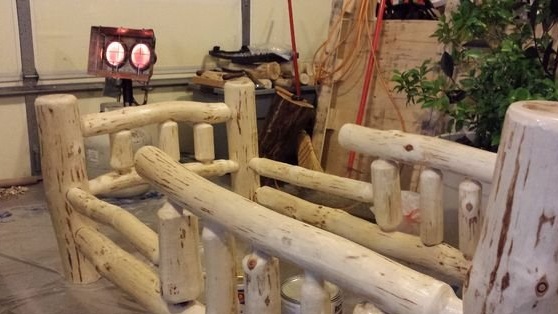
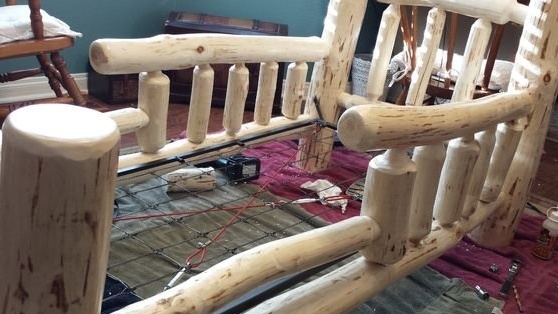
Assembling and gluing the bed
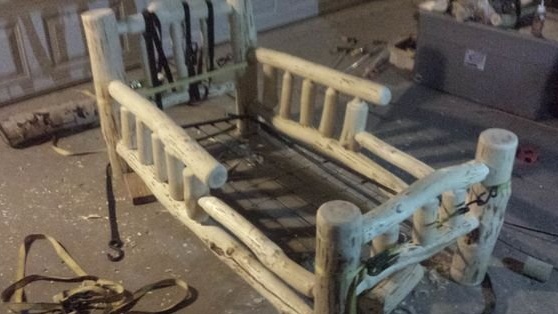
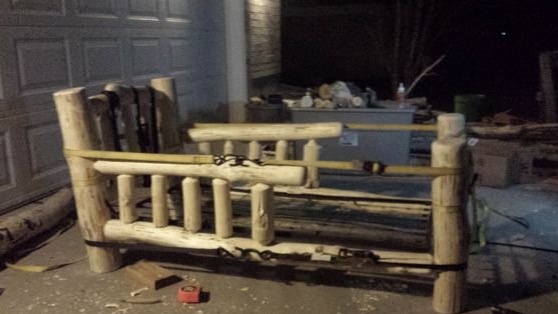
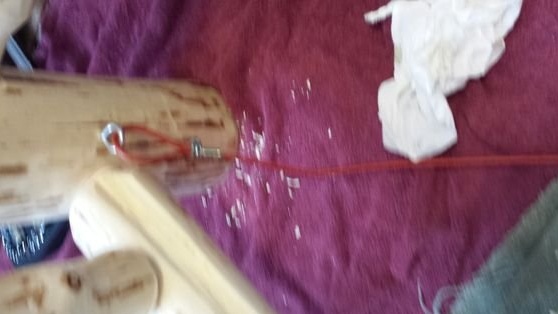
For assembly, we recommend that the joints be smeared with glue and, after the final assembly, tighten with straps in the places shown in the photo above and let the glue dry without touching the bed for a couple of days.
Grinding
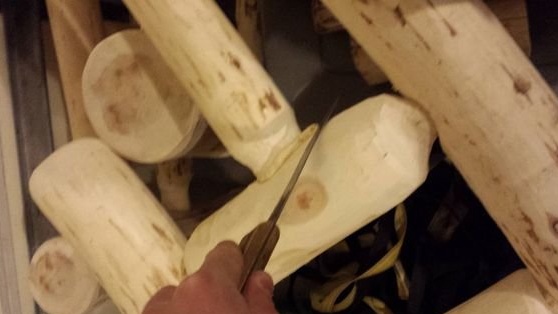
Remove glue residue with a regular knife and sandpaper. Check all logs for nicks or surface irregularities. Go through all the details again with sandpaper until the defects are completely destroyed. After all, this is the safety of your child
Finish
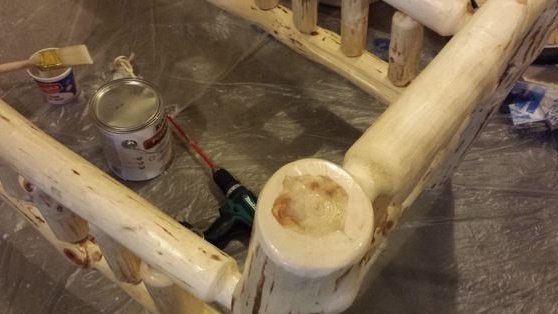
After grinding, we proceed to painting. Covering the parts is necessary only with material that will not harm your child with prolonged contact.After covering, let the crib stand in the fresh air for several days so that all vapors are weathered. And only then install a crib in the house.
Final assembly
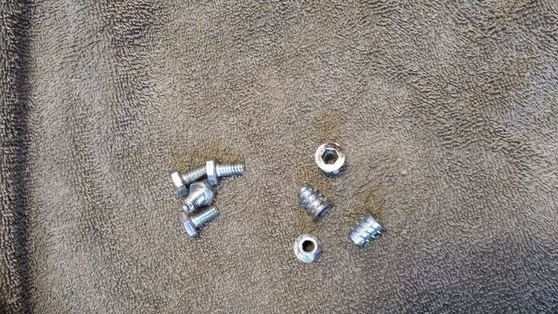
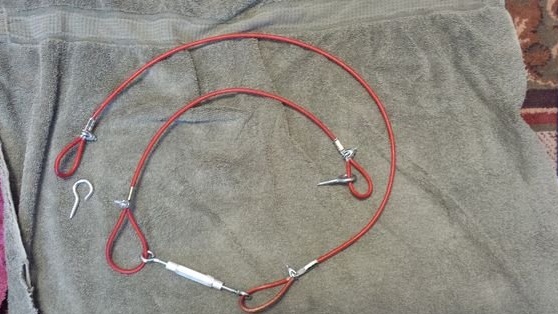
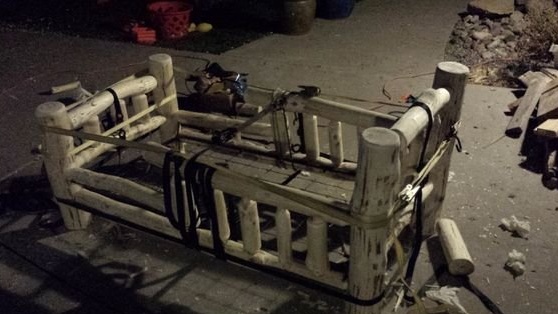
First we do additional support. To do this, drill four small holes on the inside of the transverse logs with a drill, then screw the hooks into them. Attach two straps crosswise to these hooks. Belts should be made of very strong material, for example, a steel cable wrapped in plastic.
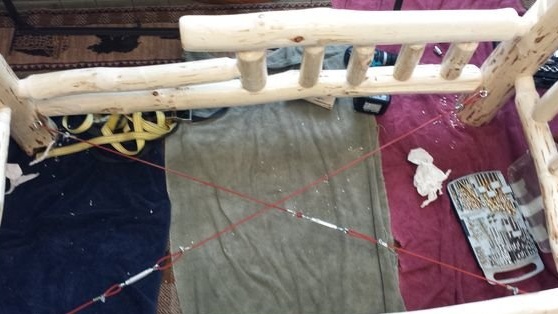
Install strong “dogs” for fastening and special brackets that allow you to tighten belts.
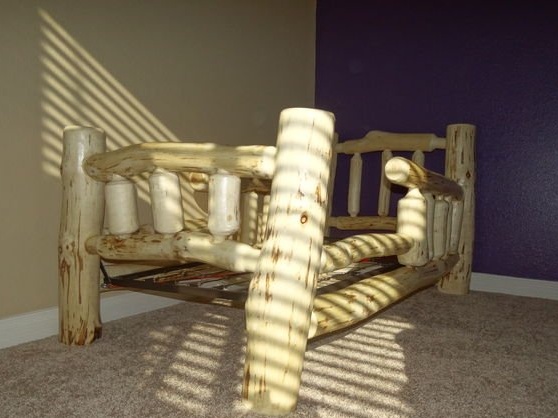
Hurray, the bed is ready!
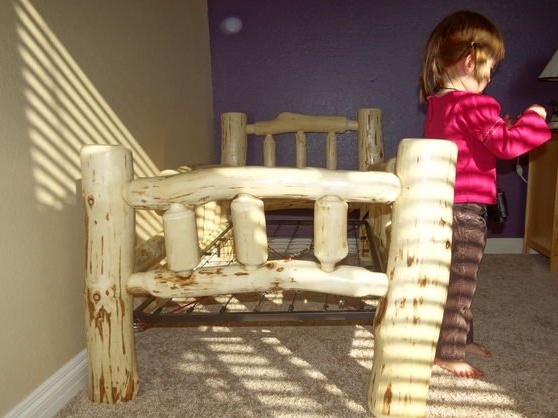
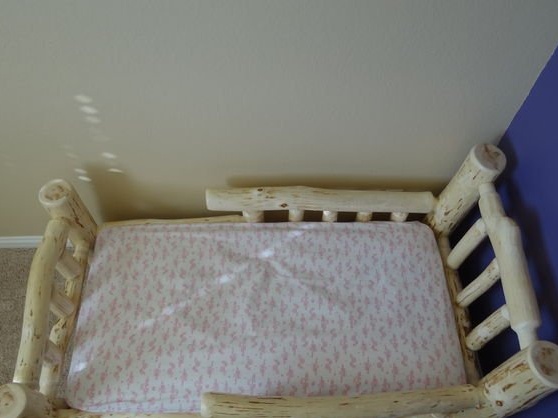
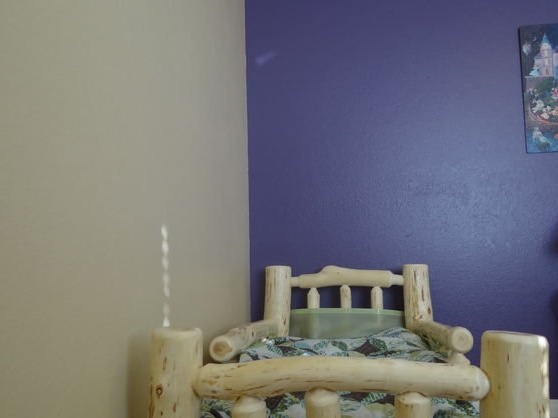
Make a bed and invite the baby to evaluate your work. We think any child will like it. The bed should be very durable, the baby will not fall out of it, will be able to independently get out and even jump on the crib.
Rejoice with the child!