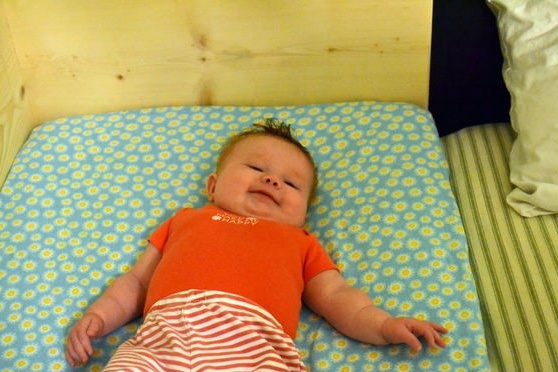
Sharing a dream with a baby is a great way to increase your relationship with him. A fairly common problem for parents is night feeding.
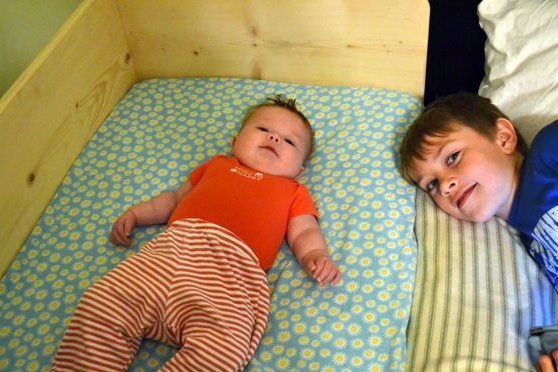
Step 1: Preparing Materials and Tools
This manufacturing instruction is designed for a bed with a size of 96.52x60.96 cm, with a thickness of the wooden base (depending on the chosen wooden coating) from 1.27 to 5.08 cm.
If you want to make the bed brighter, turn on imagination and create.
Source materials:
• Compact mattress (available at specialized stores)
• Wooden smooth boards (parts):
• 2 parts - 2.54x30.48x20.32 cm
• 1 part - 2.54х10.16х20.32 cm.
• 3 parts - 5.08x10.16x20.32 cm.
• Bolts (screws).
Instruments:
• Hand saw
• Milling machine 0.95 bits.
• Drill with a bit for screwing in bolts (screws)
• A place for processing.
• 220 grit sandpaper
Step 2: Take Care of Security
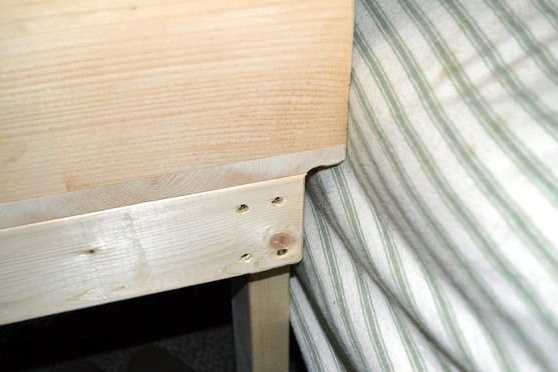
When making a shared bed secure, you need to think about:
* Open areas that should be larger than the size of the child’s head.
* The presence of sharp corners, they should be rounded.
* Children's furniture must be sustainable.
* The mattress of the joint bed should correspond to the crib itself.
* Make sure any wood finish is non-toxic.
An important point! Measure the thickness of the mattress of the joint sleeping place and the bed of the parents; they should fit snugly together.
Step 3: calculate the height of the legs of the crib
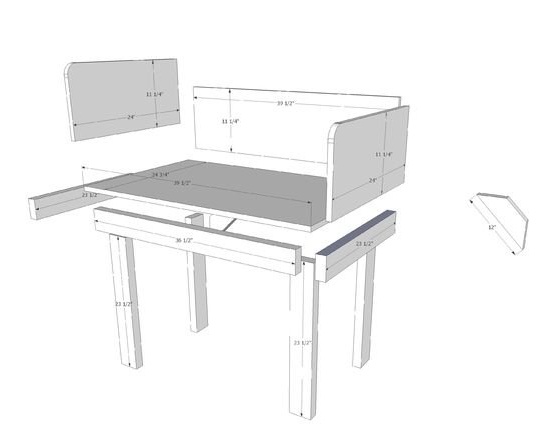
Measure the thickness of the crib mattress, and the distance from the floor to the top of the mattress in an adult bed. The length of the legs of the crib should correspond to the height of the parent bed.
Step 4: Modulate the Parts
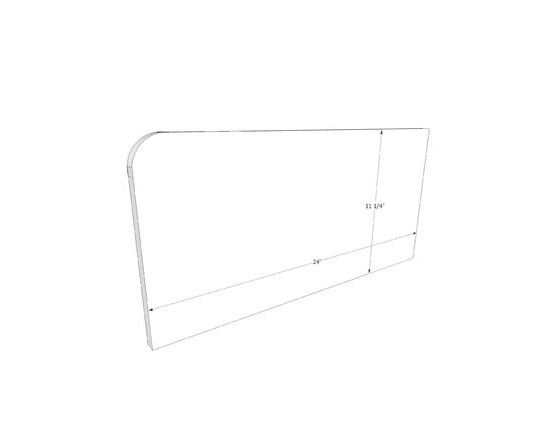
The sketch shows the dimensions of the parts in inches: 1 inch-2.54 cm.
Step 5: round the corners
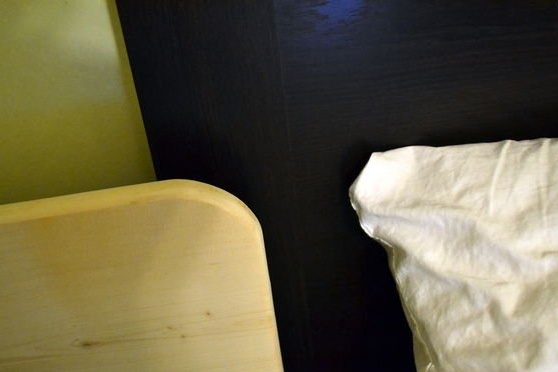
Take 2 parts of wooden surfaces measuring 2.54x30.48x20.32 cm.
Now using a round jar or other object with a similar radius, mark a quarter of the circle on the protruding corners and with a band (hand) saw, round the edges.
Step 6: Putting the Parts Together
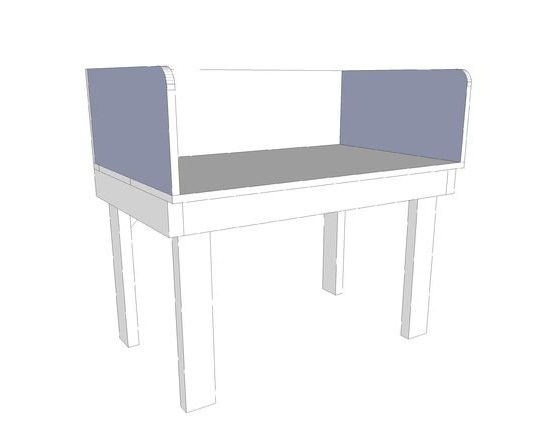
Before starting the assembly, inspect the diagrams and pictures, so you will have the structure of the product put together. The crib should have a “lip”.
It's time to connect all available parts with screws (screws).
Now screw the legs. Ensure the stability of the assembled structure.
Step 7: Round off everything with a milling machine
Use 0.95 cm bits and round both sides of the shared bed box. Make sure that the surface is perfectly smooth, without chips, cracks and burrs, so that the child is not damaged. After that, fix the result with sandpaper. If you decide to paint the crib, use non-toxic paint.
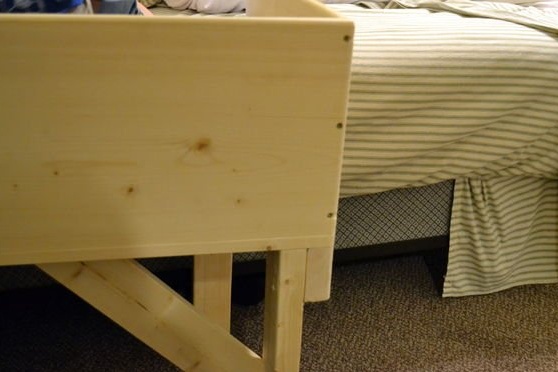
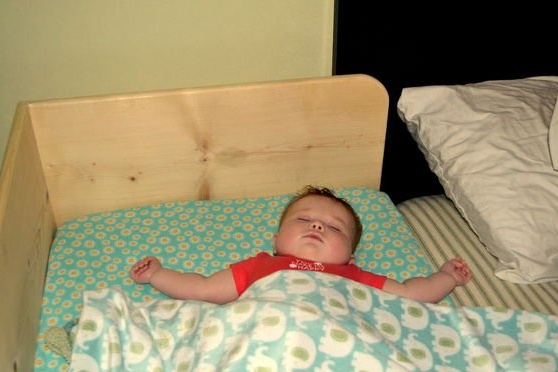
Now a good dream is provided for both parents and baby!
