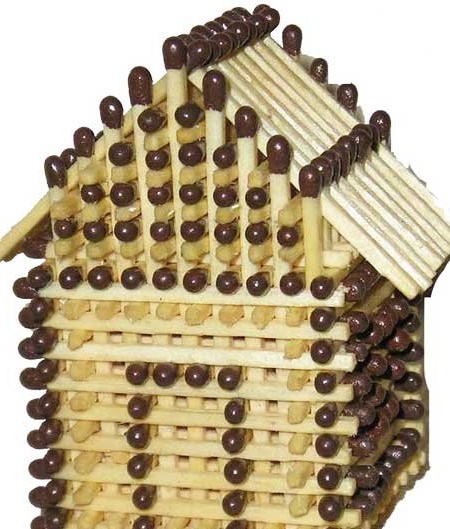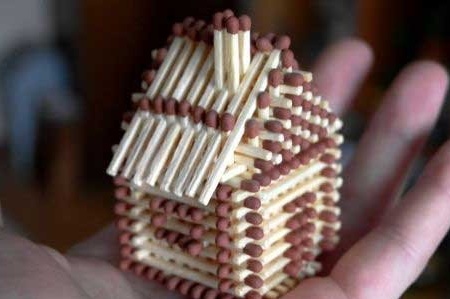
If you like to collect crafts from improvised materials, but you don’t already know what to do, I will show you a wonderful idea how to make a house out of matches without glue. You can assemble such a house without difficulty if you have patience and desire. You can give the house to your family and friends, as it is made do it yourself.
Necessary materials and tools:
- matchboxes
- a box for a disk
- tweezers
- two ruble coin.
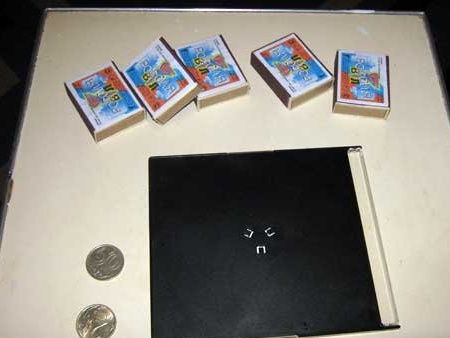
Step 1: Put 2 matches on the box.
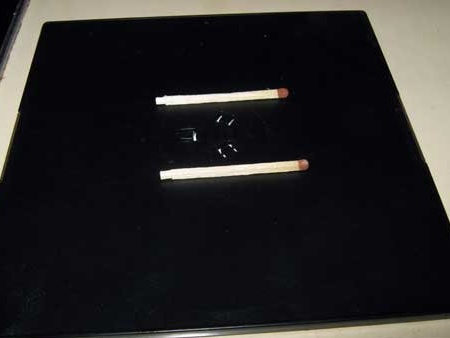
Step 2: On top of them you need to put 8 matches perpendicular to the first two. They should lie flat and have equal gaps between them.
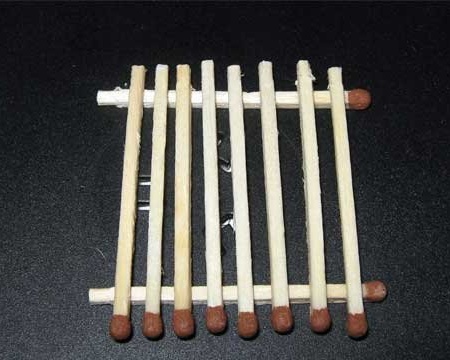
Step 3: Then you need to put another row of eight matches. The heads of the matches should now be on the other side.
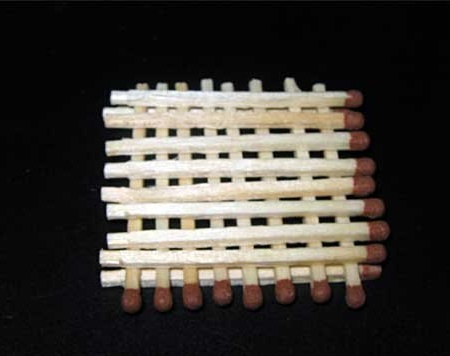
Step 4: Next you need to make a well of 7 rows. When the heads of matches should lie in a circle.
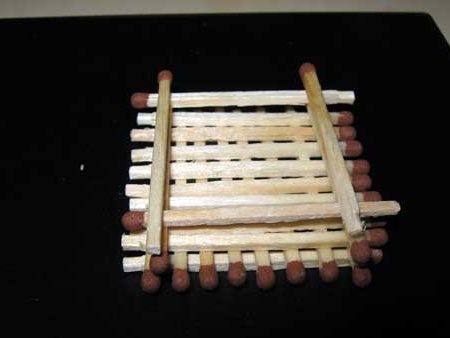
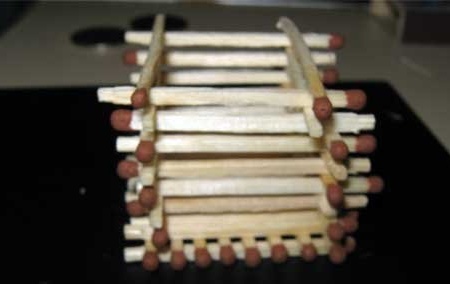
Step 5: Now we need to make a flooring of 8 matches. Place the matches carefully and keep the same distance between them.
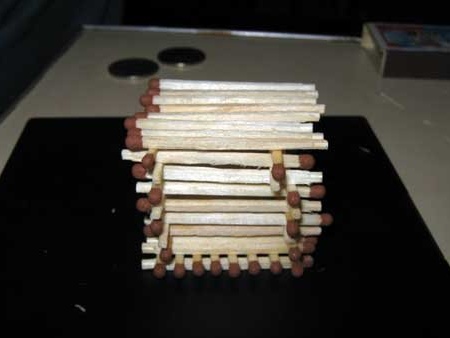
Step 6: Then put a row of 6 matches. And put on the whole structure, two ruble coin. We will add 2 matches later.
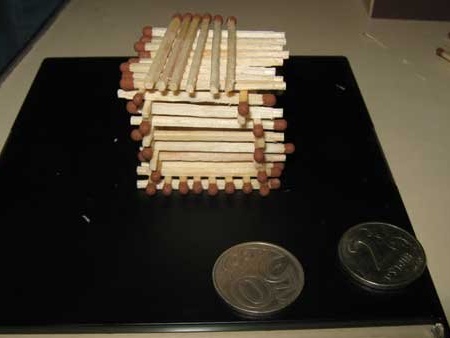
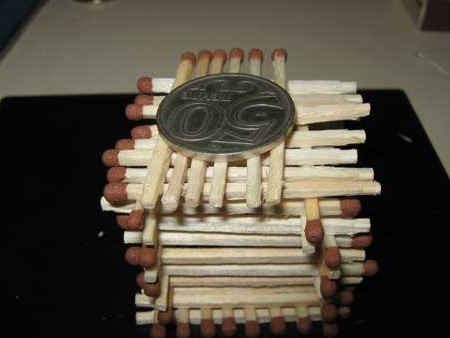
Step 7: Holding the coin with your finger, you need to insert matches in the corners. Make sure matches match the top and bottom flooring evenly.
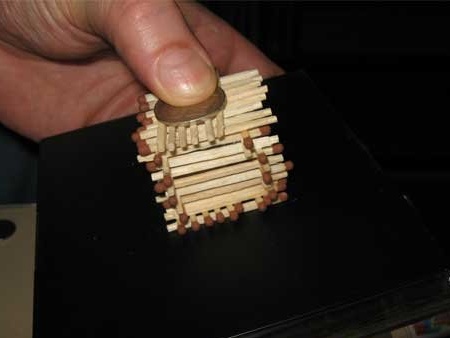
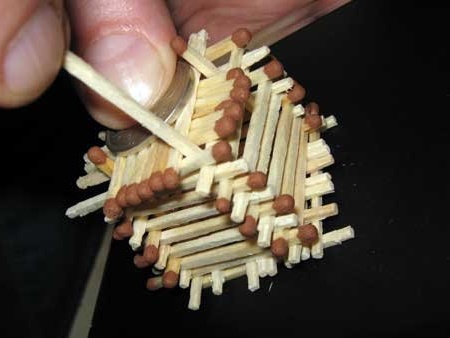
Step 8: Stick the remaining matches in a circle, helping to push the matches apart with tweezers or a toothpick. Do not forget to press a coin with your finger.
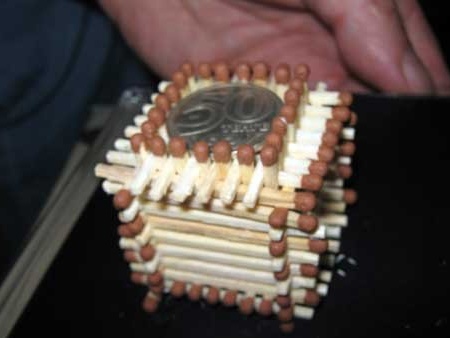
Step 9: Press the walls with your fingers. And trim all sides. Then take out a coin.
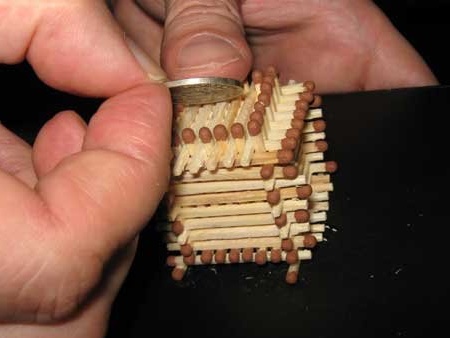
Step 10: Gently take the house and squeeze it from all sides.
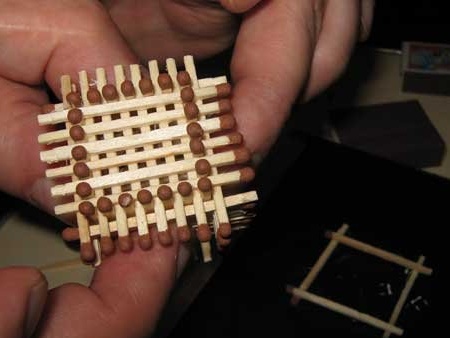
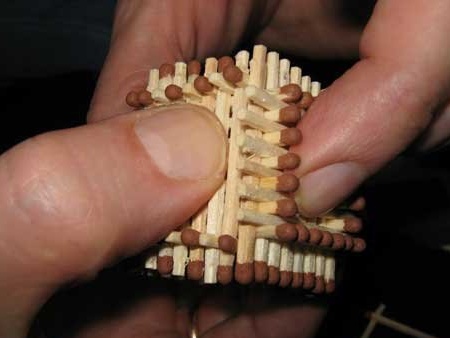
Step 11: Press in the matches so that the heads of the matches hold the workpiece. And so we made the foundation of the house.

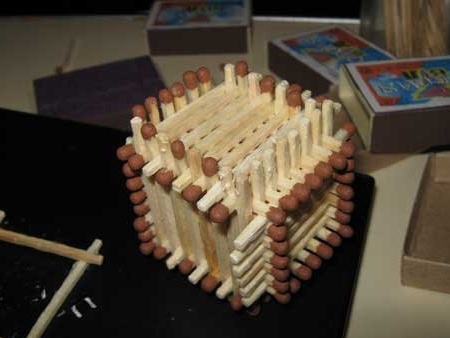
Step 12: Then you need to make the walls of the house. Stick the matches with the heads to the top from 4 sides.
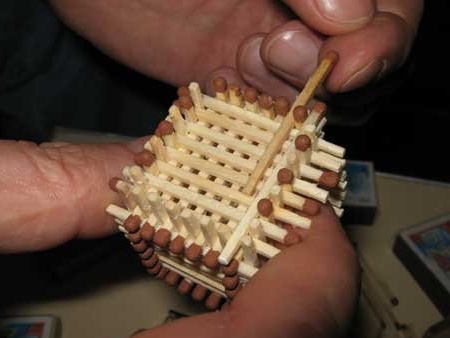
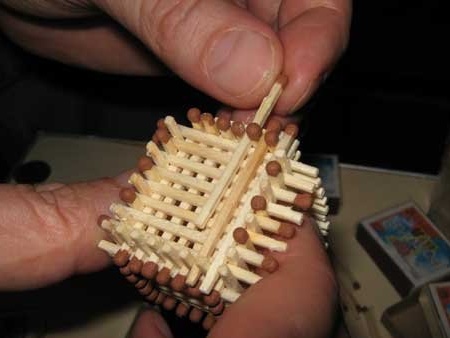
Step 13: Lay down another row of matches.
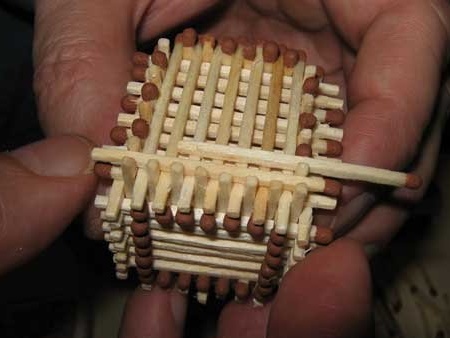
Step 14: Now you need to make the house a roof. First you need to insert the missing matches into the corner holes.
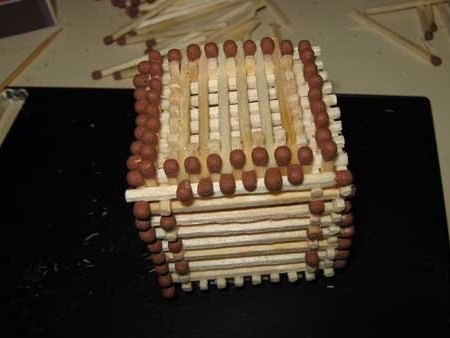
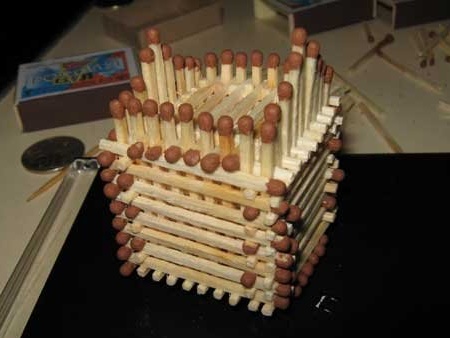
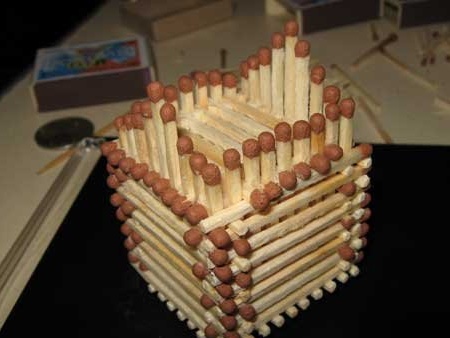
Step 15: Next, you need to do according to such a drawing.
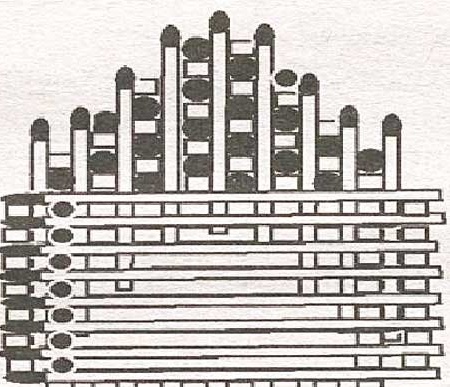
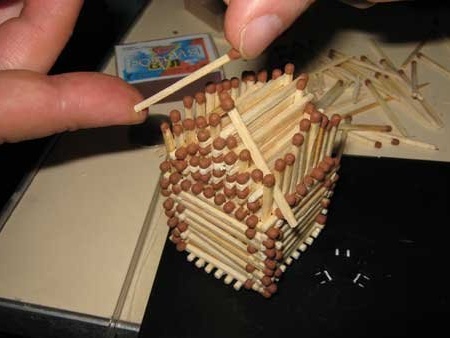
Step 16: Next, we begin to make roof tiles. Insert the tile matches as shown in the photo.
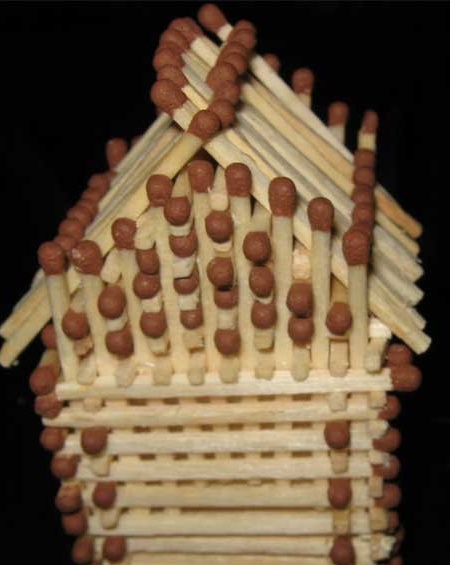
Step 17: And now our house is ready! If desired, it can be decorated with windows, a pipe and varnished.
