
A good heavy swing will be a great decoration on a suburban area. They will surely appeal to both children and adults. Moreover, the process of their manufacture is quite simple.
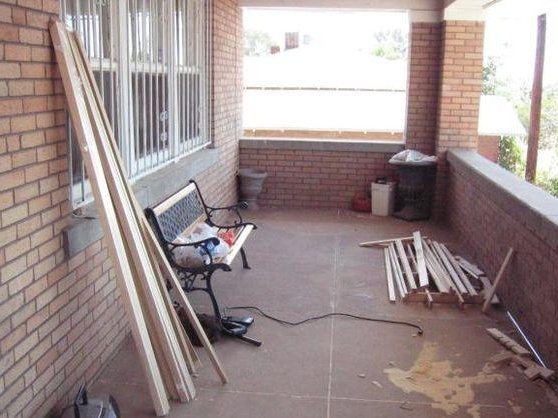
Step # 1: getting started
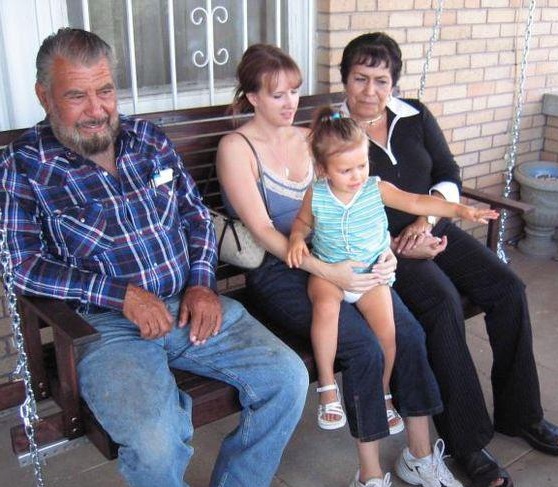
The main criterion in the construction of the swing was their "carrying capacity": three adults, not very small people, should feel free to feel on them.
The angle at which the backrest is attached to the seat was determined empirically, after long studies of finished swings and benches in parks and squares. Width and height depend on the length of the legs, and these parameters are individual.
Step # 2: Back
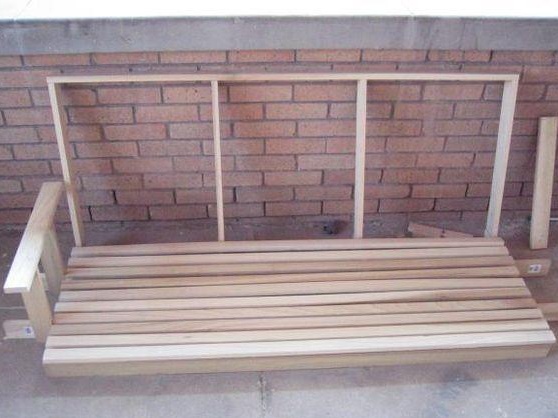
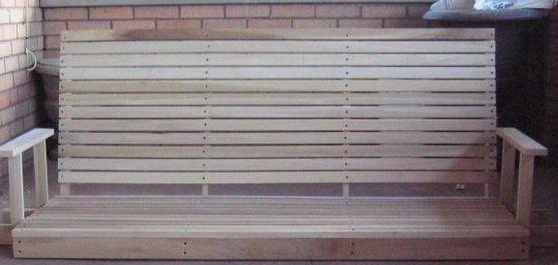
Initially, the ridge of the structure is made, in which the bars are connected at the selected angle (this will be the back angle). Elements are fastened together with glue and screws for a particularly durable connection.
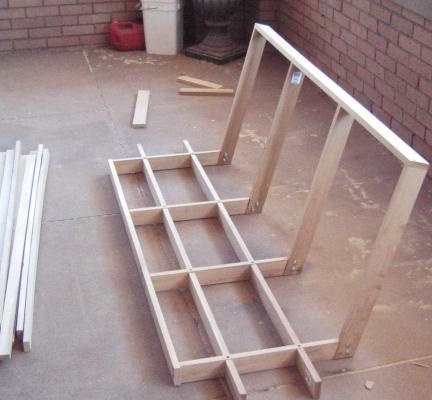
Step No. 3: The Skeleton
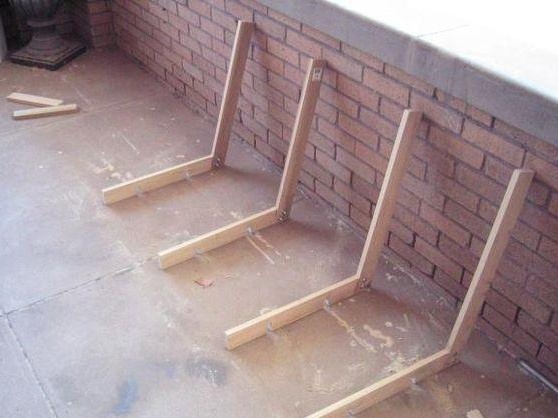
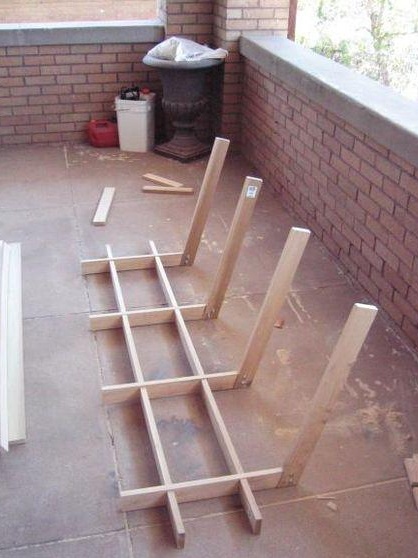
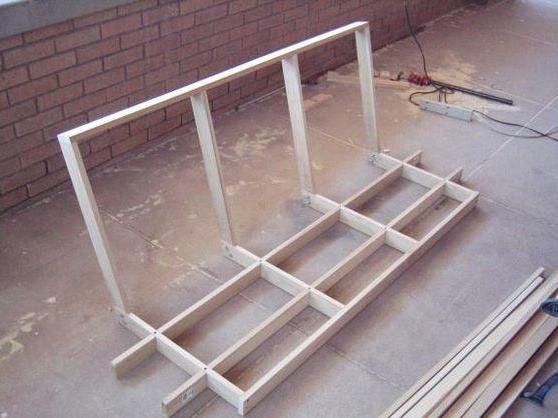
To give additional rigidity to the structure, we attach additional ribs along the back and seat. Thus, the shape of the future swing is formed.
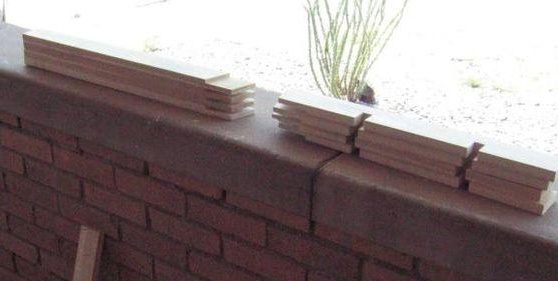
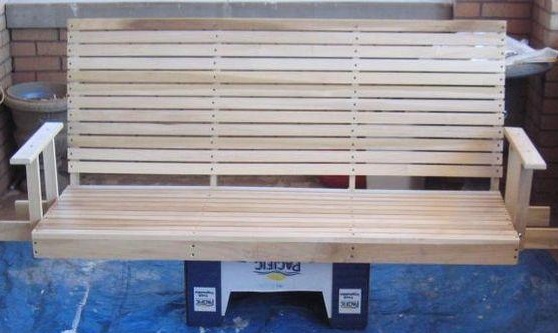
Step # 4: Seat
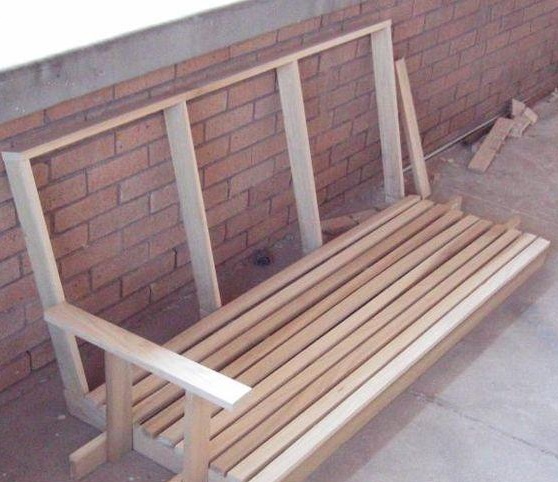
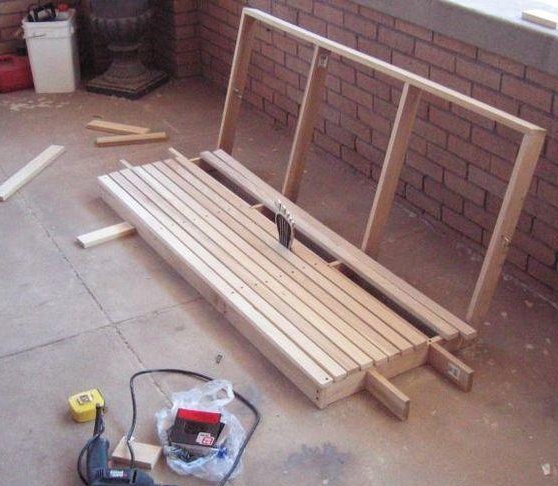
Before you begin attaching the strips, check once again their length and order. This stage is simple, but the work ahead is monotonous and scrupulous. On each lamella, holes are drilled on both sides, with which the bars are fixed to the frame.
Step # 5: Armrests
After the bars of the seat and back are fixed (in the same way), it is time to attach the armrests. Their design is quite simple, but they are fastened with bolts, so, if desired, in the future they can be easily replaced.
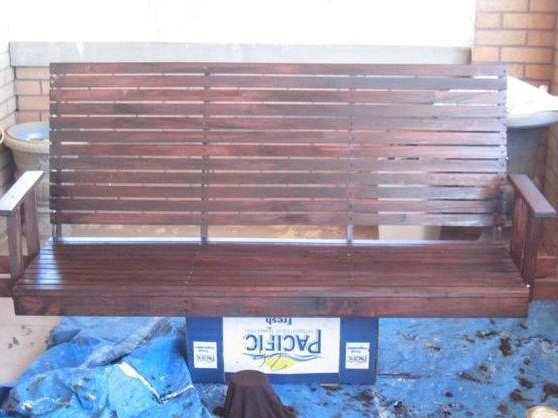
Step # 6: Coloring
It is necessary to cover the swing with a composition designed to protect wood. It can be impregnation, drying oil, varnish - not fundamentally, the main thing at this stage is the quality of work. And the work will be painstaking: the bars must be painted over from all sides, very carefully, because the life of the swing depends on how well the varnishes are coated with varnishes. A swing installed on the street will be affected by adverse factors (rain, wind, pests), so the protection should be high-level.
You can use formulations in the form of sprays, they are applied faster and easier, but the expense of such funds is much higher.
Step number 7: the subtleties of installation
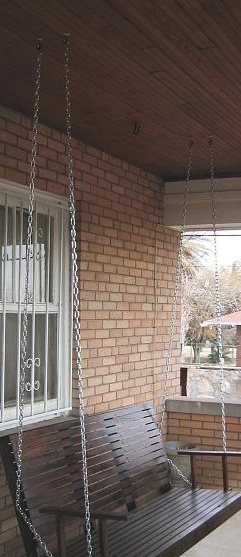

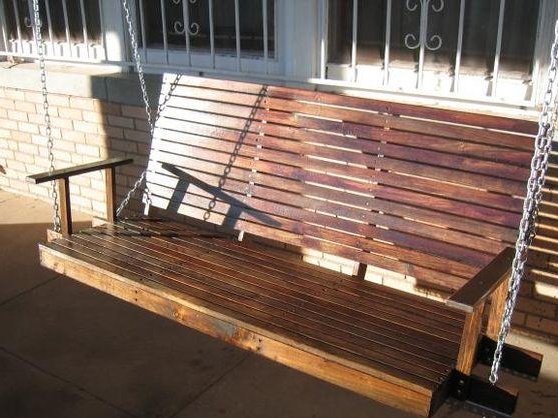
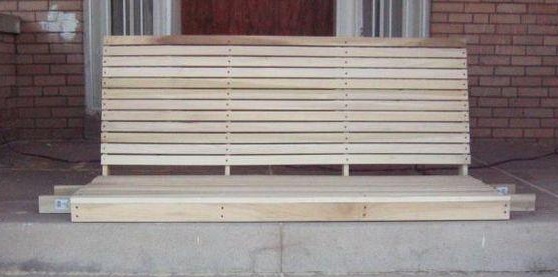
Additionally, the bottom is reinforced with a metal profile. Perhaps this step is optional, but the margin of safety does not hurt.
The finished structure is fixed on chains from two sides at the right angle. Naturally, the beams or rafters on which the chains are attached should be prepared to withstand such a load.
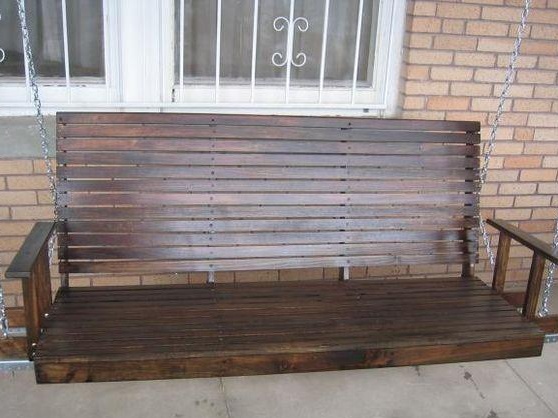

Have a nice rest!