
The Coca-cola drink alone cheers you up, and if you use the company logo in your decor, then even more so. This instruction will help you in the manufacture of the author's name table!
Step 1: Gather the necessary materials and tools


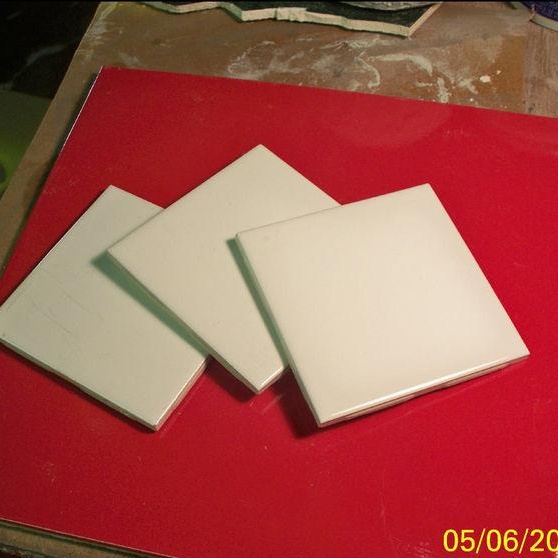
• ceramic tiles red and white
• hammer
• cutter
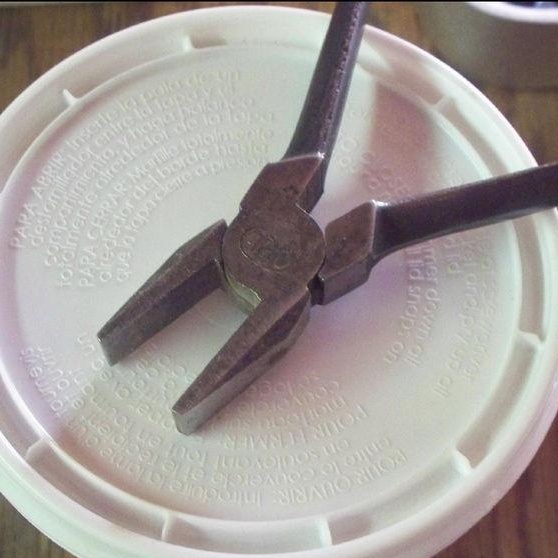
• pliers
• spatulas
• wooden surface with a diameter of 61 centimeters
• mop for washing windows
• sponge
• a bucket of water.
Step 2: Prepare the surface
Coat the entire surface of the table with red latex paint.
Step 3: Label Coca-Cola
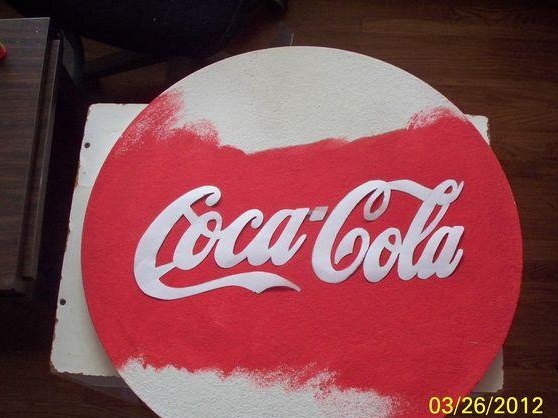
Find the appropriate inscription on the Internet and print in the sizes you want.
Step 4: Cut the inscription
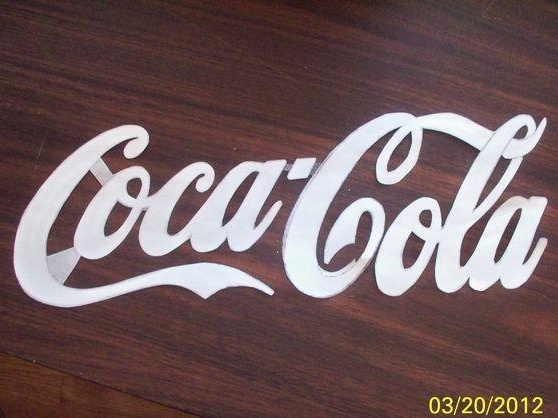
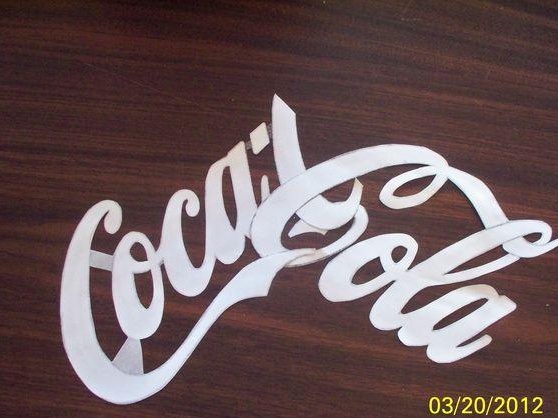
Use scissors to cut the text and a knife to cut the center in the letters "o" and "a".
Step 5: Use a Stencil
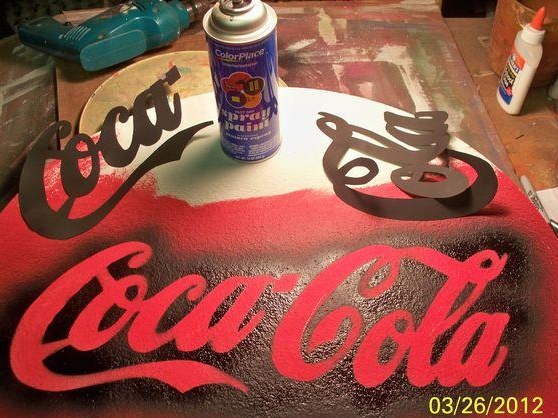
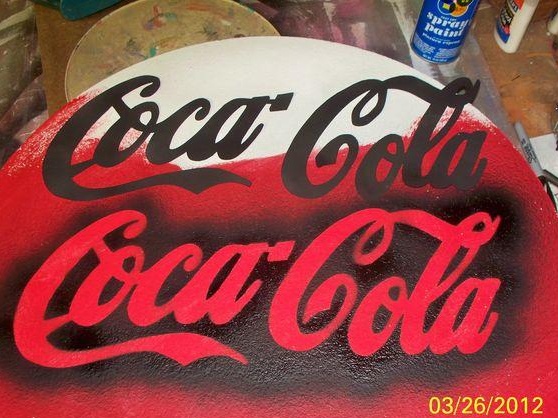
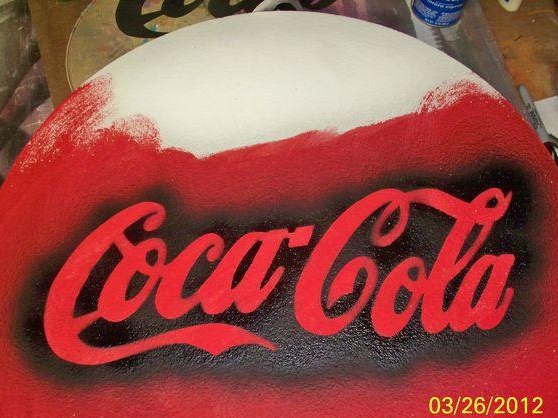
Apply the stencil to the center of the table and apply black spray paint on the stencil. The exact uniformity of the application does not matter much, as the table will be covered with mosaic tiles.
Step 6: test the tile
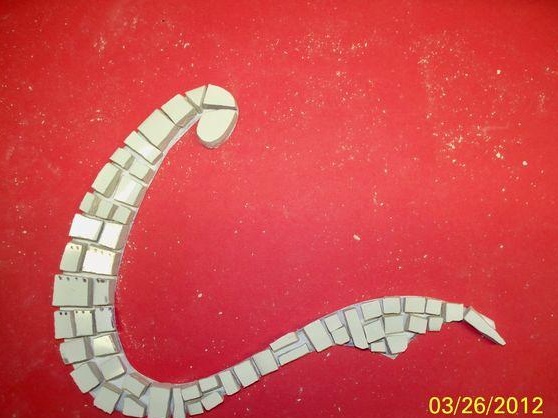
To see how parts of the mosaic should fit, try laying out the required number of pieces of tile on paper.
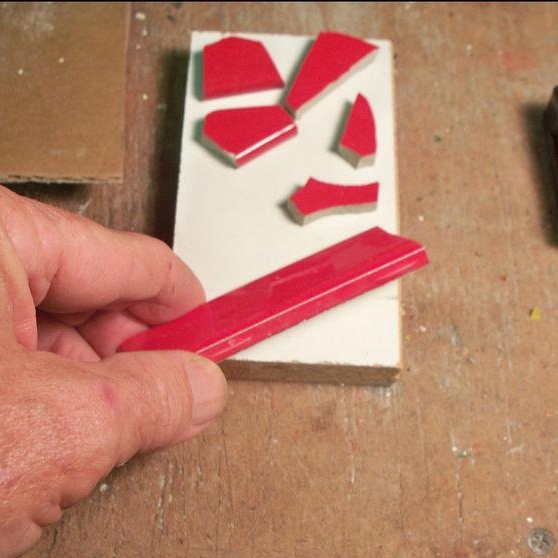
Step 7: Destroy the Tile
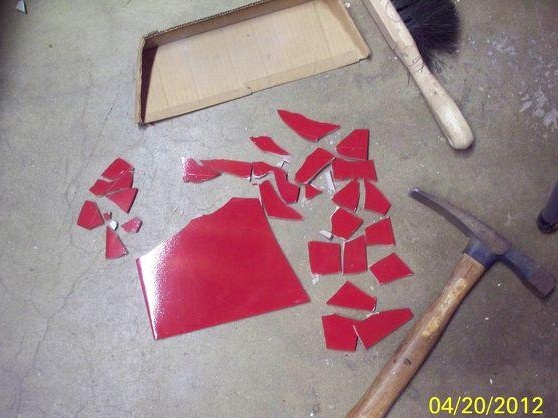
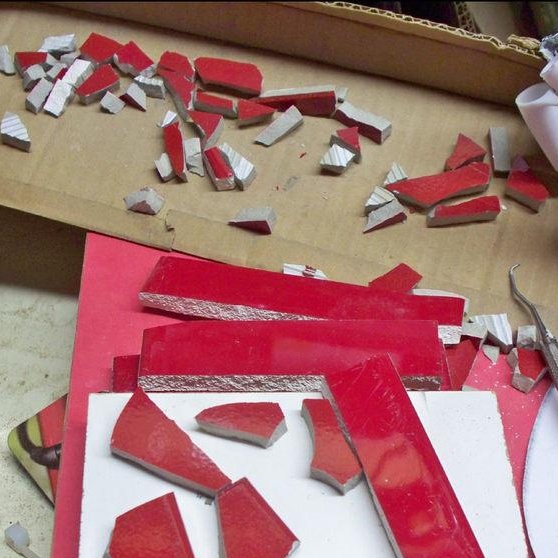
To form mosaic parts, you should cut the tile (glass cutter) and break it (with a hammer) into small parts. Before work, wear glasses with safety glass to protect your eyes.
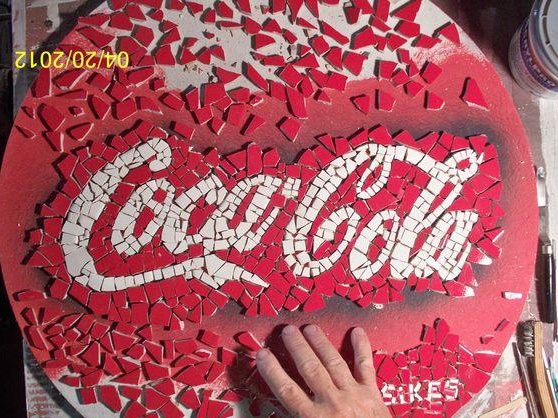
Step 8: Start Spreading The Parts
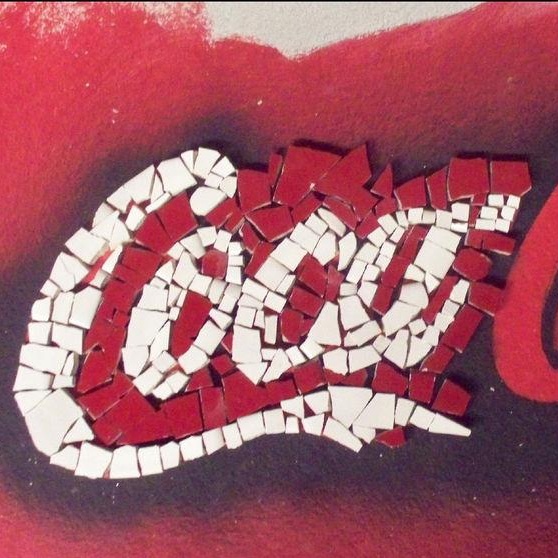
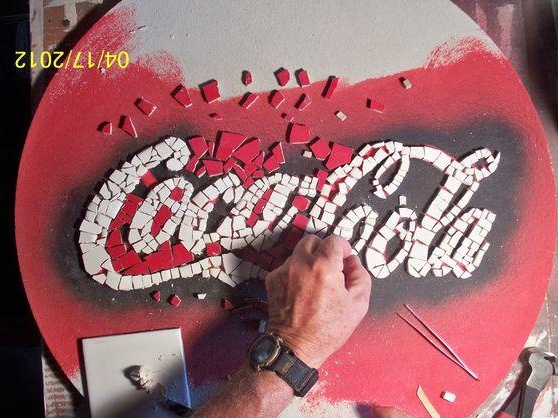
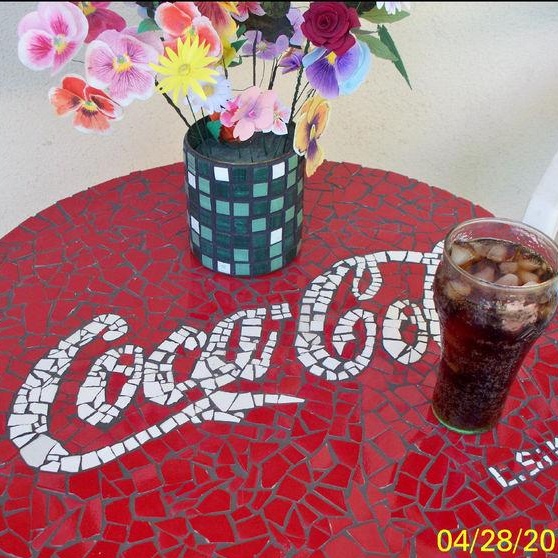
The most interesting part! As shown in the photo, put the inscription "Coca-Cola" in pieces of white tile. It may take time, patience.
Step 9: Glue the mosaic to the table
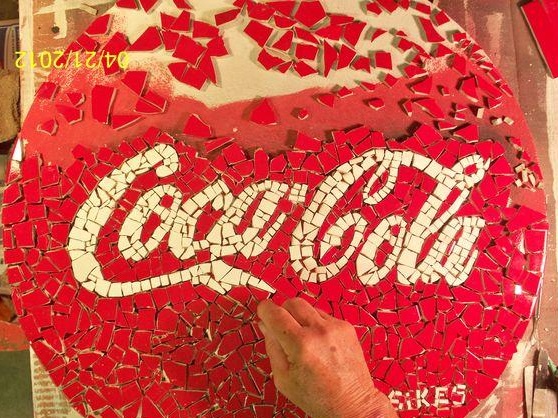
After the inscription is laid out, we proceed to place the red tile around the inscription. Apply glue to each part of the mosaic and fix it on the table. Watch out for pressure so that the surface has the same height during operation.
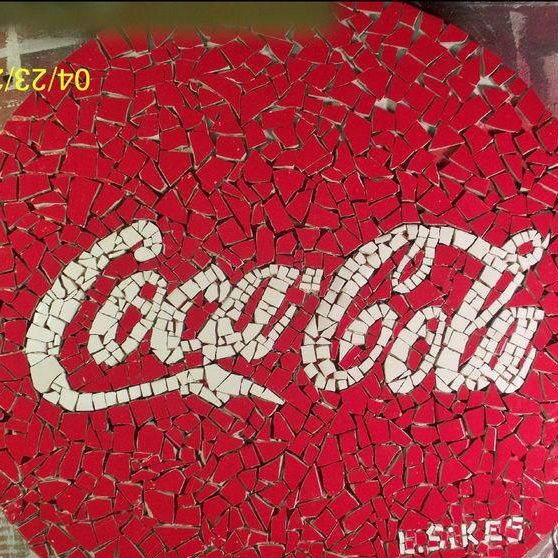
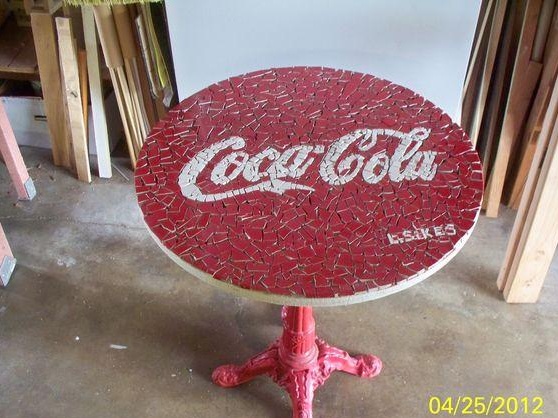
Step 10: Signature
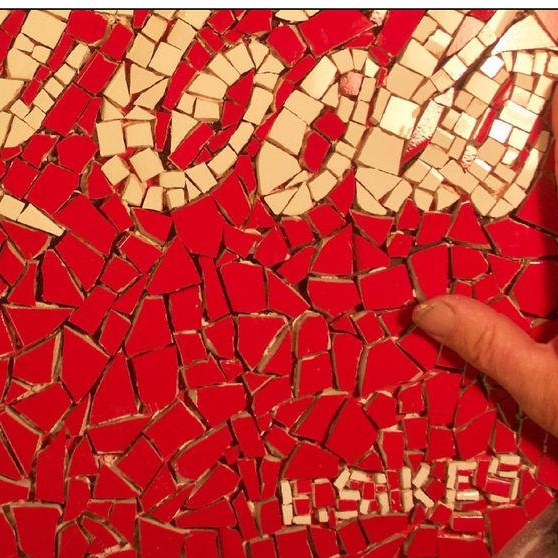
You, as a true artist, to immortalize, put your name on a masterpiece with fine tiles.
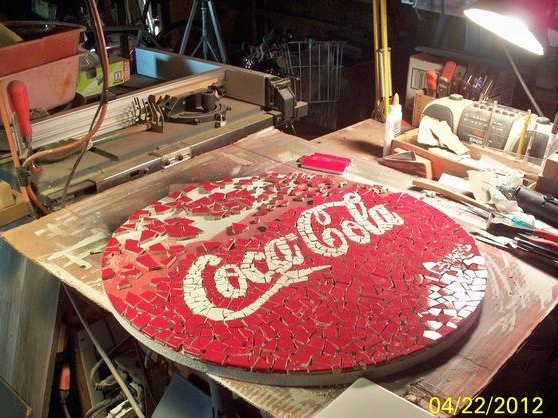
Step 11: Fill the entire perimeter of the countertops
To facilitate the work, you can break the countertop into sections, and gradually lay out the red parts of the mosaic.
Step 12: Processing the edges of the table
Break the red tiles, separate the rounded ones and use them when working with the outer edge of the table. So the work will look aesthetically pleasing and neat.
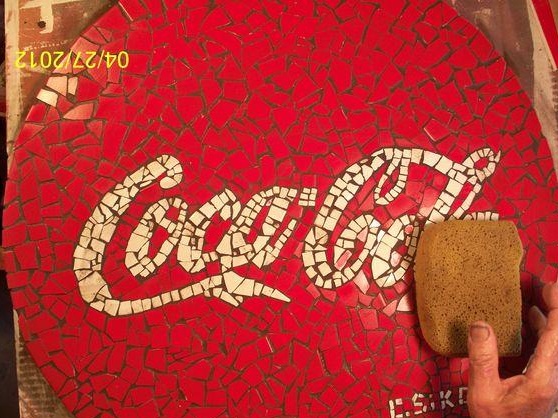
Step 13: Pour the mortar onto the table
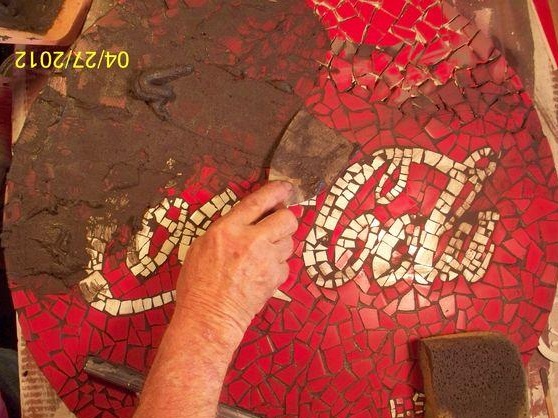
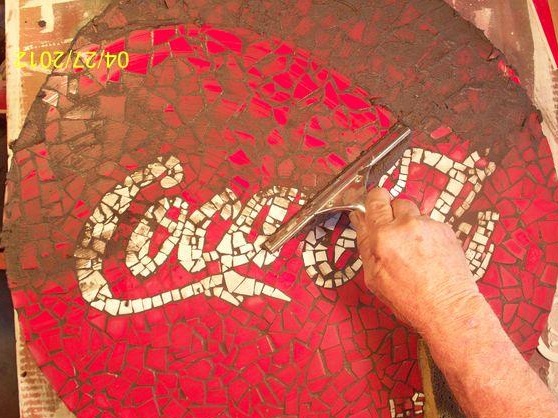
A day after the establishment of all parts of the tile, fill the countertop with a liquid cement mortar. Use a rubber mop to clean windows, a spatula, a sponge and a bucket of water.
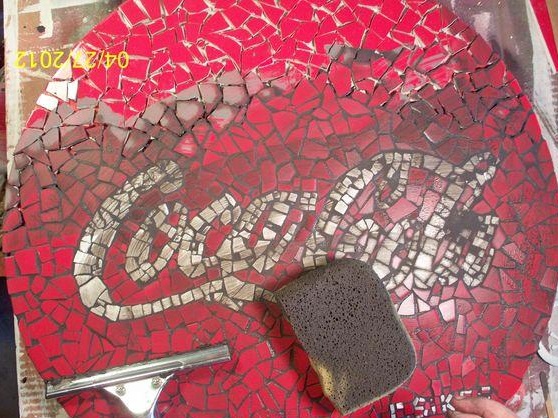
Step 14: remove excess grout from the surface

Remove excess solution with a damp sponge. After 10-15 minutes, you can repeat the cleaning. A slight gray blur is possible, but do not worry, it will be washed off.
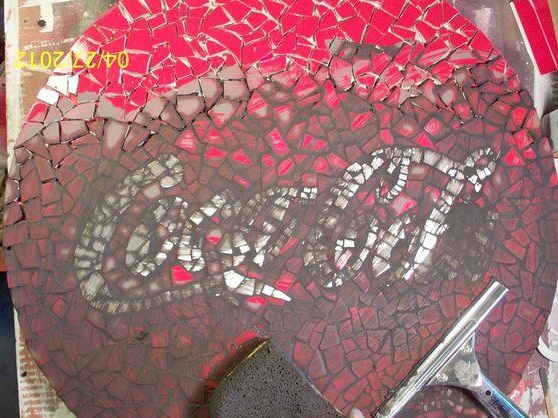
Step 15: Let the grout dry
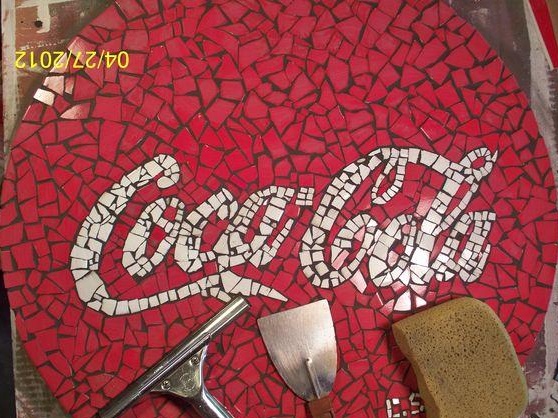
The tabletop will need a day or more to completely dry. After that, you can cover the table with polish to give shine.
Step 16: Place the table on the leg
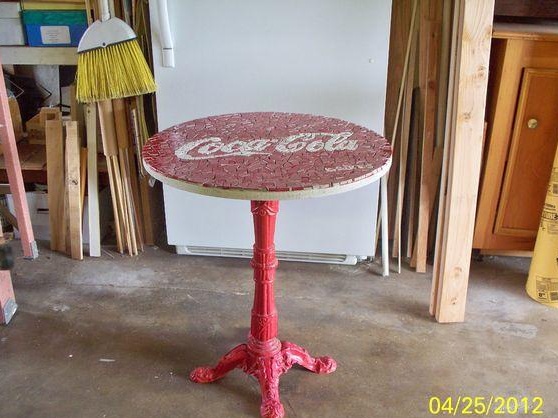
Select the appropriate table leg and install it.
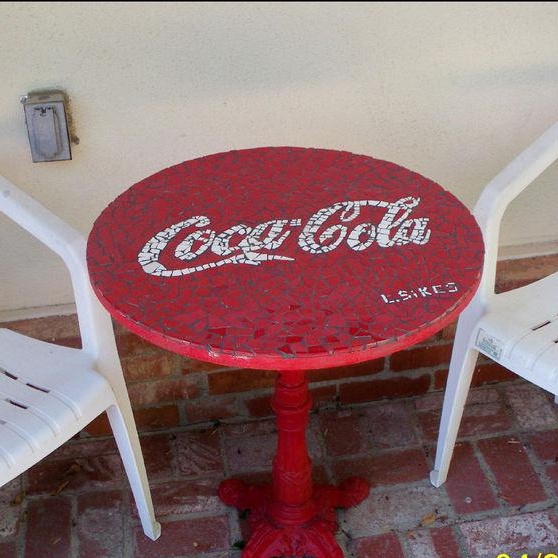
Step 17: the masterpiece is ready!
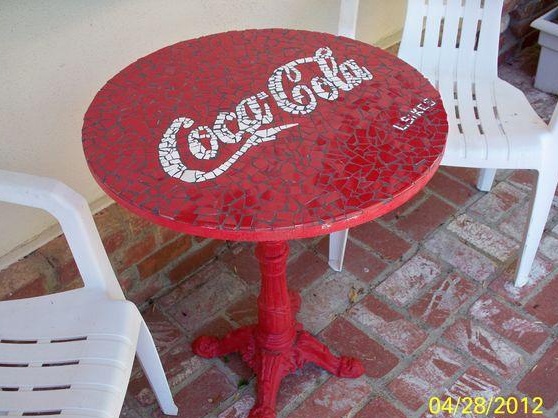
Find the right place for the table. This table fits perfectly into any interior.