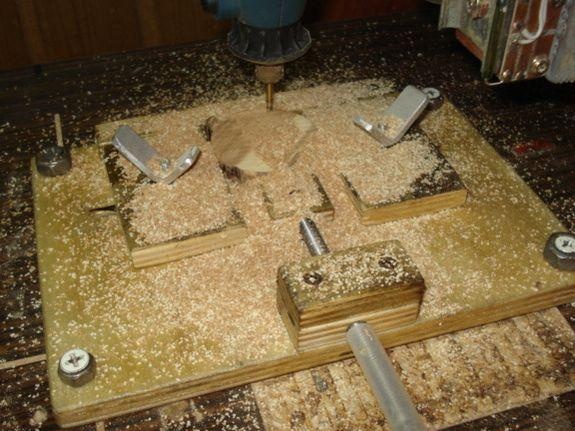
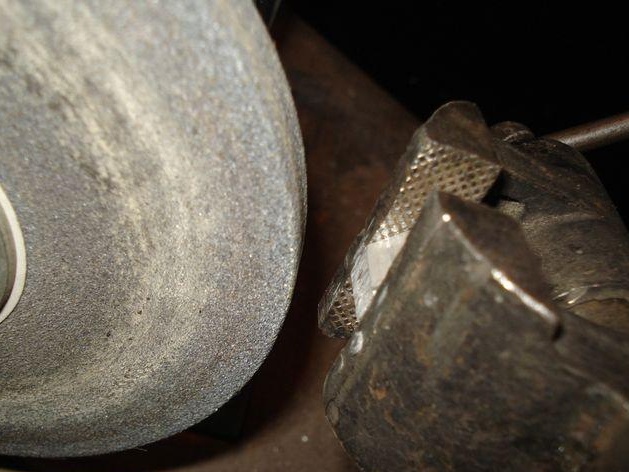
In order to process the back side of a ready-made keychain
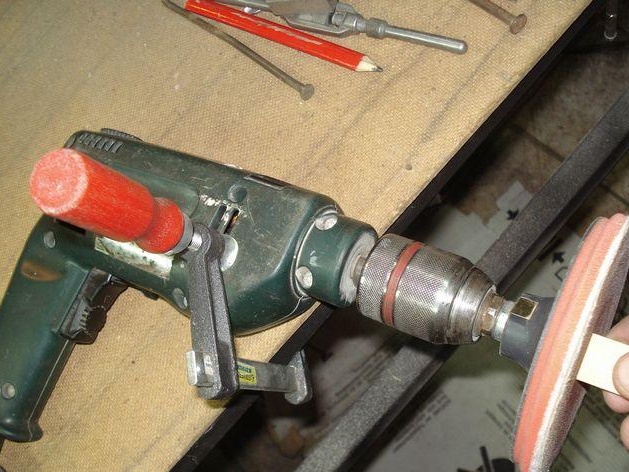
Item 1. Cooking tools.
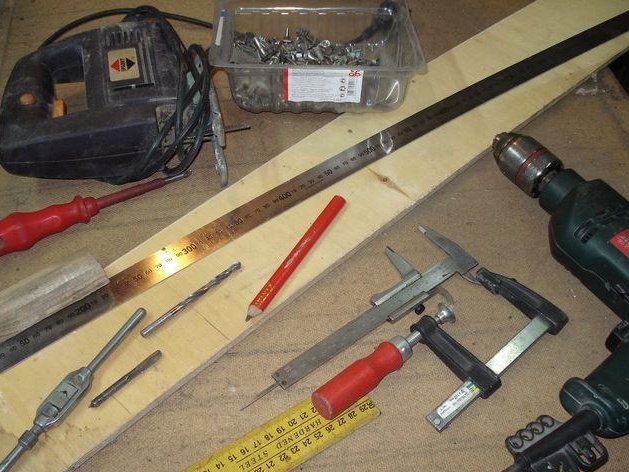
To work, we need:
• A small piece of plywood 7 ply (10mm).
• Electric drill, drill d = 5, 4, 3,
• Electric jigsaw.
• Grinder, cutting wheel and grinding wheel.
• Ruler, square, caliper.
• Clamp, small vise.
• Set for threading - tap and die M4, M6.
• A set of screws, bolts with nuts.
• Sandpaper (large).
Point 2. Let's proceed.
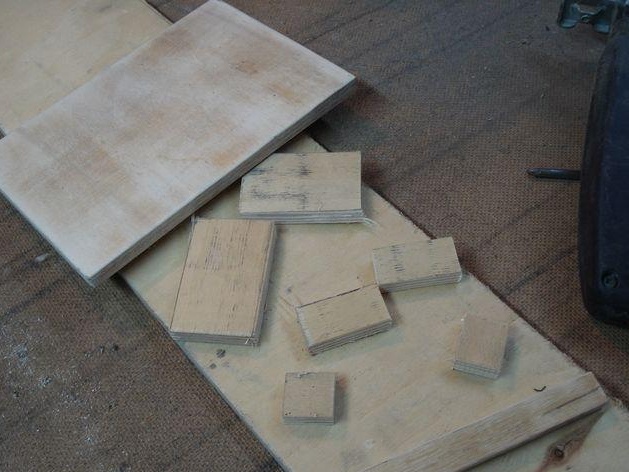
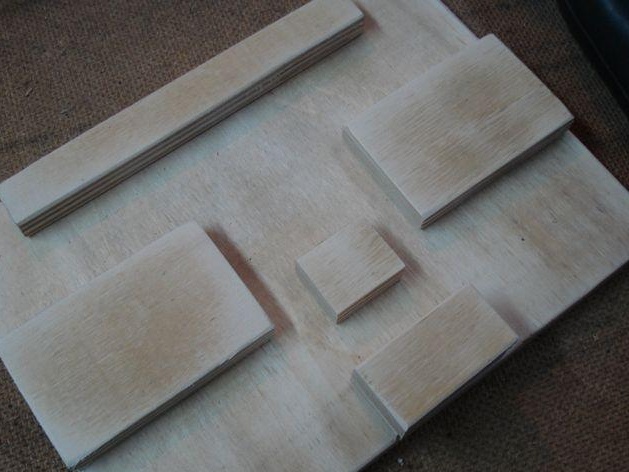
First, we will make all the components for the assembly, we will start with plywood.
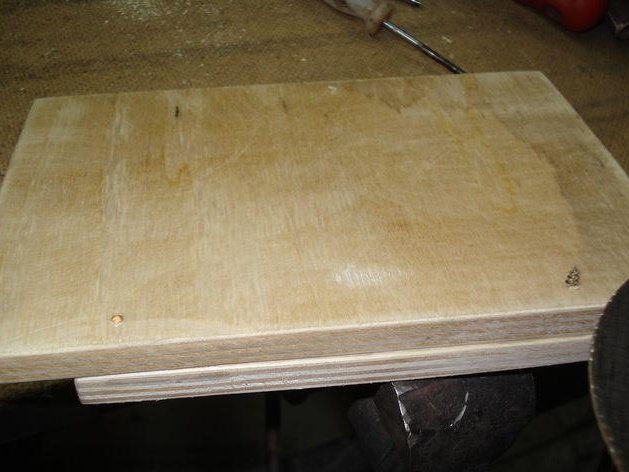
Base.
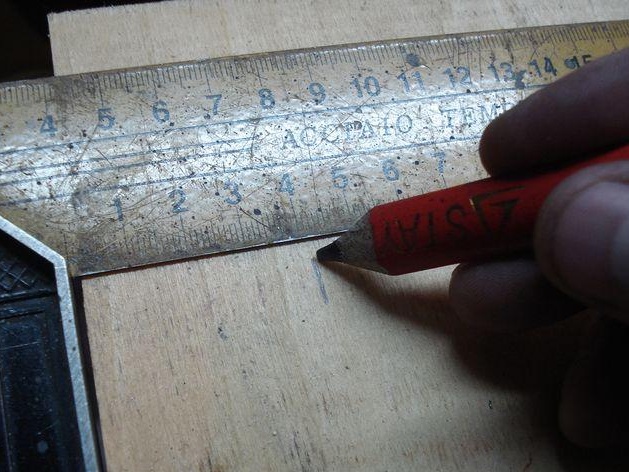
We draw a rectangle with dimensions 125x180 mm. , for the correctness of the angles always use a 90 g square.
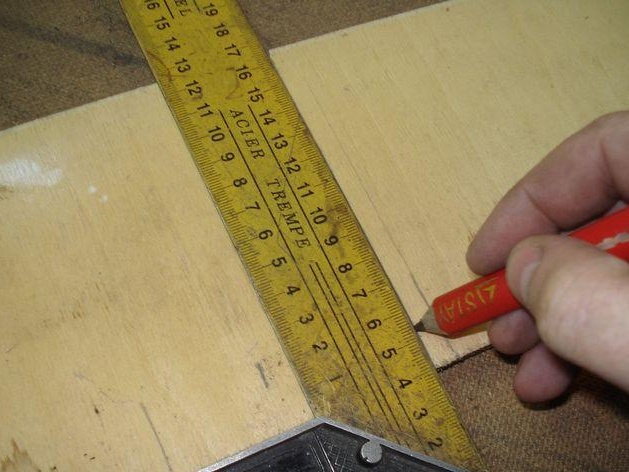
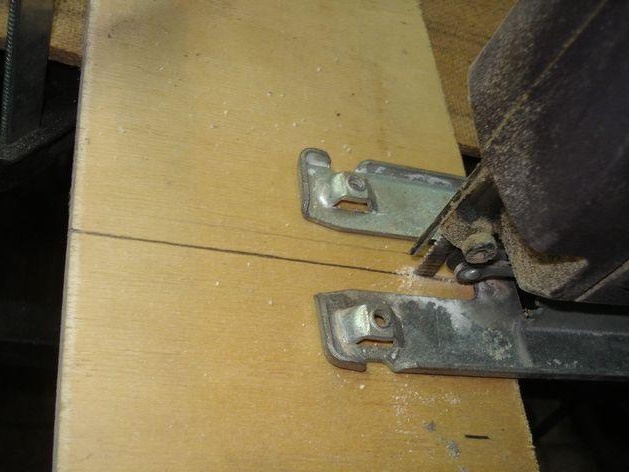
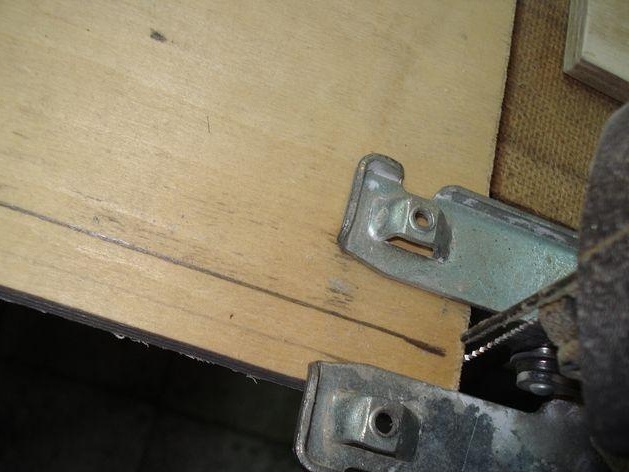
Saw off the workpiece with a jigsaw.
An emphasis motionless sponge.
We draw a rectangle with dimensions of 125x15 mm.
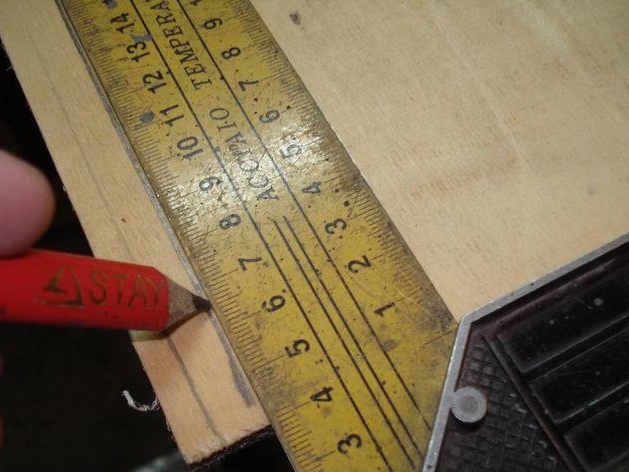
We use a clamp to hold plywood while working with a jigsaw.
Side-movable jaws.
We draw two identical rectangles measuring 60x40 mm.

We cut the workpiece.
It turned out two identical bars.
Threaded part and main working sponge.
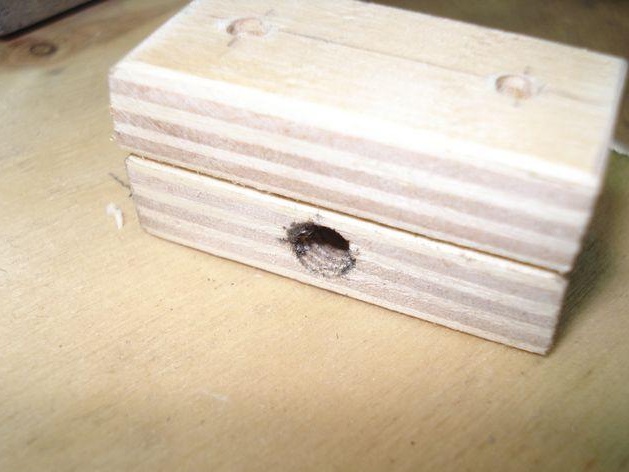
We draw two rectangles with dimensions of 40x20 mm. and one 22x20 mm.
We cut it out.
It should be like this.
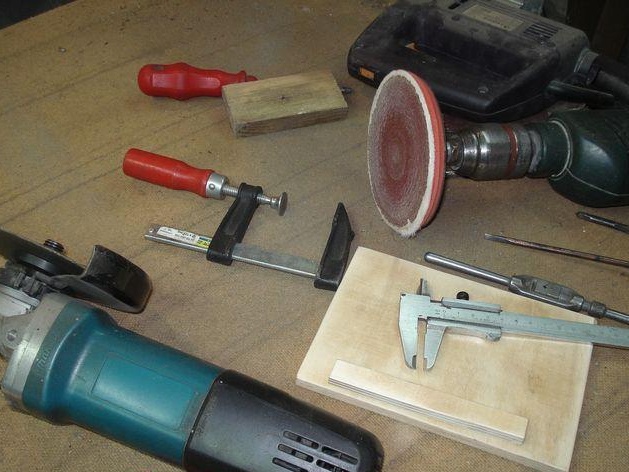
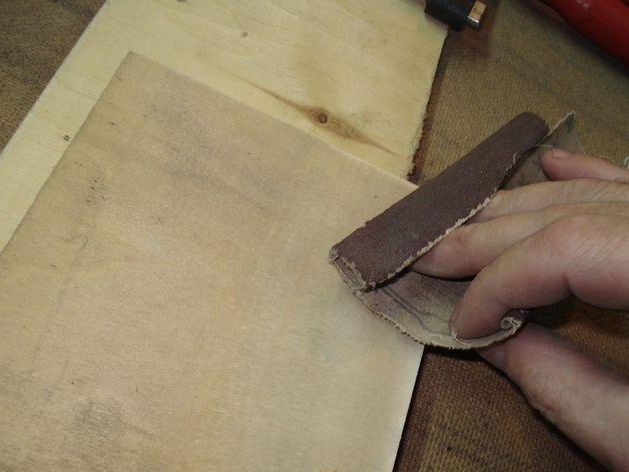
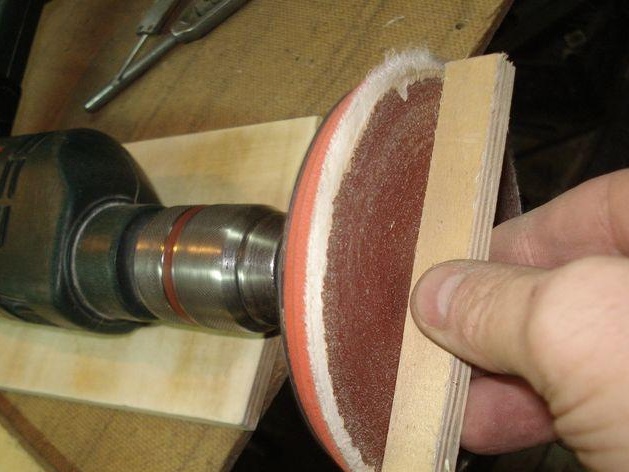
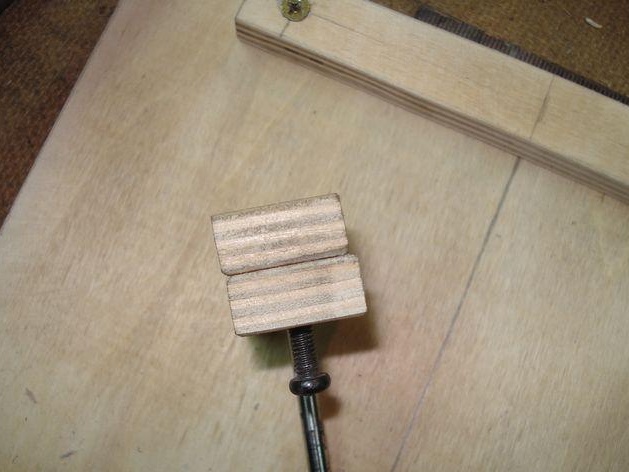
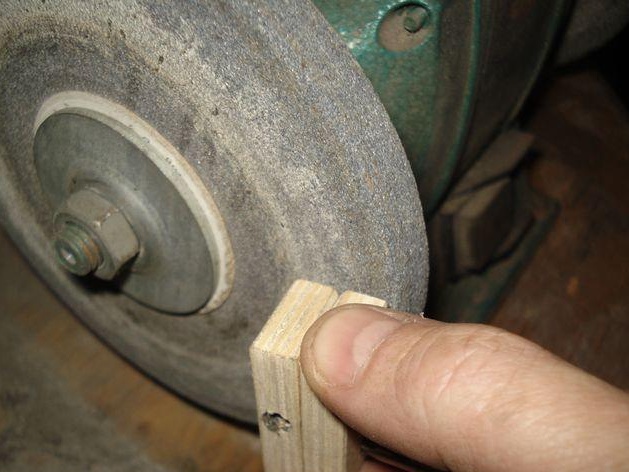
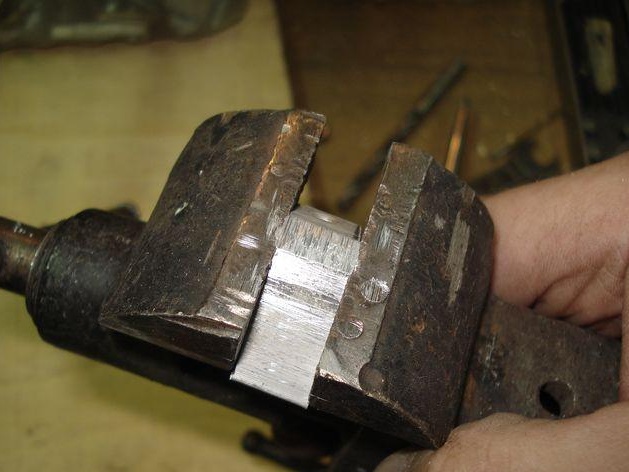
Grinding.
We process all the obtained workpieces with large emery paper and a grinding wheel, slightly round off sharp corners.
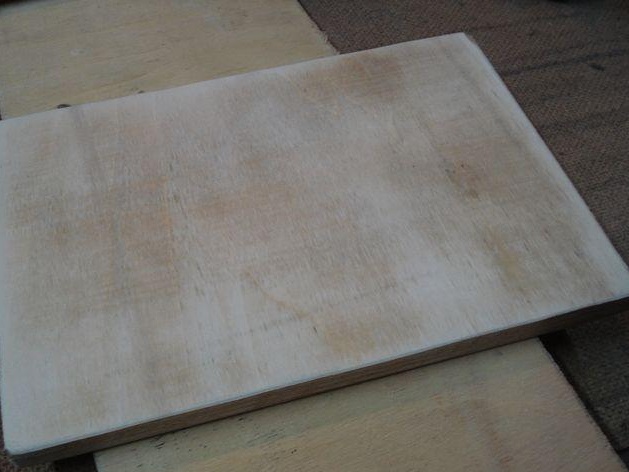
All is ready.
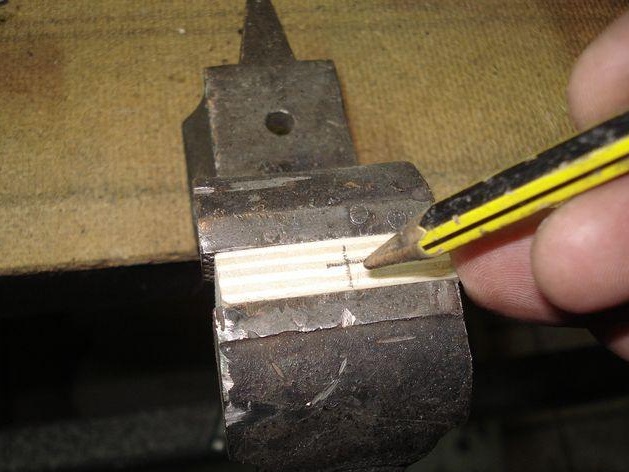
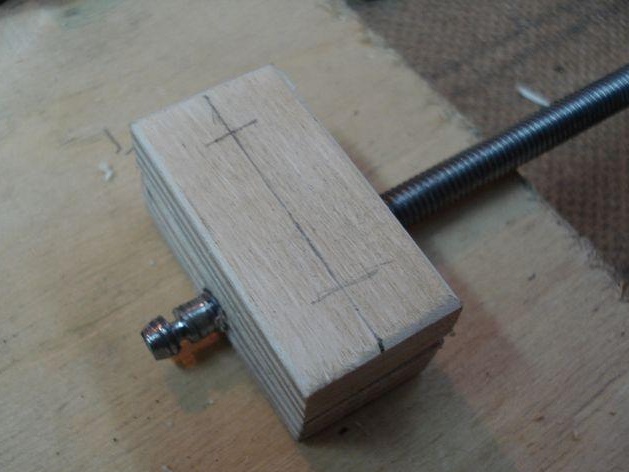
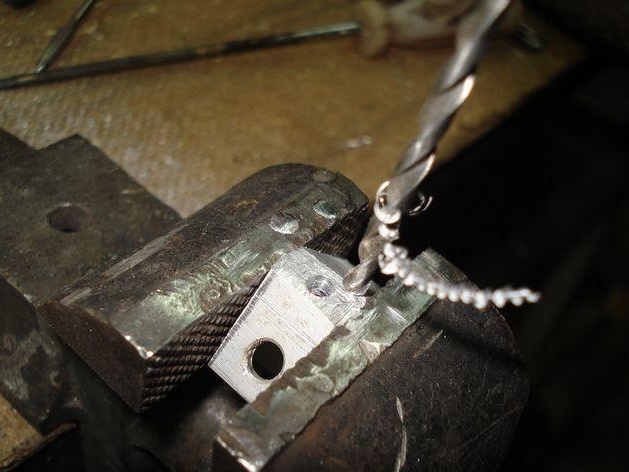
Let's make a threaded knot.
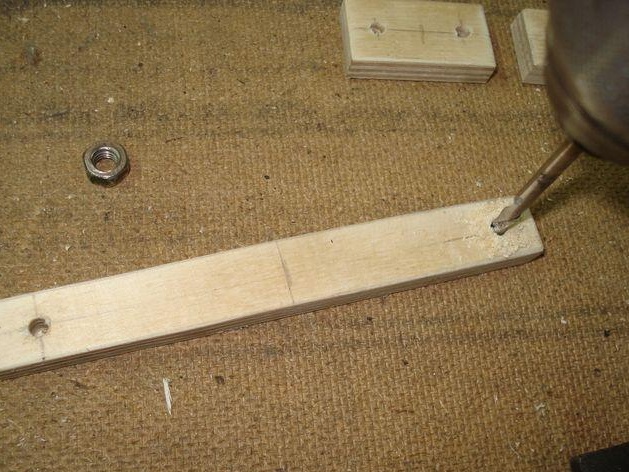
In the center of the wide rib, one of the blanks 40x20, mark and drill a through hole with a diameter of 5 mm.
If there is no drilling machine, then it is better to start with a thin drill d = 3 mm. So it will be easier not to screw up the workpiece.
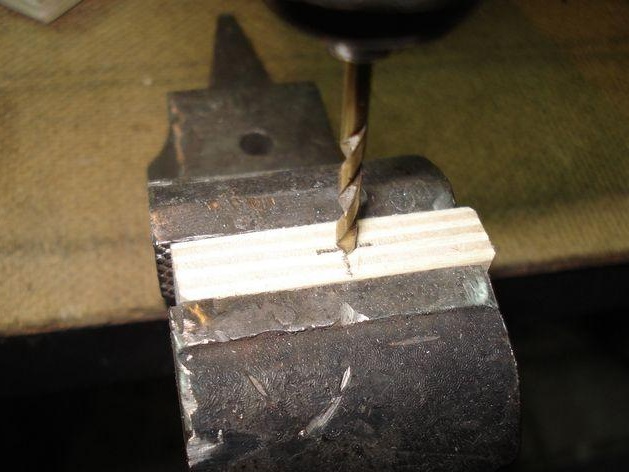

Then go to the intermediate drill.
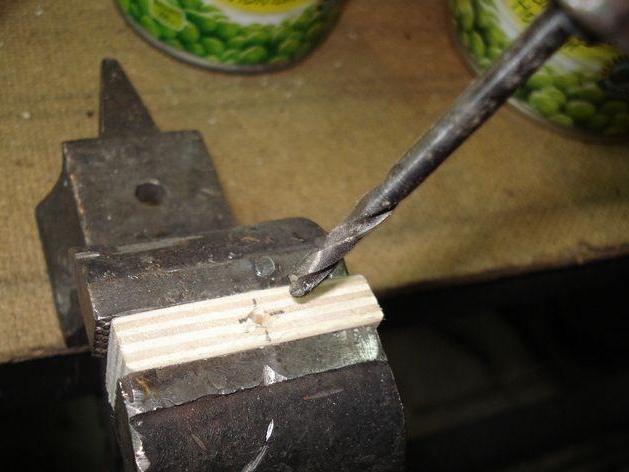
And in the end walk 5 mm.
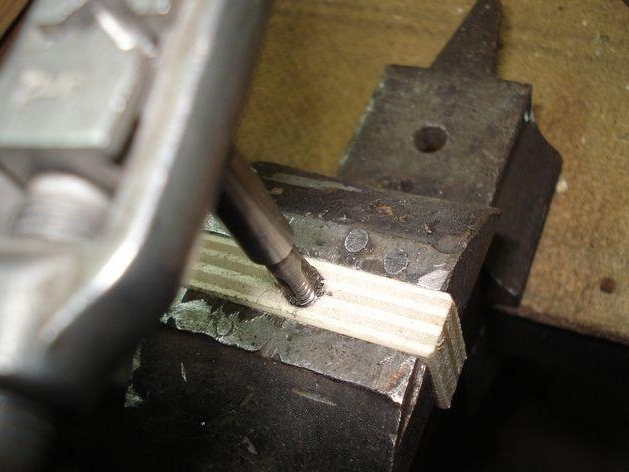
Threaded internal thread.
We use a M5 tap to thread the entire depth of the hole. The workpiece should be tightly clamped in a vice so that the layers of plywood do not disperse.
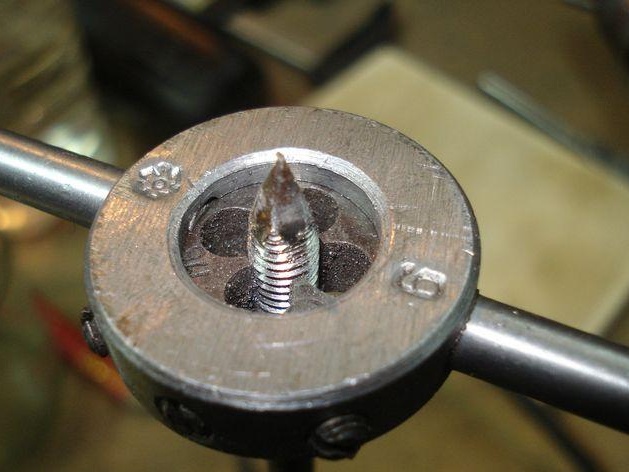
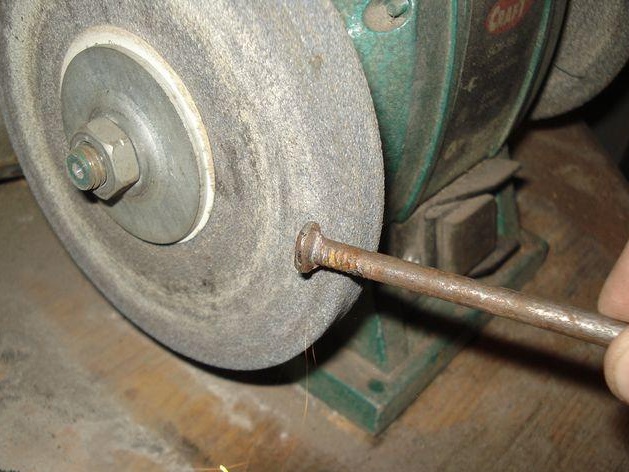
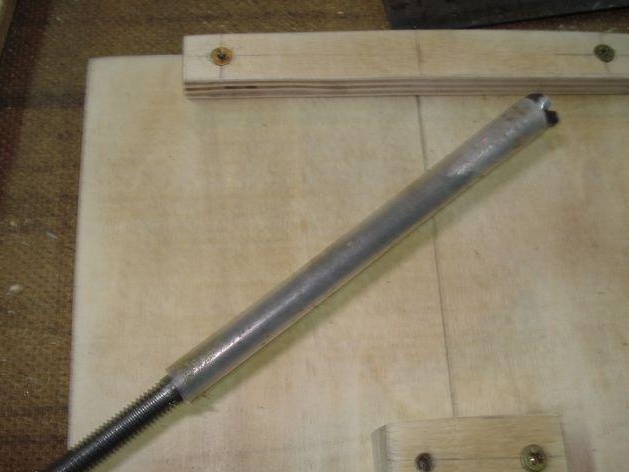
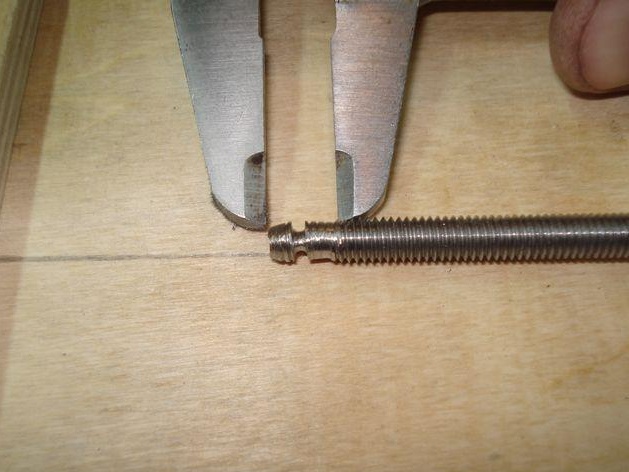
Let's make a threaded axis.
We select a suitable large nail with a diameter of 6 mm, "two hundred" fits perfectly.
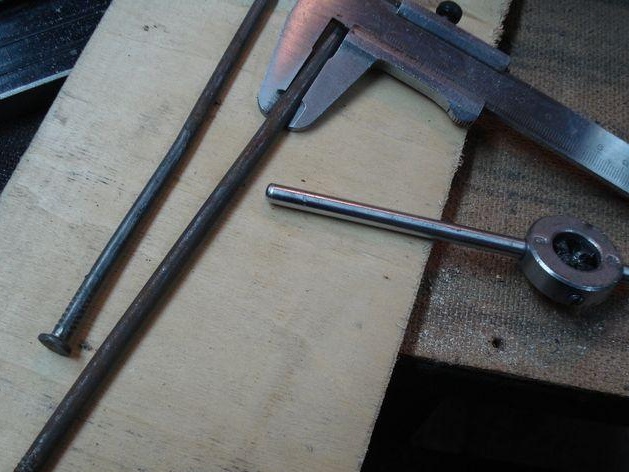
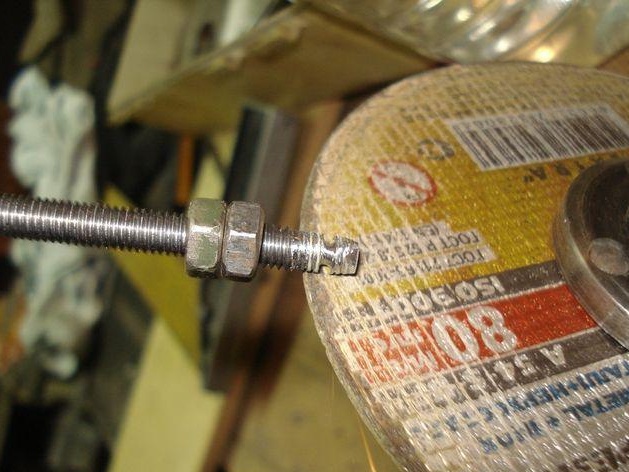
With a M6 die, we cut a thread 100 mm long.
We periodically supply kerosene oil to the working area, immediately we feel how the cutting process is facilitated and the quality of the thread itself is improved.
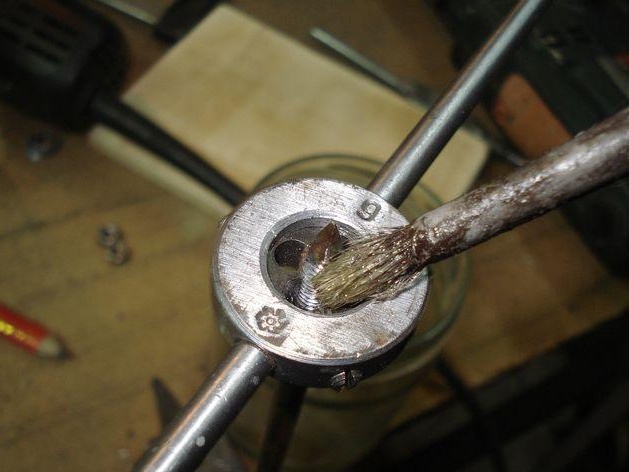
Be sure, after every two turns forward, we do a quarter turn back to cut the resulting chips, this will also improve the quality of the thread.
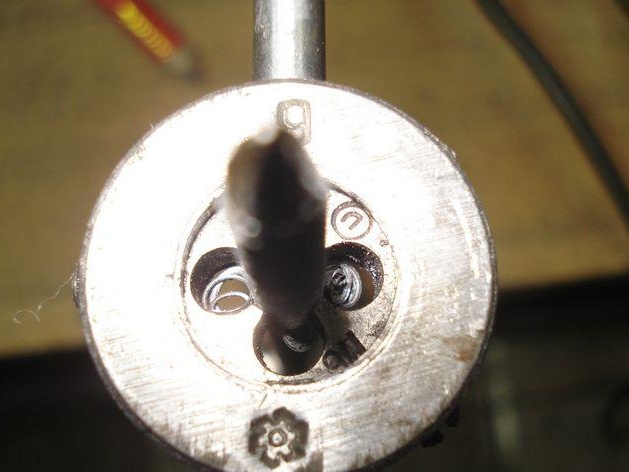
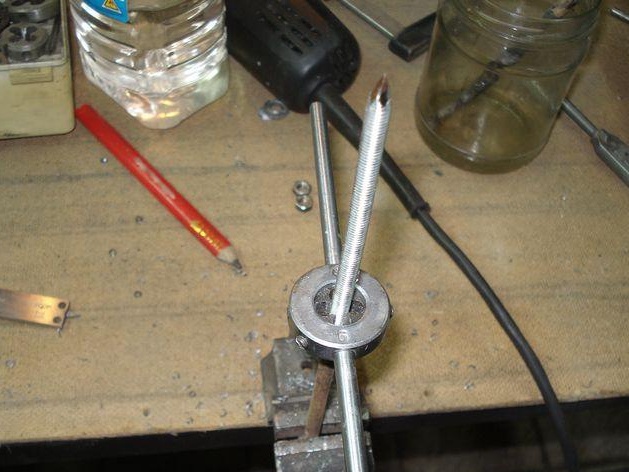
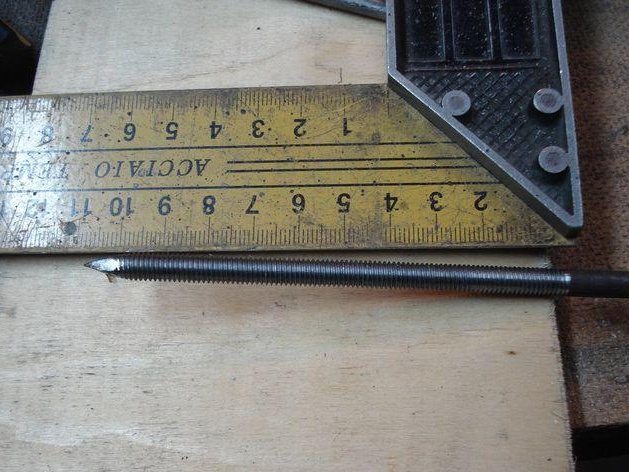
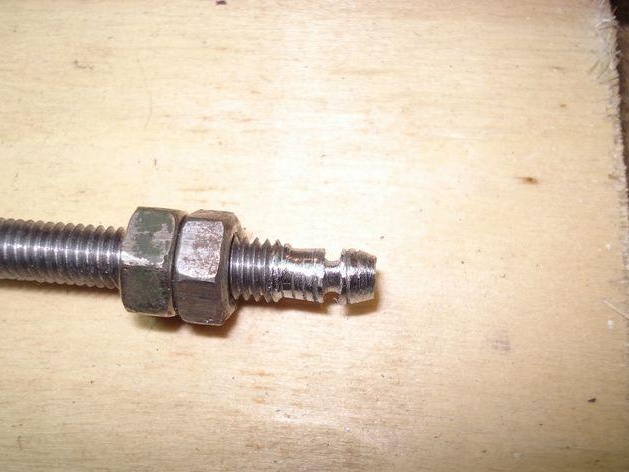
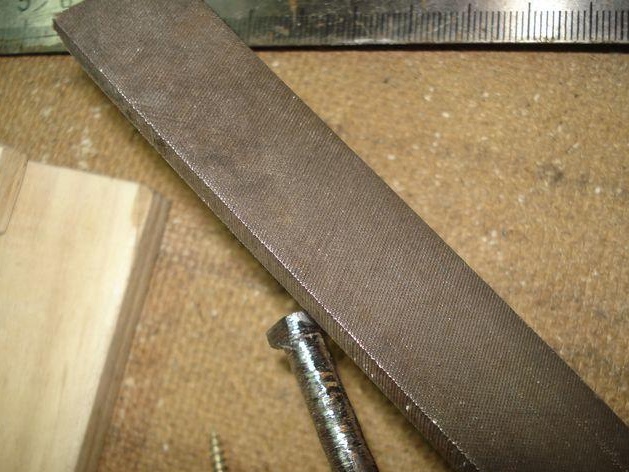
Got a floor stud stud.
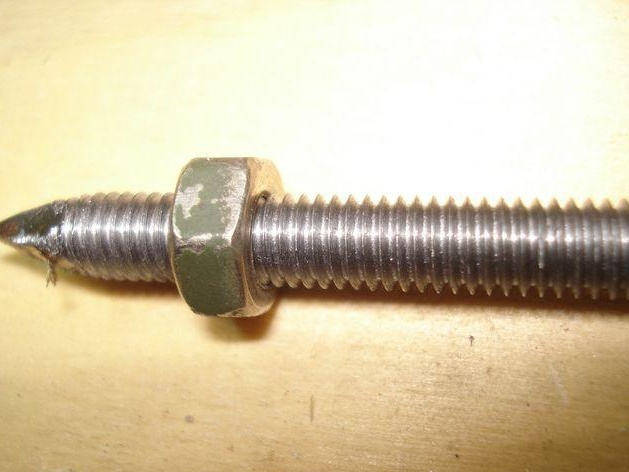
Using a drill at low speed, we drive finished threads several times over the entire length to get used to.

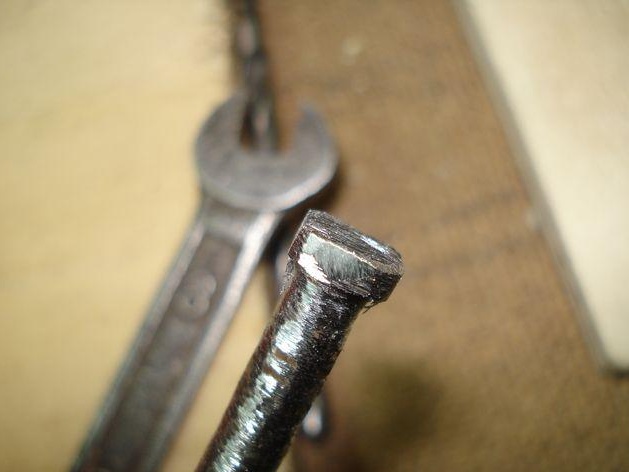
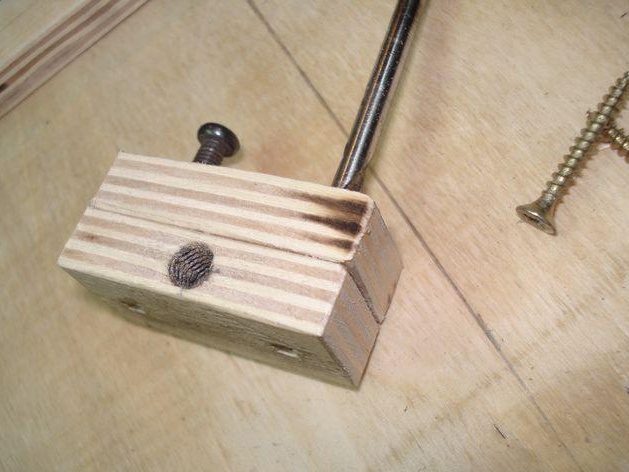
Lock on the axis.
Screw two nuts and tighten in a vice, grinder in a circle cut through the groove under the lock.
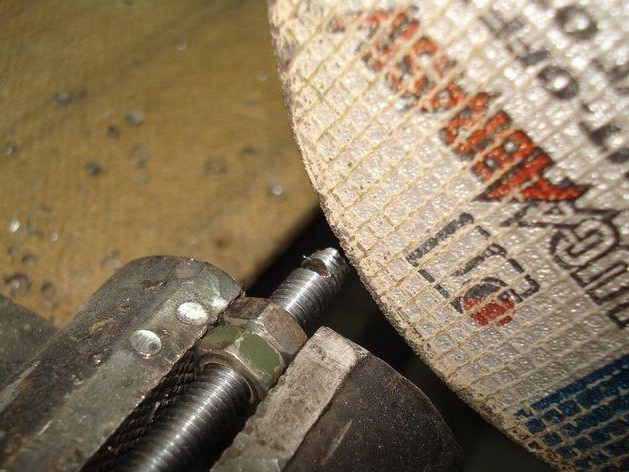
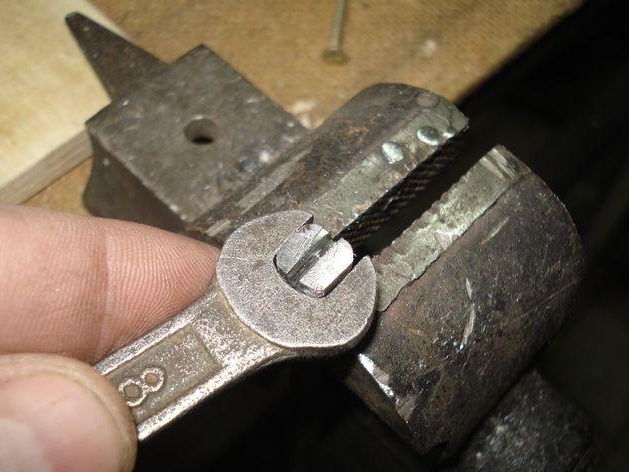
We thread at 10 millimeters.
On the opposite side, we will make a turnkey head at 8 and washed down with a flat screwdriver.
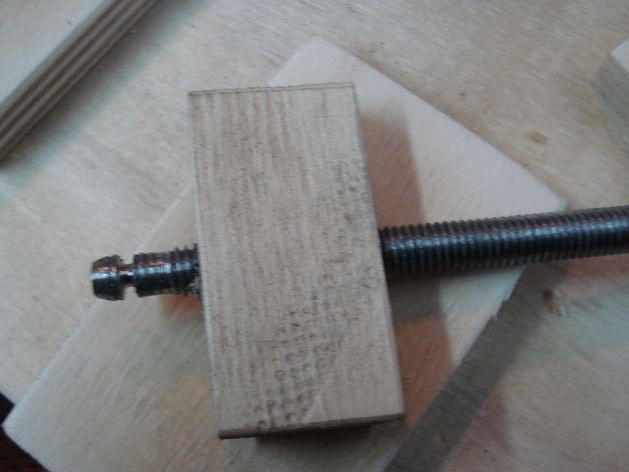
We put on a suitable cambric tube on half the axis.
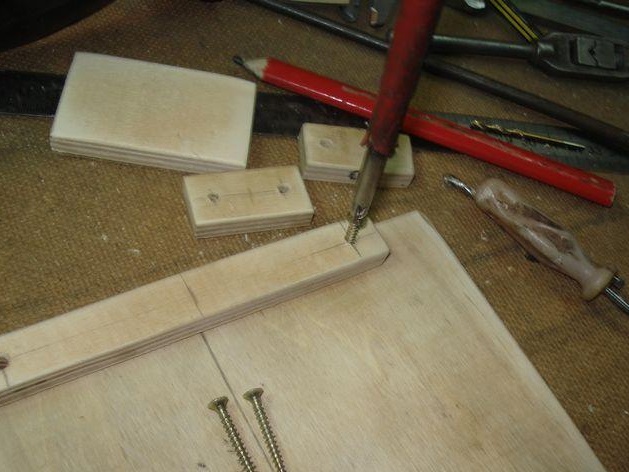
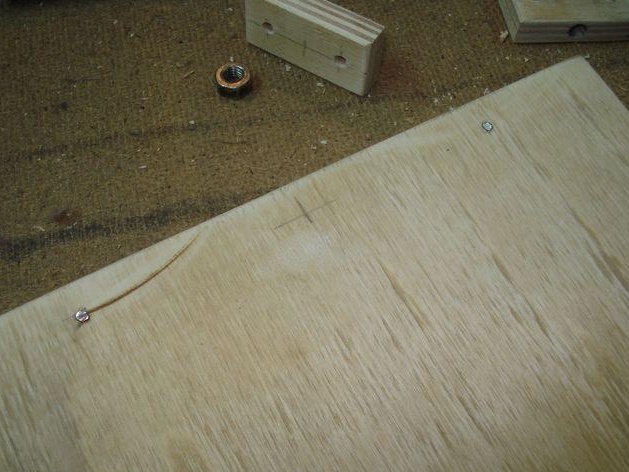
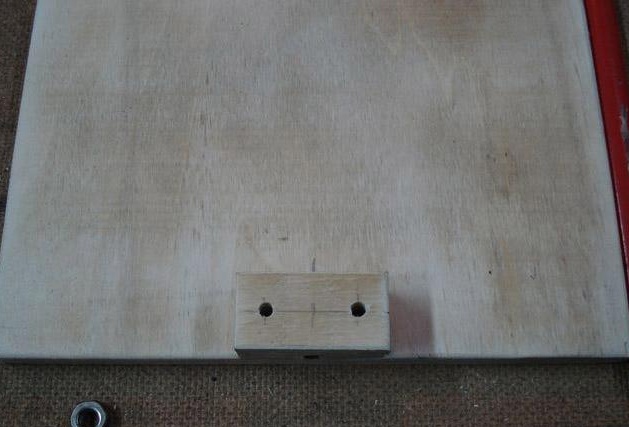
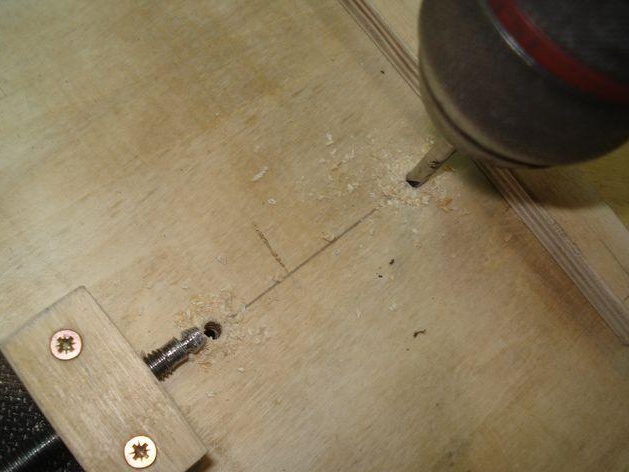
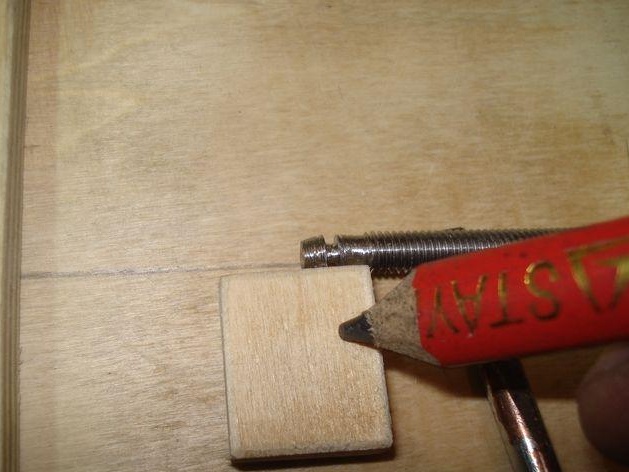
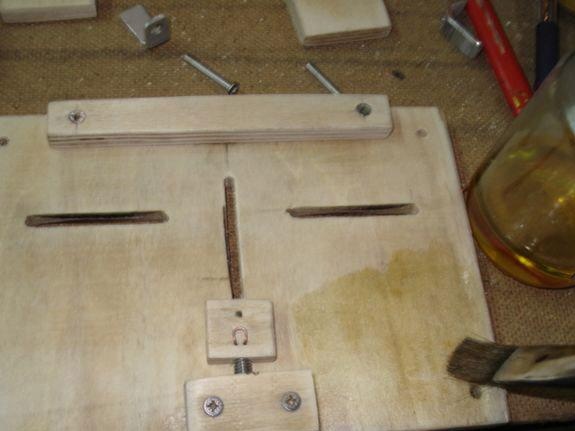
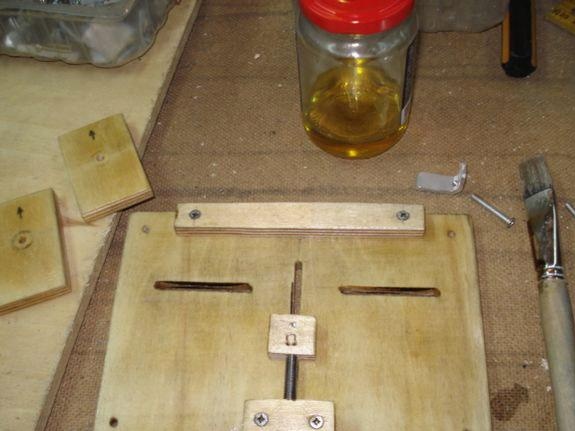
Installation of an emphasis-motionless sponge.
We step back a centimeter from the edges and outline points for drilling.

Drill a 4 mm drill.
We center everything in the center, outline the point at the base with an awl.
We drill with a 3 mm drill.
We select the right screws.
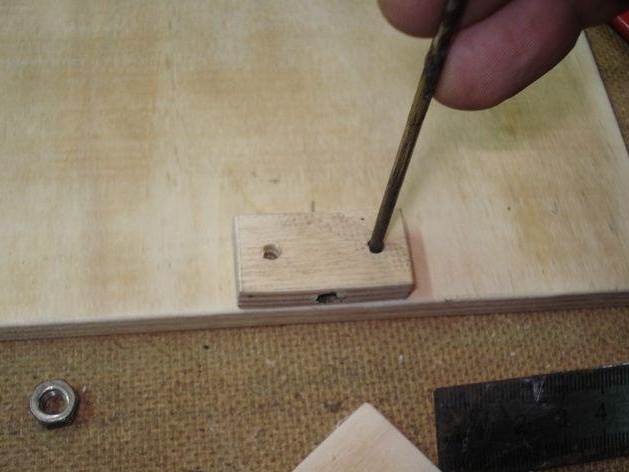
Screw the first self-tapping screw.
Set the square perpendicular to the axis.
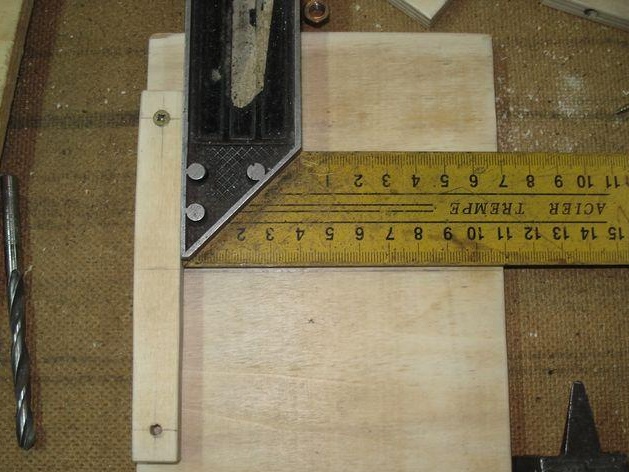
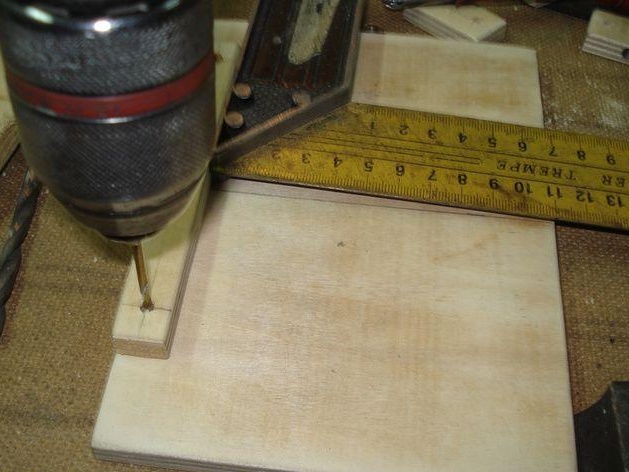
Let's drill the second hole.
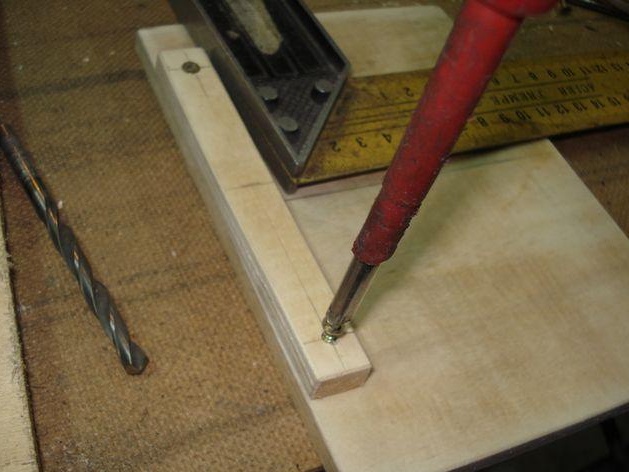
Apply glue and tighten all the screws.
If the screws are very long, we will cut off the protrusions with a grinder.
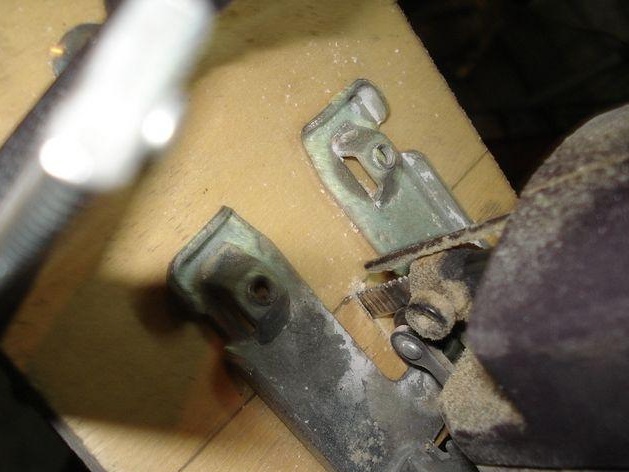
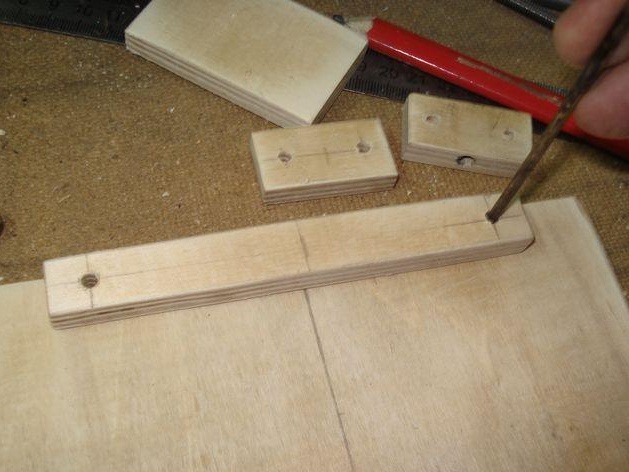
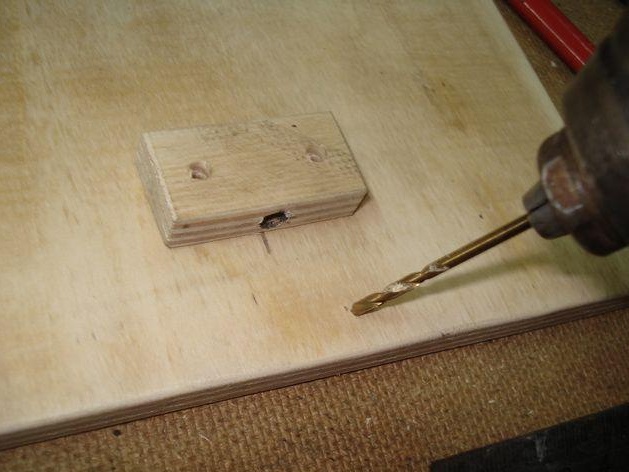
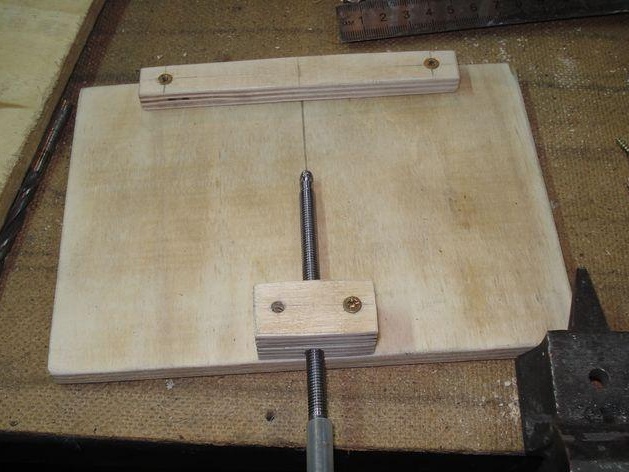
Assembly and installation of the threaded assembly.
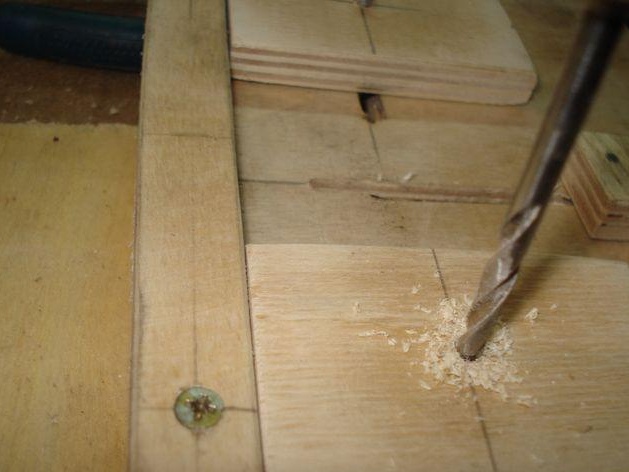
We outline the points for mounting screws.
We drill holes with a diameter of 4 mm.
Temporarily, we connect the two blanks with bolts, the distortions will be clearly visible.
We grind all the curved protrusions on the grindstone.
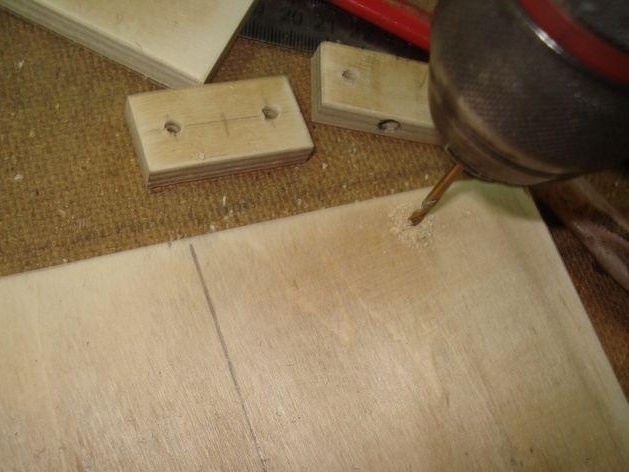
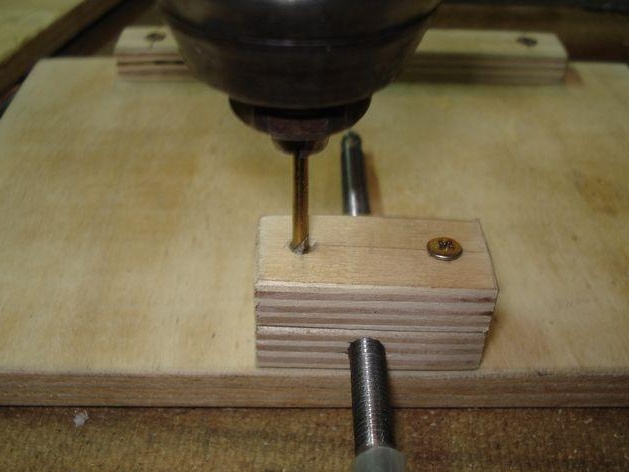
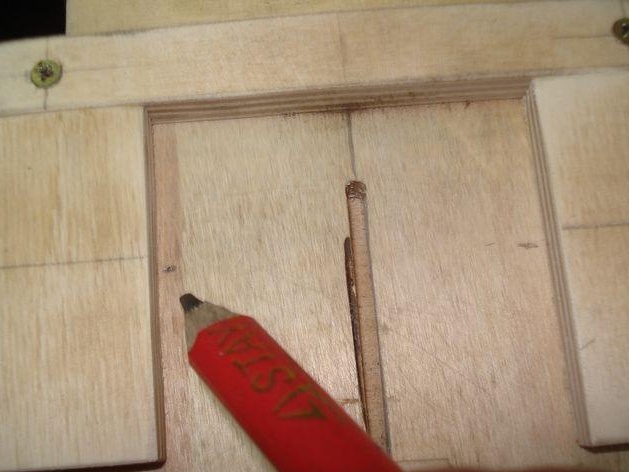
Mark the node in the center of the base.
With an awl we make a point mark.
We drill with a 3 mm drill.
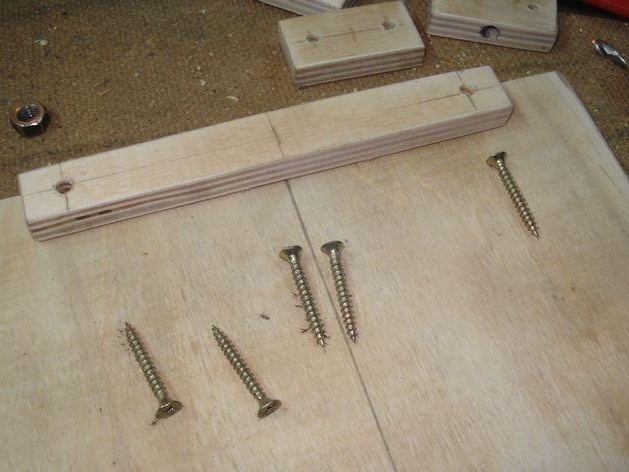
We use glue so that the knot does not swing over time.
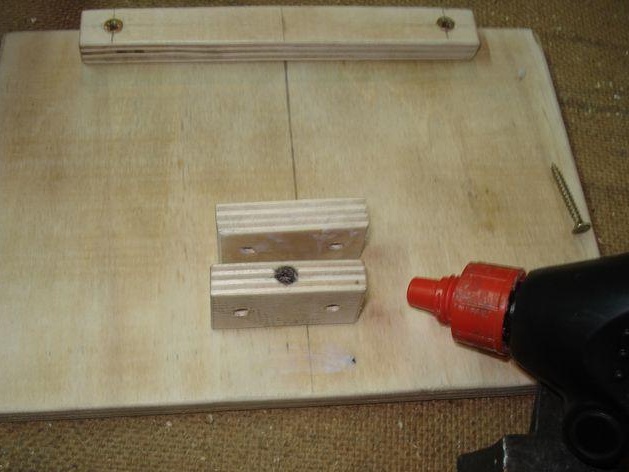
We select the right screws.

Screw in one screw.
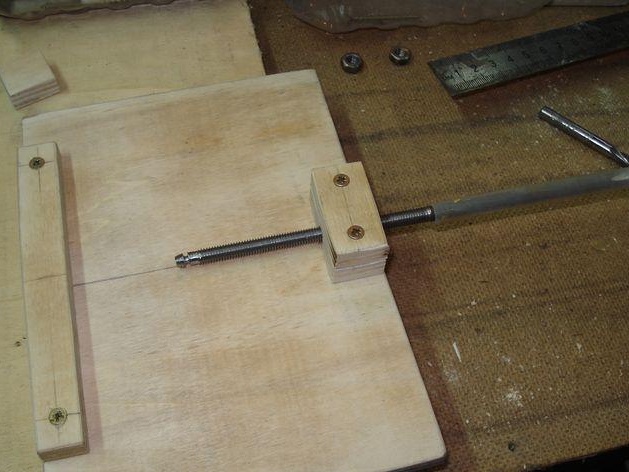
Now install the threaded rod and expose it strictly along the axis of the base.
You can drill a second hole.
Tighten all the screws.
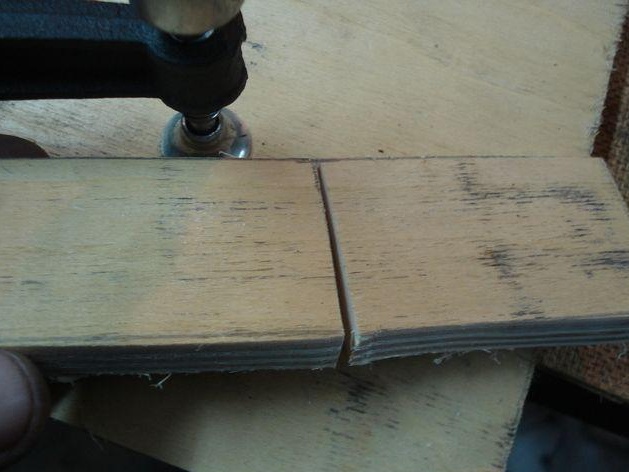
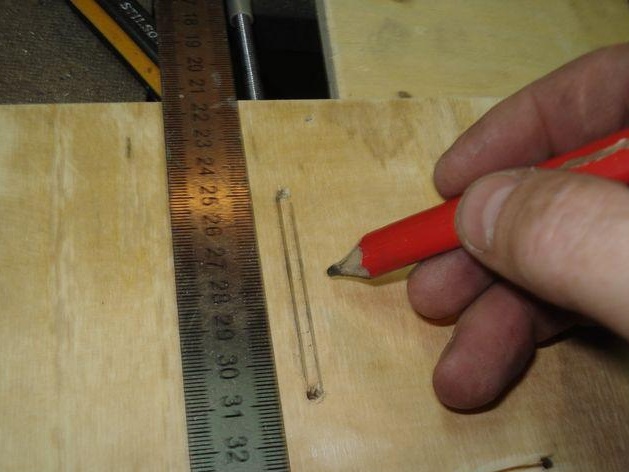
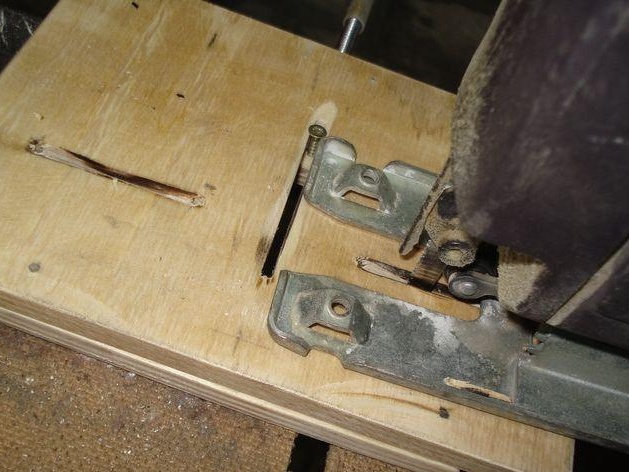
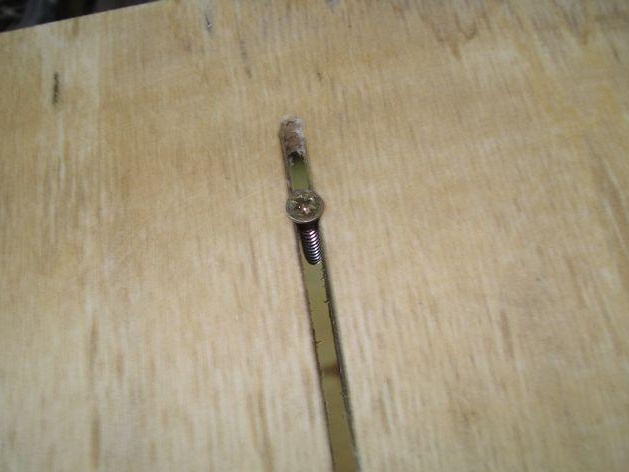
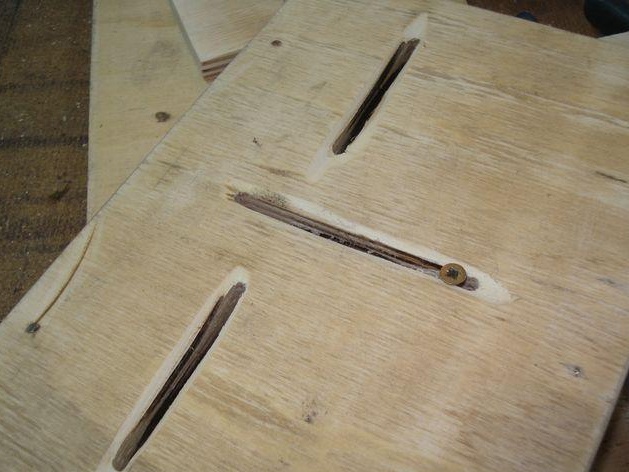
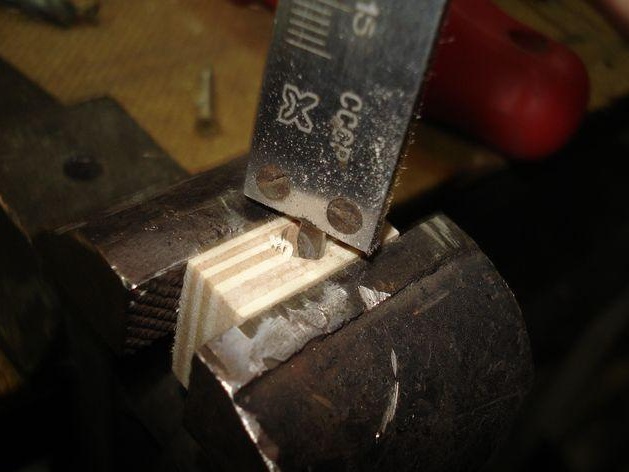
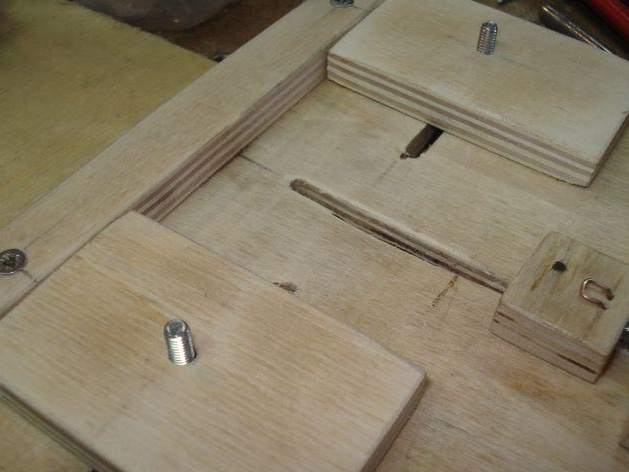
Guide grooves.
We outline, along the axis of the course of all the jaws, grooves measuring 60x4 mm. Drilled along the edges of the hole d = 4 mm.

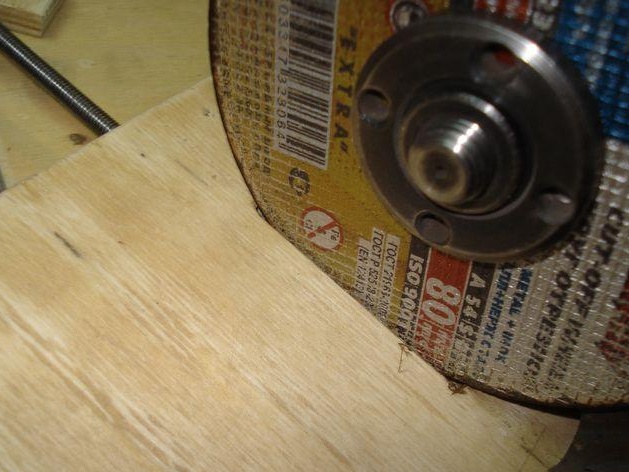
On both sides of the grinder, we will cut through and expand the grooves.
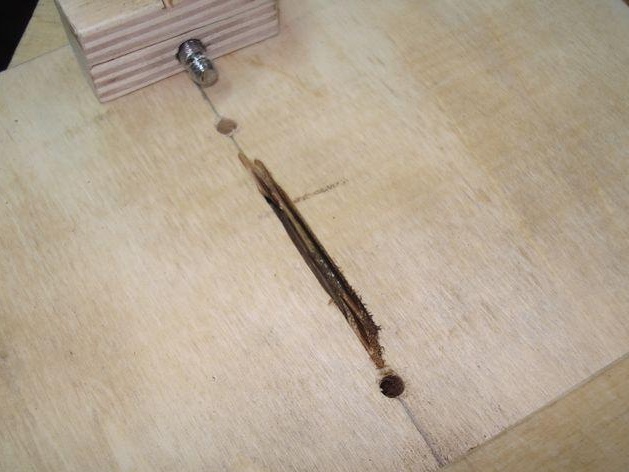
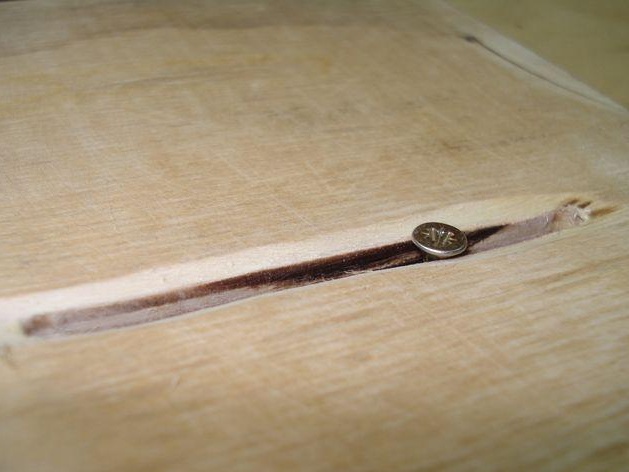
Let's finish with a jigsaw.
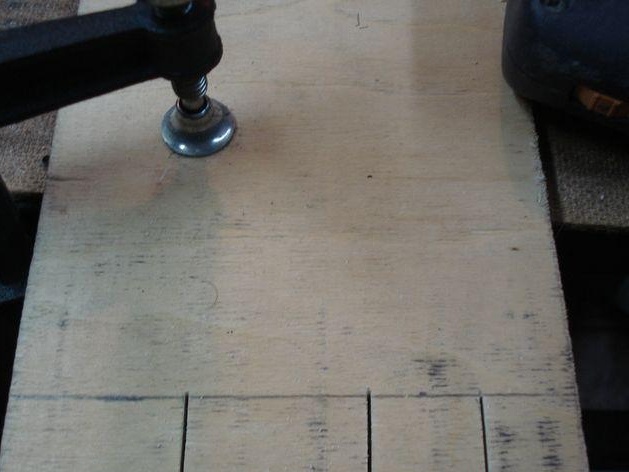
We will clean with sandpaper.
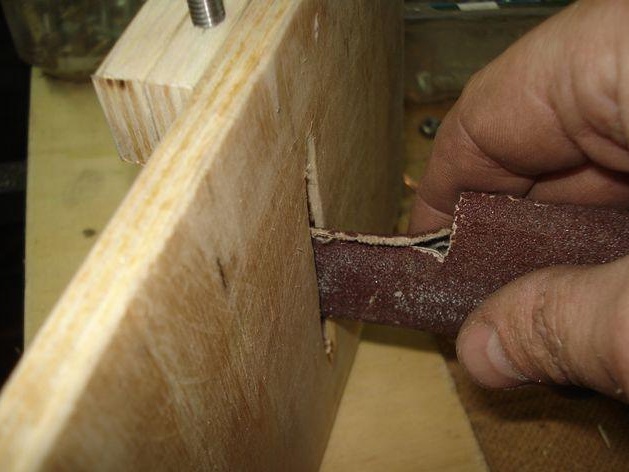
We remove a small chamfer for the countersunk stroke of the screws.
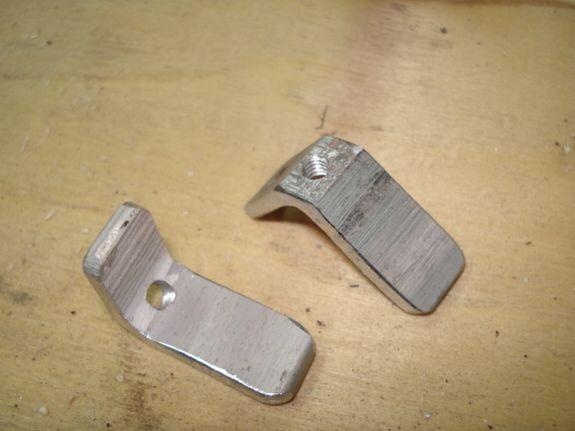
Homemade lamb.
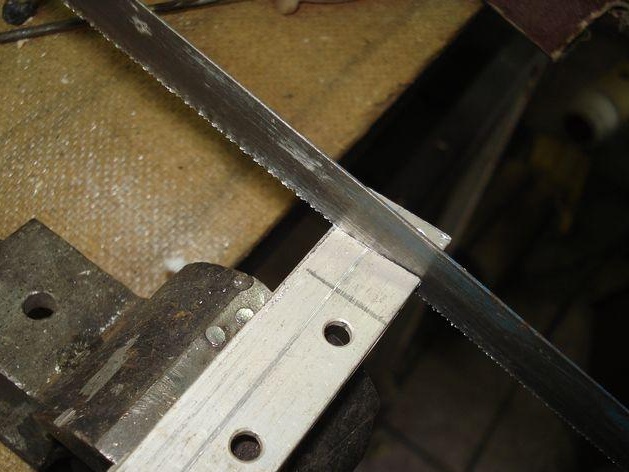
From the aluminum corner we will make homemade wing nuts, mark their dimensions of 10 mm.
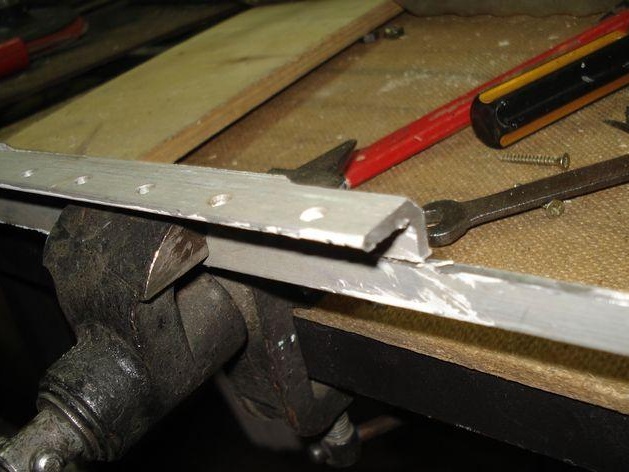

Saw off.
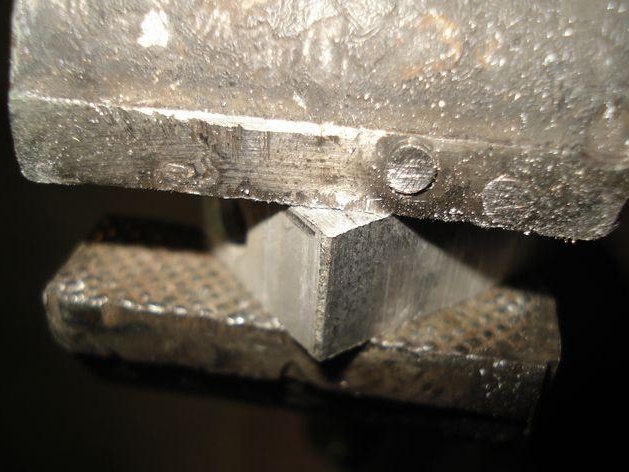
Clamp in a manual vice and grind a corner into a plane
We drill holes and cut the M4 thread.
Ready nuts.
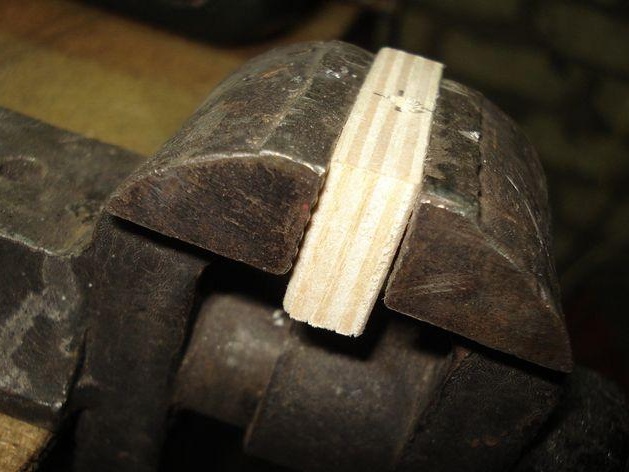
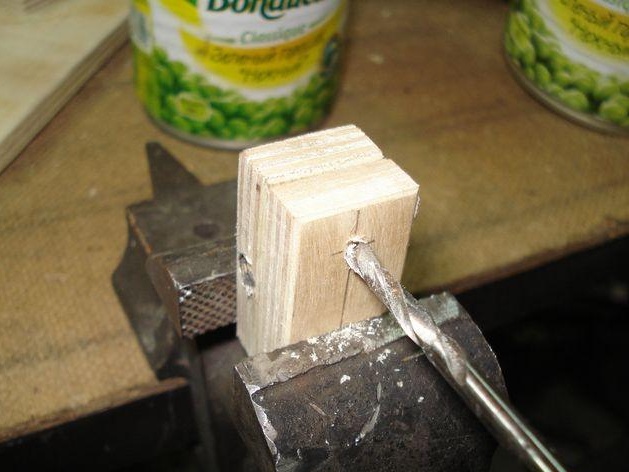
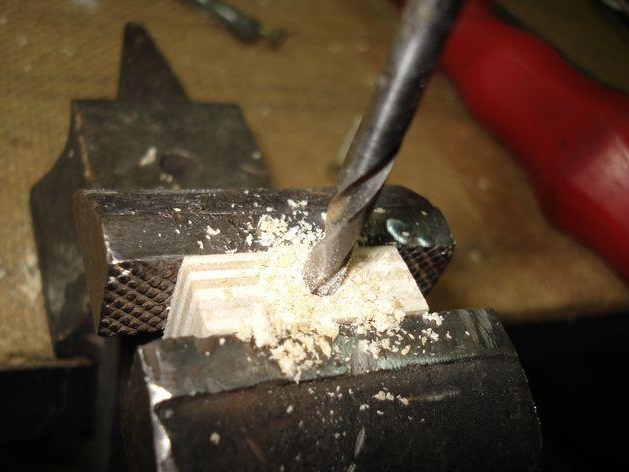
Working sponge.
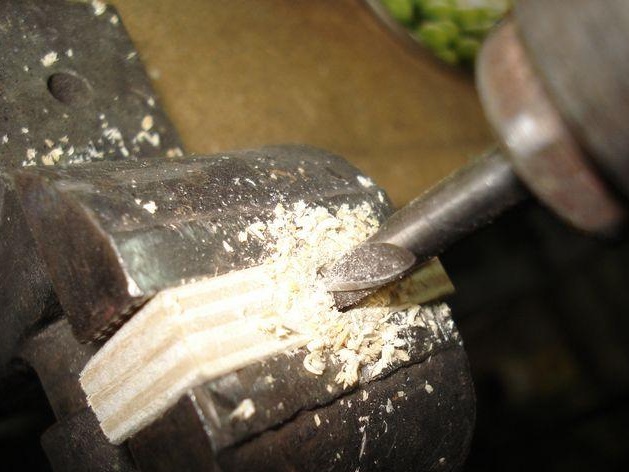
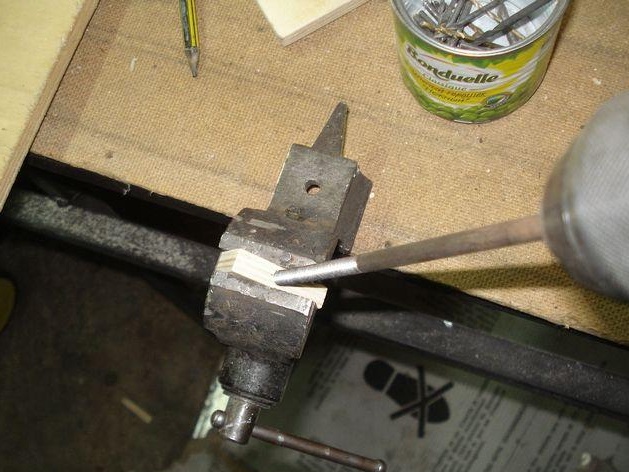
In the center, drill a hole d = 5 mm, with a depth equal to the castle part of the axis.

Drilled with different drills, in turn.
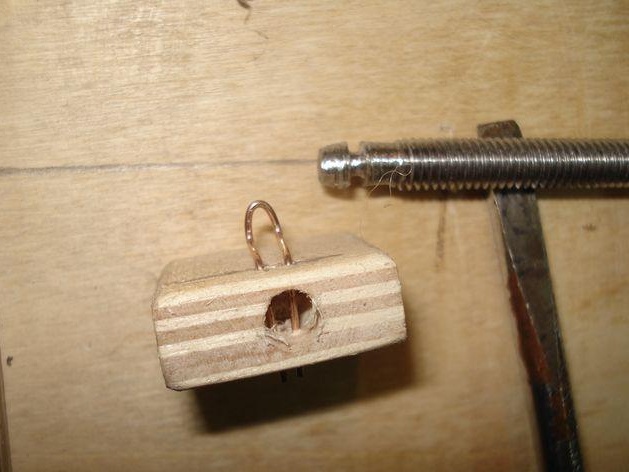
The size of the castle.
We control the depth of drilling.
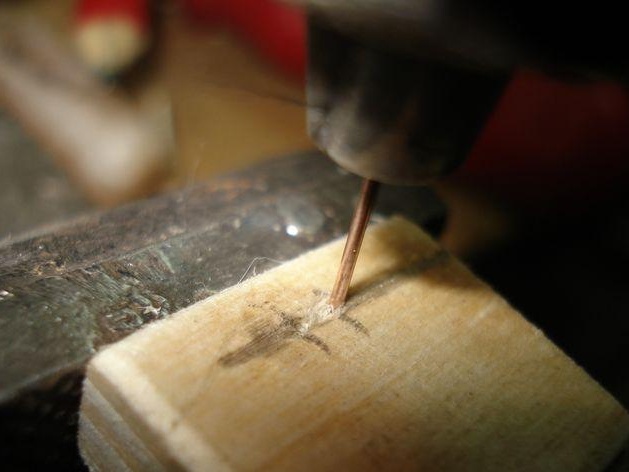
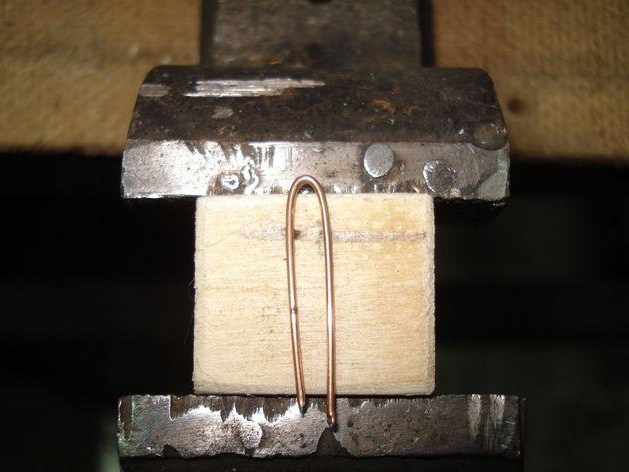
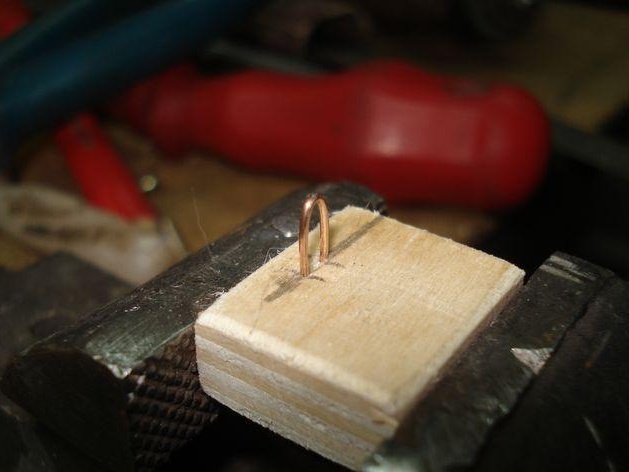
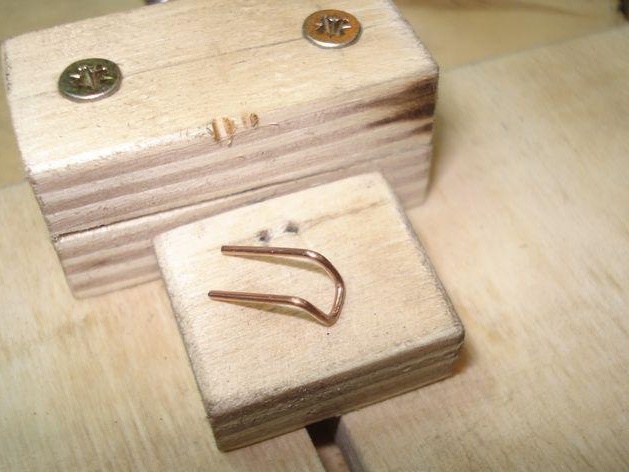
We mark the drilling points under the wire lock.
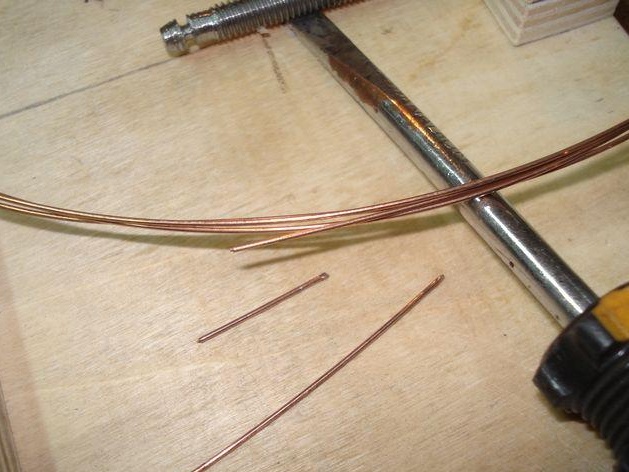
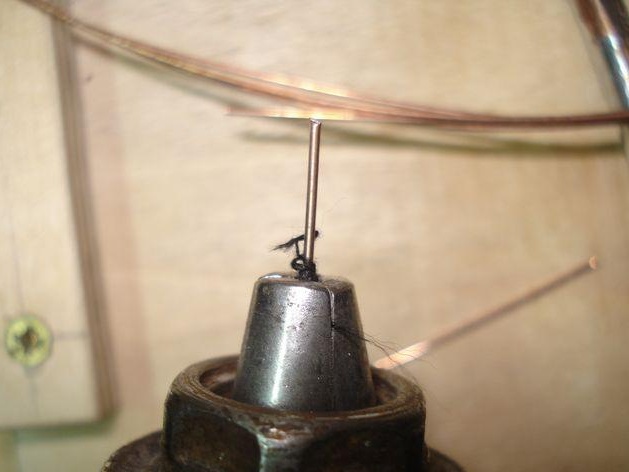
From a welding wire we bite off two pieces, for the lock itself and a home-made drill.
If such an impromptu drill is not clamped in the drill chuck necessary to wind the thread.
The drill is ready.
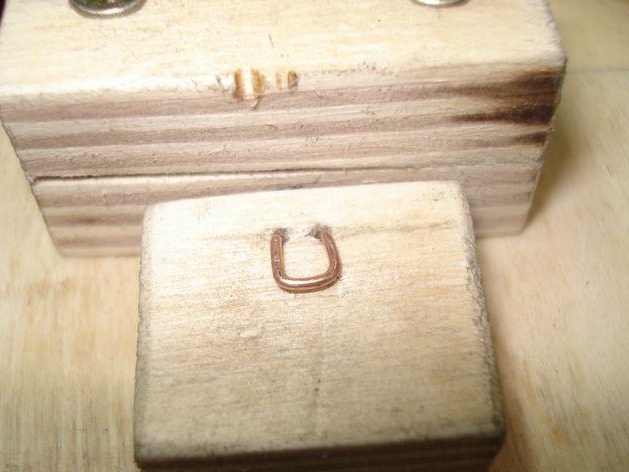
We drill through holes for the lock.
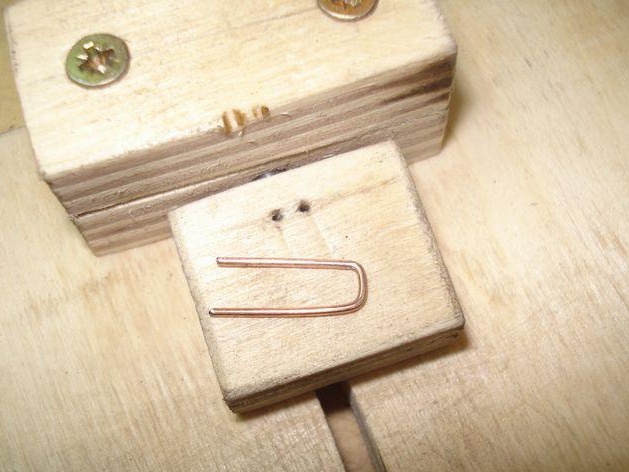
From another piece of wire we make a lock.
The second version of the castle.
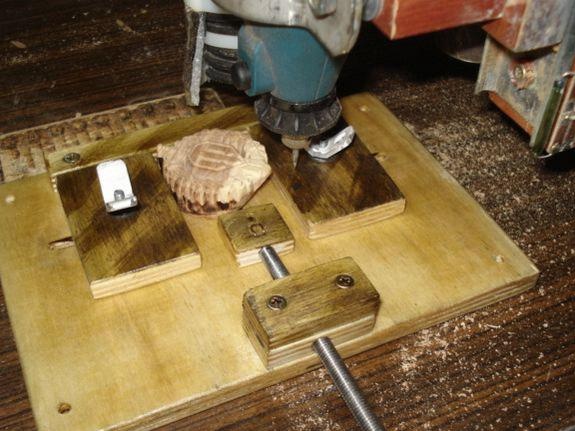
Installation of side jaws.
Mark the center of the point for drilling.
We drill 4 mm holes.
Insert the screws and put on the sponge.
All is ready.
Topcoat.
We will reveal everything with a quick-drying varnish.
You can still camouflage the stain.
Check in work.
As they say - Enjoy!