
Today's instructions are about making a rustic table. Stylistic elements of incompleteness only decorate this table. Interested in? Then let's get started!
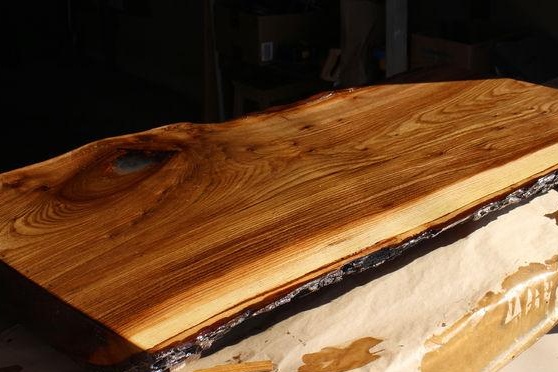
Step 1: Find a suitable wooden surface
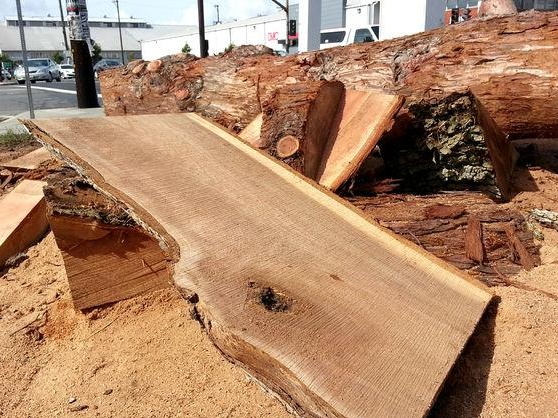
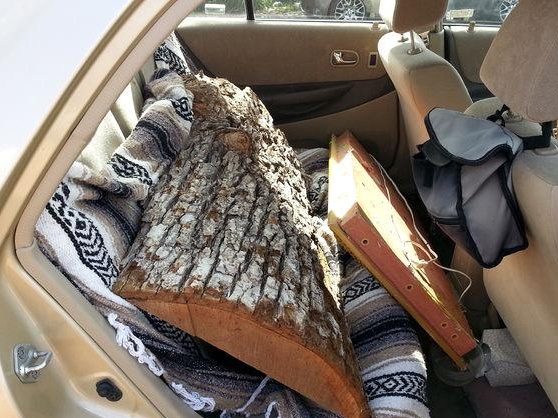
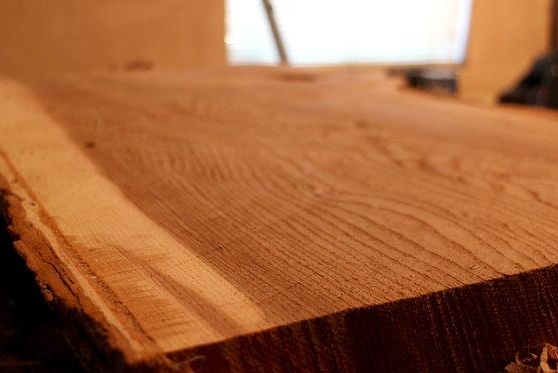
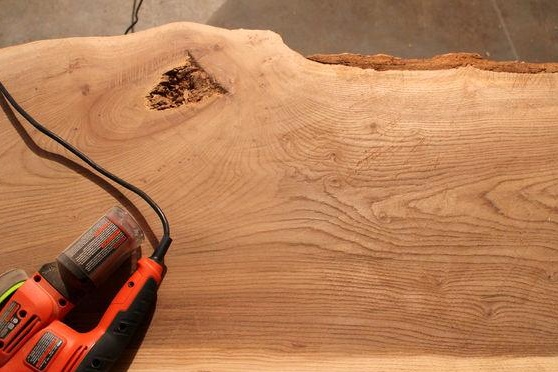
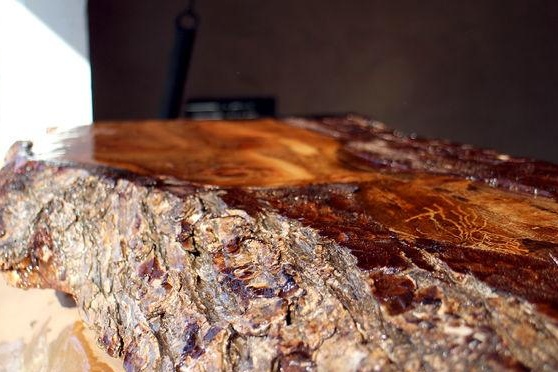
Step 2: Inspect Her
The stove used in the instructions was fairly flat, but had rough details.
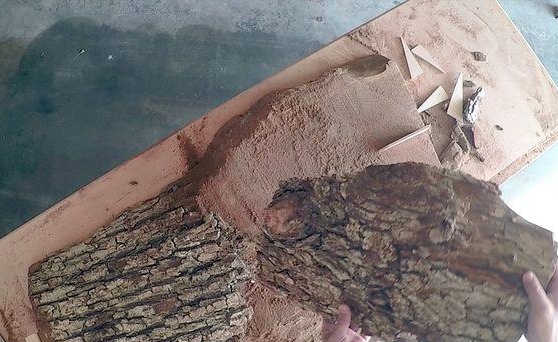
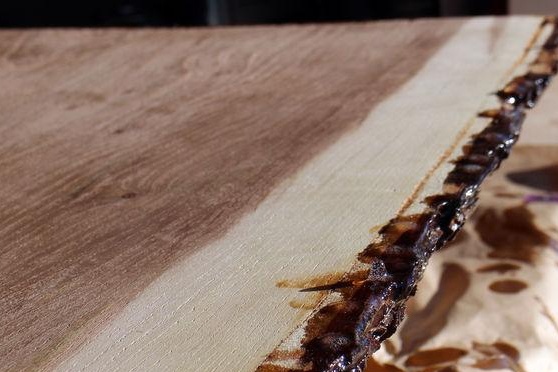
Step 3: Cut the surface
On the one hand, we make a flat surface with the help of a saw, it will serve as a worktop.
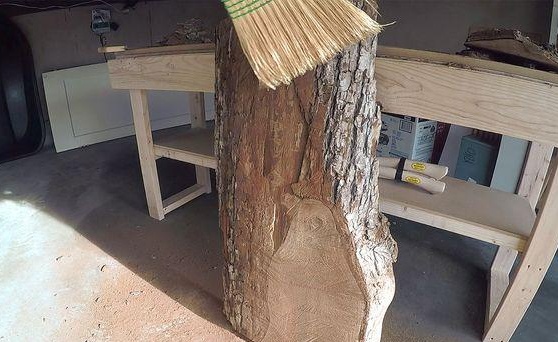
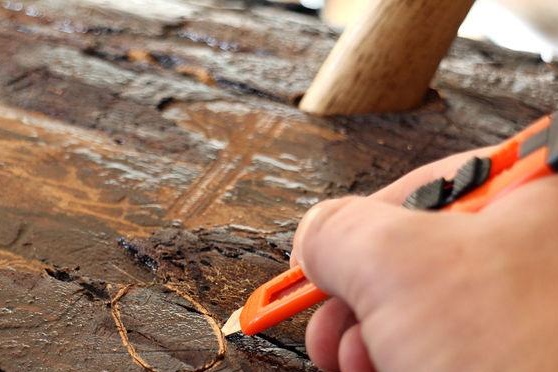
Step 4: Align
Arm yourself with a cleaver and at an angle of 45 degrees begin to make the surface even. It takes a lot of time, so be patient.
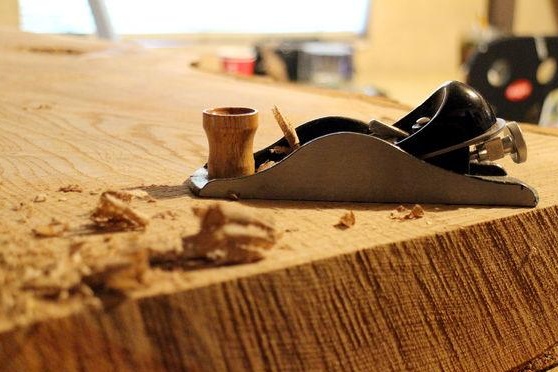
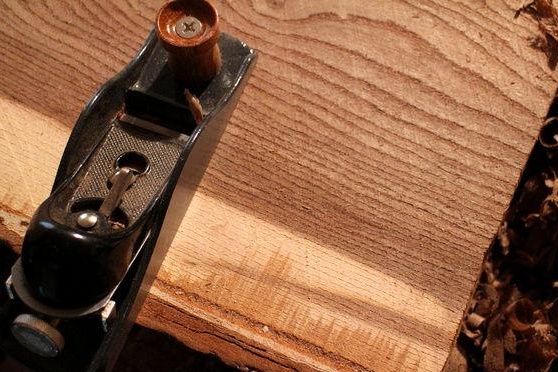
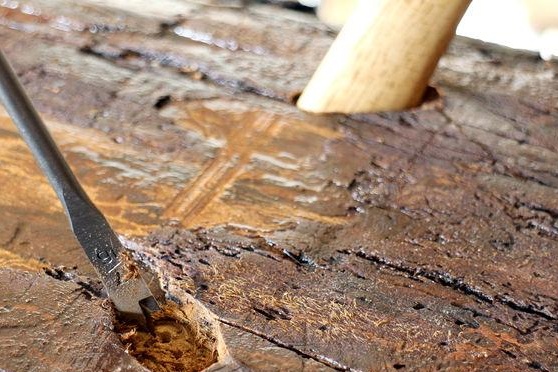
Step 5: working with the surface
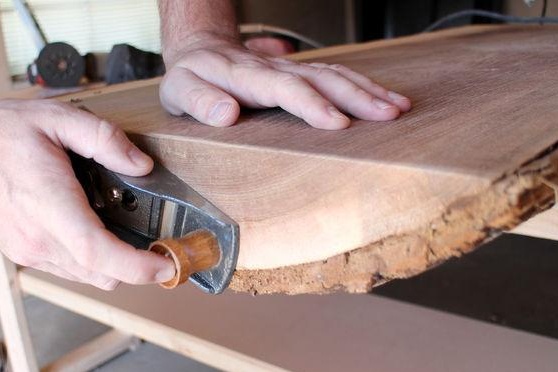
Using the planer, process the end areas.
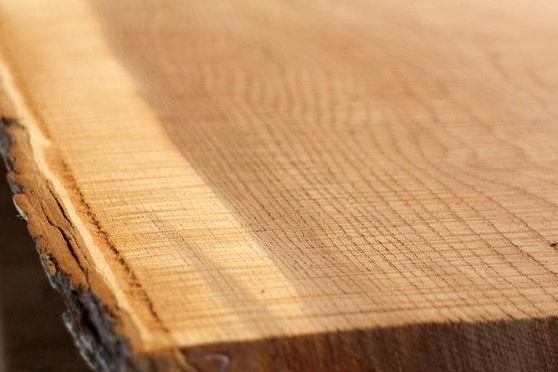
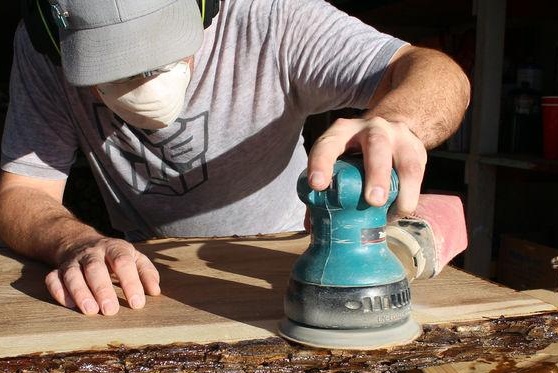
Step 6: Grinding
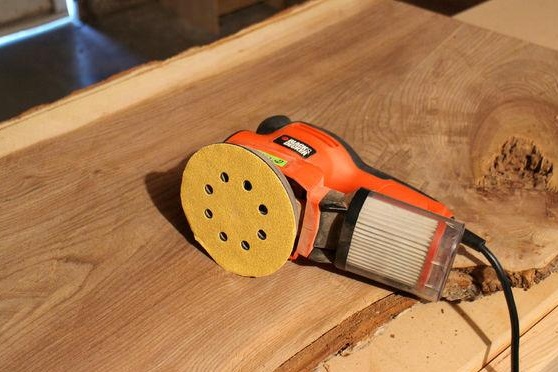
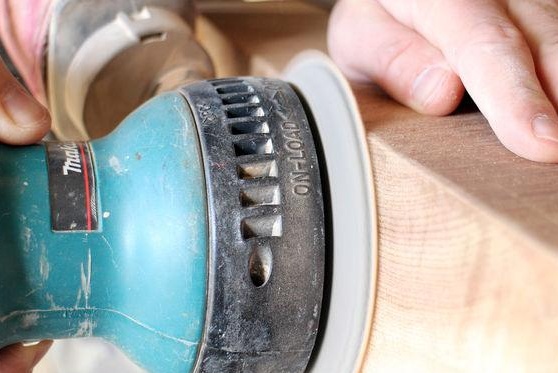
Time to apply the grinder. You can start with a grain size of sandpaper 60, and gradually change during operation to 100, 180, 220, and then a grain size of 400. Remove dust during breaks between sandpaper changes.
Step 7: Apply Resin
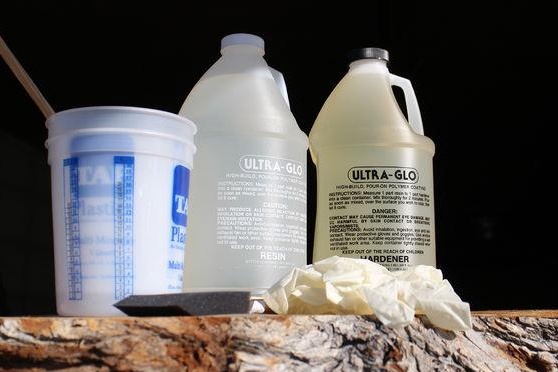
Mix glossy varnish with resin in a 1: 1 ratio.
Step 8: apply the solution
The lower side will not be noticed by others, therefore, we are taken for the upper surface and sides.
Apply a large amount of the resin (made in step 7) to the surface and let it dry, it will take at least 48 hours. After 8 hours after application, if there are cracks, chips or cavities, fill them with a solution and leave until the wood has completely dried.
Step 9: Clean the bottom surface
Turn the countertop and those places where leaks formed, clean with a grinder or rough sandpaper.
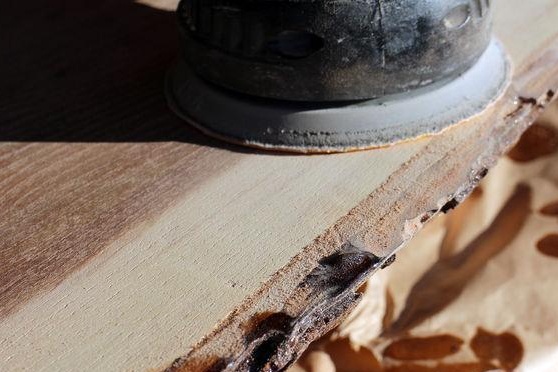
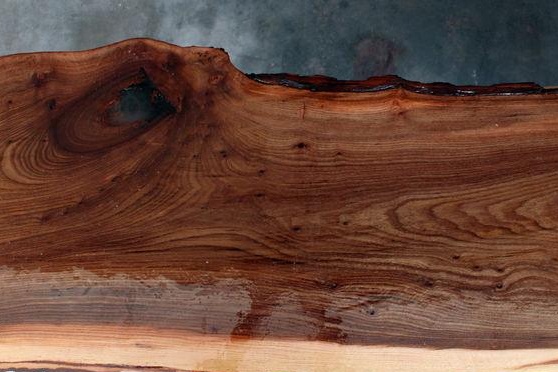
Step 10: Pour the table resin
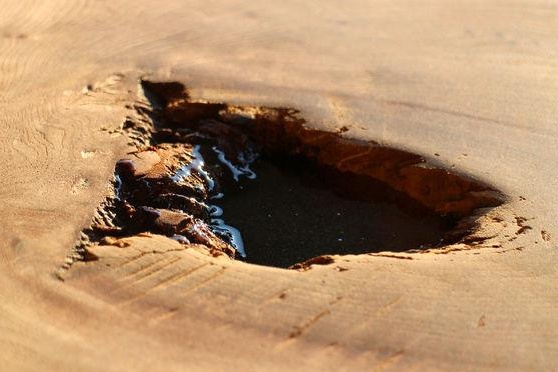

The wood stove has voids. To fix such a problem, we need to pour the resin into the hole, and after 4 hours add to the resin until the depression disappears.
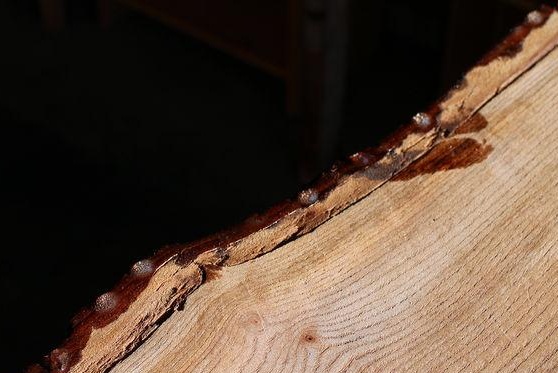
Step 11: Apply Heat Flows
After the resin dries, small bubbles may form on its surface. To get rid of them, you need to use a heat gun or burner. The flame should not be strong.
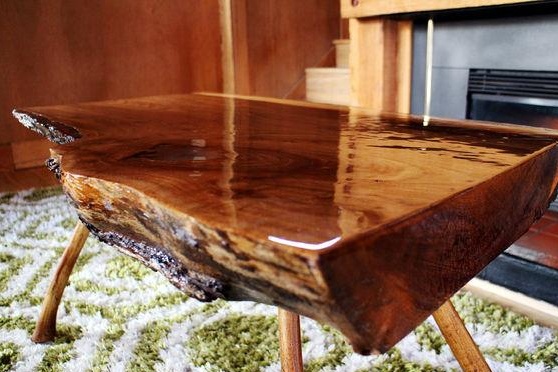
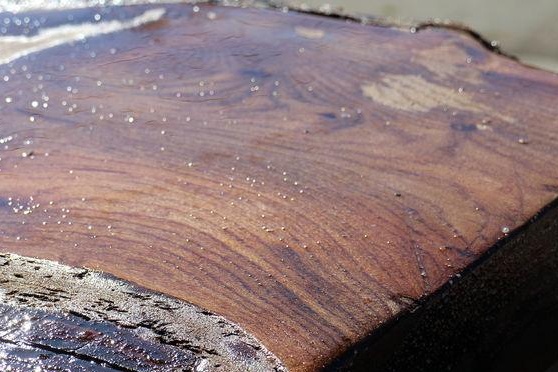
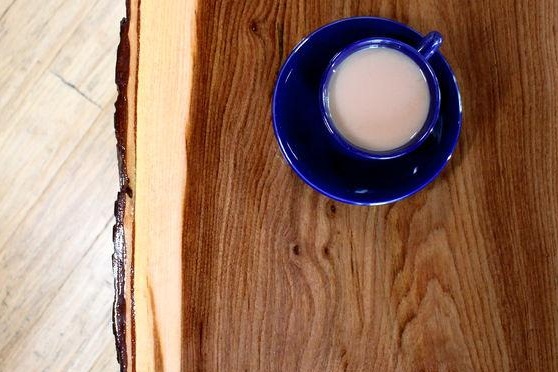
Step 12: Cover the table with tar
Mix the resin again and apply to the countertop. Make sure the entire surface is covered on both sides. Leave to harden for 48 hours. Afterwards, you may notice that some places look dry - apply a second coat of resin for a glossy finish.
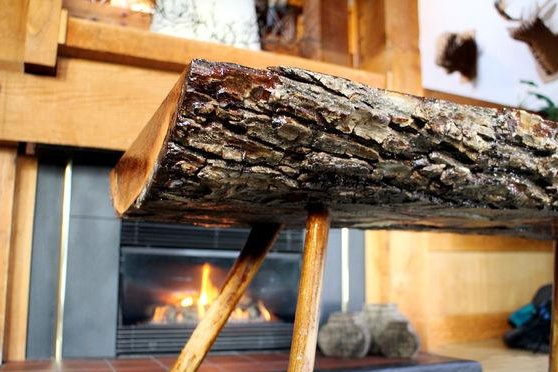
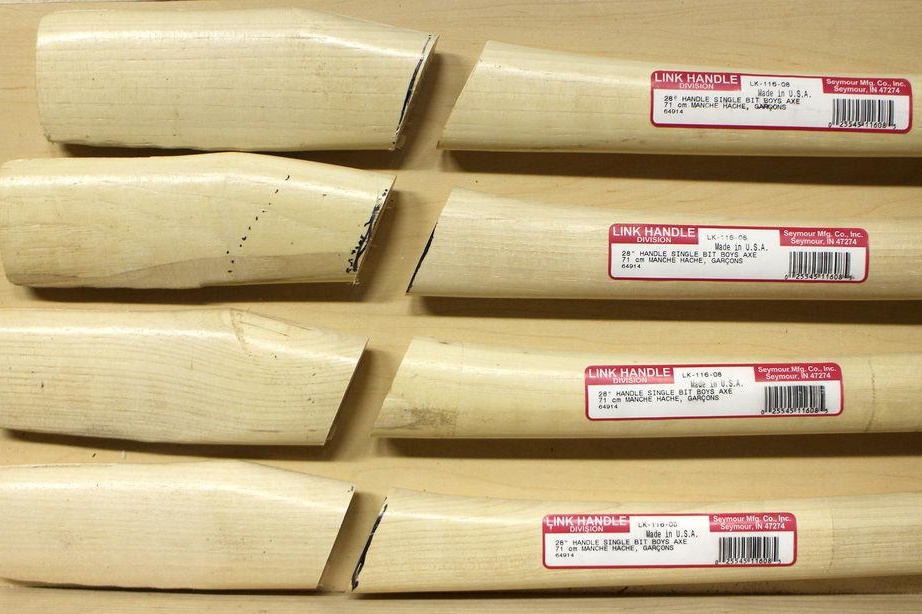
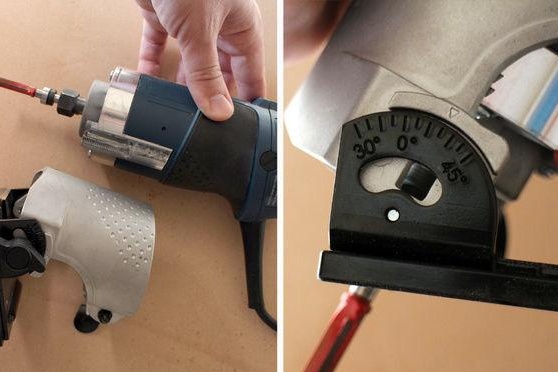
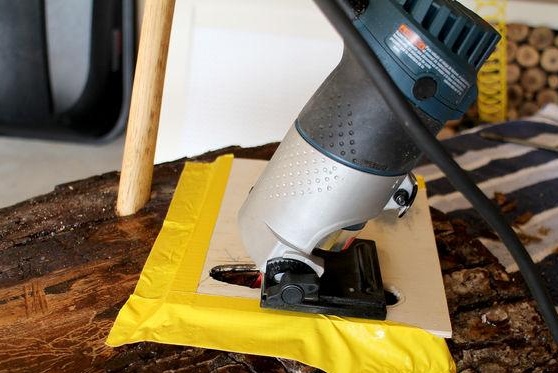
Step 13: working with ax handles
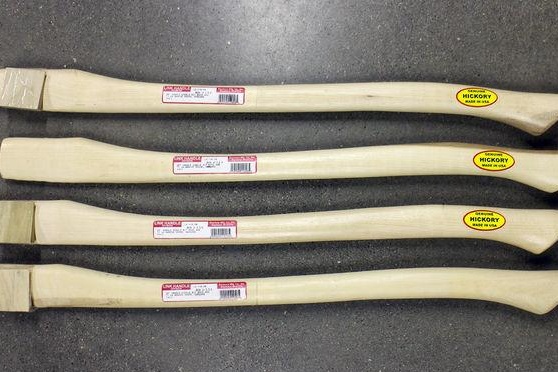
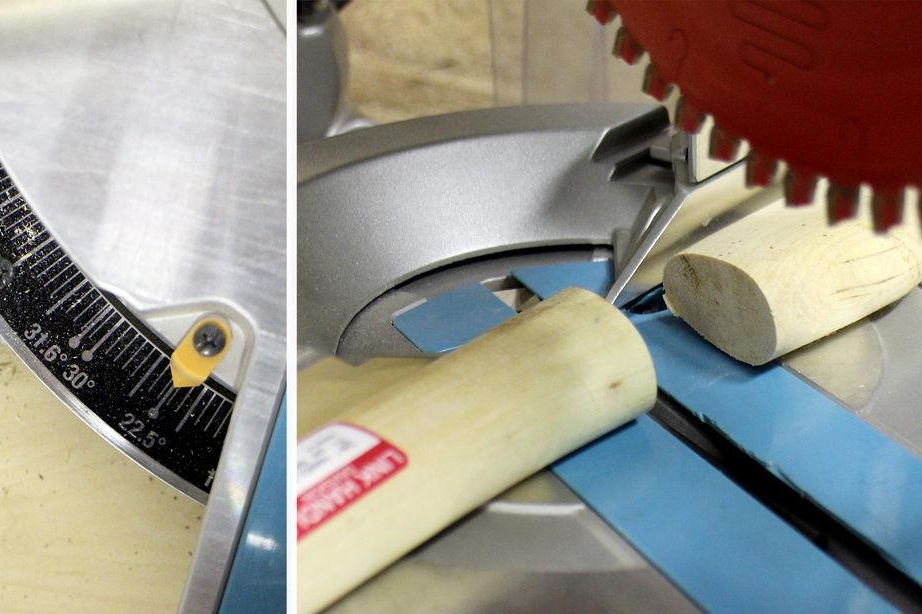
At an angle of 22 degrees we cut off the chopping part (the top of the ax).
Step 14: Grinding the Feet
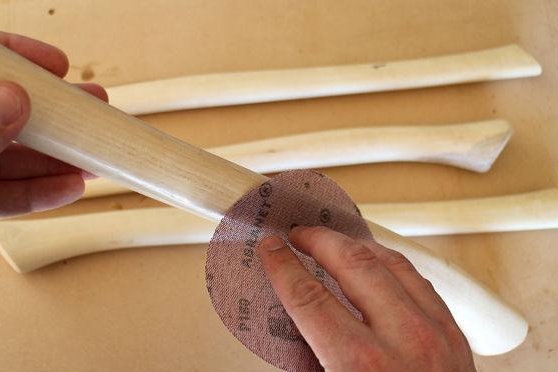
With sandpaper, remove the varnish from the legs. After, paint them in the desired color.
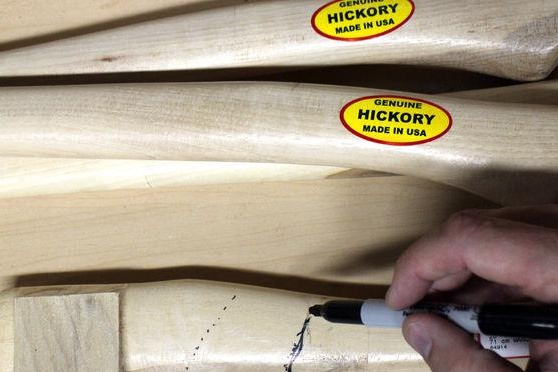
Step 15: Marking the Legs
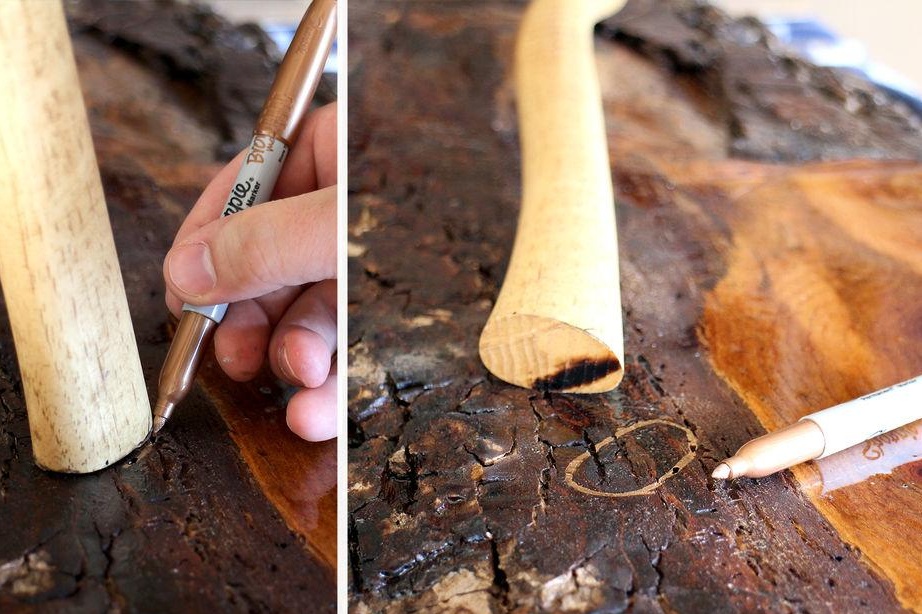
Adjust the legs in turn to the installation sites, and at the same time circle with a marker or pencil.
Step 16: Making Holes
Cut the contour of the marked spots, and use the chisel and hammer to knock out the holes.

Drill 4 holes at an angle of 22 degrees.
Clean the holes and remove the sawdust.
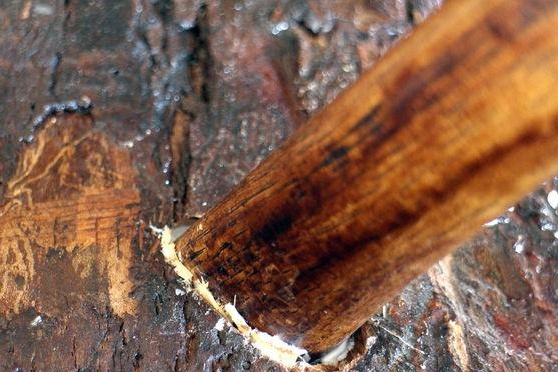
Step 17: Fix
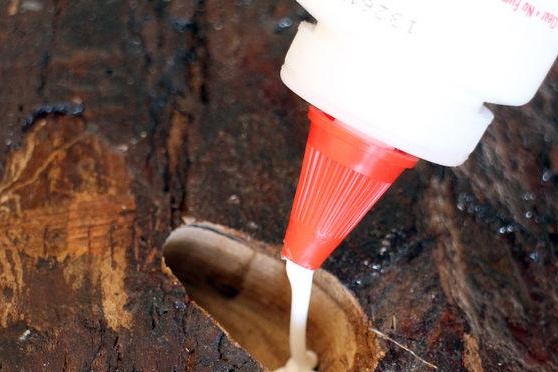
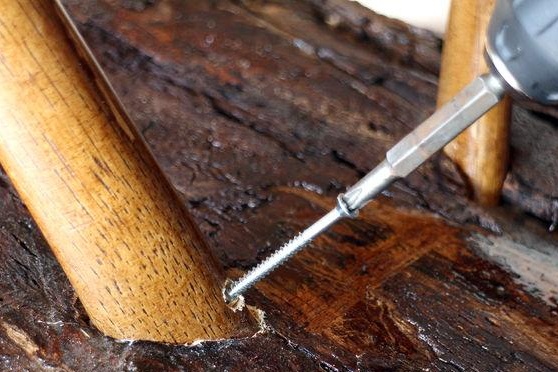
Apply wood glue to the holes, and then secure each leg with long screws to the table surface.
Step 18: Avoid Scratching
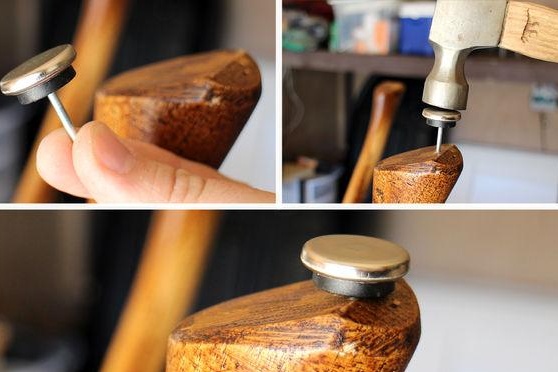
We attach special pads on each leg.
Step 21: Set up the table
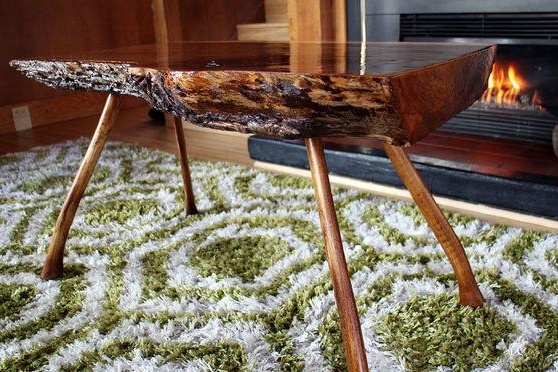
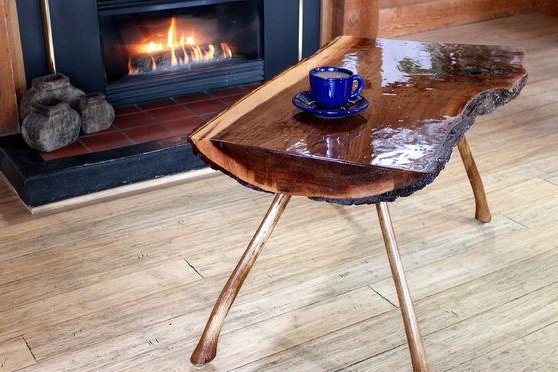
The unique structure of the tree will fill any room with natural beauty.