The author of this workshop, JOSHUA RHODES, designed the original round shelf.
Materials and tools:
- a hacksaw;
- drill;
- two clamps;
- square;
- a sheet of thin fiberboard (to create a circle);
- board (for the shelves themselves);
- paint, polyurethane (or varnish), stain;
- furniture eyes or staples for paintings (for attaching to the wall).
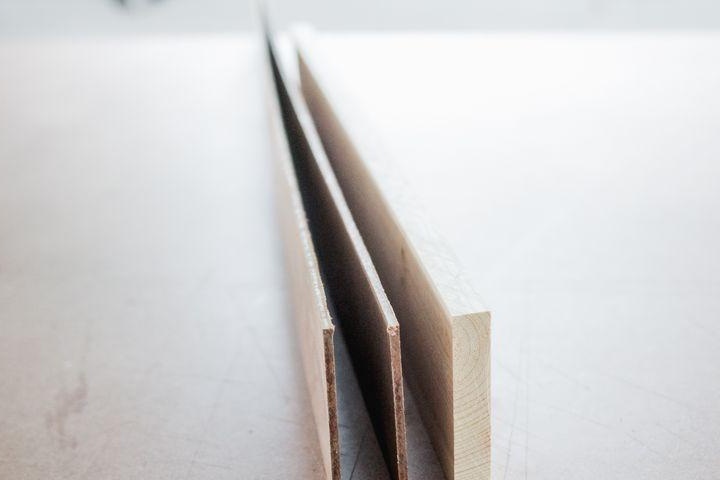
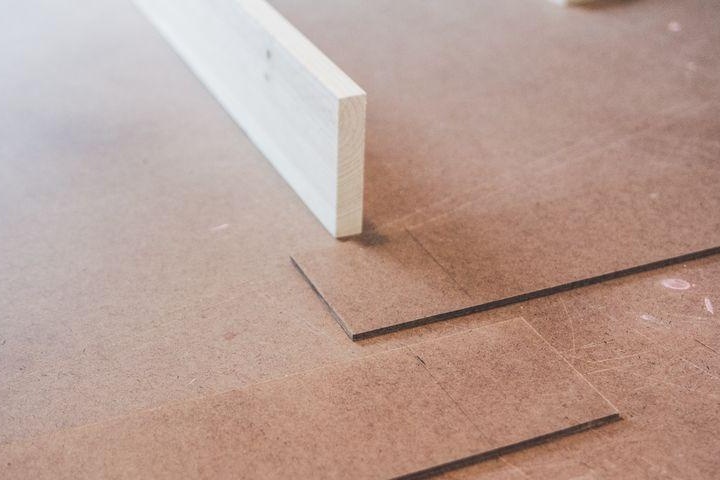
Step 1. We cut out two strips of 15 * 120 cm in size from a fiberboard sheet, from both edges of the strips we retreat 7.5 cm, apply marking.
The size of the central shelf in this case will be 15 * 71.7 cm.
To calculate the length of the strips from the fiberboard sheet, based on the size of the central shelf you plan, which is the diameter of the circle that creates the outer contour of the shelf, you need to use the formula L = 3.14D, taking into account the overlap size of two strips of fiberboard for 7.5 cm.

Step 2 To bend the strips from the fiberboard sheet, on the one hand, put the first stripe on the second one on the overlap size (7.5 cm) of our choice, and, having fixed the edges with a clamp, slowly bend the strips, reducing the edges of the opposite side. The second edges are likewise fixed with a clamp.
The central shelf will fall into place if everything was originally calculated correctly and the clamps are installed in such a way that they do not interfere with its installation.
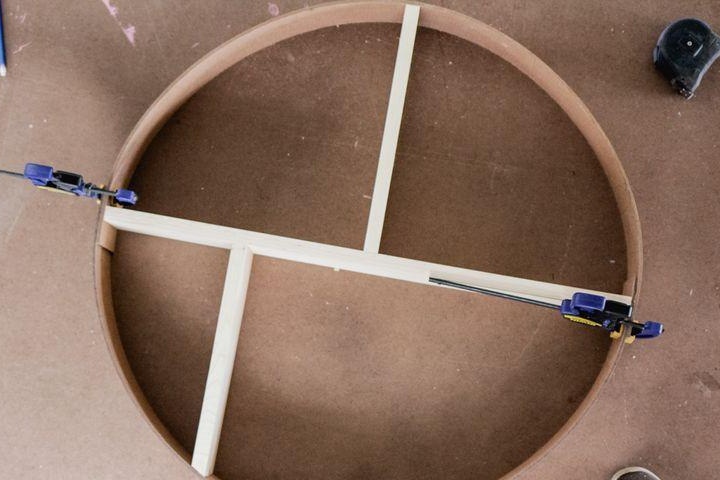
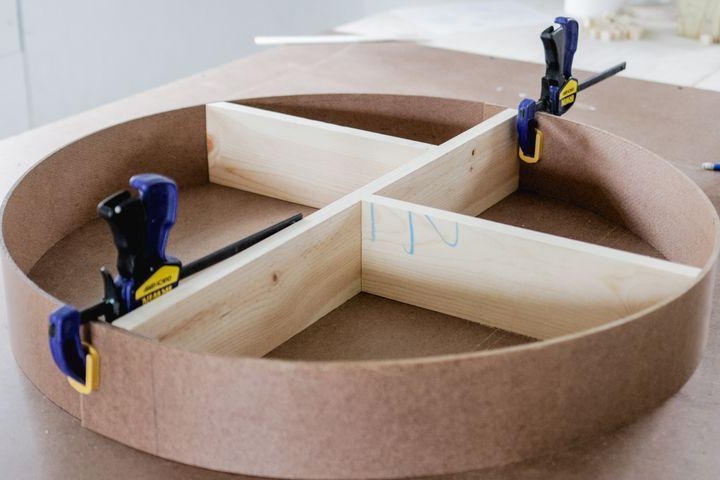
Step 3 Further, from the board, we form vertical shelves that can be installed based on your plan, given that the further the shelf is shifted from the central axis, the more it will be necessary to make the partition angle beveled.
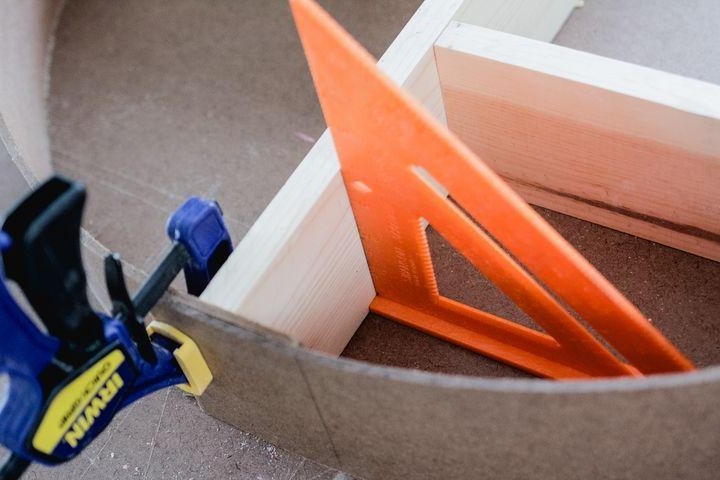
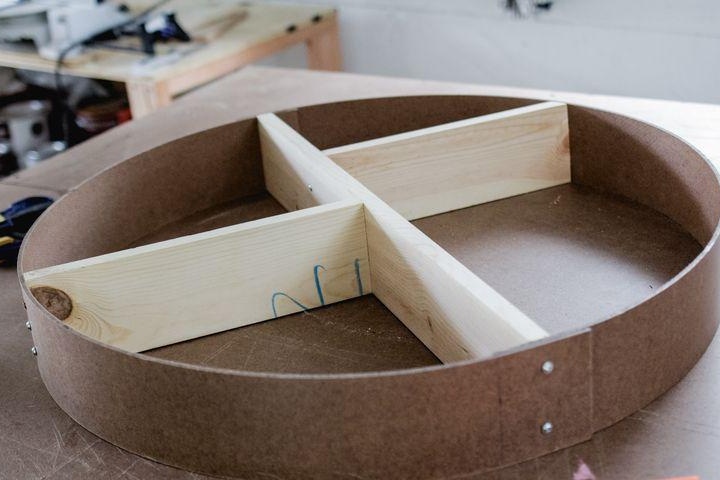
Step 4 Using a square, we control the perpendicularity of the shelves, fix the elements with screws.
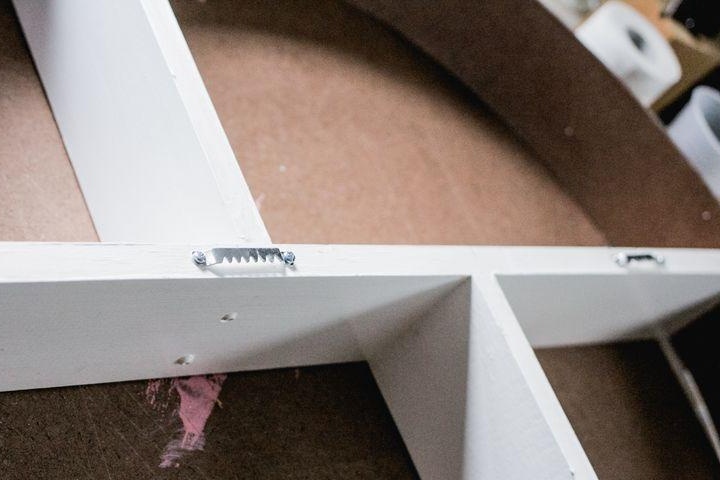
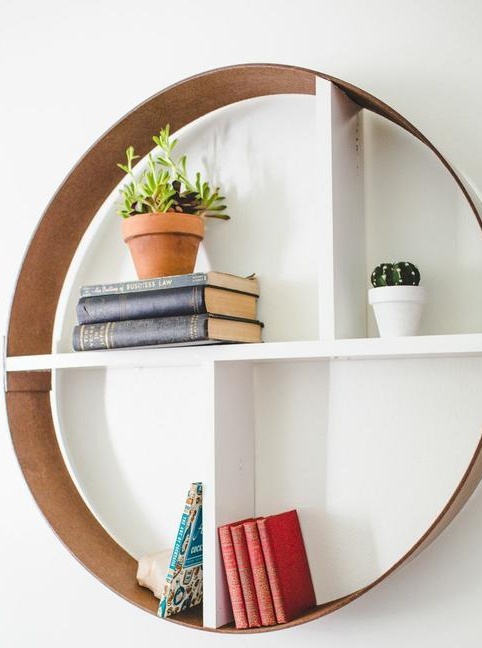
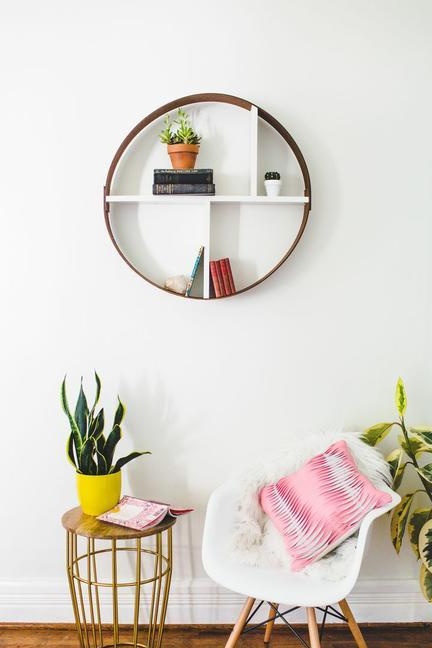
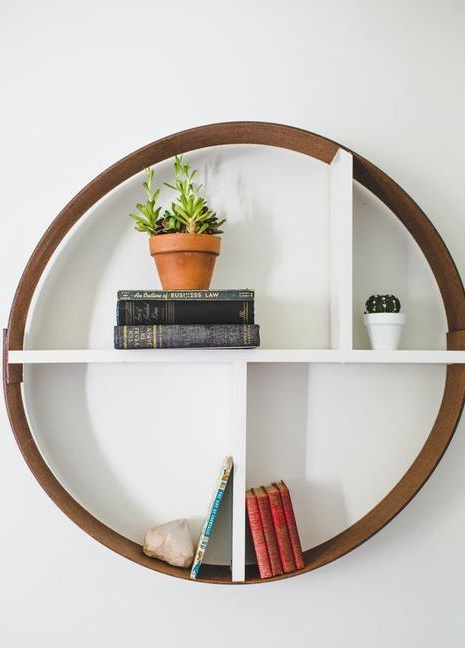
Step 5 We paint the shelf with the selected paints, varnish or stain.
In this case, the author of the JOSHUA RHODES master class used white paint for the shelves, and the stain was brown for the external contour.
Next, we fix the furniture lugs on the central shelf from the back, screw the screws into the wall.
We hang the resulting shelf: