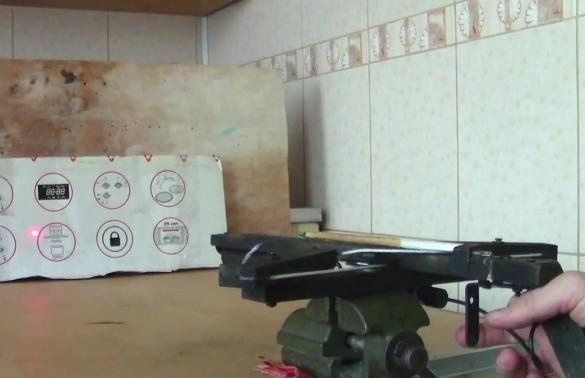
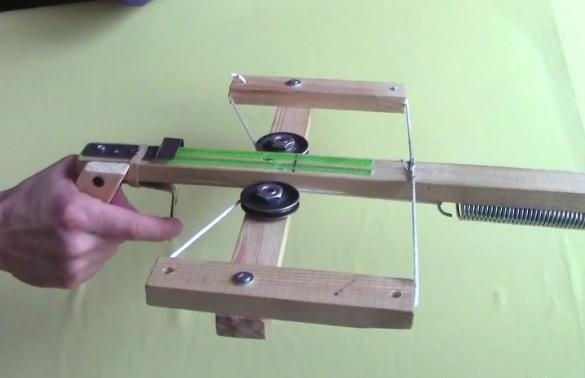
Lovers of homemade weapons are invited to sit back, because in this material we will present an overview of the manufacture of a crossbow of a reverse design. First of all, we will explain why the design of this crossbow is called the inverse: the fact is that its bowstring is pulled in the opposite direction, which allows you to get much more power.
Let's start by watching the author’s video
[media = https: //www.youtube.com/watch? v = -9ggSLvkGDE]
What do we need to make such a crossbow:
- wooden plank 15 mm thick and 28 mm wide;
- ruler;
- a pencil;
- a hacksaw;
- drill;
- bolts, washers and nuts;
- two clips;
- spring;
- two metal corners;
- kapron rope;
- door hinge;
- metal plate.
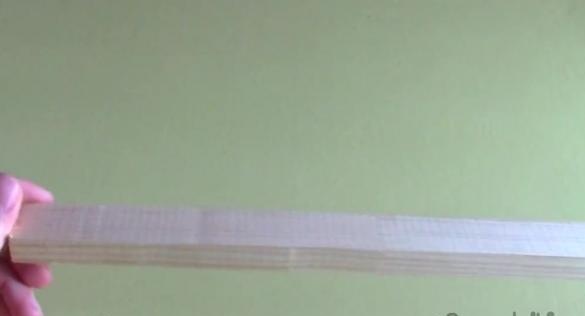
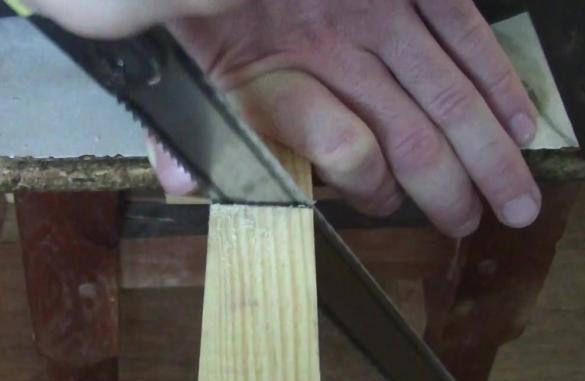
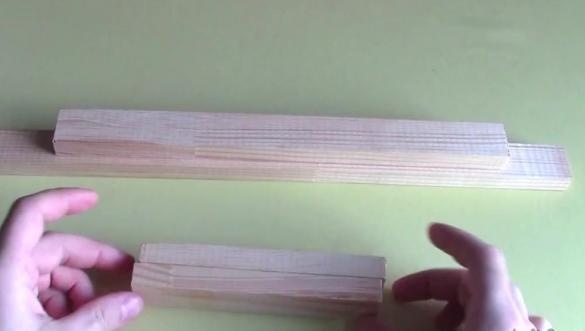
We take the bar, which must be used to cut four blanks. The length of the first blank should be 43 cm, the second - 31 cm. The remaining two blanks should be equal to 15 cm.
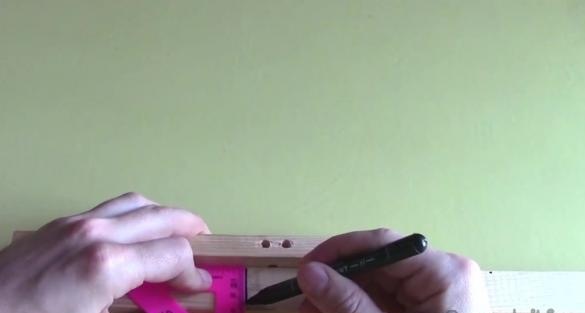
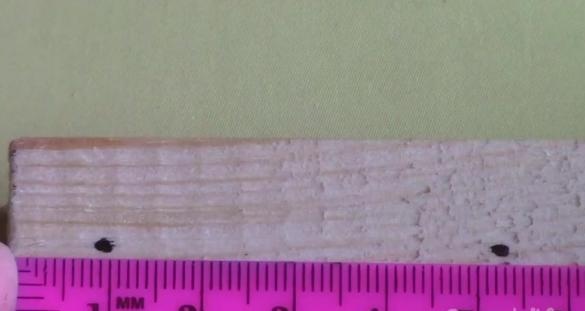
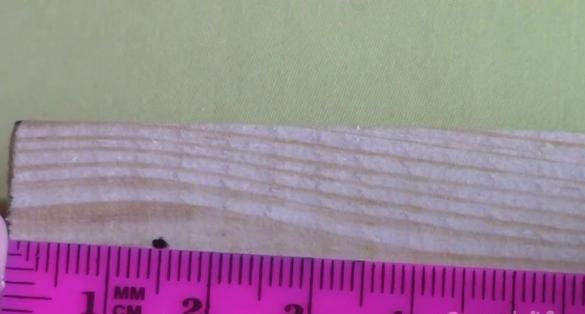
Next, take two short blanks and make 1 cm marks from each edge. We also make one mark of 5 cm from one edge of both blanks.
The next step is to take the middle bar and make marks 1.5 cm from both edges.
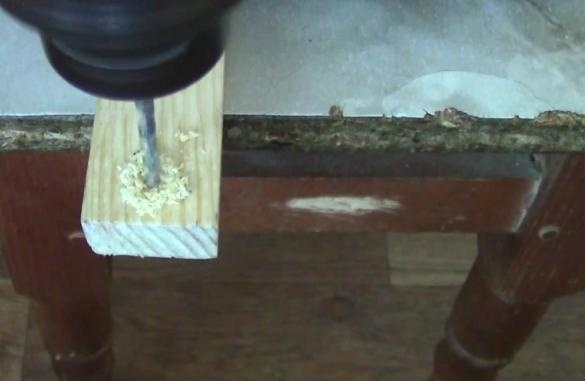
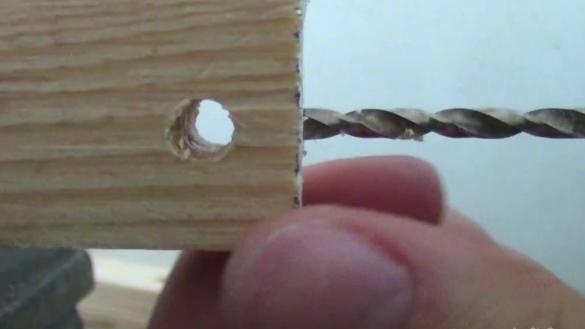
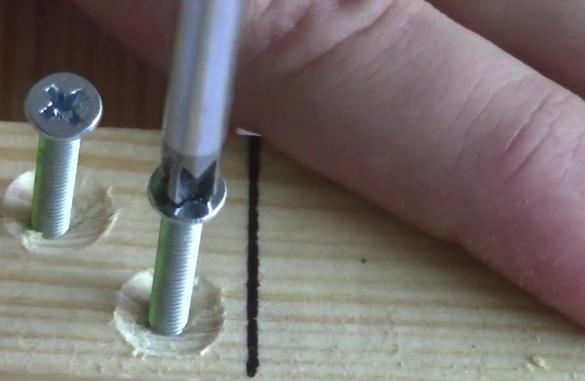
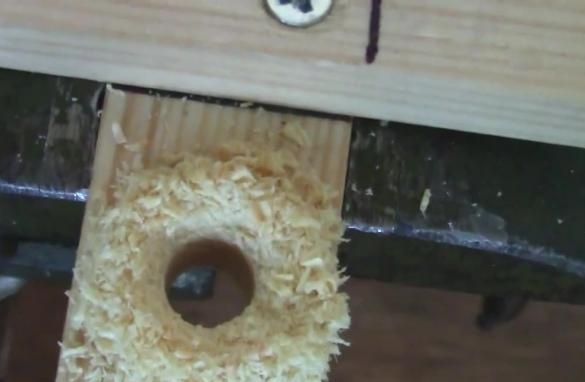
We make holes in the marked places.
At the edges of the short strips, we make through holes going to the holes drilled in the previous step.
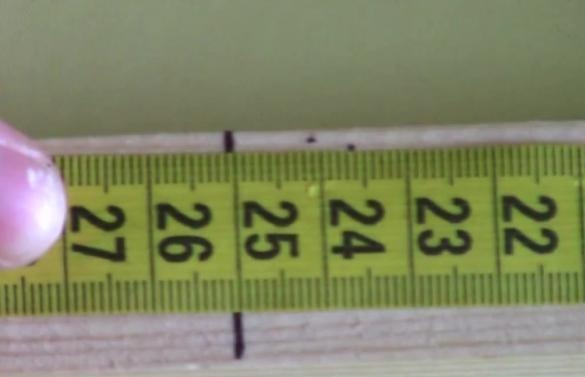
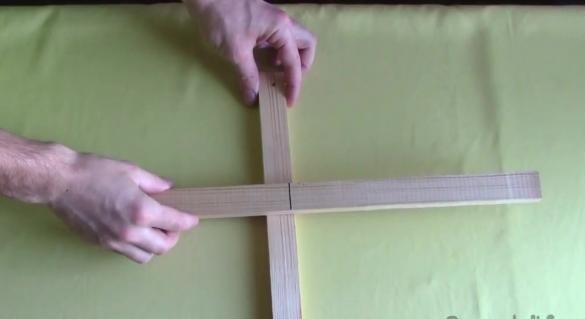
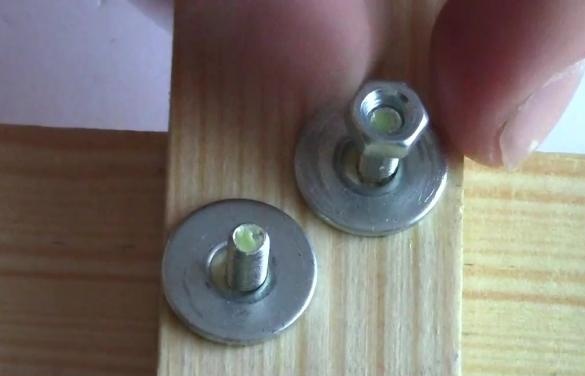
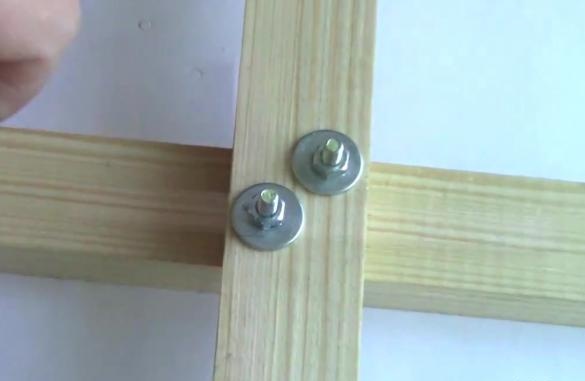
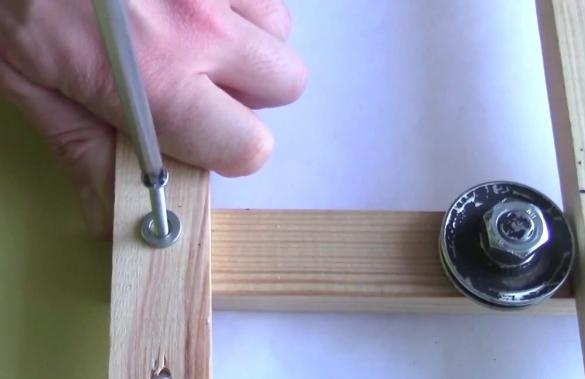
Next, to the very length of the bar at around 25 cm, we fix the middle bar. We will do this with bolts, washers and nuts.
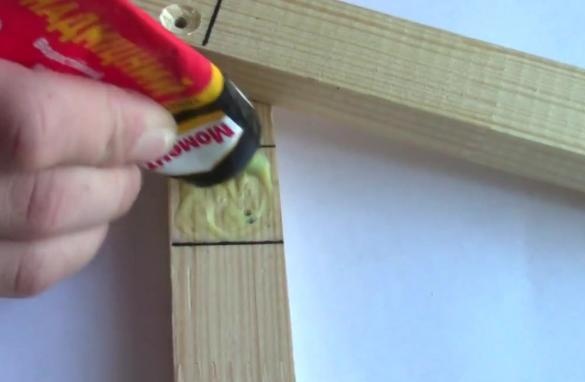
For greater reliability, the author of the idea applies a layer of glue between the two slats.
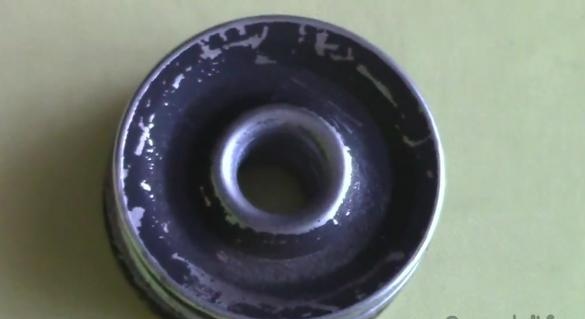
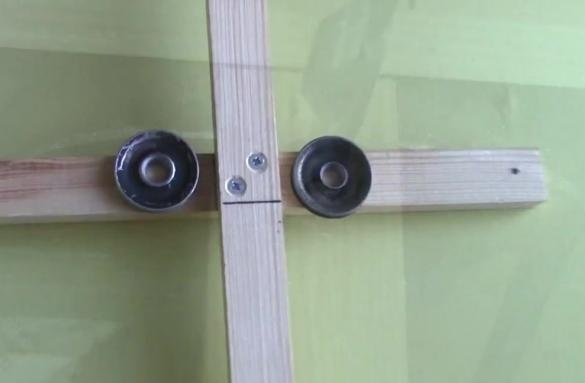
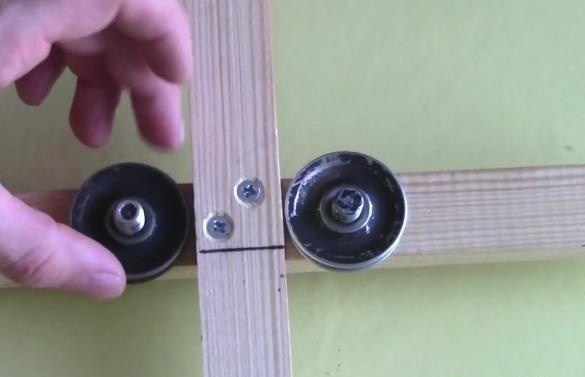
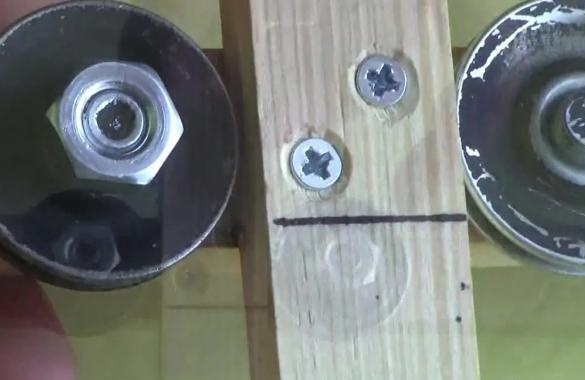
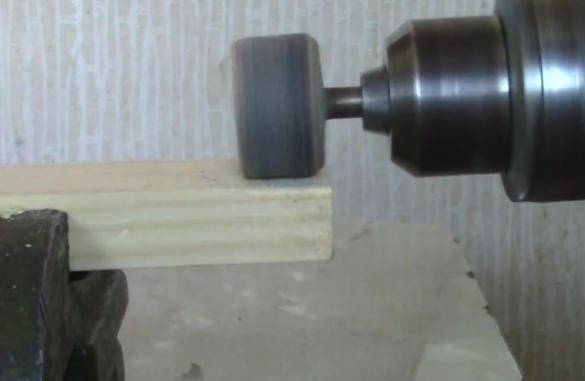
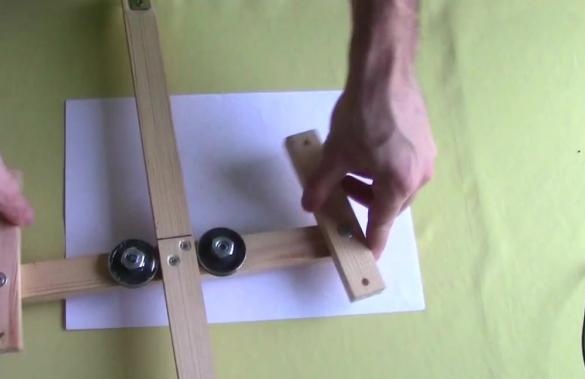
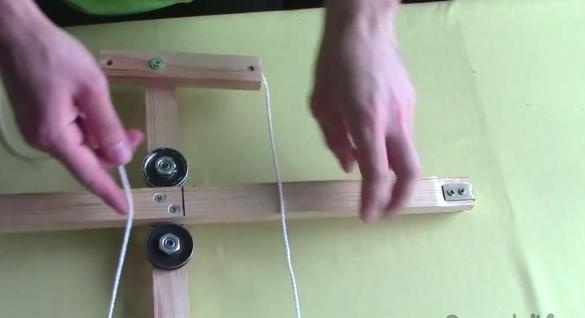
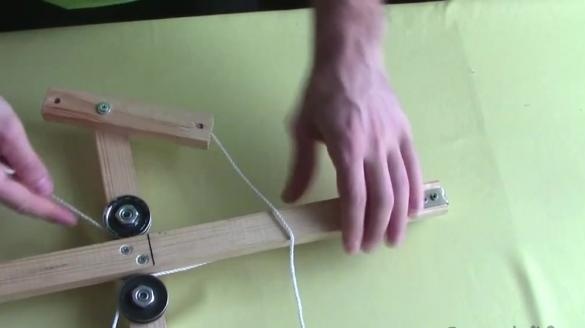
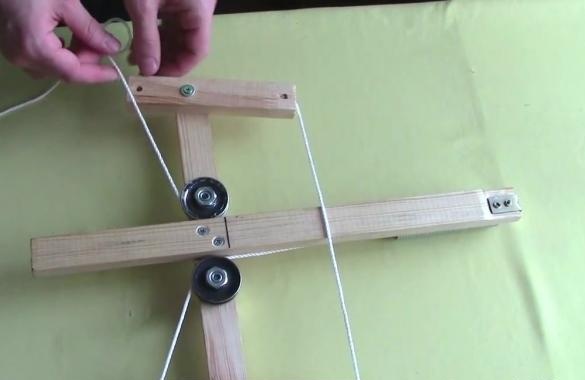
Now we take two rollers, which were also used to make block onions, and fasten them with bolts next to the middle bar, as shown in the figure below.
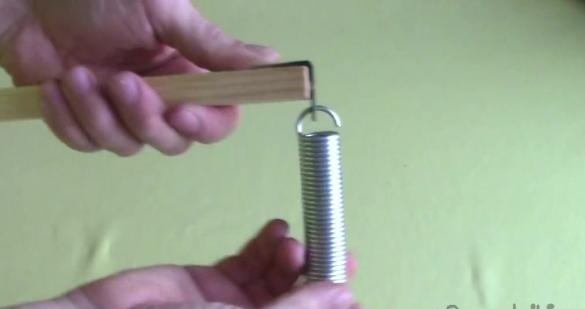
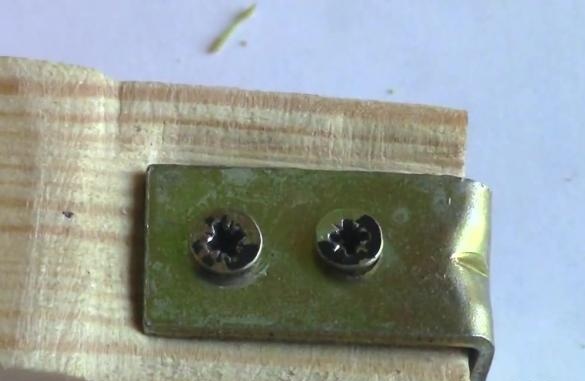
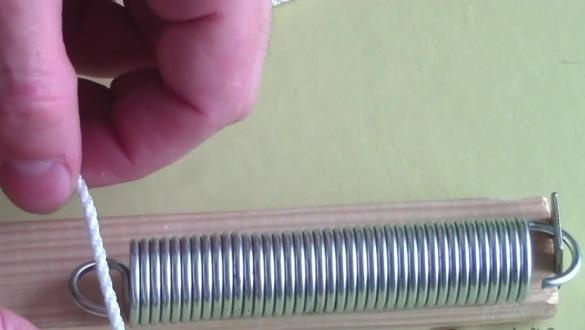
After that, we take a spring, which can also be purchased at the car market, and fix it on a crossbow using a metal corner.
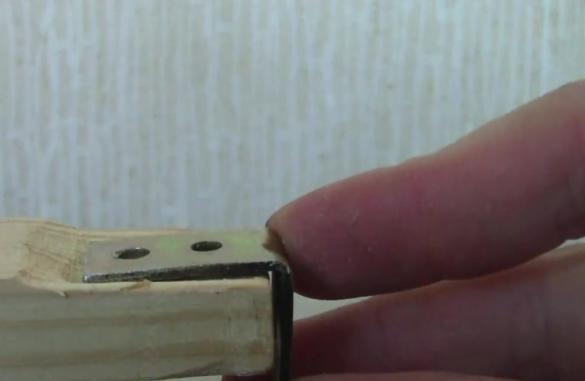
The corner should be installed on the edge of the long bar with self-tapping screws, however, it will interfere with the boom extension. To avoid this, make a small indentation on the bar.
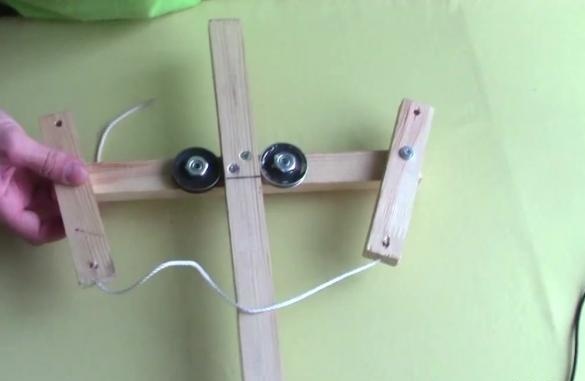
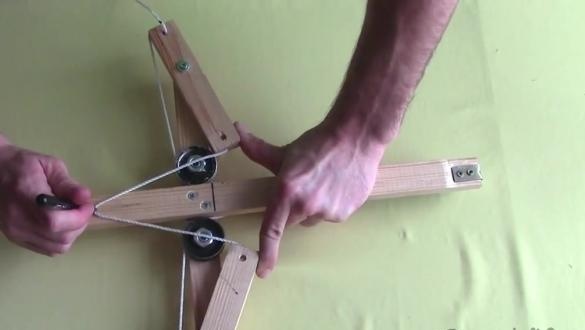
The next step is to take short slats, which we fasten on the basis of our crossbow obtained with the same bolts.
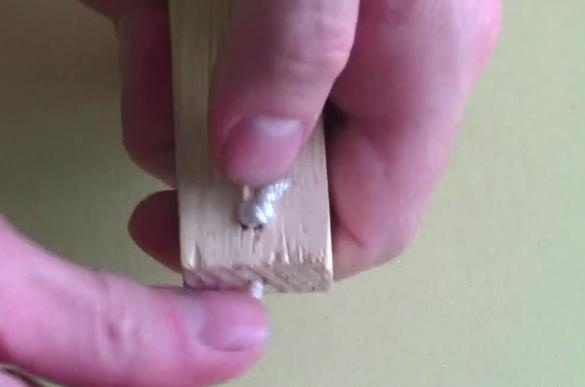
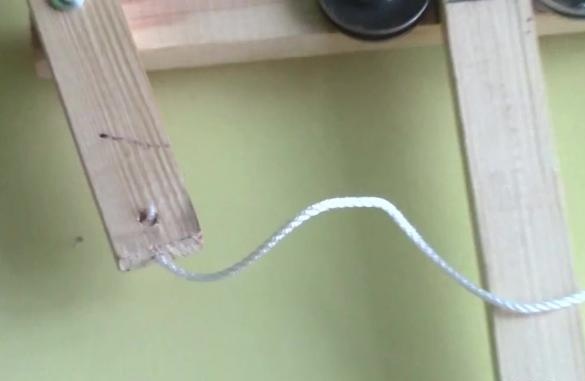
We take a piece of kapron rope and fix it on the shoulders of the crossbow using through holes. Thus, we connect the shoulders to each other.
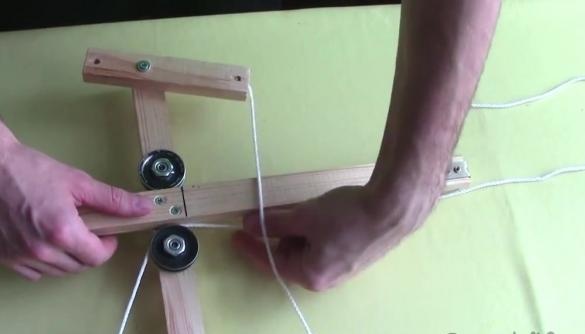
Next, we take another piece of rope, fasten it to one of the shoulders, thread it through the roller, then through the spring, through the second roller, attaching it to the second shoulder at the end. The length of the rope should be such that the spring with difficulty reaches its middle.
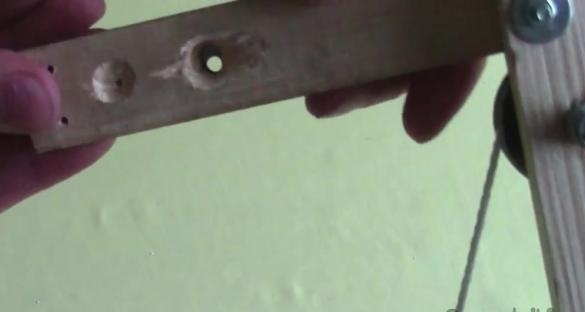
We proceed to the manufacture of the trigger. To do this, fully pull the crossbow and make a mark at the end point.
We make a hole at the mark.
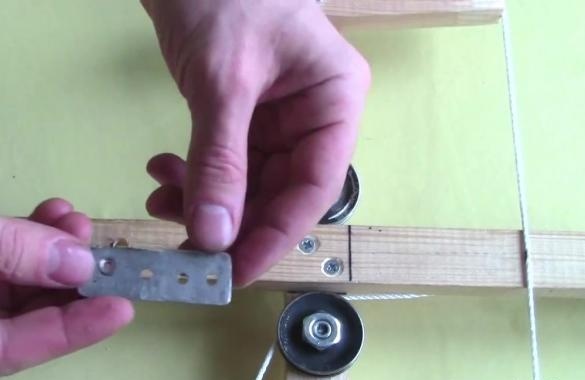
We take a metal plate and cut out a blank similar to that which can be seen in the figure below.
We fix the plate so that the hole on it coincides with the hole on the crossbow.
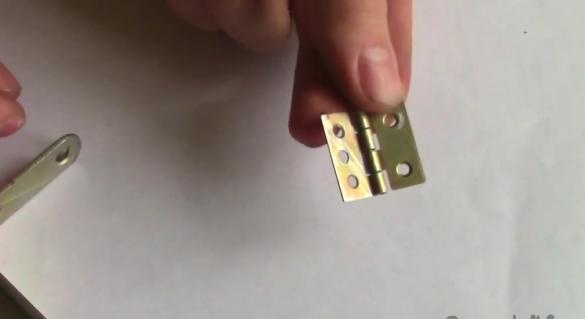
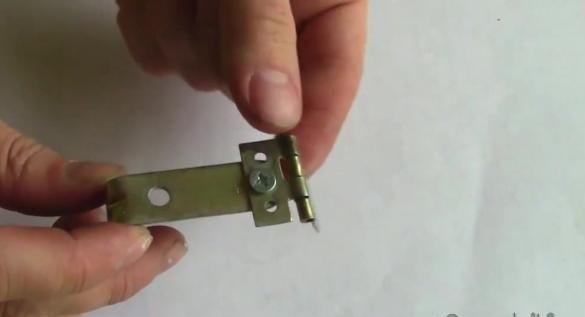
We take the door hinge and connect it to the metal corner with a bolt.
We fix the resulting workpiece from the back of the plate.
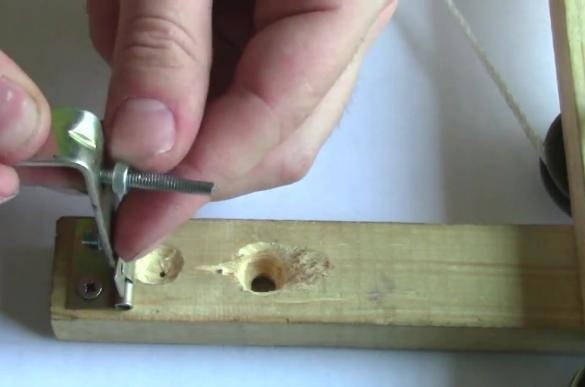
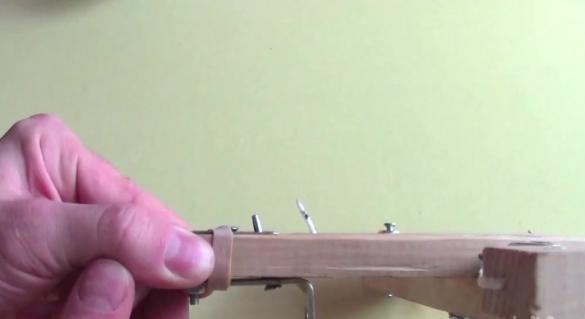
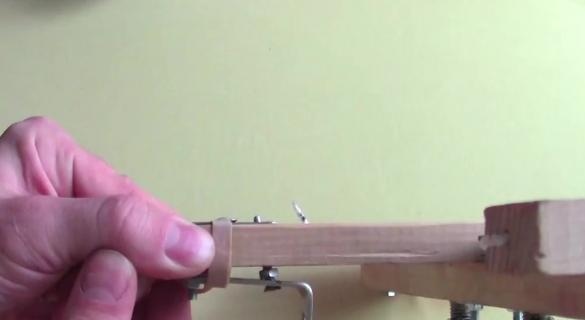
Next, we need another bolt. We grind the thread at its edge and fasten it to the corner so that it passes through the holes on the crossbow and the metal plate.
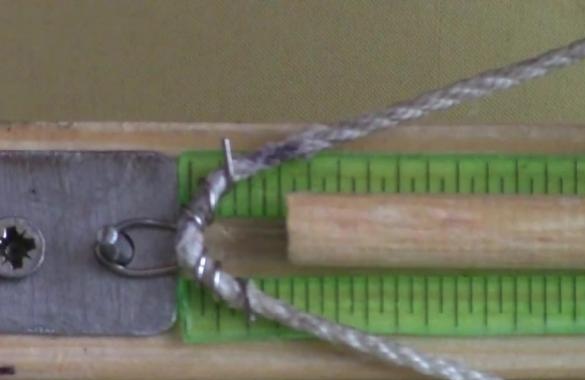
We put rubber on the corner. Thus, you can make a simple trigger that works according to the following principle. A bow is attached to the protrusion from the bolt, and when you pull the trigger, the bolt goes down and releases the bow.
Finally, you can make a guide for the crossbow. And you can make it from an ordinary ruler, which should simply be divided into two parts and fixed at the edges of the bar.
The arrow holder can be cut out of a regular tin can, and the handle can be made from a piece of wood, which you just need to screw it onto a crossbow with a self-tapping screw. If desired, of course, you can paint the crossbow in any color.

