

Good all the time of day. As usual, many music lovers think about how to make sound better, louder and better, but few know that you can do it yourself. So, in this article I will tell you how to make a subwoofer using the technology of CV do it yourself.
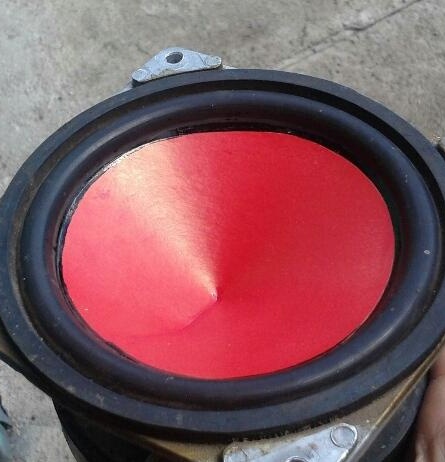
And so, first of all, we need a little patience, perseverance and relatively straight hands, as well as the speaker itself, in my case it is a Soviet speaker 25 GDN 3-4 to 25 watts of rated power, it was taken from the speaker system AC-30, I’m I chose it, since the dimensions of the speaker itself are small, therefore, the subwoofer itself will turn out to be not so bulky, and its sound quality is acceptable for low frequencies, as it has a large weighty magnet. I restored the speaker a bit by gluing a red cone onto the diffuser, otherwise the speaker was still like new.
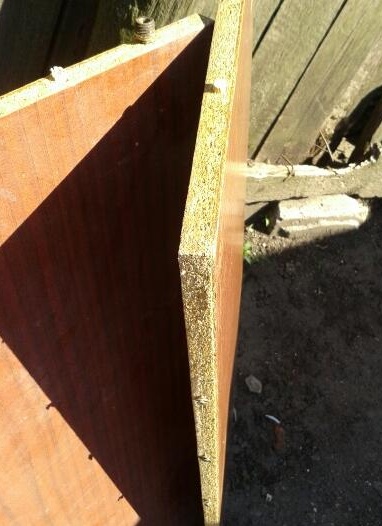
The next stage that is needed in the assembly is the material itself, from which the FW (quarter-wave resonator) will be assembled, it was more appropriate to make it from 18 mm thick chipboard, since this is the “golden mean” of the thickness that is needed for a solid frame.
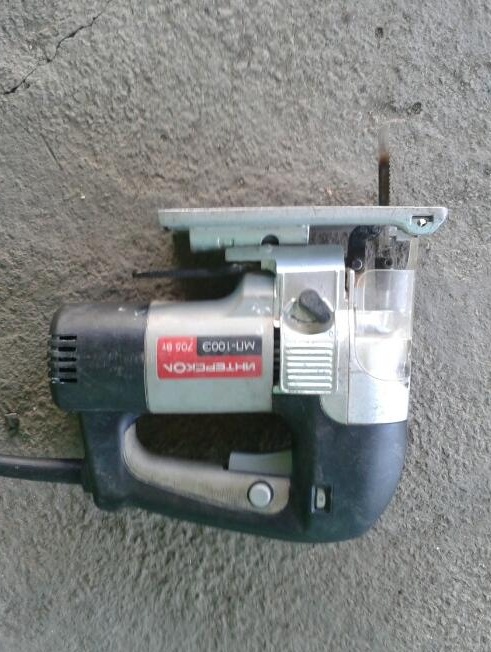
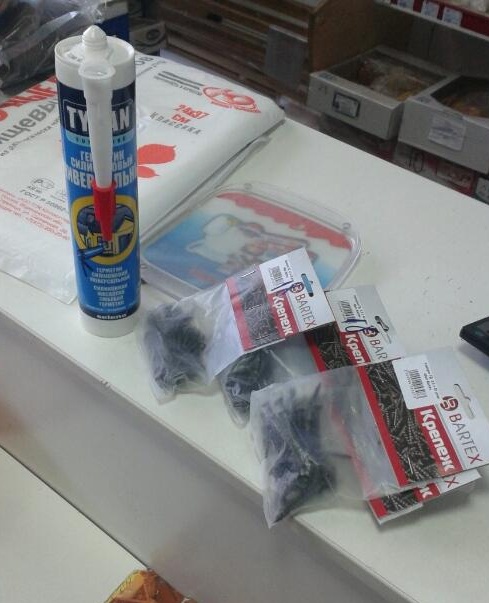
Also, you will need a few tools, in this case a screwdriver, screws 45 mm long, silicone sealant to seal the subwoofer, a hacksaw for wood or it would be better if you have a circular tool, a jigsaw, in my case, electric.

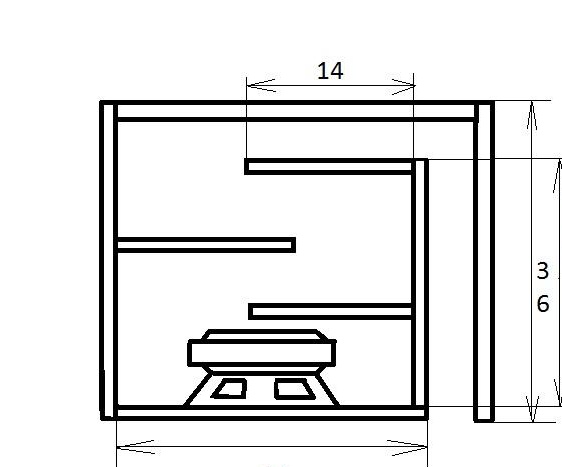
The diagram shows the dimensions for the 4 inch speaker, just what you need, the setting is about 37-39 Hz.
And so, everything is there, you can assemble a subwoofer.
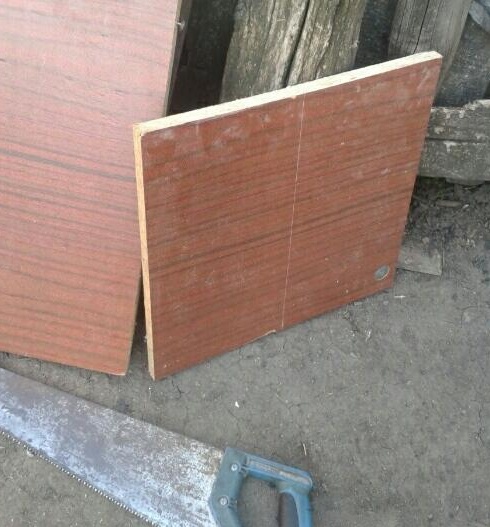
First of all, I sawed chipboard into its component parts.
Sawing was done with a hacksaw borrowed from my father, but if you have a circular, then everything will be even and cut all the details faster.
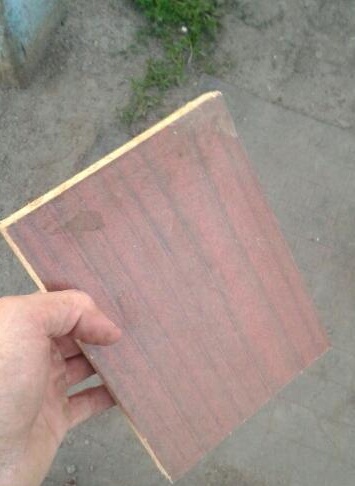
Two sides of the frame are marked on the photo, which are then cut into two parts, 18 cm high, 36 cm long.
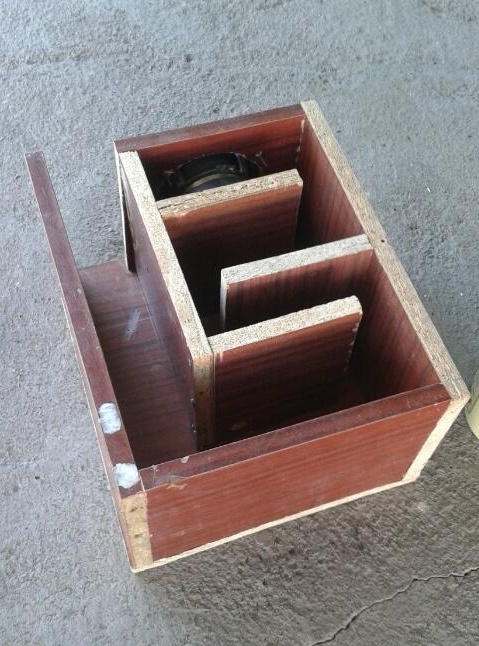
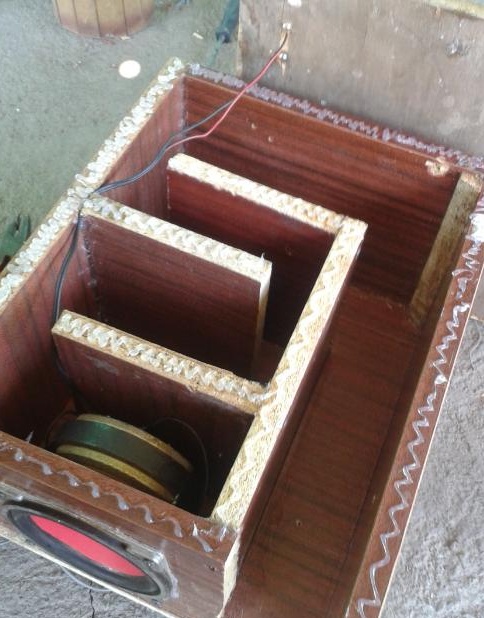
Next, I sawed three partitions, the so-called air guides, each 14cm in length and 18 in height.
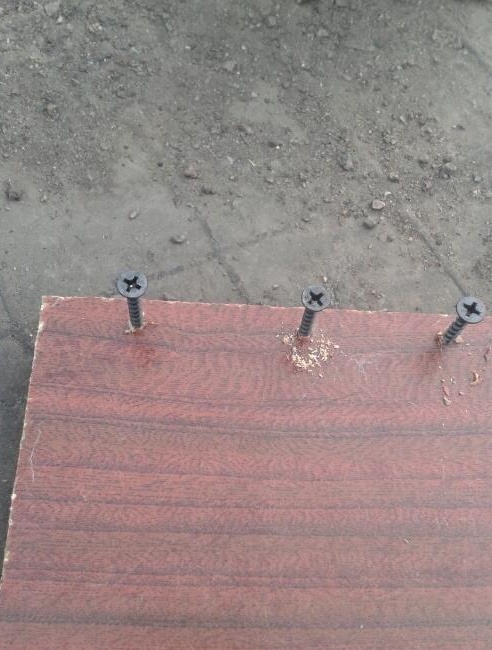
Now you can assemble everything together using self-tapping screws.
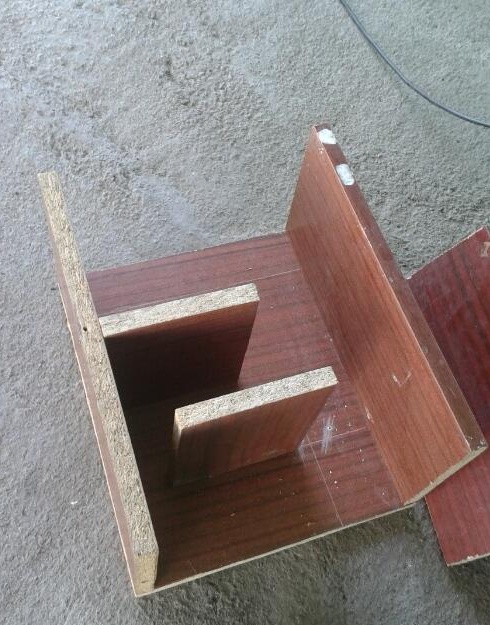
For air exit it is necessary to put a partition, in my case its length is 24 cm.

Then the third partition at the back.
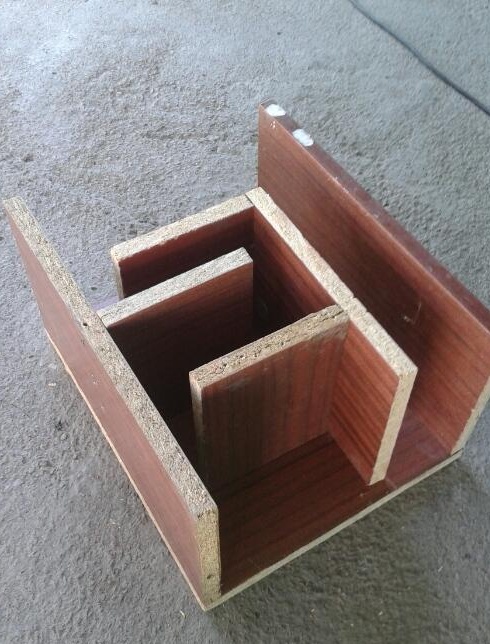
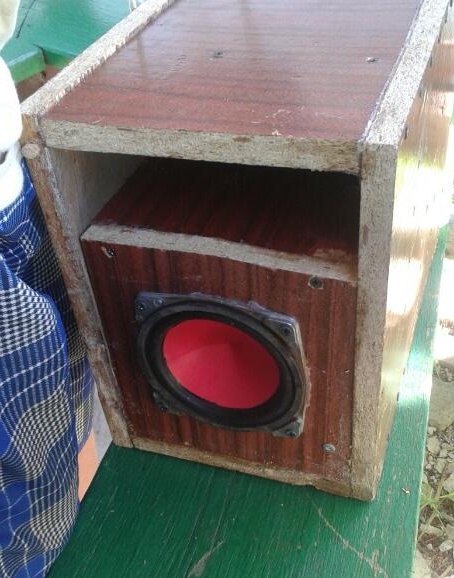
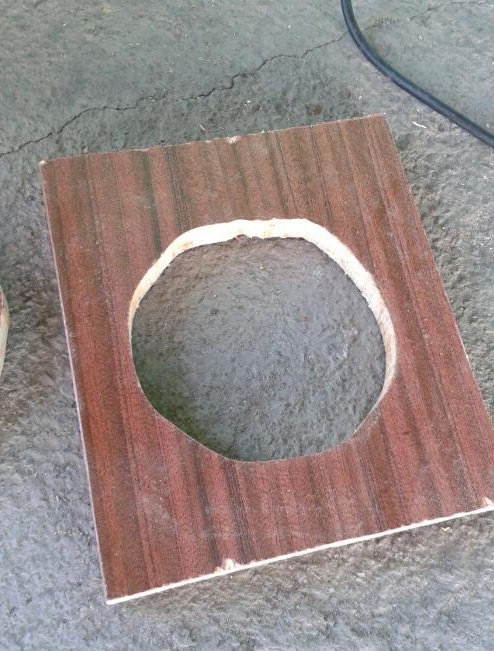
We cut out the hole for the speaker in the front board with a length of 21 cm with a jigsaw.
The next thing I did was screw the back and front covers.
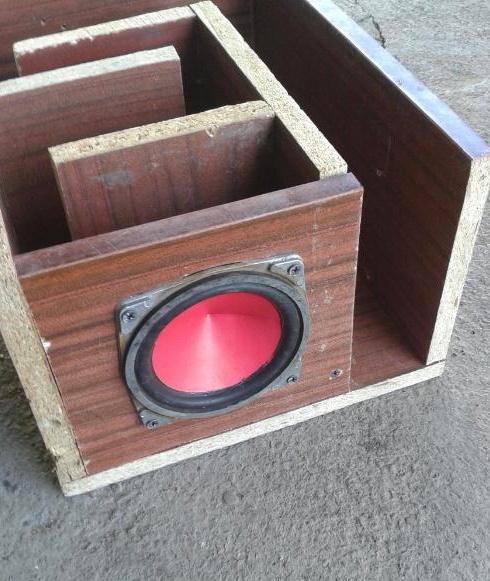
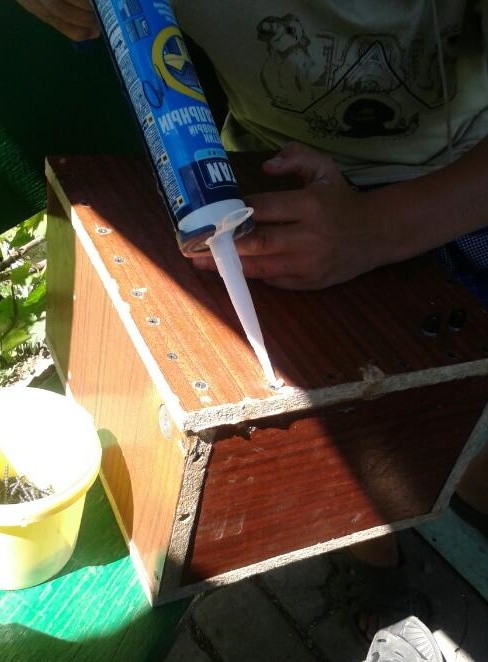
Then he screwed on the speaker, having previously smeared it with sealant.
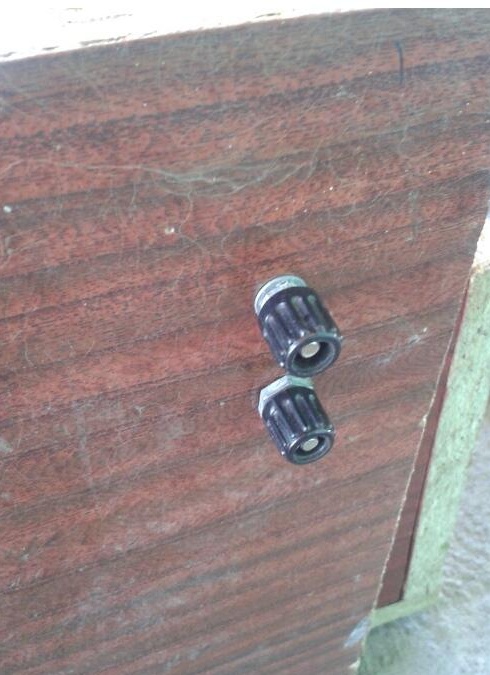
The only thing left is to conduct the wires and bring the clamps to the speaker for connecting wires to them.
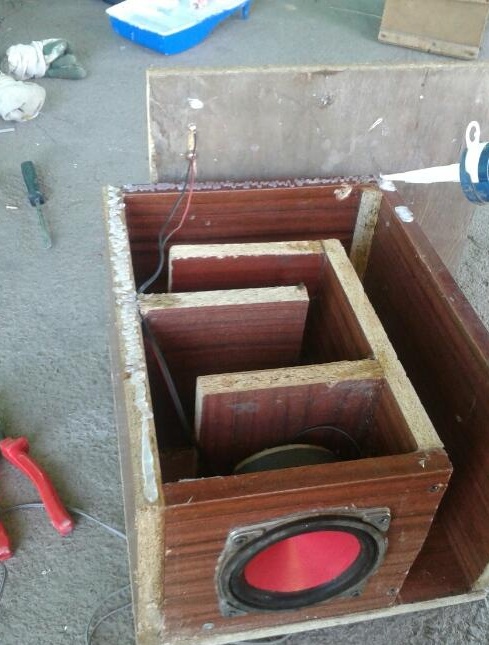
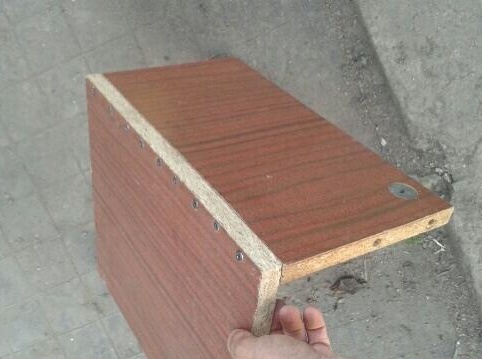
Having missed the entire side with sealant, you can put the remaining cover, tightening it “in good conscience” so as not to feel the air from all the cracks.
The subwoofer is ready for this, if desired, it can be embellished with Carpet or Carbon. The result was a good buffer, the sound of the bottoms really liked, no gaps, all the air comes out only from the port. As a result, for small expenses, namely, screws, sealant, chipboard and the speaker itself, in total, you can purchase for less than 1000 rubles, in my case I bought only screws and sealant. All successful homemade, collect, repeat, enjoy the music. : winked: