

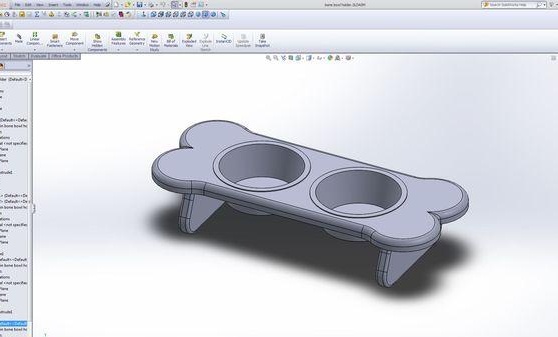
Large dog owners often have some problems feeding their pets. A large dog has to spend a lot of energy to eat. What is the reason for this? The bowls glide strongly across the floor, and you have to bend over to eat because of your tall stature. To solve this issue, a bone-shaped table was specially modeled and mounted. The material for the table was mahogany, but you can take any. Now let’s take a look at the steps how this idea was realized.
Step 1.
First you need to simulate the table in a special SolidWorks program. Print a full-size drawing so that it can be attached to the tree.

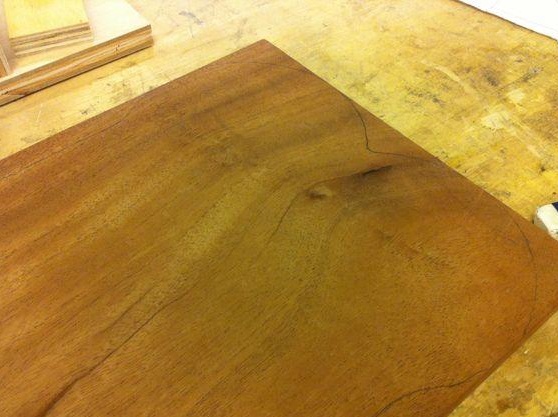
Step 2. Mark the sizes on the board
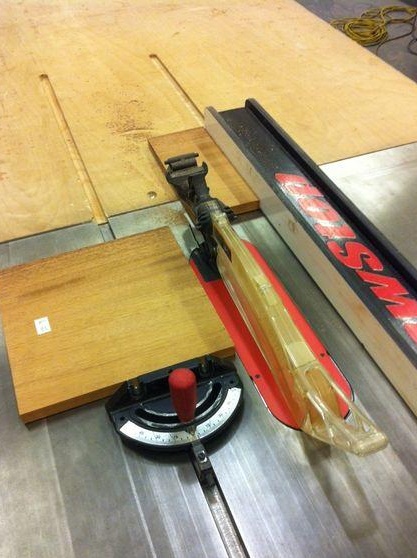
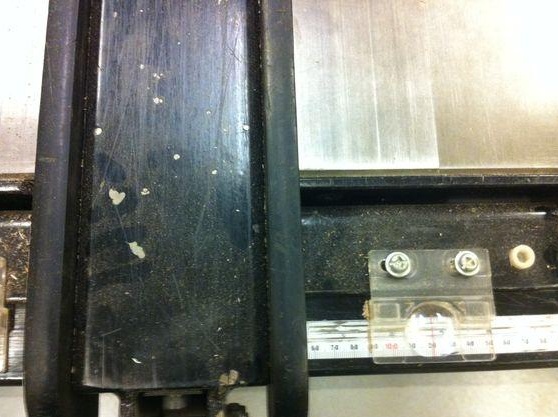
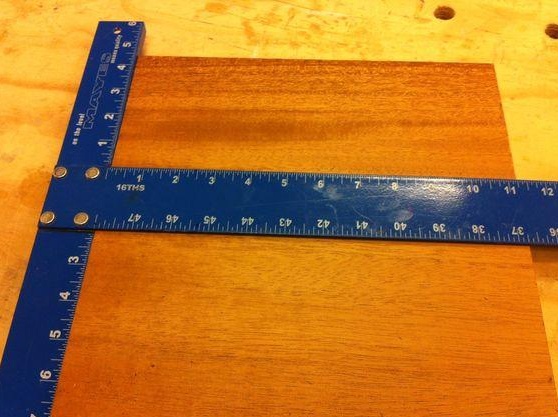
After that, it is necessary to transfer the dimensions of the future table to a wooden surface. Using a workbench with a saw, divide the board into one large and two small parts. Most, in order to make it a countertop, and two small for legs. Again, it is necessary to measure and cut off all the excess pieces so that it remains to simulate the shape.
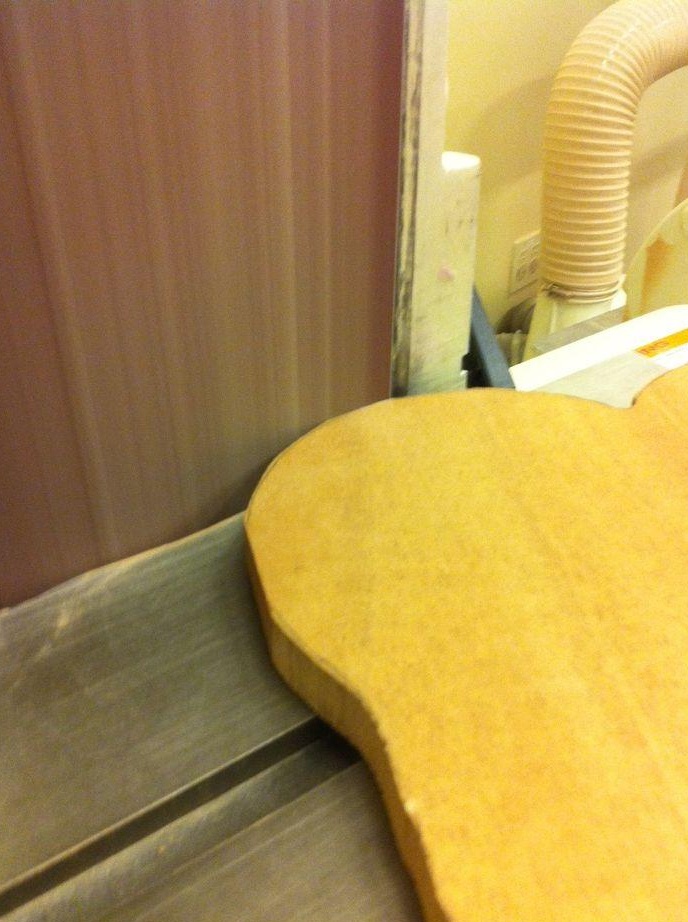
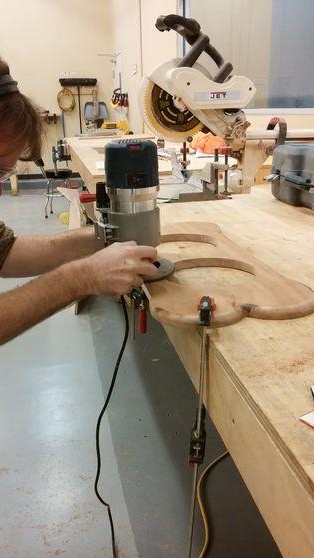
Step 3. Give the form
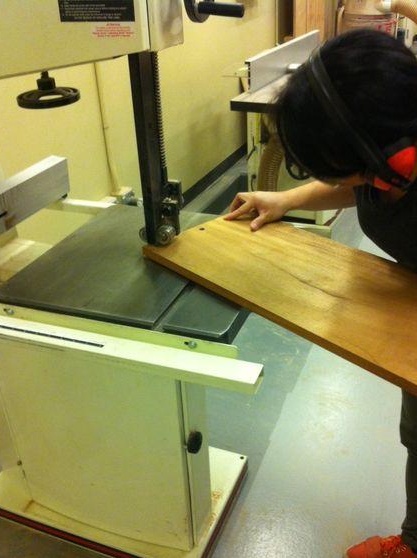
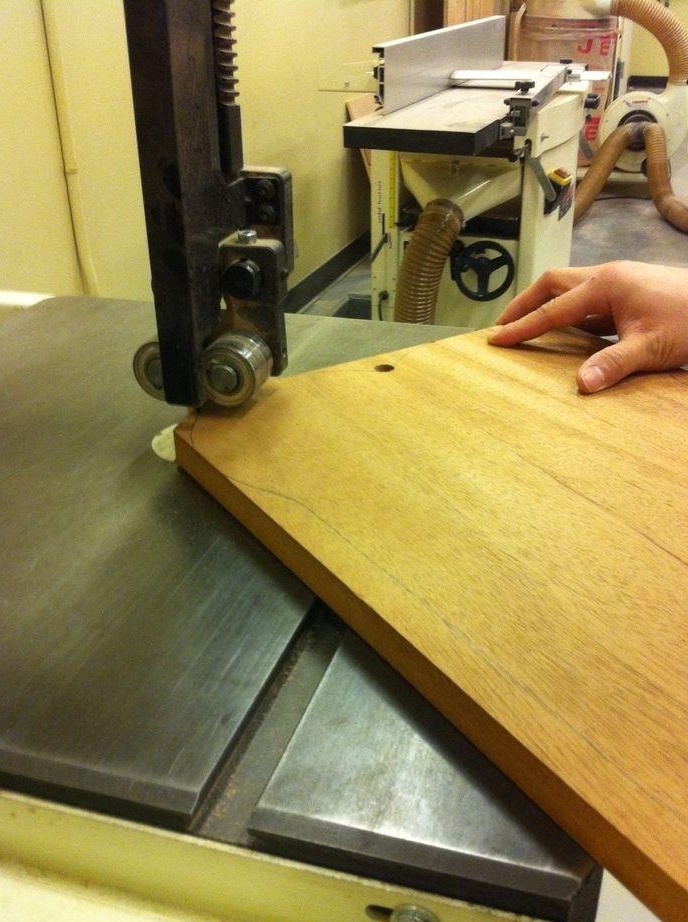
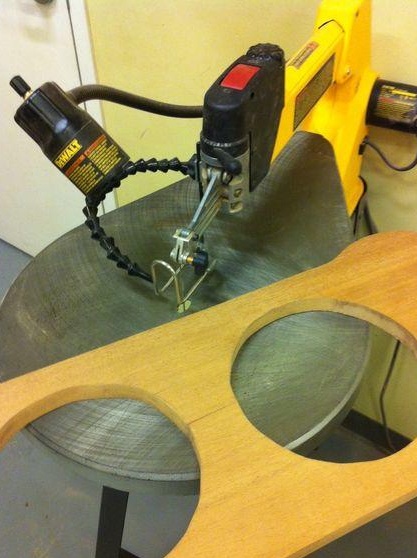
The next step is to work with the circuit. Nothing other than a band saw will help in this. In order to somewhat facilitate our task, holes are drilled in places of sharp bends on both sides of the table. It is somewhat difficult to bring the lines to perfect shape, therefore it is better to complete this process with a vice and a grinding machine.
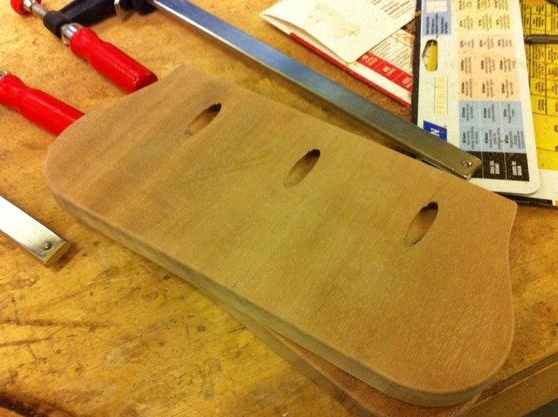
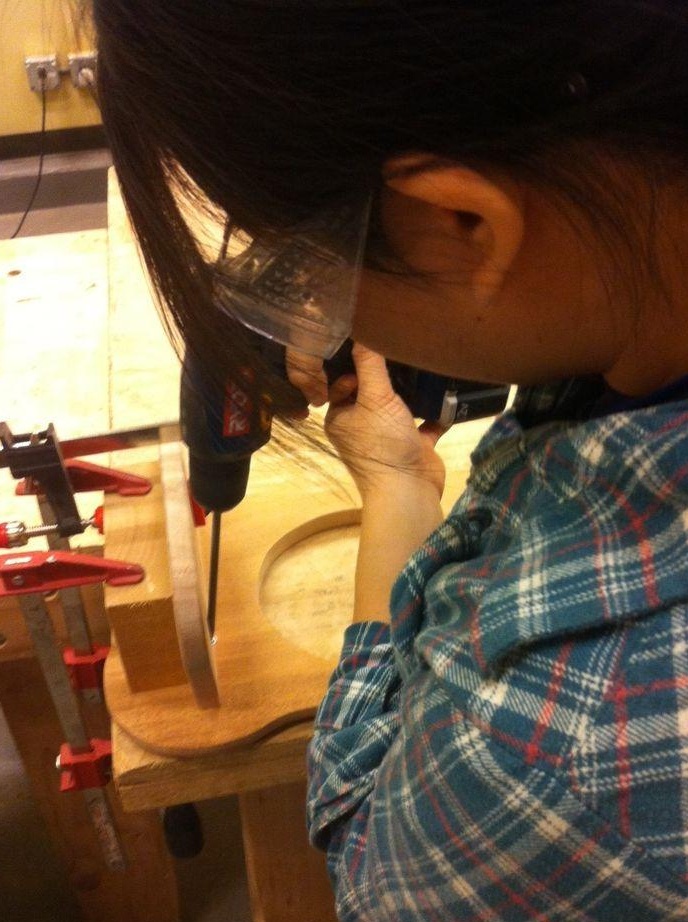
Step 4. Drill holes for bowls
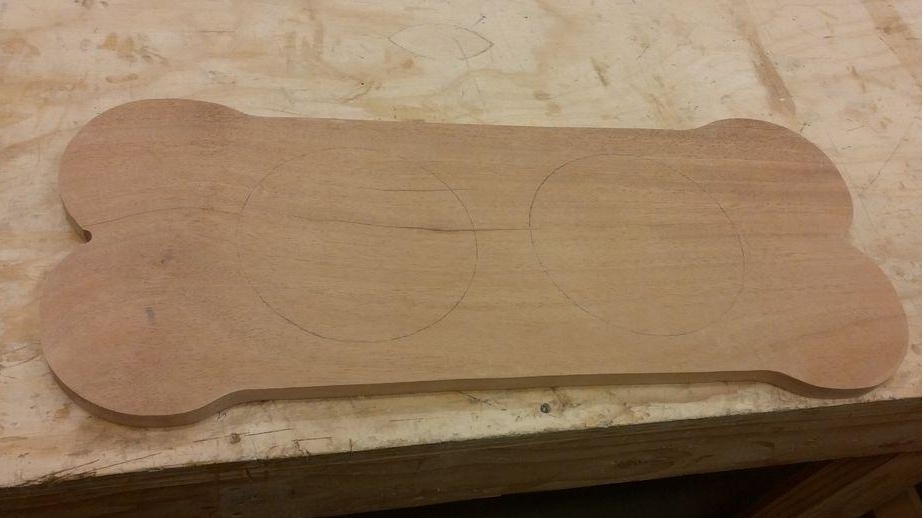
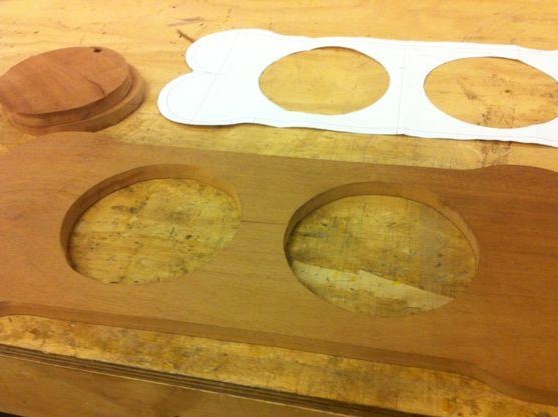
We need a jigsaw. First drill holes at the edge of the line, then insert a jigsaw, and drill round holes. After that, you will get two round holes, which still need to be slightly modified and sanded.
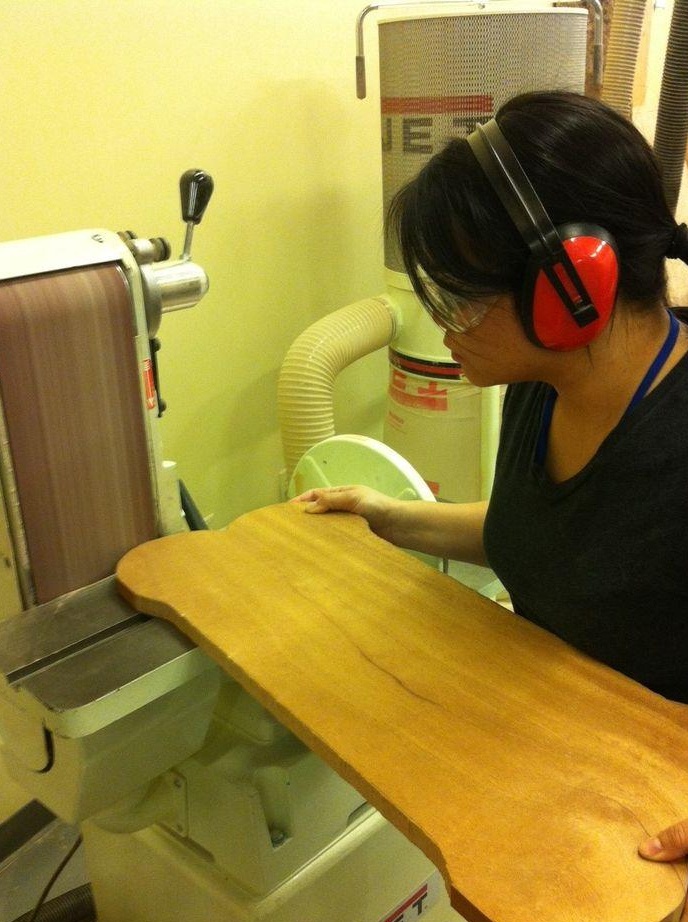
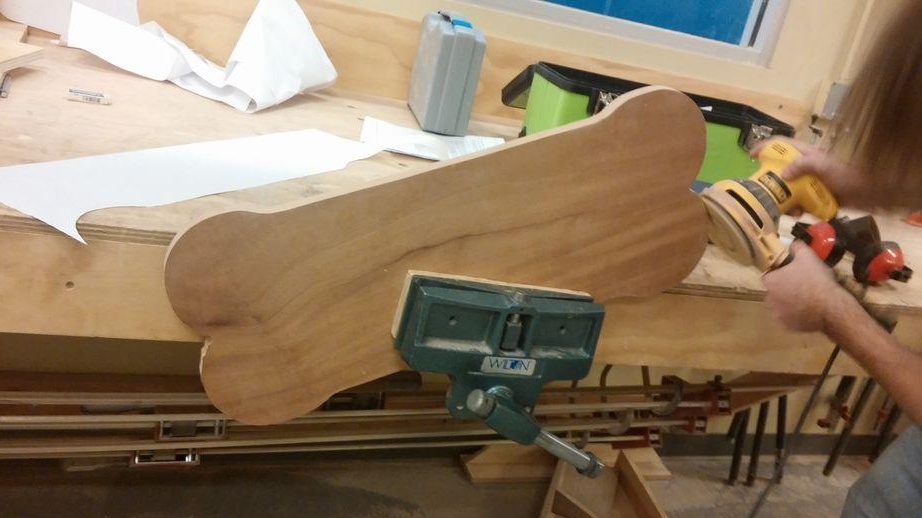
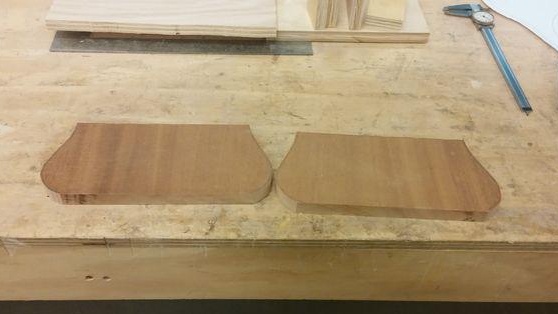
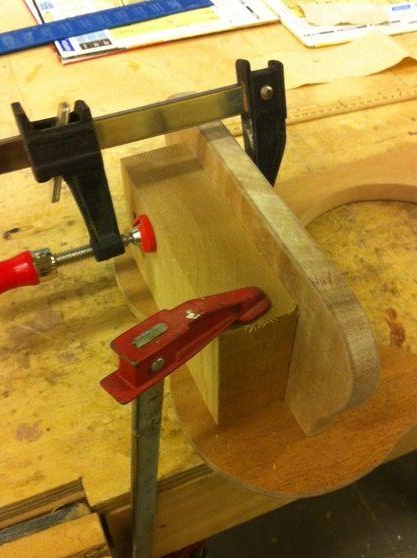
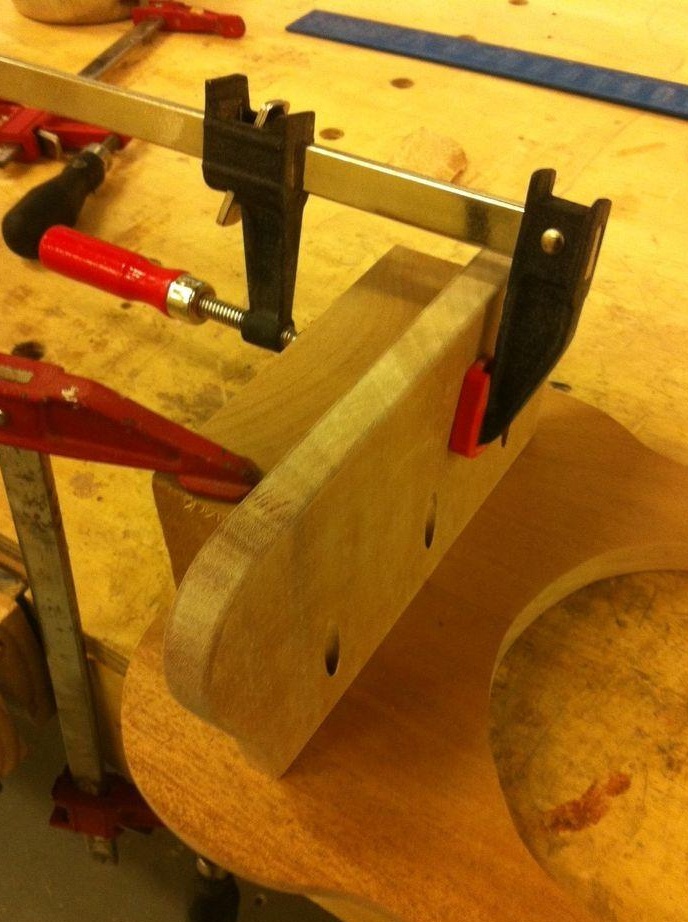
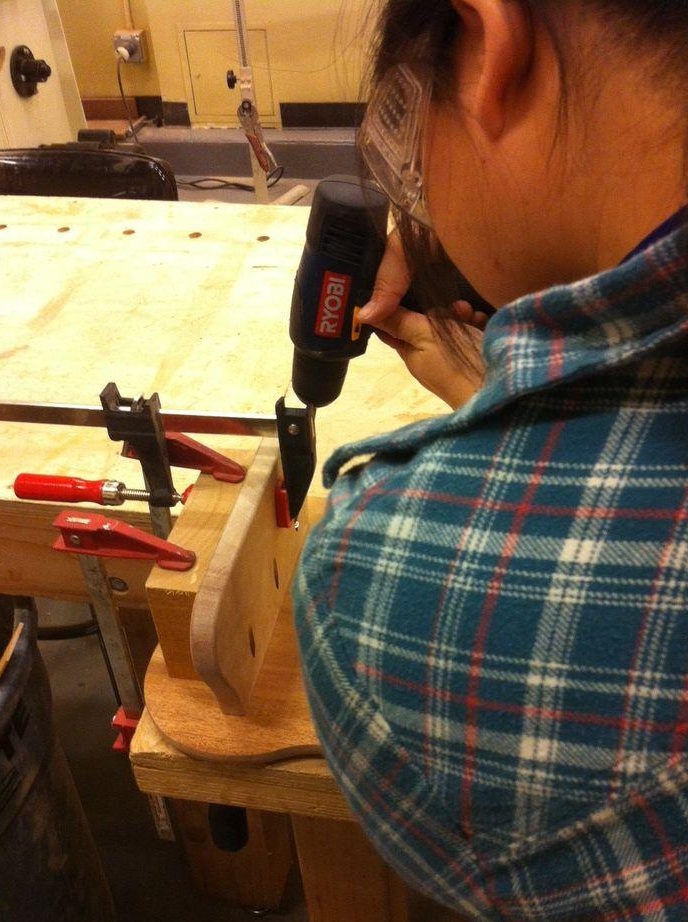
Step 5. Making the legs
Cut two legs and grind them on a belt grinder.
[center]
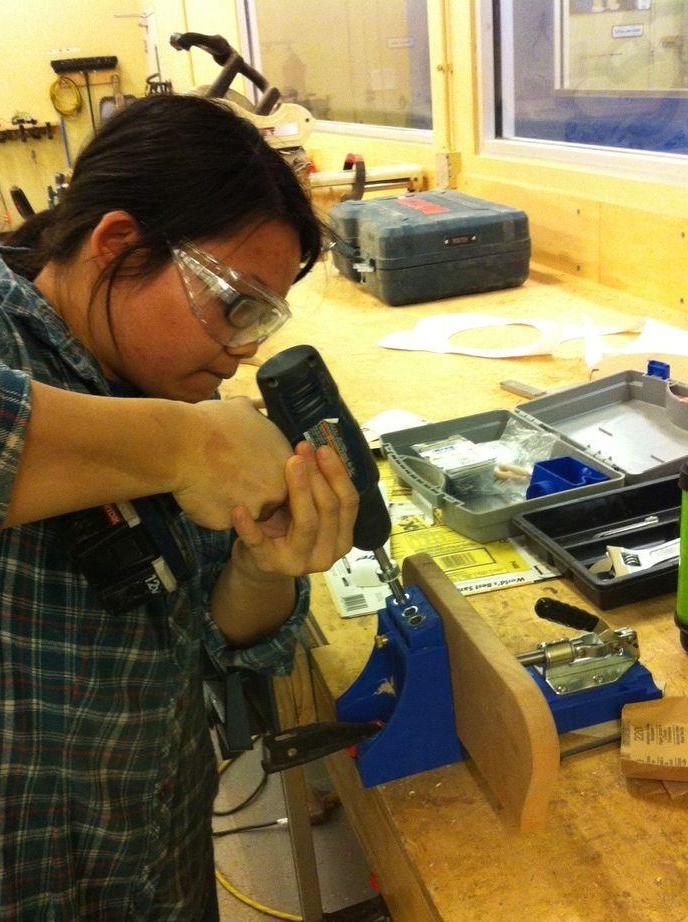
When the legs are also ready, it's time to attach them to the table. To do this, you need to build a blocker, using a vice and a bar. Having fixed this simple device with a table and a leg in turn, connect them together with screws. Now the table is ready structurally, there is very little left.
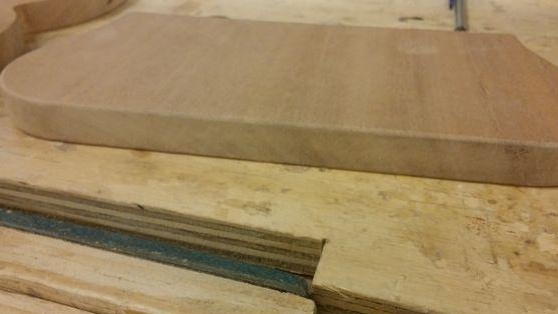
Step 6. Varnish
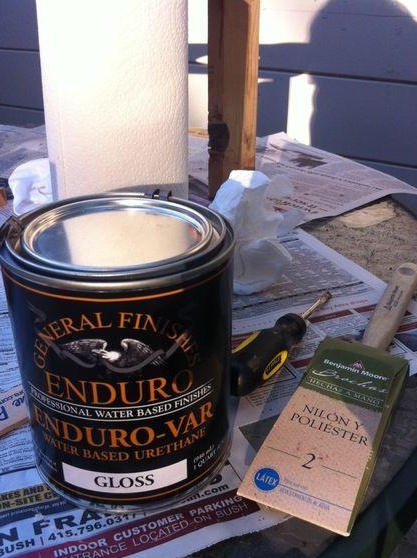
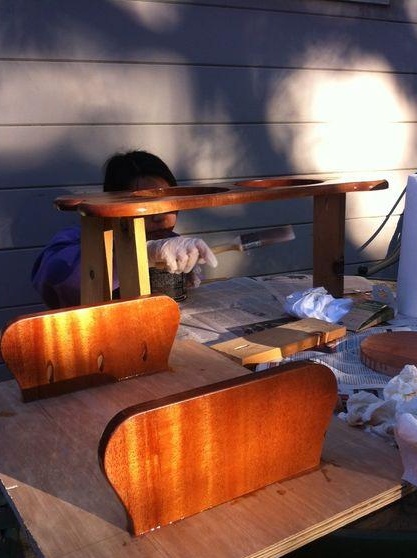

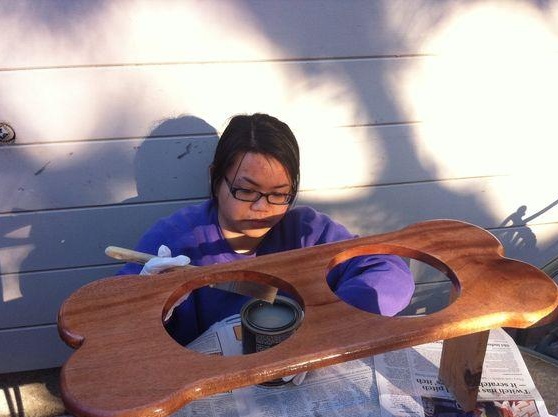
Now the table can be coated with colorless varnish. After the table dries it needs to be sanded to a shine with sandpaper grit from P320 to P1000
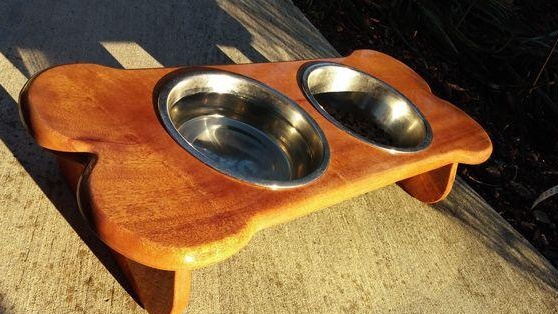
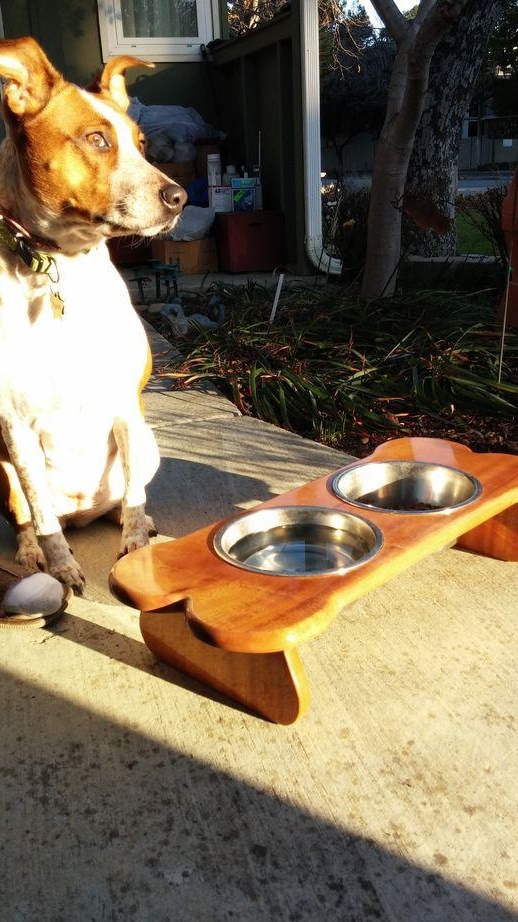
The table was amazing. And the pet can only get pleasure from food