In past materials, we examined many ways of manufacturing various alarms, but have not yet talked about making the most effective type of such security systems - laser. We are in a hurry to fix the error and present an overview of the video on the manufacture of home-made laser signaling.
We recommend starting with watching the author’s video
What do we need:
- thyristor BT169;
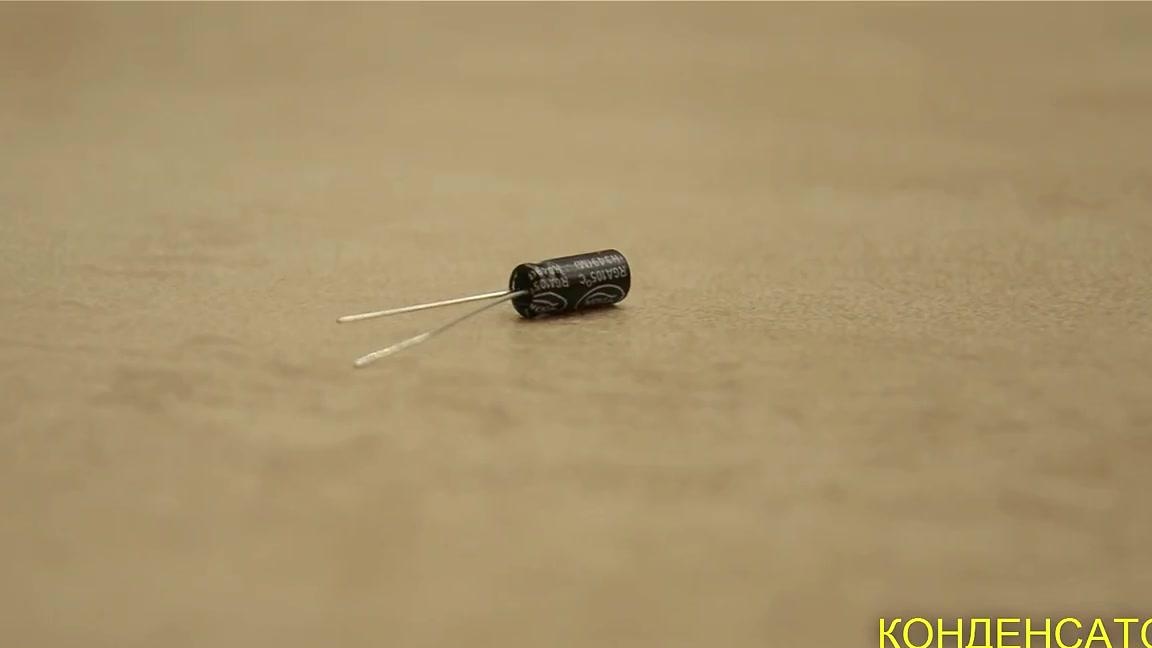
- capacitor;
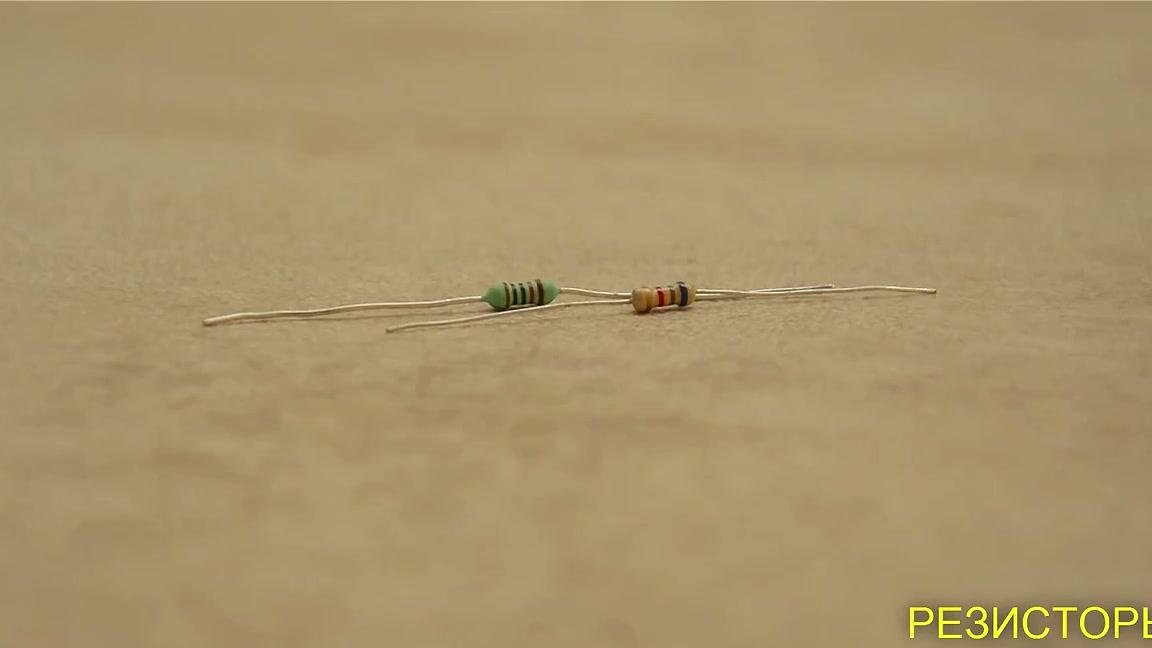
- 47k resistors;
- photoresistor or LDR;
- light;
- laser.

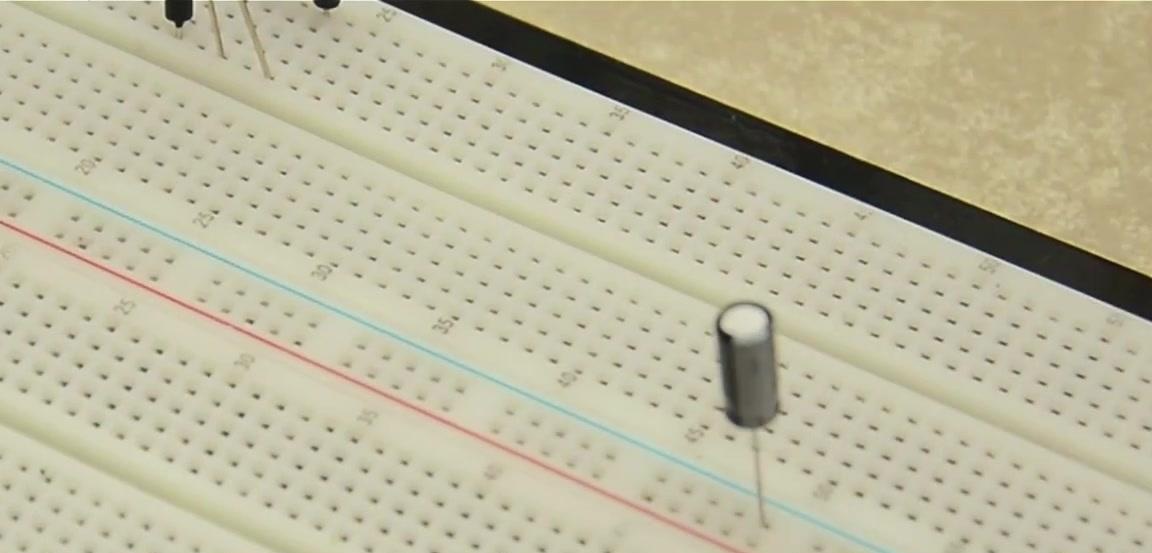
First of all, we present the laser signaling scheme, according to which we will collect it on the Breadboard.
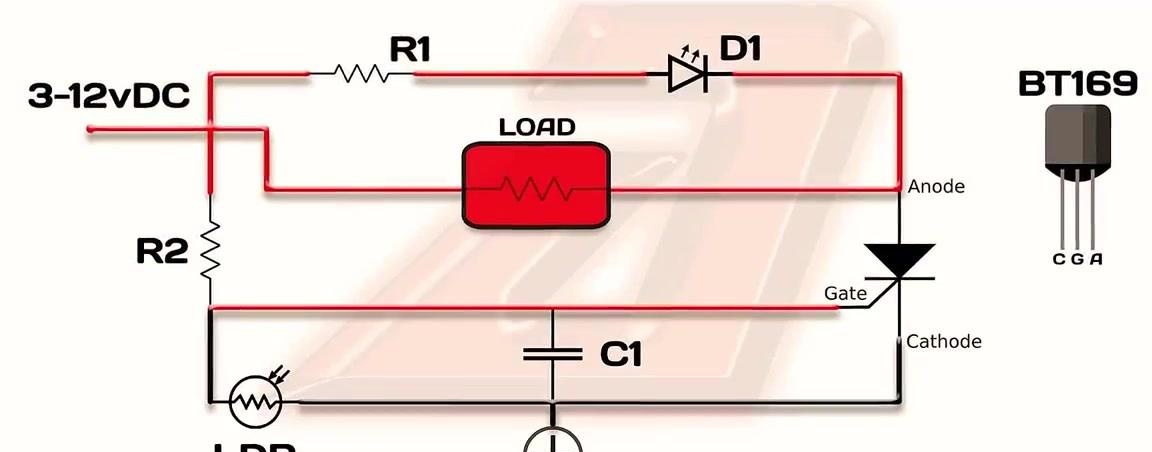
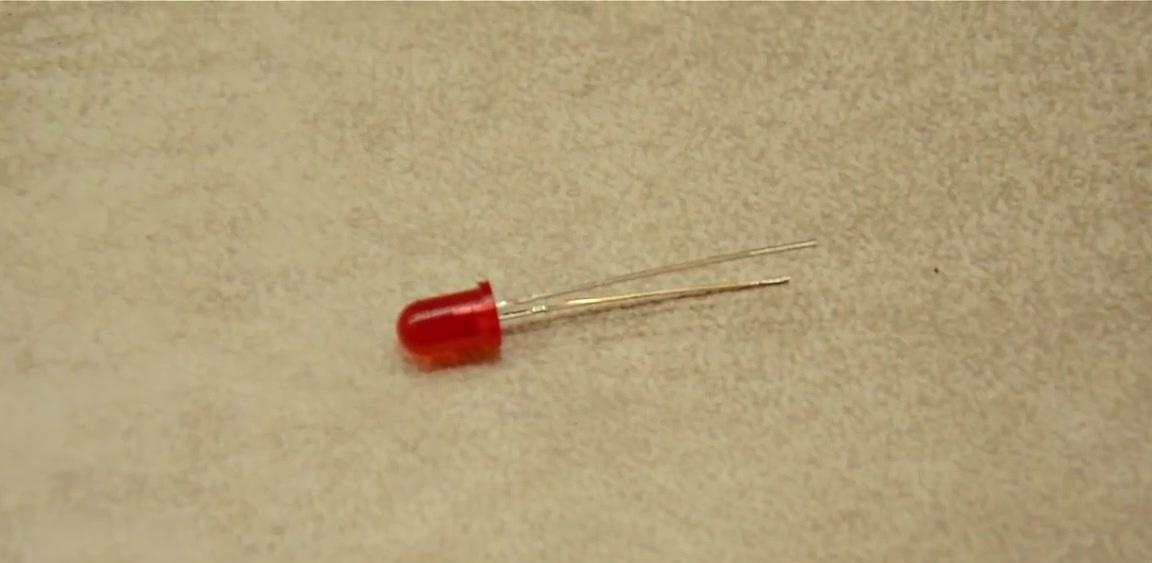
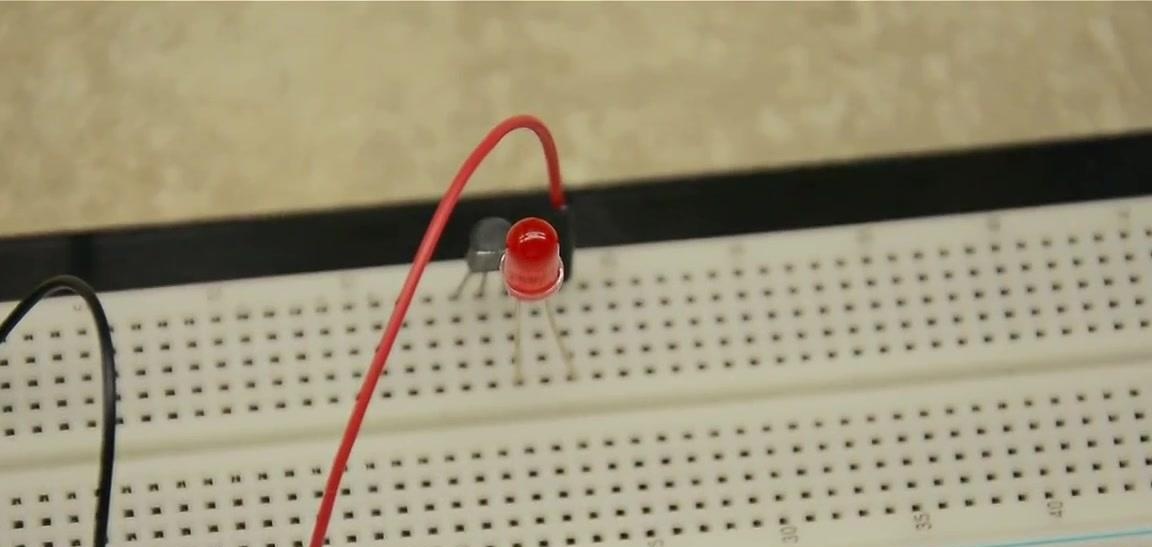
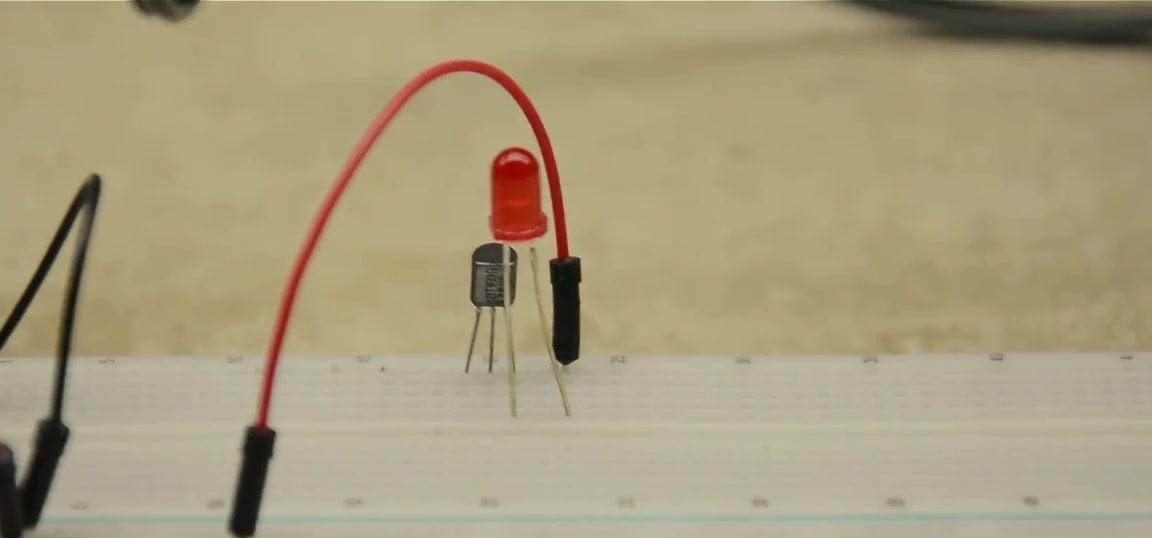
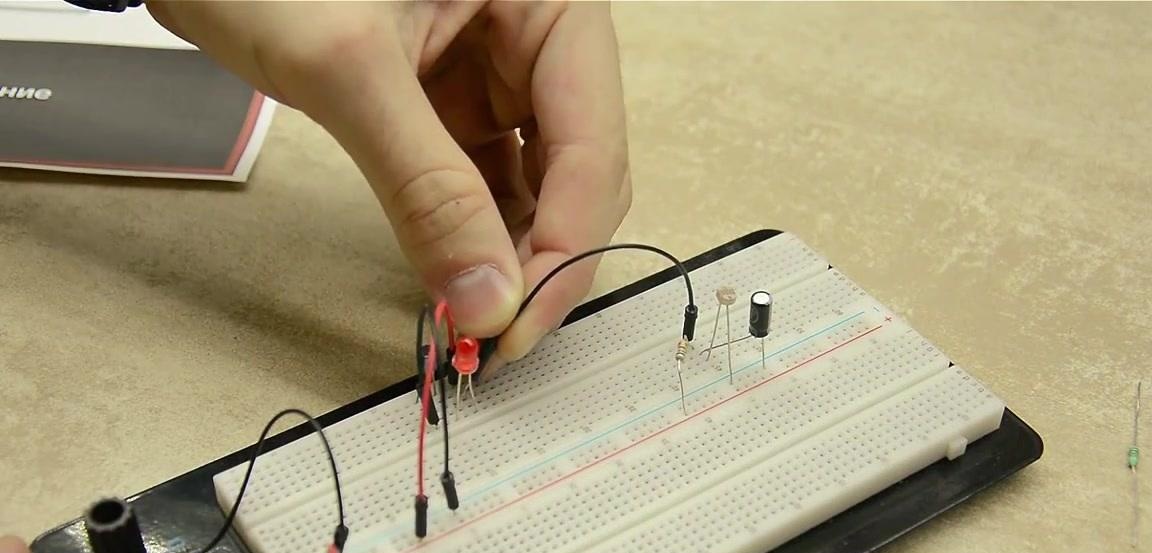
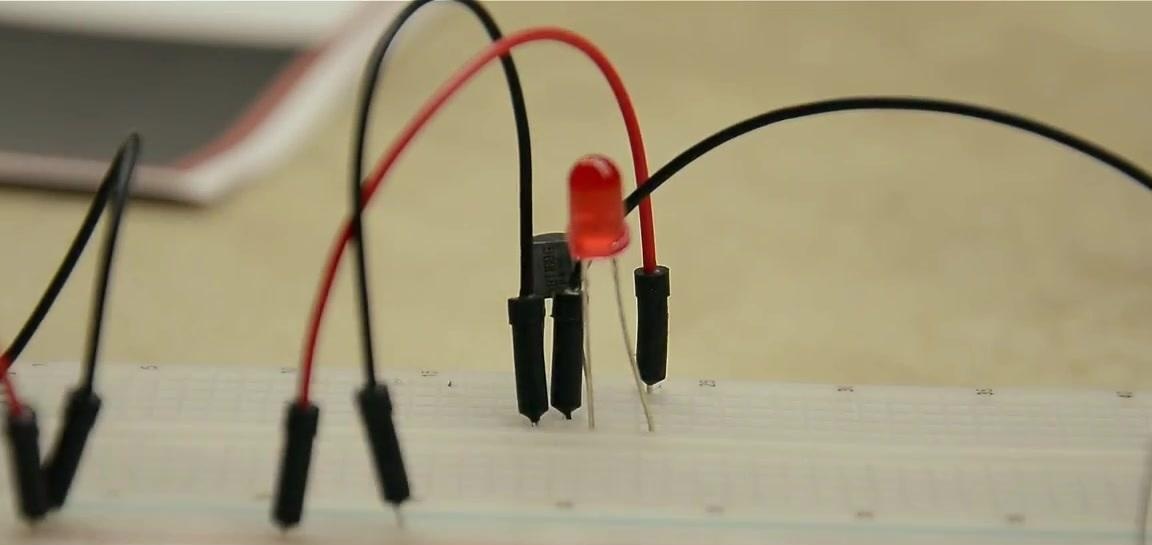
We begin the assembly with the thyristor, which we connect to the breadboard. A cathode is located on the thyristor on the left, an anode on the right, and a control electrode in the center. The diagram shows that the plus does not go directly to the thyristor, but passes through what we want it to turn on. In this case, through the LED bulb.
Therefore, the next step is taking a plus and serving it somewhere near the thyristor.
Then this plus is fed through the LED to the anode.
Let's look at the diagram. The cathode is immediately connected to minus. The cathode is on the left, so we connect the left leg of the thyristor to minus.
Also, minus you need to connect a photoresistor and a capacitor. The author connects the capacitor to minus and to line 45 on the breadboard.
We connect the photoresistor to minus and to the same line.
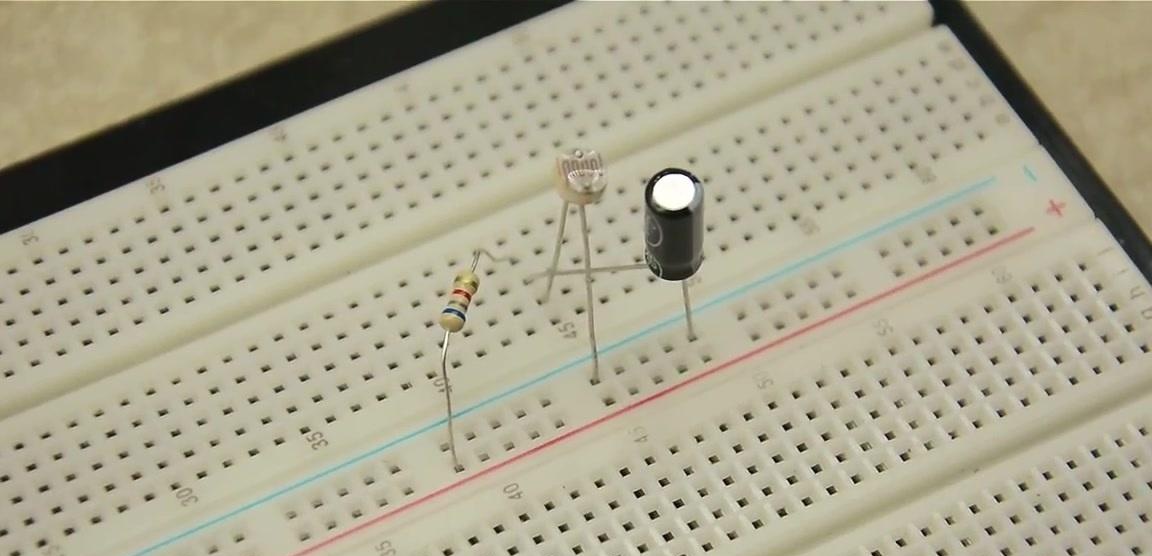
Now on the same line, but with a plus we connect a resistor.
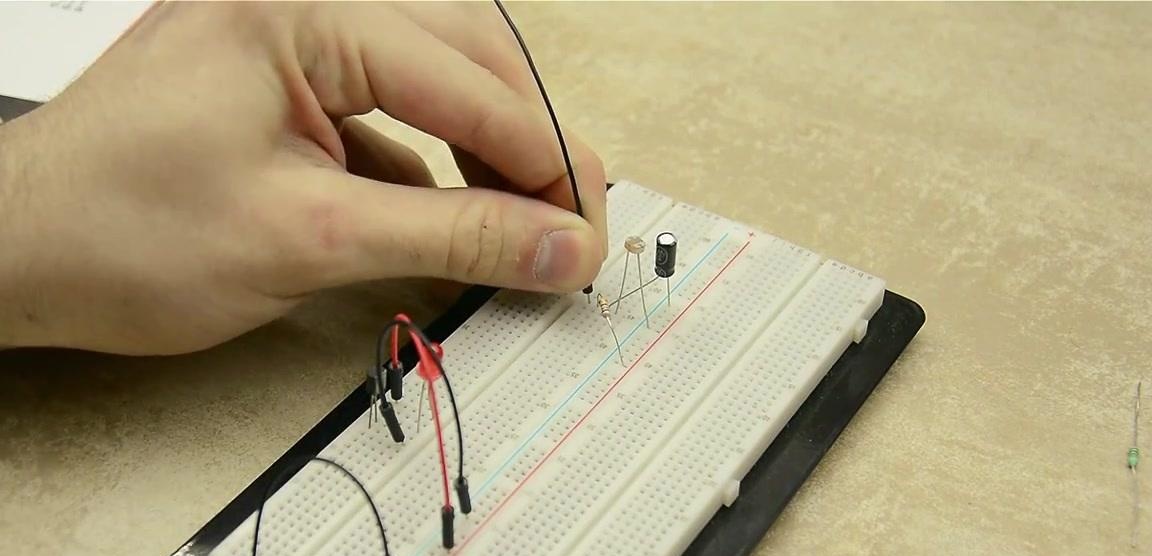
Now these three must be applied to the thyristor control electrode. To do this, connect one contact of the wire to line 45, and the second to the central contact of the thyristor.
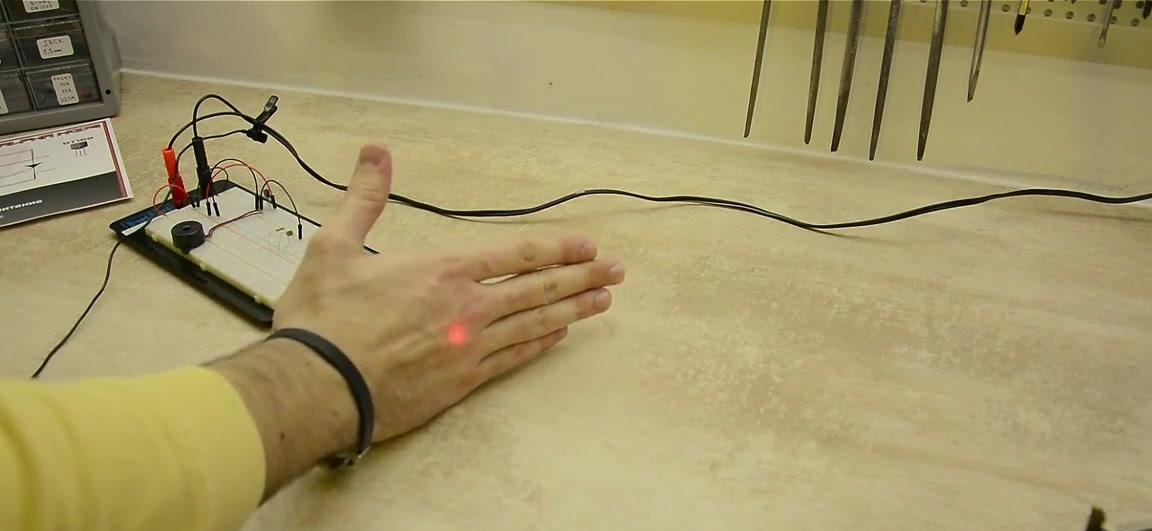
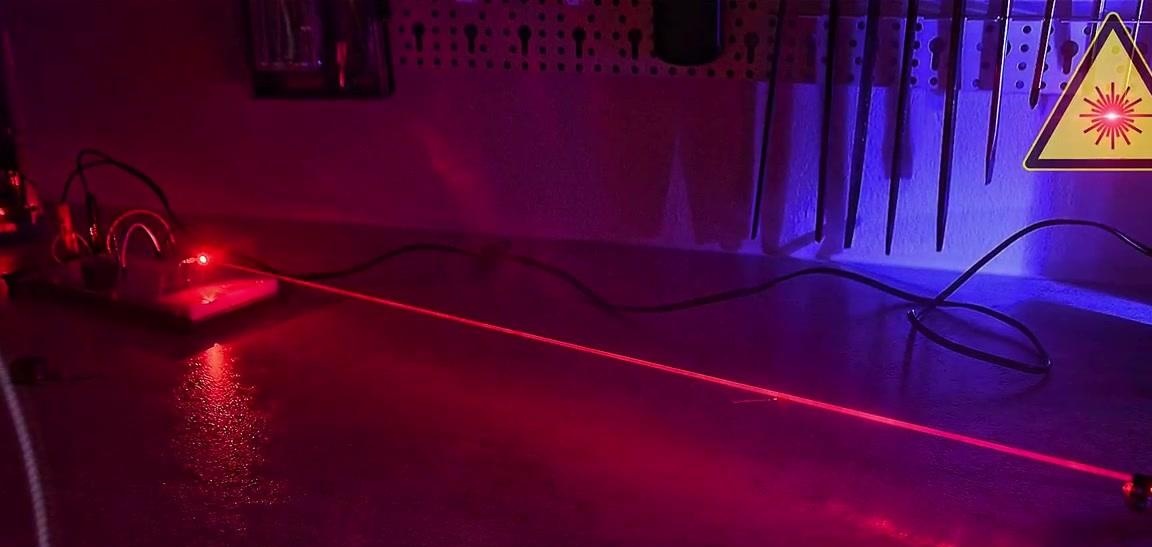
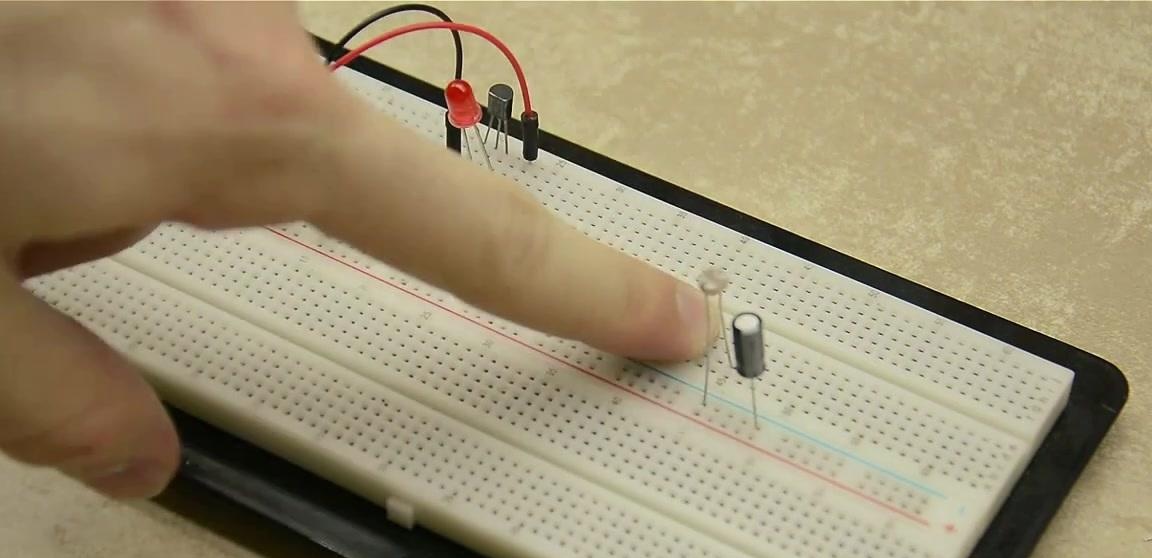
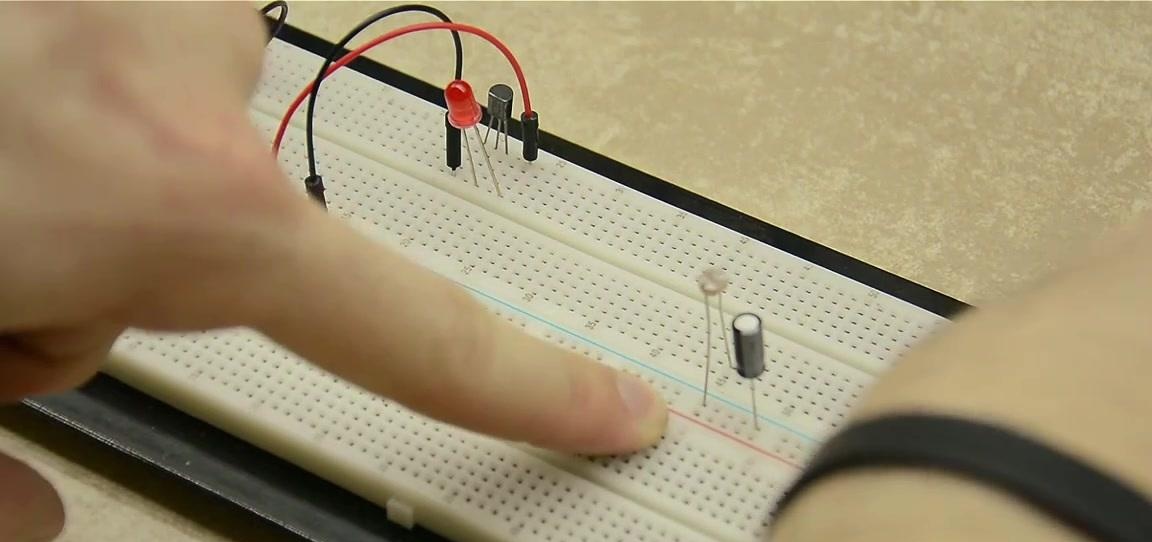
Test the alarm. To do this, turn on the laser and point it at the photoresistor. After turning on the power on the breadboard, you can see that the LED is off. Once you drag your finger between the laser and the photoresistor, the LED light will turn on immediately. After that, the alarm will turn off only when the power is turned off.
Alarm works according to the following principle. As soon as the light coming from the laser is blocked, the photoresistor activates the entire circuit.The thyristor, in turn, turns on the squeaker or LED, which we used in this case, and the alarm goes off. Note that even when using the tweeter, you should not remove the LED bulb, because in this case the alarm will turn on when the object blocking the laser is removed and the laser starts to shine on the photoresistor.
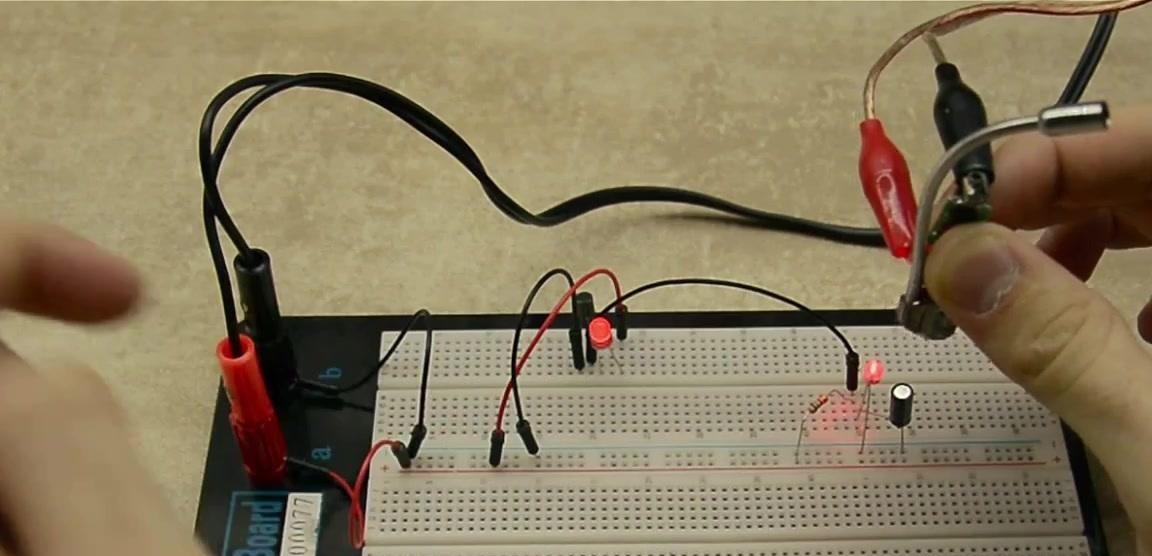
Laser alarm is ready.