In my previous homemade, * Motor from washing machine, connection *, we used a modified low-current trimmer (dimmer for incandescent lamps), replaced the triac in it with a more powerful analogue. As a result, a rather large aluminum radiator was added, which does not fit in the old trimmer case, so let's make a new case for it.
In the photo: Here is such a case, as always from available material.
Point 1. For this, we will need such tools and materials:
• Electric jigsaw, electric drill, grinder, hacksaw for metal.
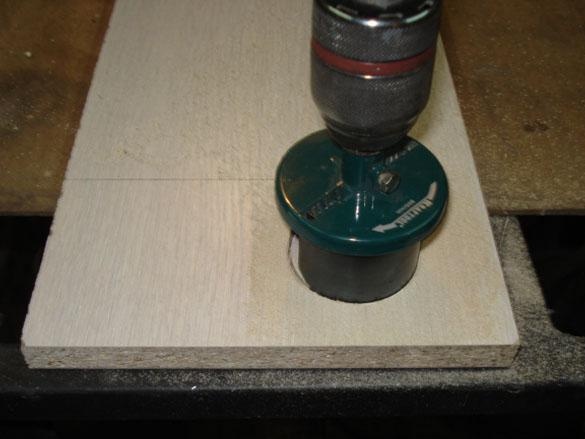
• Drill compound on a tree (crown), with a diameter of 60-65 mm.
• Drills D = 3, 4, 10 mm., Square, ruler, clamp, file, sandpaper.
• A section of chipboard and laminate.
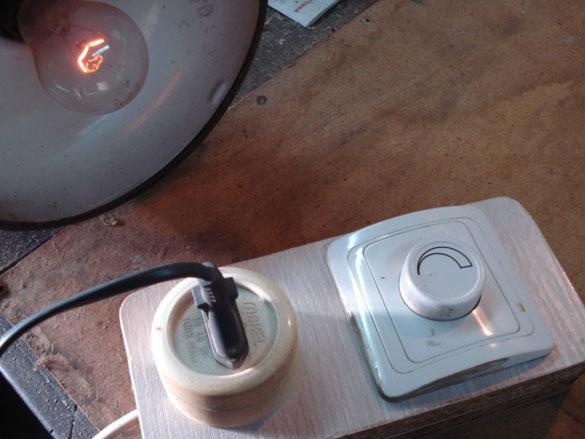
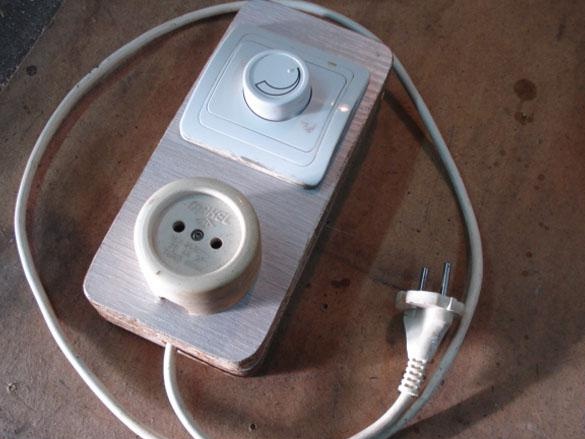
• Reinforced Dimmer, 220 volt socket.
Item 2. Production.
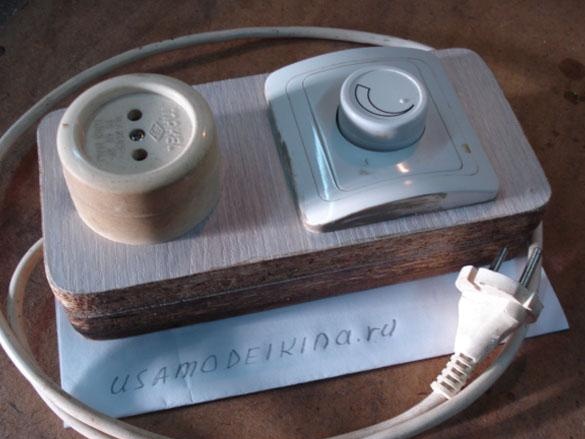
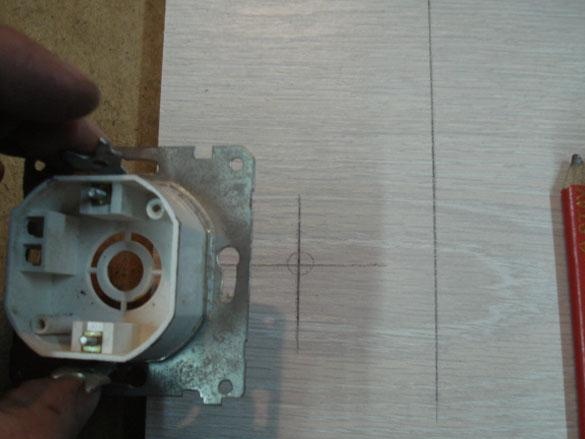
We will place a dimmer and a socket on the chipboard, this will give us an idea of the dimensions of the future building.
Immediately mark with a square the sawing lines.
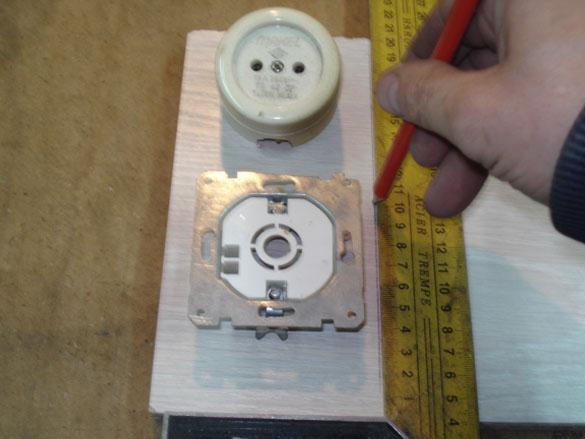
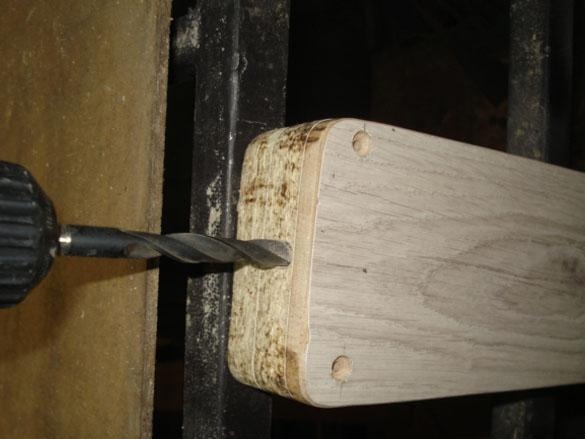
We measure the landing dimensions of the dimmer case.
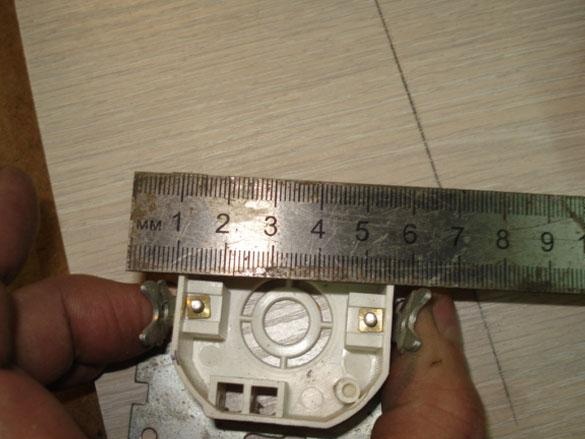
Mark the center for the drill bit.
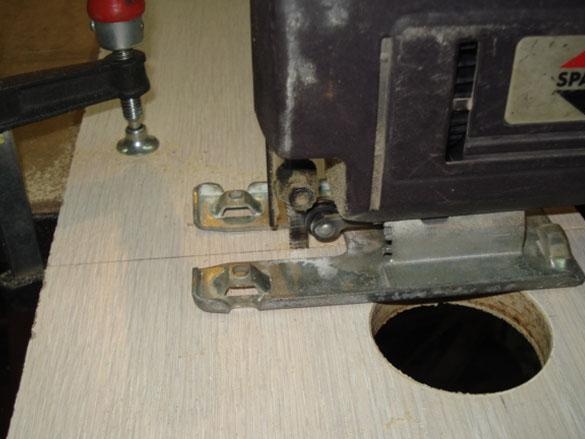
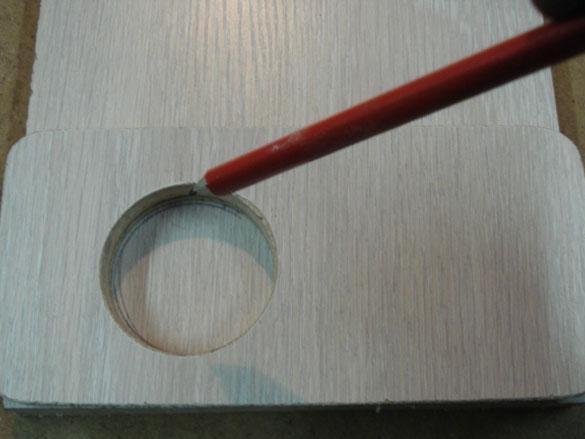
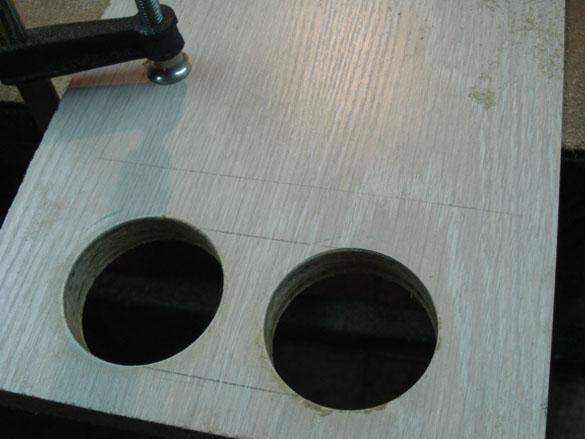
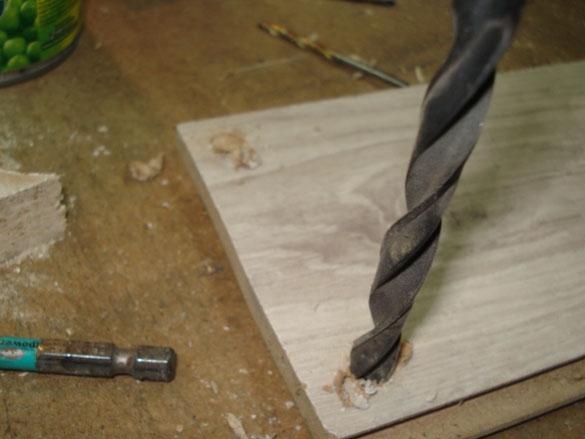
With the crown, the size of which we obtained in the previous measurement, carefully drill a large hole, carefully monitoring and controlling so that when the first thin drill of the crown comes out, do not damage the workplace (table) and do not sharply stick a large crown into the chipboard body, which very often leads to breakage of the drill itself or even the drill gear.
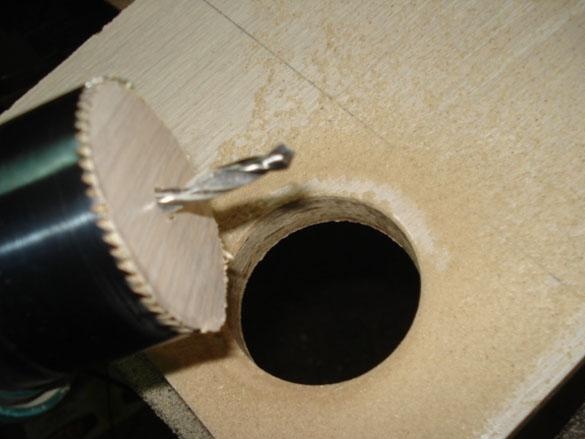
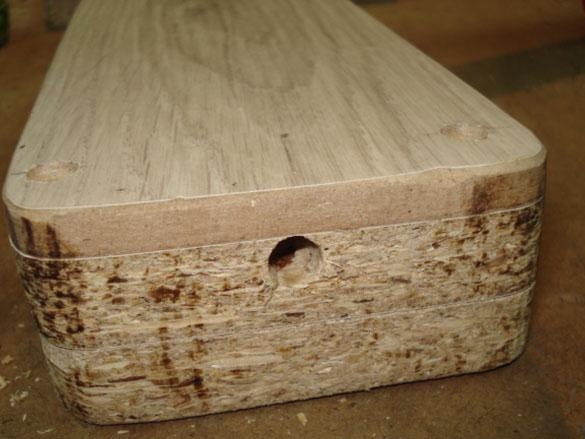
Check how it happened.
We saw off the workpiece along the line planned in advance.
Outline rounds for corners.
Grind them on a grindstone or grinder.
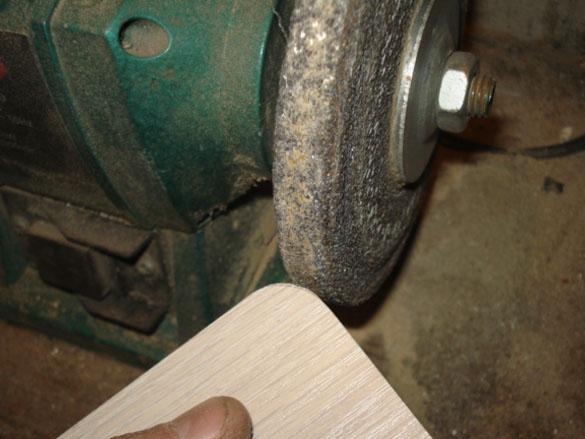
Like this.
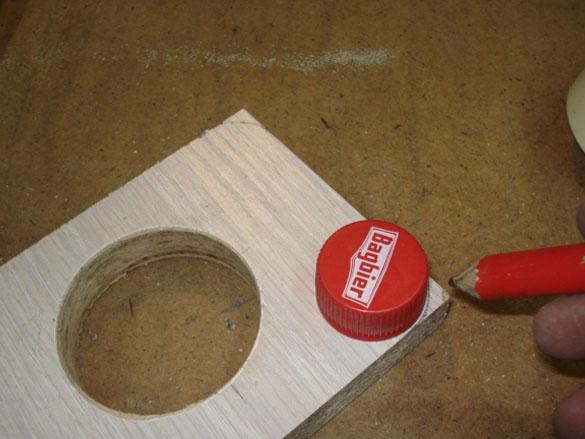
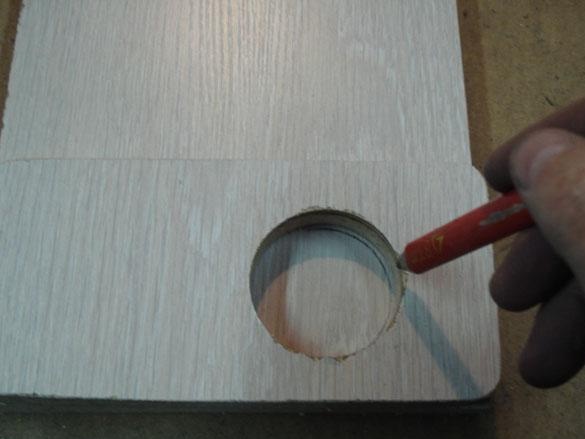
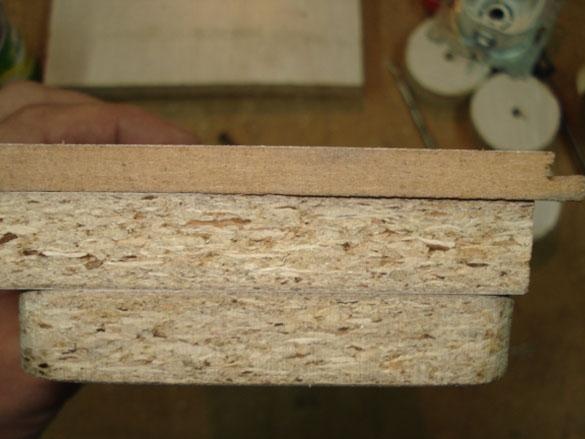
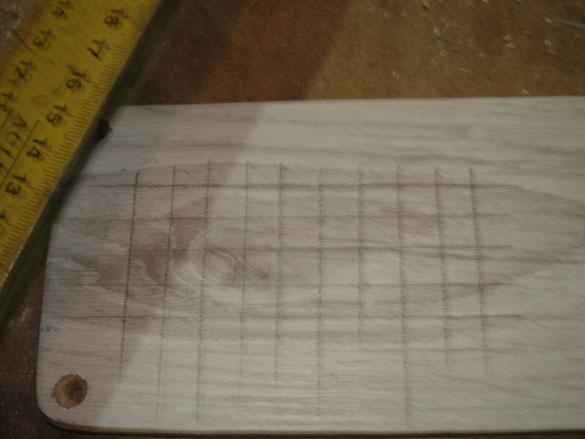
We apply the resulting blank to a new chipboard and outline along the contour with a pencil.
We rotate the upper workpiece 180 degrees and in the same way we outline the second circle.
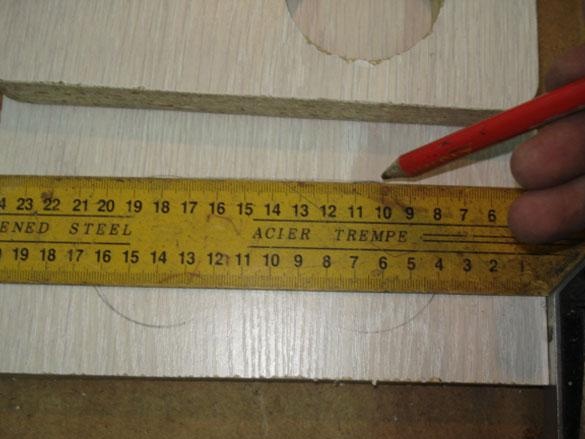
Connect the edges of the circles with lines.
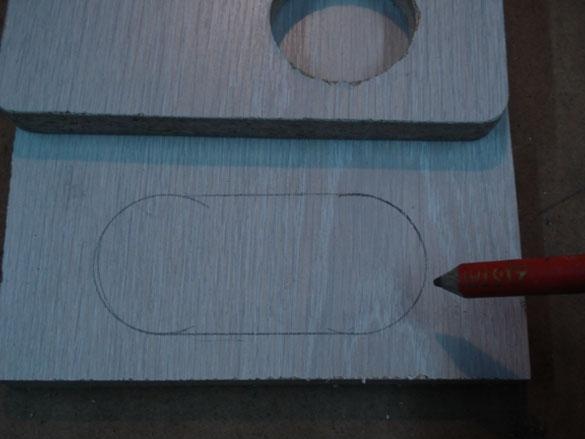
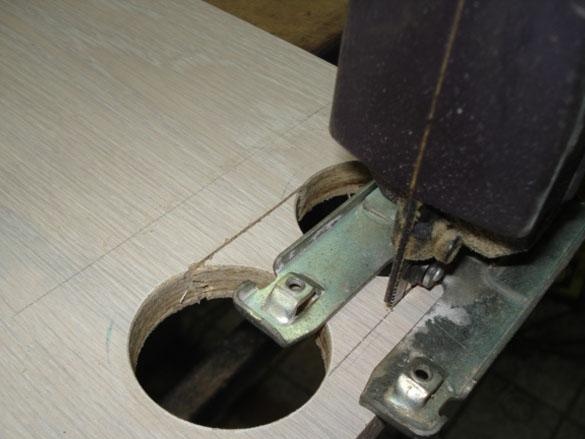
We got a new stencil for working with a drill and a jigsaw.
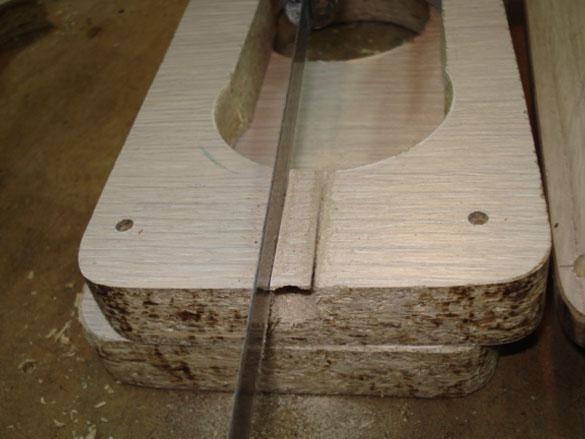
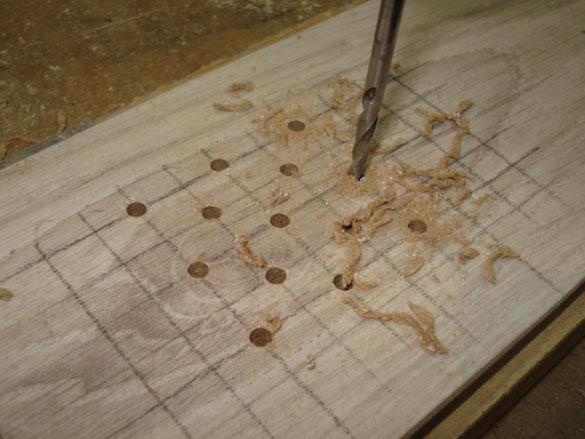
We clamp the workpiece with a clamp and drill two large holes.
We finish the remaining work with a jigsaw.
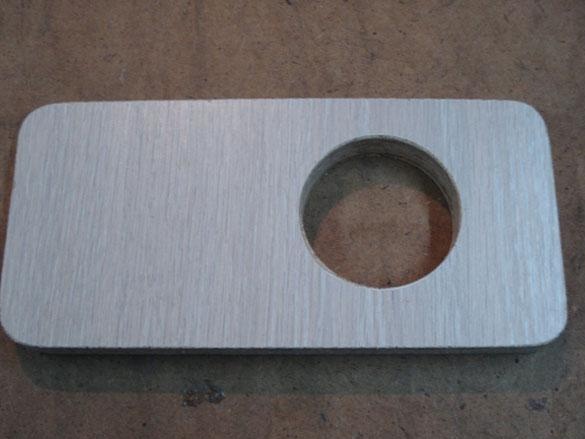
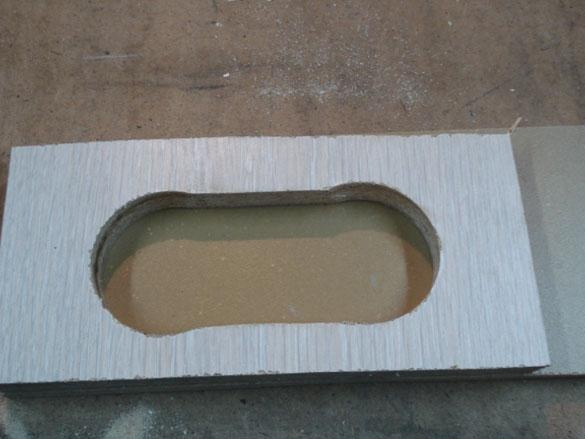
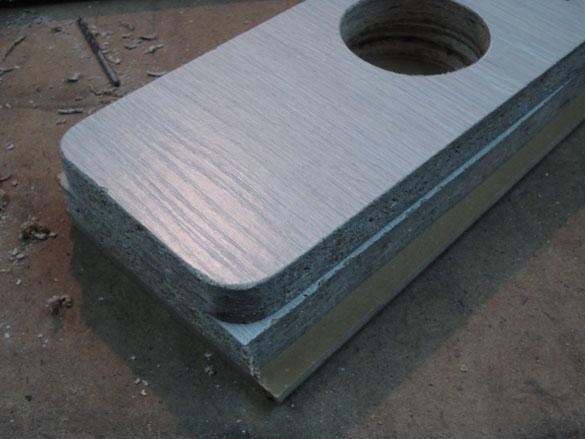
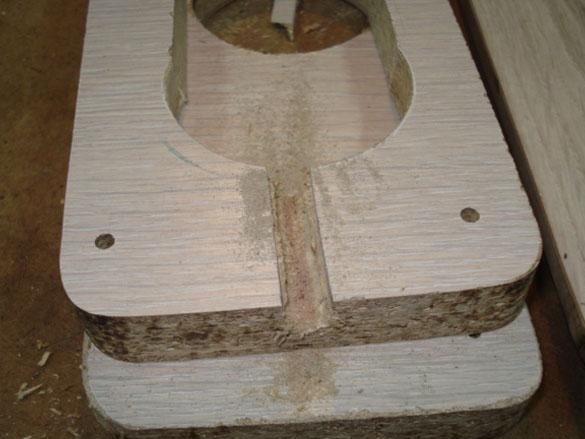
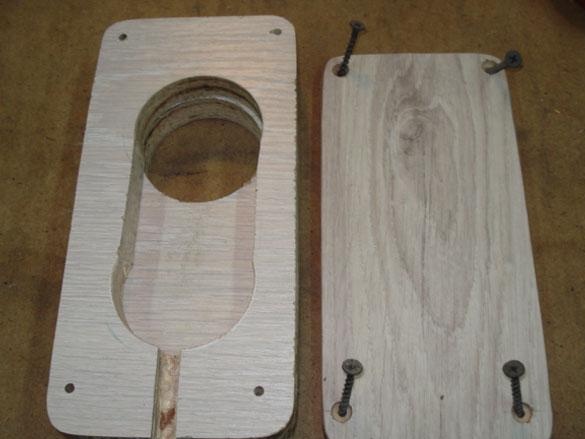
The result is such an oval.
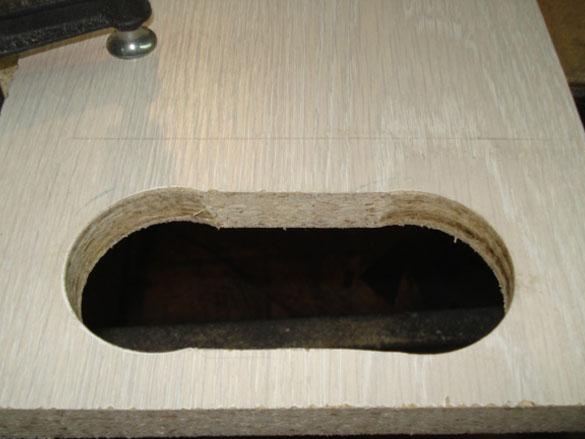
We check how everything fits and work on.
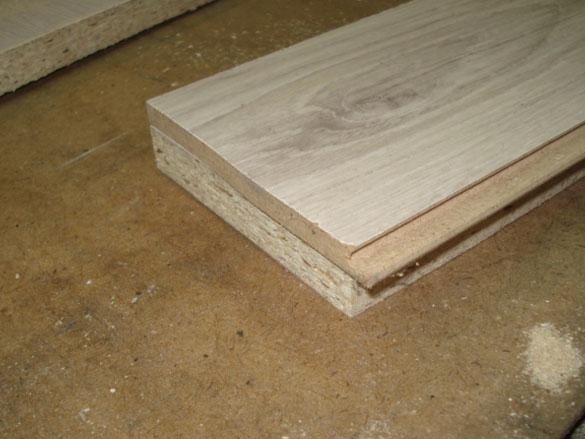
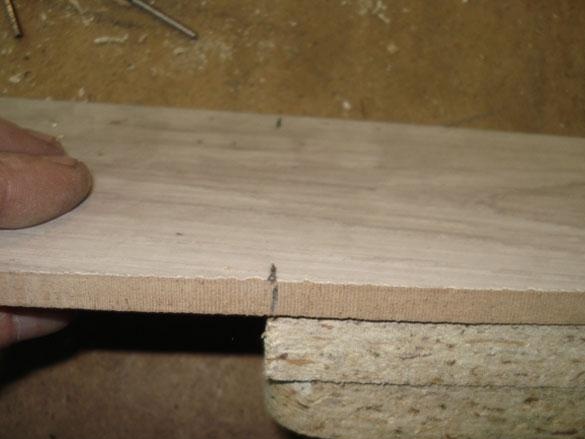
Take a piece of laminate board and make a cover out of it for the future case.
As much as possible we combine preparations to reduce the sawing sides.
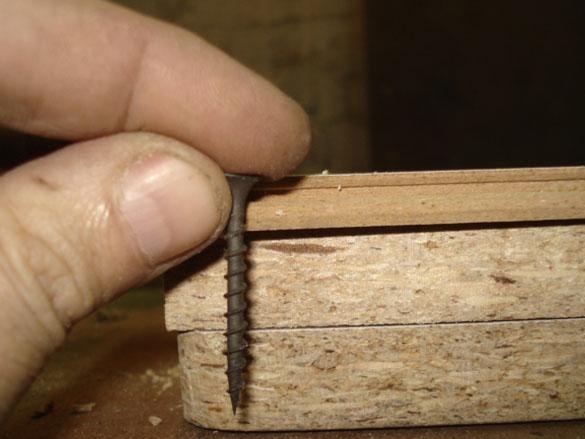
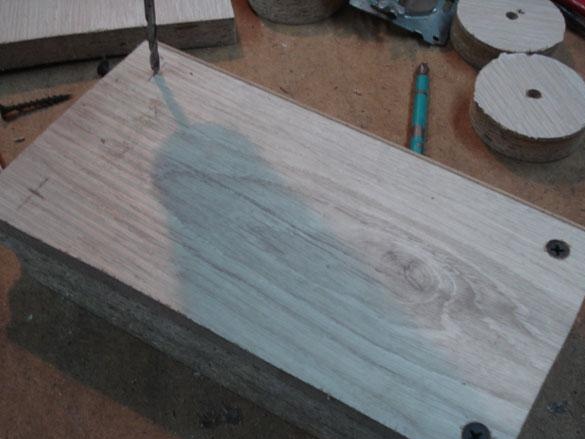
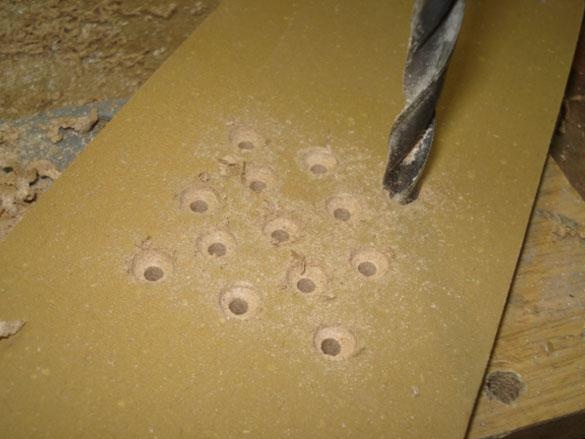
We drill 4 mm holes for fasteners with a self-tapping screw, we need to do this only in the last two blanks, in the first we will drill 3 mm with a drill.
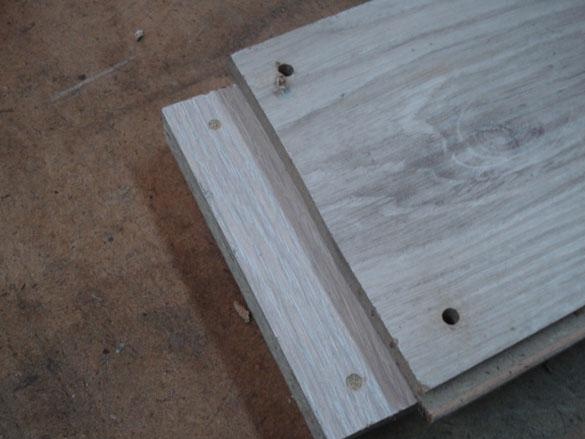
Now we put the first workpiece under the bottom and drill it with a 3 mm drill, before reaching the exit of 5 mm we stop drilling (so as not to damage the face of the case).

We fix the drilled holes and drill the rest.
On the lid we make cushions under the caps of the screws.
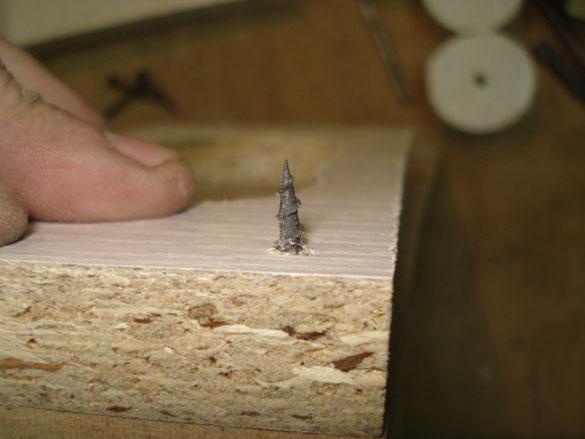
We select screws of the correct length.
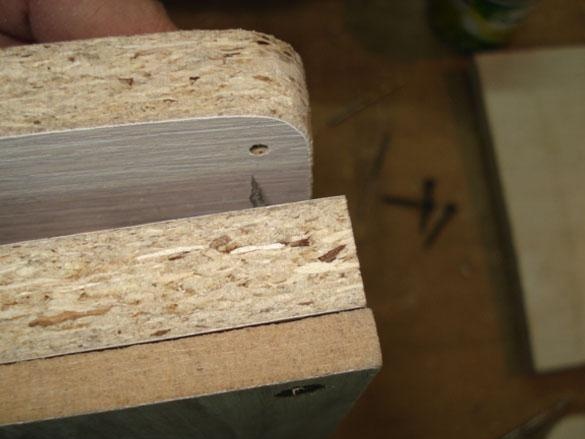
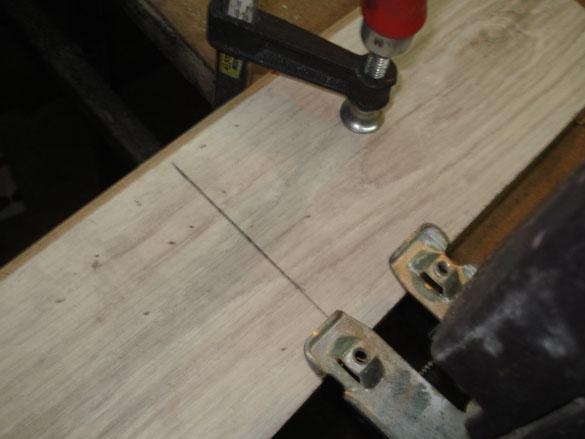
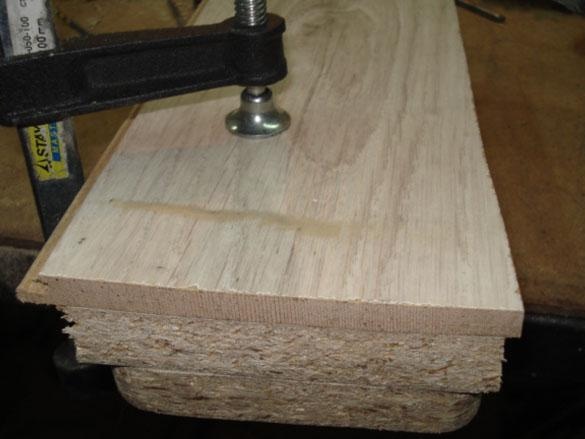
We make preliminary assembly of the case.
We plan and saw off all the excess.
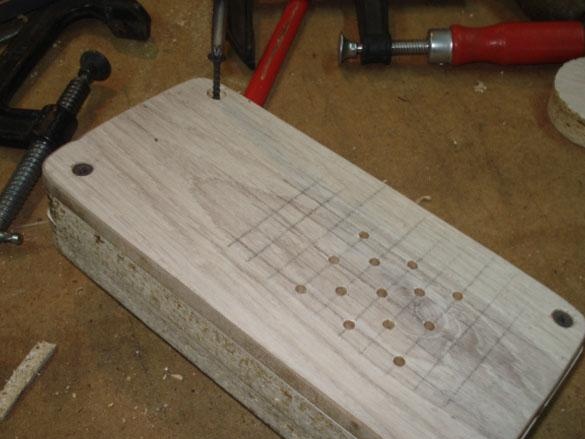
Now you can drill the remaining holes.
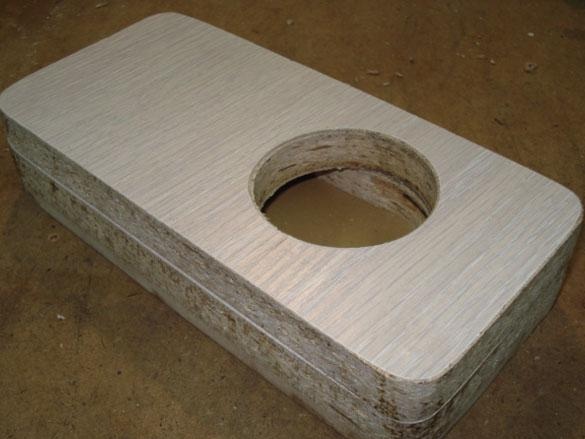
The result is such a box with crooked sides.
It's time to work as a grinder with an emery wheel.

Now everything is as it should.
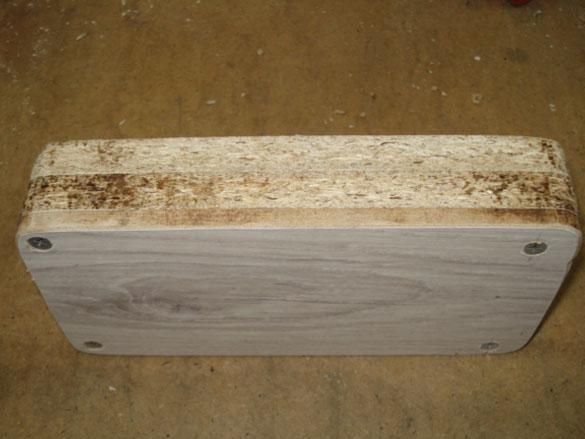
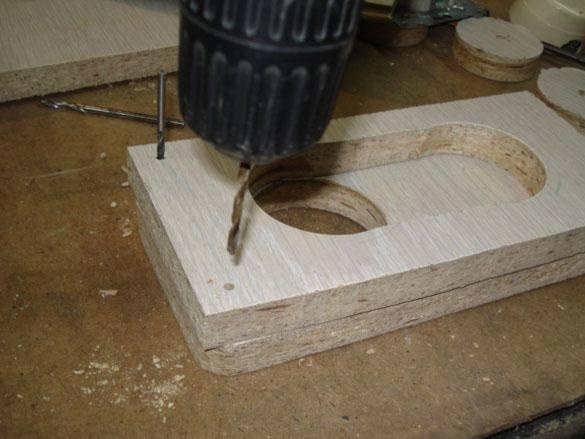
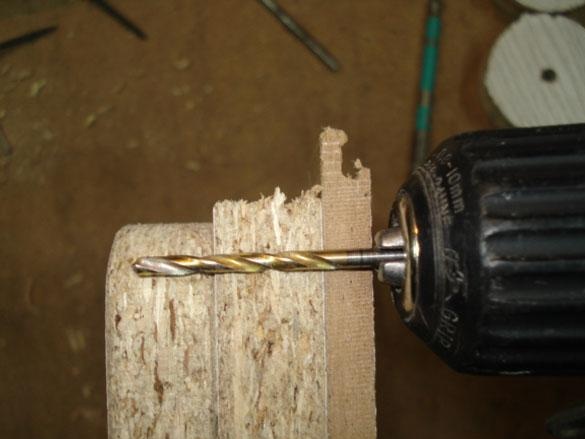
We drill a hole 10 mm, as close to the lid as possible, the power cable will come out here.
Now open the hole with a hacksaw so that you can lay the cable on top.
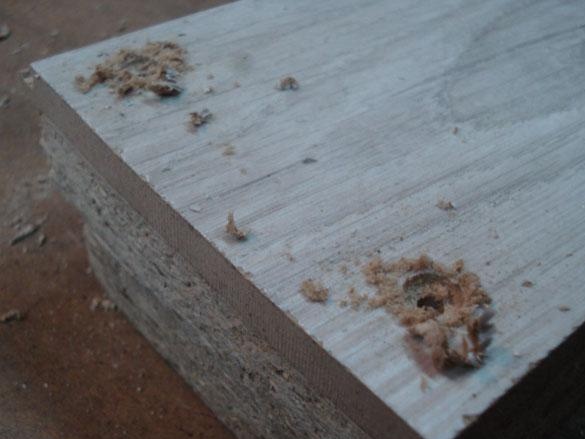
We will clean up irregularities with a file or sandpaper.
Here is the result.
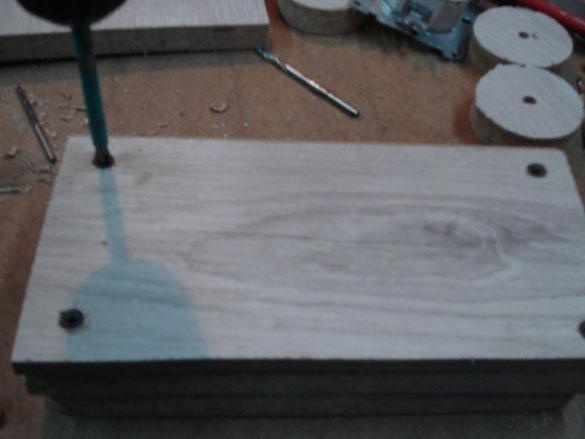
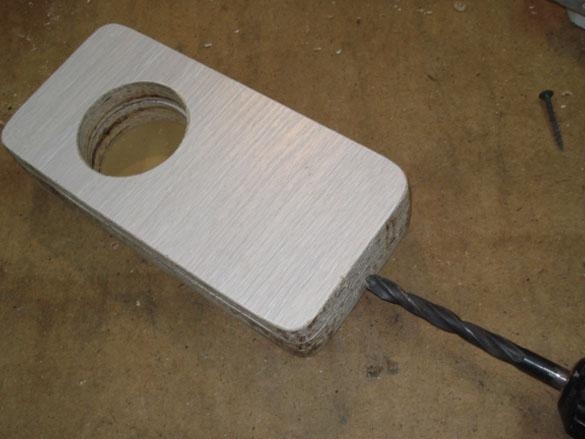
Mark the grill for drilling ventilation holes on the housing cover.
We drill them with a 4-5 mm drill.
On the inside, we expand the diameter of the holes, this will improve air circulation.
Item 3. Electrics.
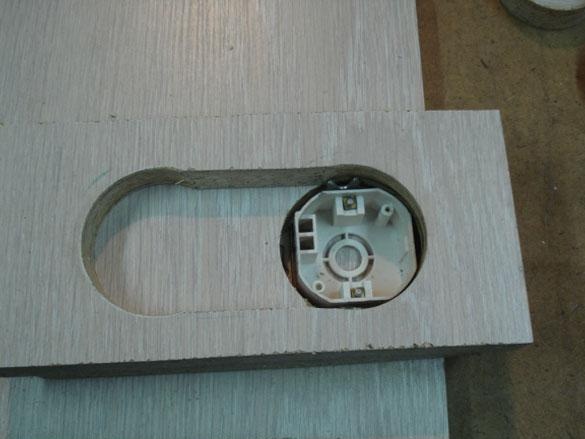
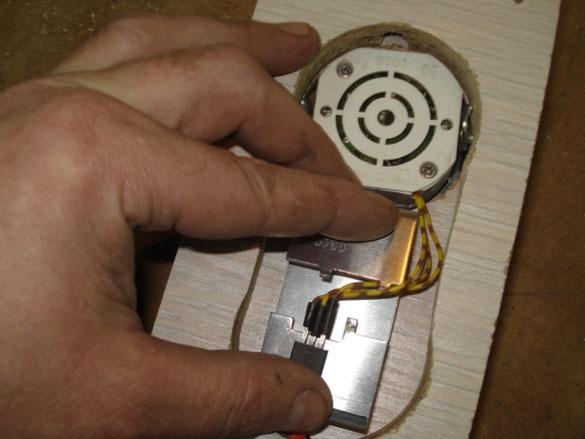
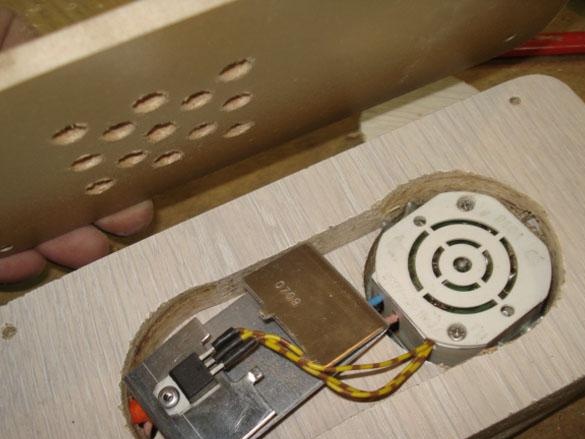
We insert the regulator board into the dimmer case.
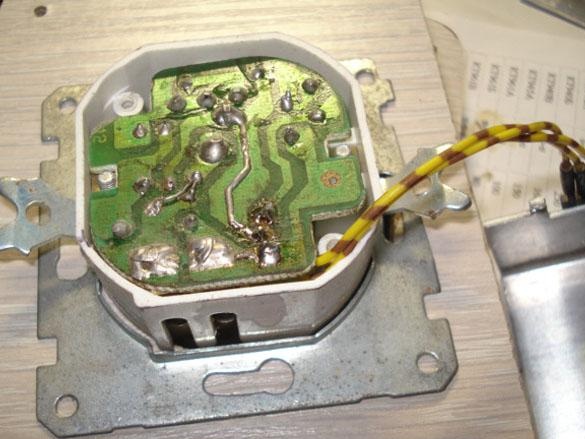
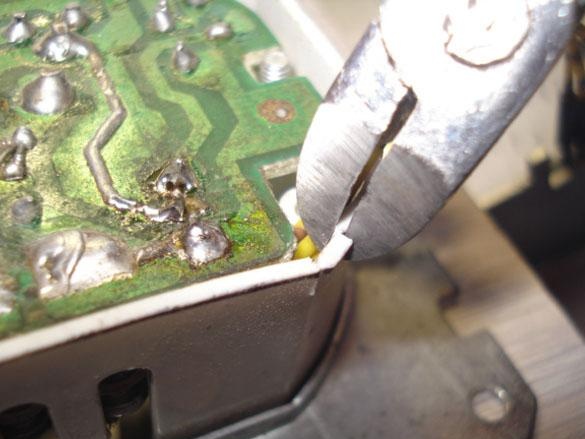
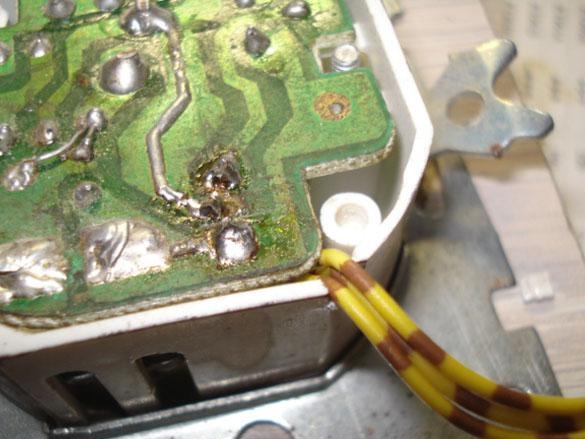
We make an exit for a new wire.
Putting the case together.
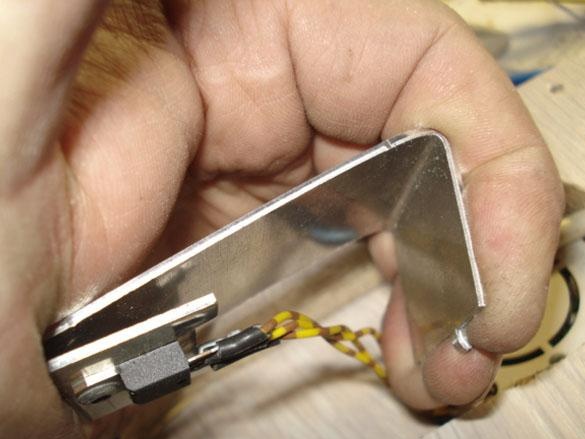
We reduce the overall dimensions of the radiator by bending it.
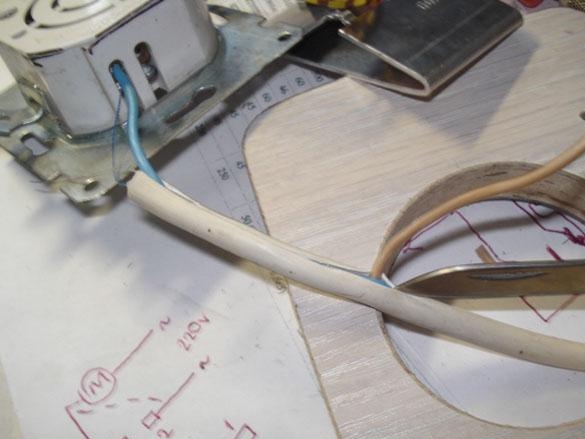
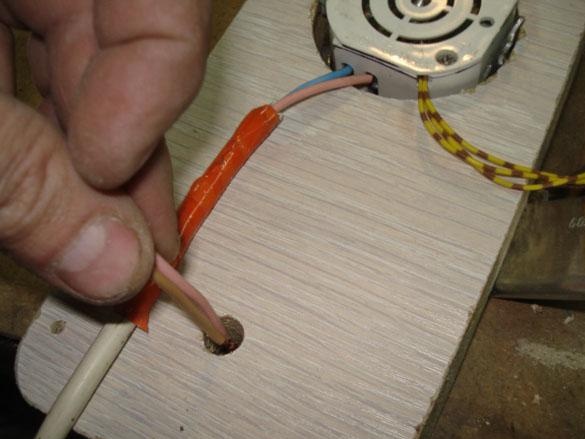
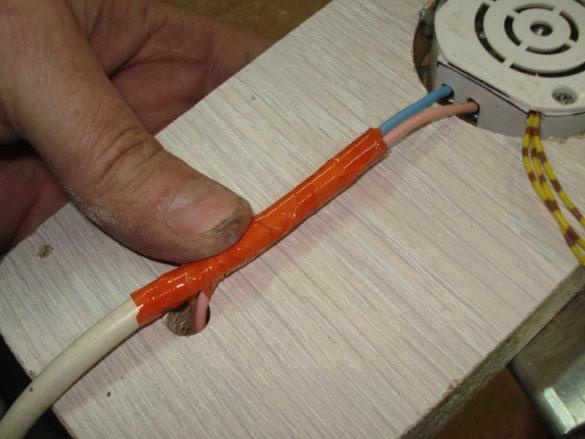
We cut the power cable, isolate and connect.
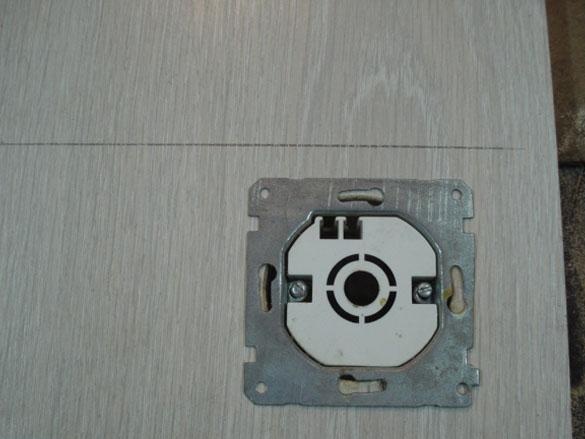
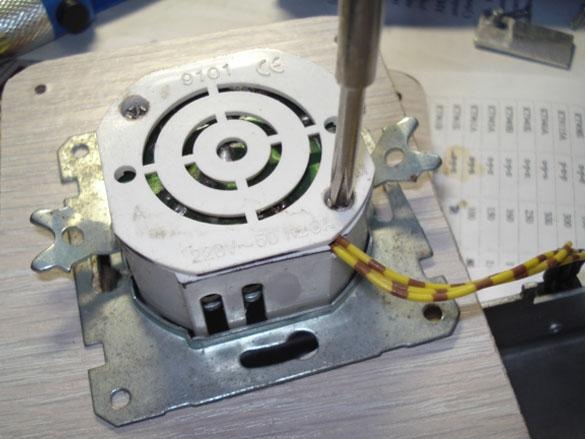
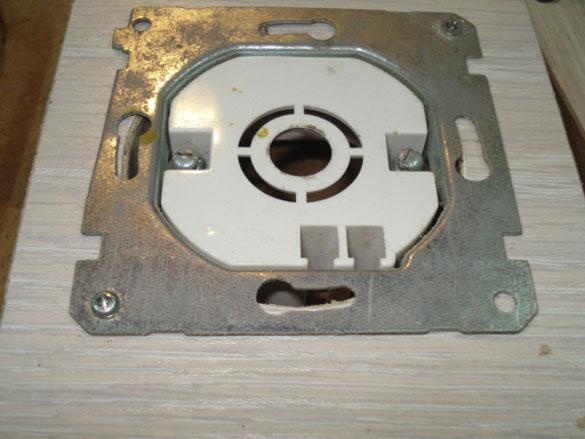
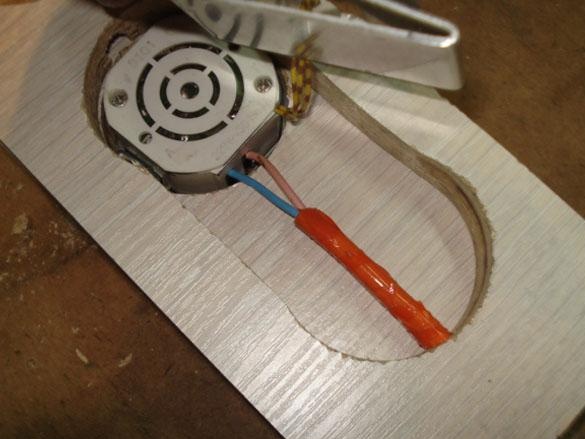
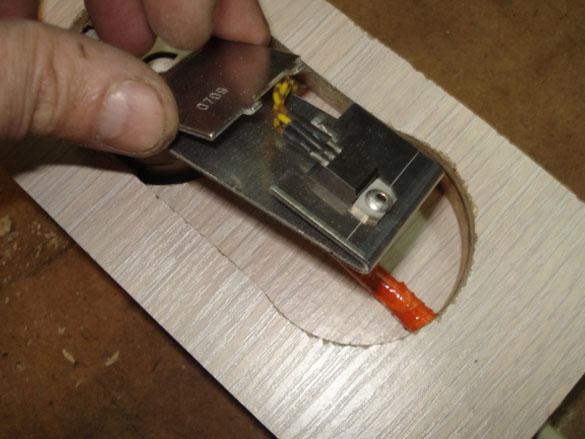
We install the Dimmer into place and drill holes for the mount.
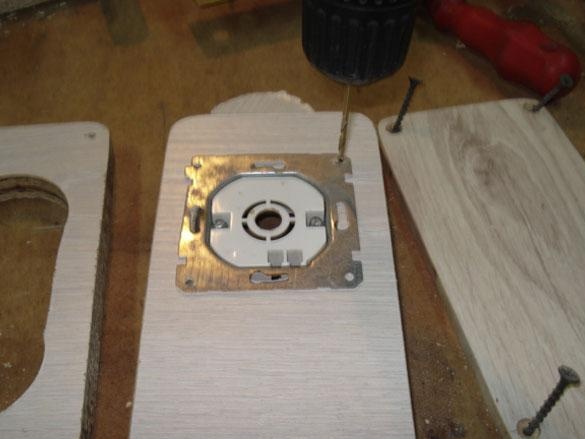
We fasten.
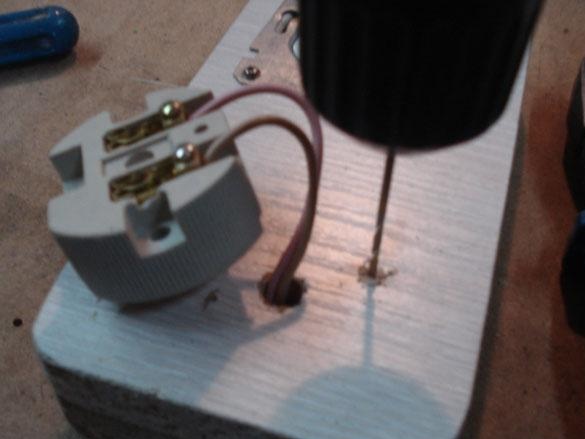
Drilled a hole for the output of the wire to the outlet.
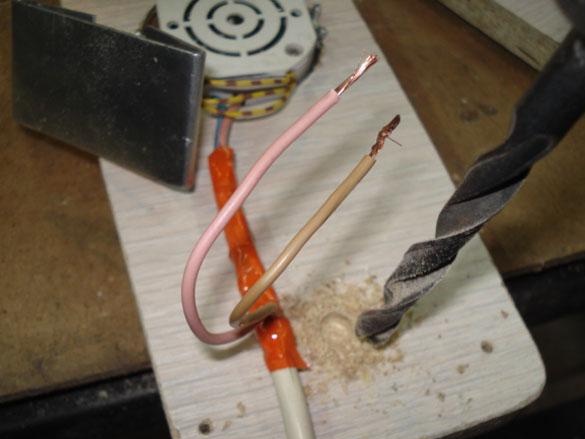
Poke through the wire.
Item 4. Assembly.
We put on the second part of the body.
We put the radiator in place.
Close and tighten the housing cover.
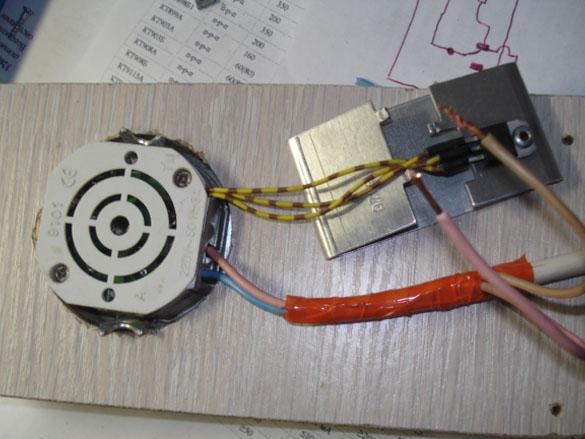
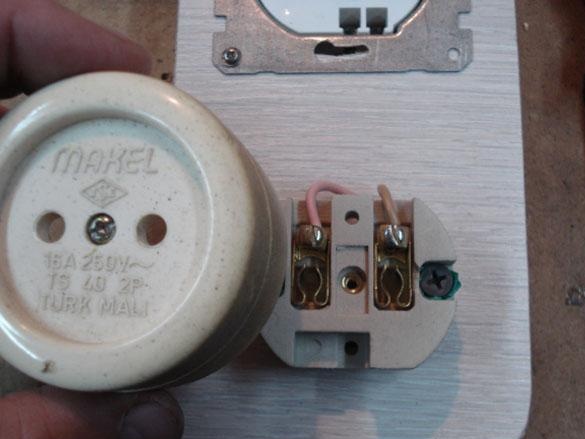
Install the outlet.
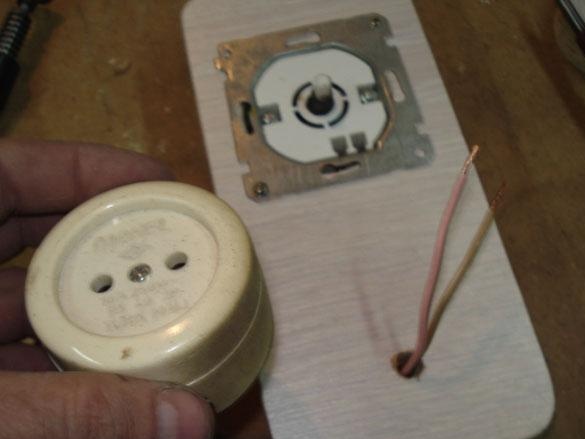
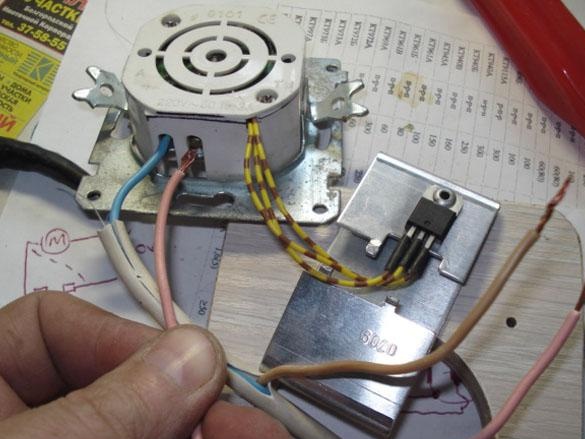
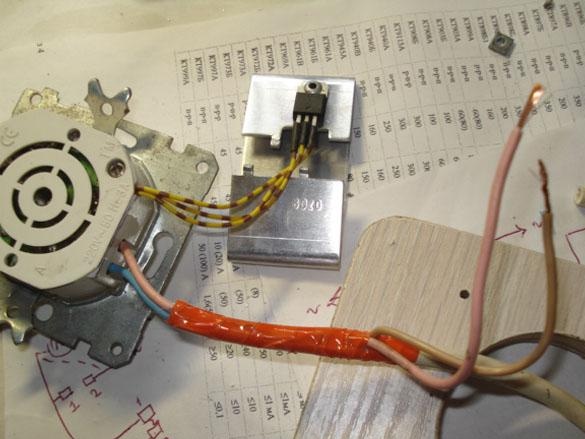
We connect the wires.
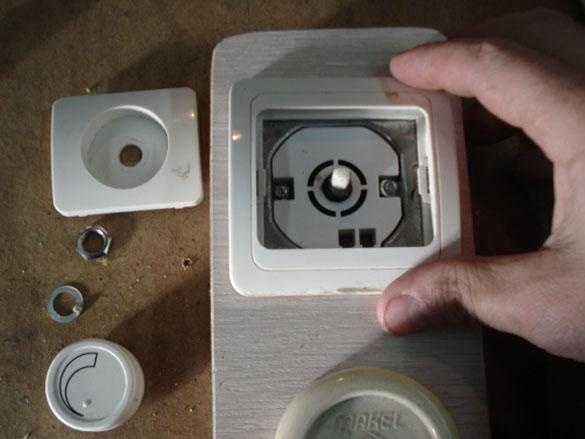
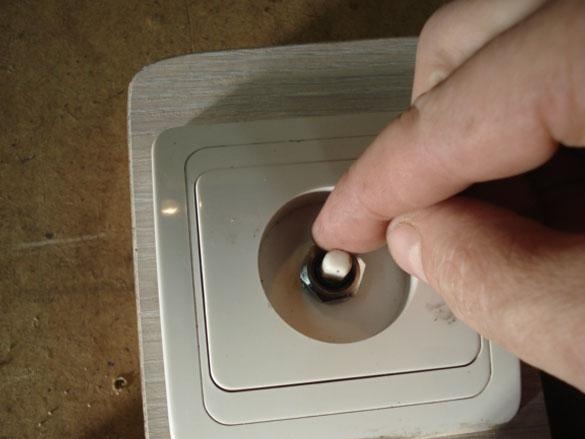
We put on the front panel of the dimmer.
Point 5. Finish the work.
We open the open places of wood chips with varnish, which will protect against swelling of the chipboard in case of contact with moisture.

All, Dimmer in the new building is ready.
Parameters: maximum short-term load current 16A or 3500 watts.
But these parameters do not mean that you can load the device at full power for a long time, without forced heat removal from the radiator, 500-1000 W can be considered a safe load, only so electronics it certainly won’t overheat in a closed case and will work faithfully for many years.
Once again, we check how everything works with different loads and put it on the shelf as needed.