
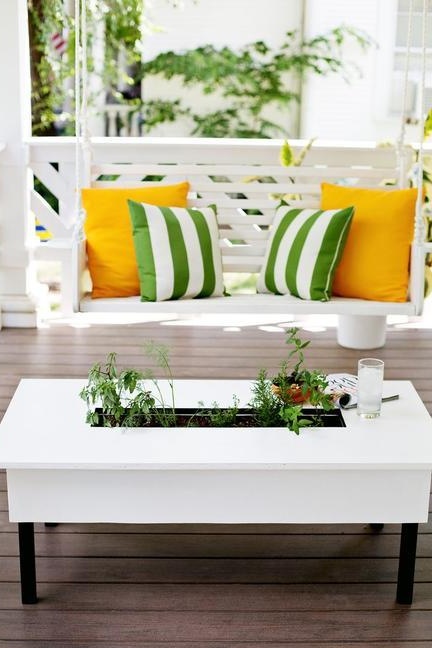
JOSHUA RHODES in this master class suggested the idea of creating a table with a tray for growing your favorite plants in the middle of the countertop.
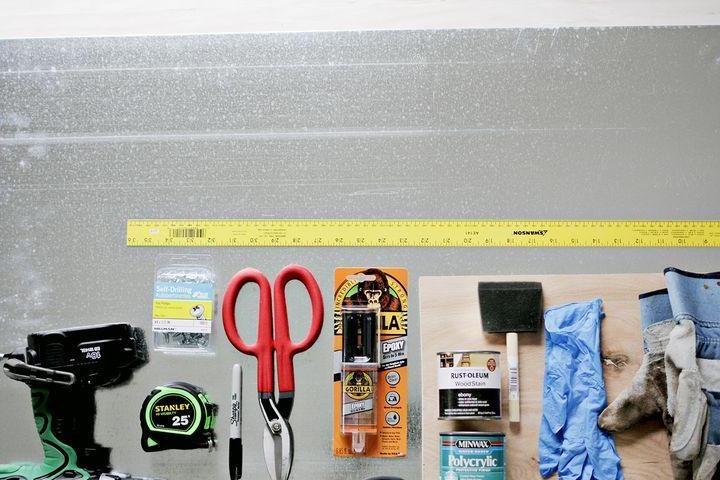
Tools and materials:
- saw;
- scissors for metal;
- drill;
- ruler;
- marker;
- leather gloves (to protect hands when working with a sheet of metal);
- scoop;
- plywood sheet (1.2 to 1.2 m);
- timber (section 5 by 10 cm);
- sheet metal (0.6 to 1.2 m);
- table paint;
- hammer;
- pebbles;
- soil;
- plants.
Step 1.We create a metal tray for plants.
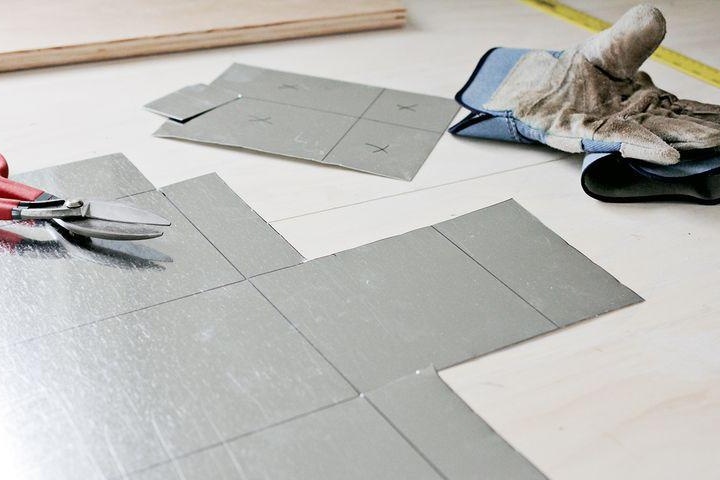
To make markings on a sheet of metal, you can use the template in Figure "B".
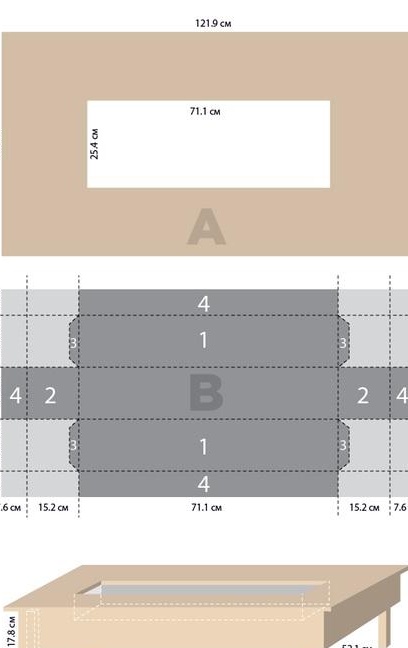
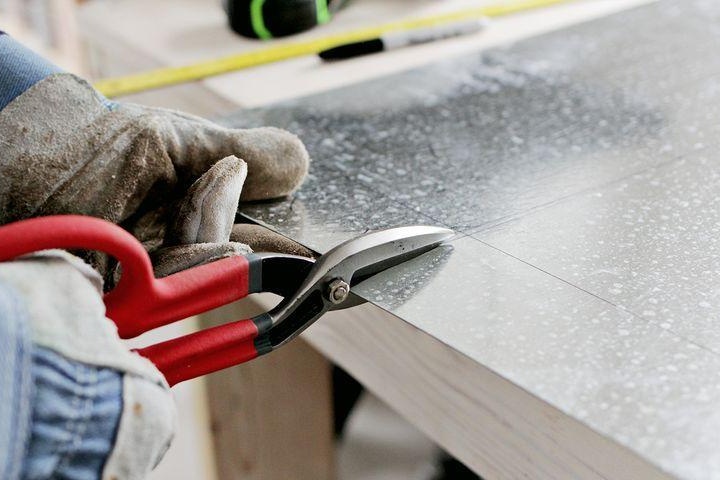
Next, with metal scissors, we cut out the desired shape along the contour of the template, after which we bend the sheet along the outlined central lines, moving to the edges. The bending order is shown in figure “B” with white numbers.
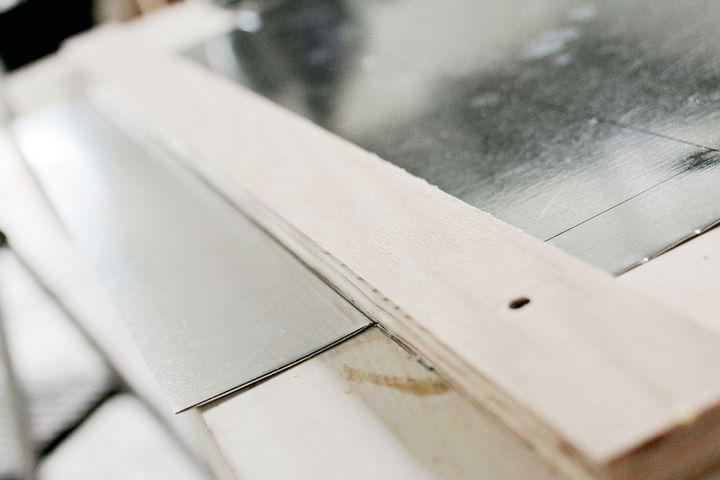
To make the bends on the metal neat, the author of the workshop JOSHUA RHODES advises using a wooden block, after fixing it with screws on the workbench.
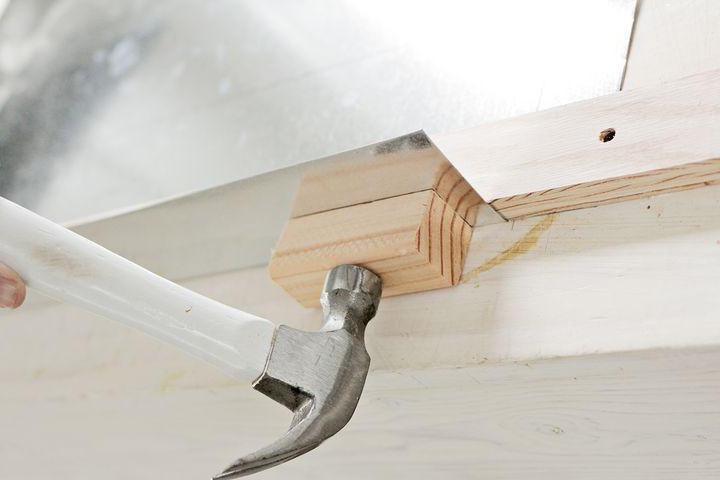
To perform the last bends, you may need a hammer, when working with which the surface of the tray may be slightly deformed: but this will not be noticeable, since the tray will be placed under the countertop.
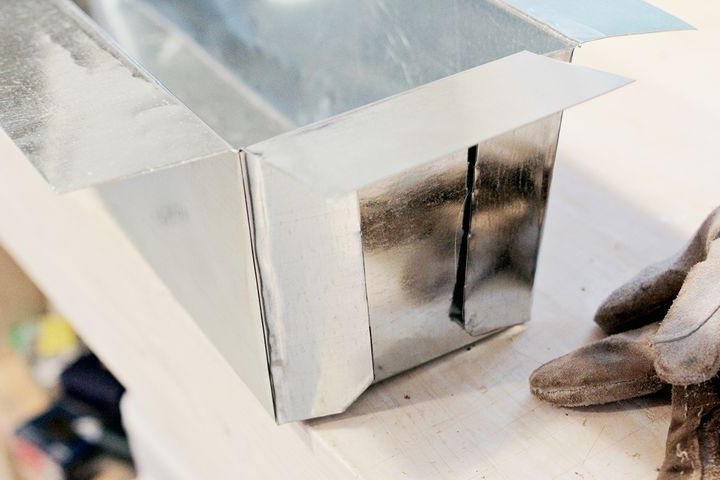
Next, we fasten the resulting tray with screws: a little later, using the soil, the ends of the fasteners will be closed, which will remain visible from the inside.

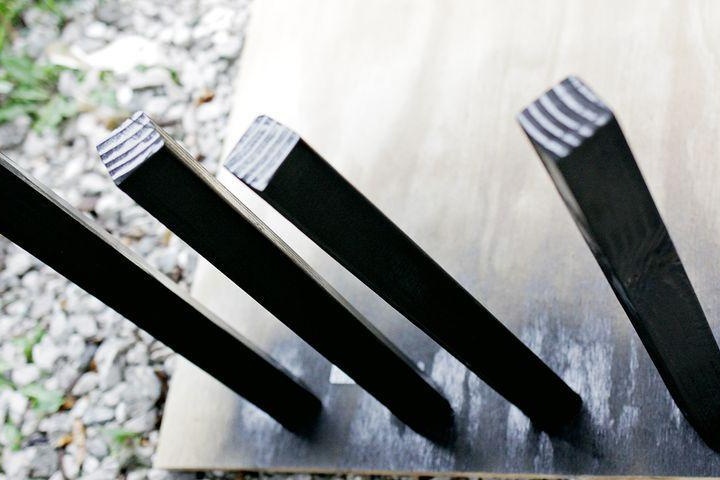
Step 2To create a garden table, you can take the sizes from the above diagram.
We use a wooden beam with a cross section of 0.5 to 1 to make legs. Before installation, they can be sanded and painted.
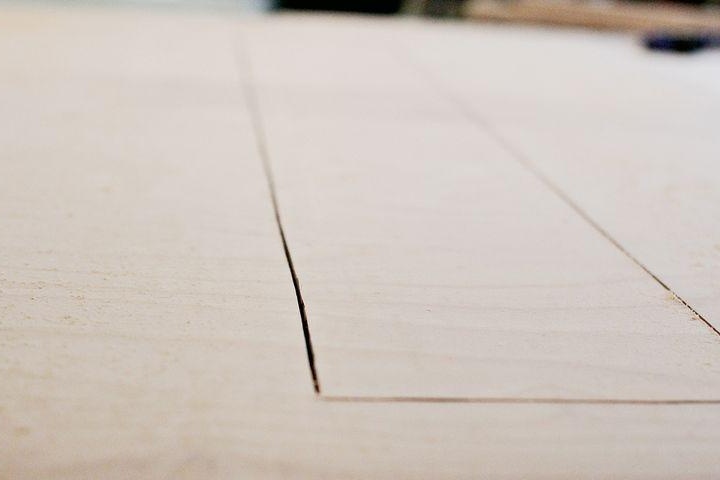
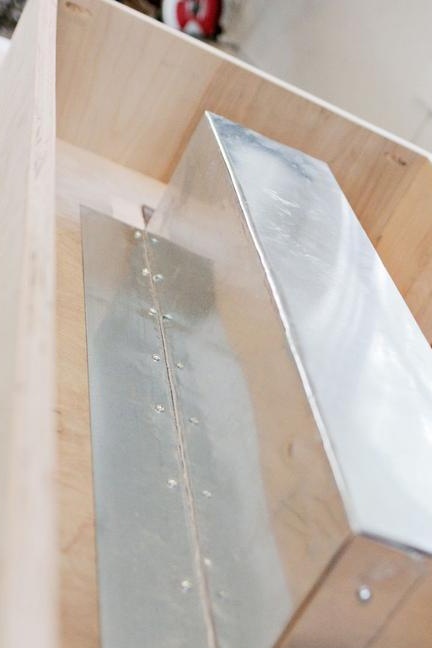
Based on the dimensions in figure "A", you need to cut a rectangular hole in the countertop.
Having installed a tray from a sheet of metal under the countertop and aligning it with the sawn hole, we screw the bent sides with screws.
It is necessary to pay attention to the length of the fasteners: self-tapping screws must not pass through the plywood from which the countertop is created.
Next, you can paint the countertop in your favorite color.
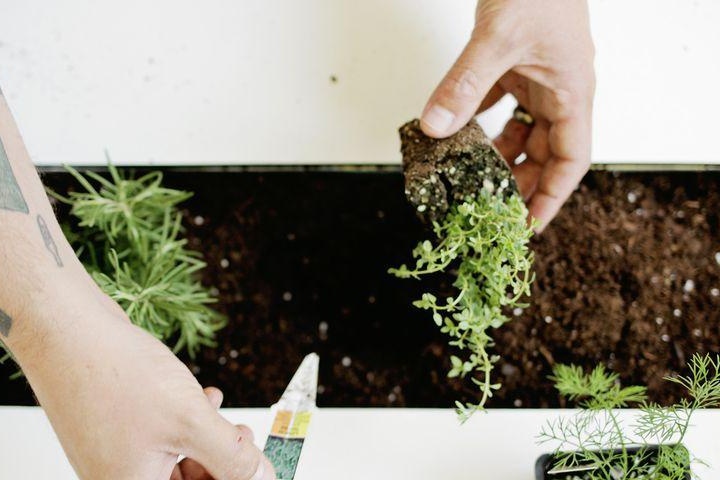
Step 3Pour pebbles to the bottom of the tray to arrange drainage for the plants.
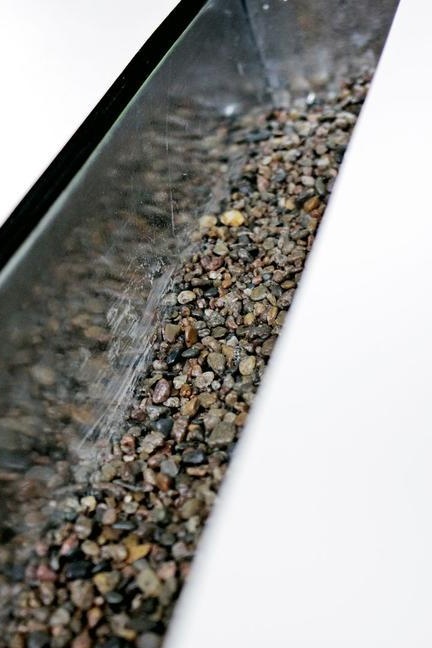
Pouring soil into the tray, leave 5-7 cm to the edges.
We plant and water the plants.
Enjoy the result:
