

Good day to all lovers homemade. Many of us have car and love music on the go, so in this article I’ll tell you how to make do it yourself buffer for cars to amuse people. : winked:
In order to assemble a do-it-yourself subwoofer for a car, we need of course a desire to make it and patience, because it is the assembly of the subwoofer that is one such audiophile solution in which some lack patience. You will also need material things, you can purchase them both in the construction equipment store and at home, for example, the same cabinet will do.
We will need:
- chipboard 18 mm thick, approximately 2.5 * 1.5 m
- A screwdriver or a drill, if you use a drill, you must carefully hold out the screws, since the chipboard is quite soft
- Screws 45-55 mm long in an amount of 120 pieces
- Silicone sealant
- Woofer
- A couple of wires stronger
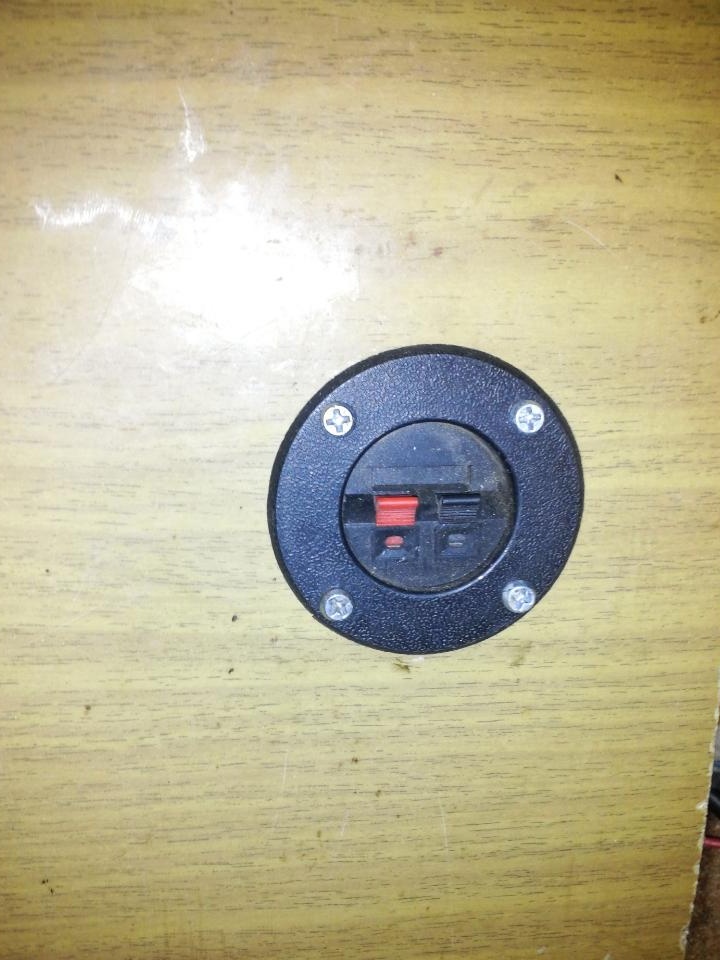
- Clip for wires from the amplifier to the speaker
- Drills 4 mm and 8 mm
- Circular or jigsaw, the second will be more comfortable to cut
- Construction tools, such as a corner, pencil, ruler.
To assemble the subwoofer evenly and efficiently, you need to find a partner who will hold the chipboard when sawing, feed the screws. Found a partner, you can start sawing the components.
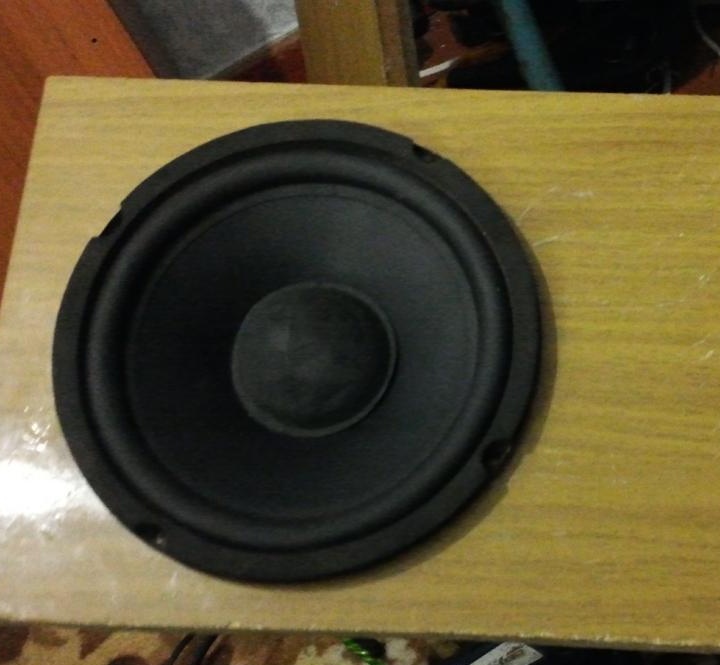
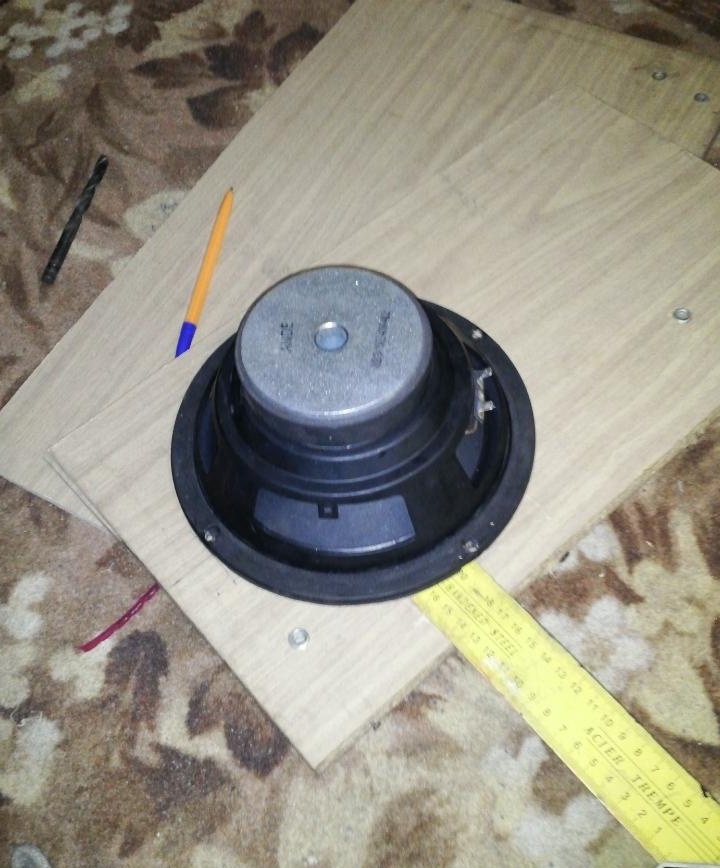
The dimensions of our speaker are 8 inches, which is enough to build a small car, the dimensions of the box are taken from the group in contact, I chose the best option on the slotted bass reflex, I watched a lot of reviews, which contributed to the choice.
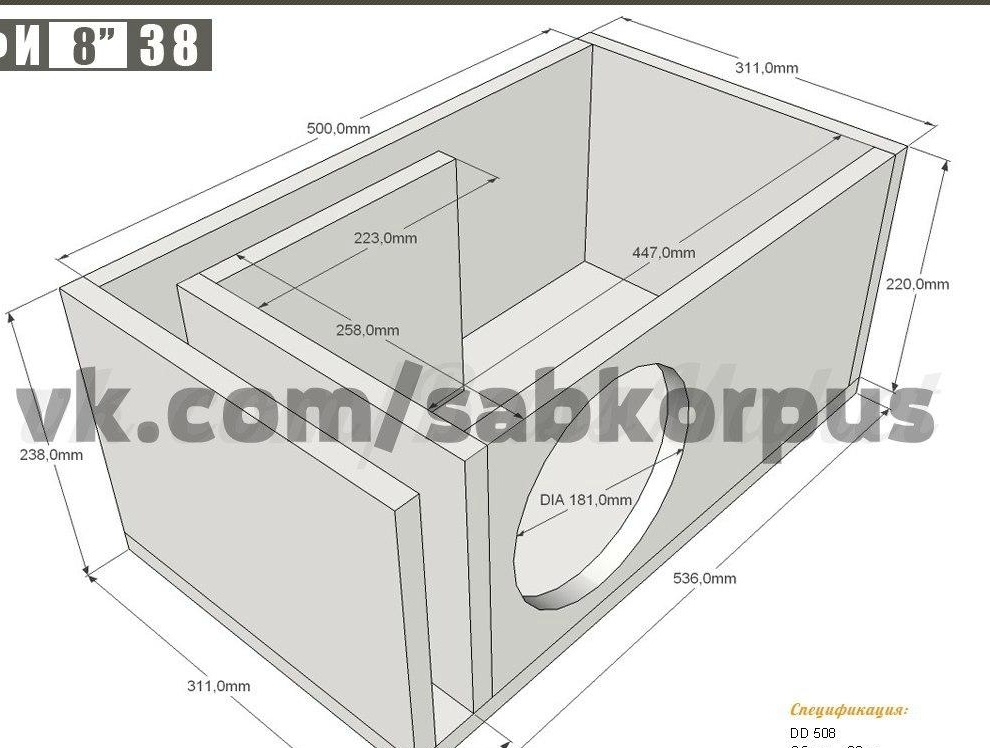
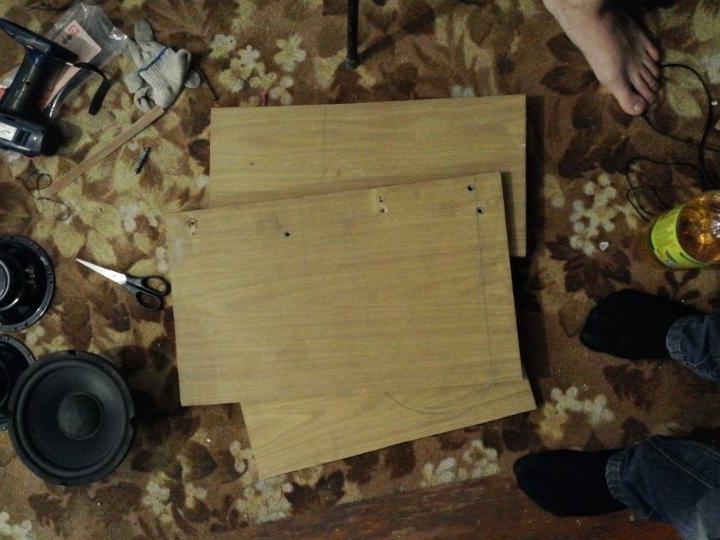
To begin with, we will cut the upper and lower sides, their sizes are the same and equal to 536 mm in length and 311 mm in width.
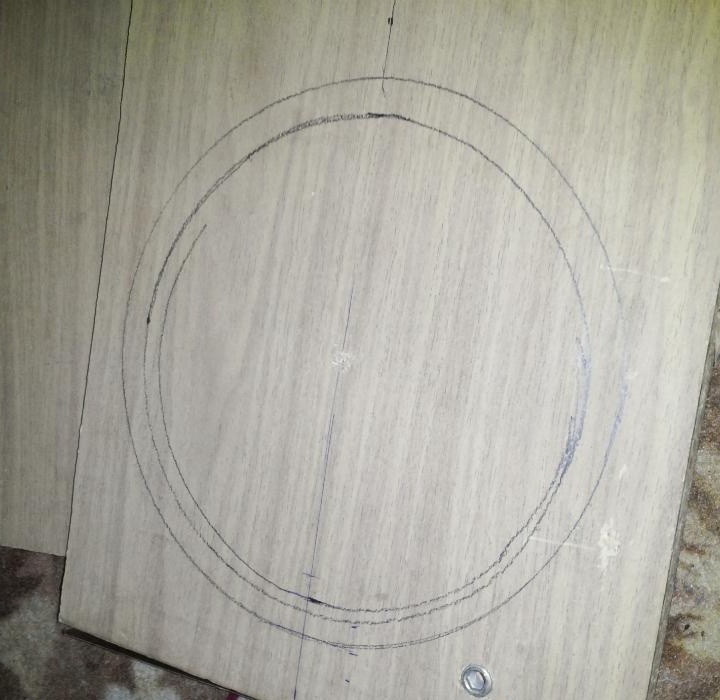
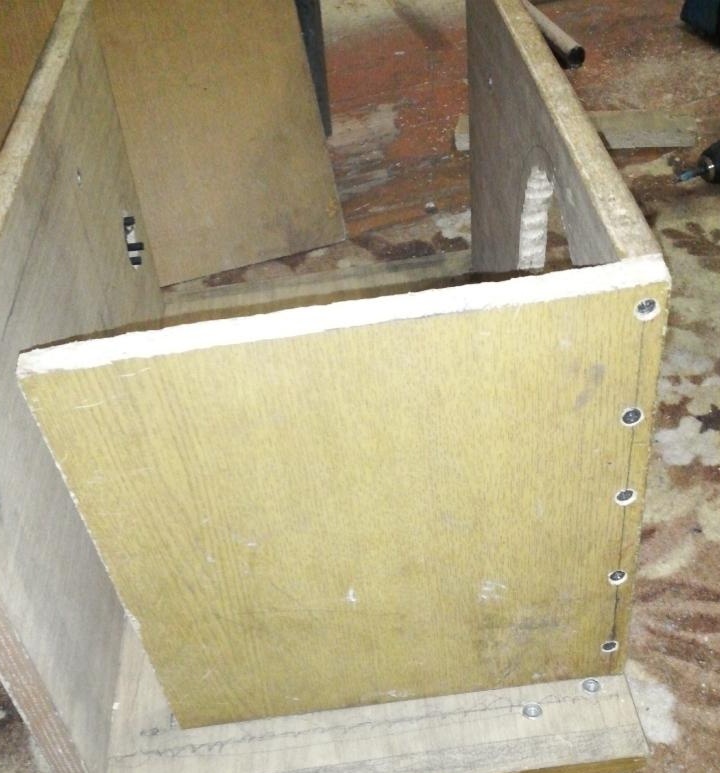
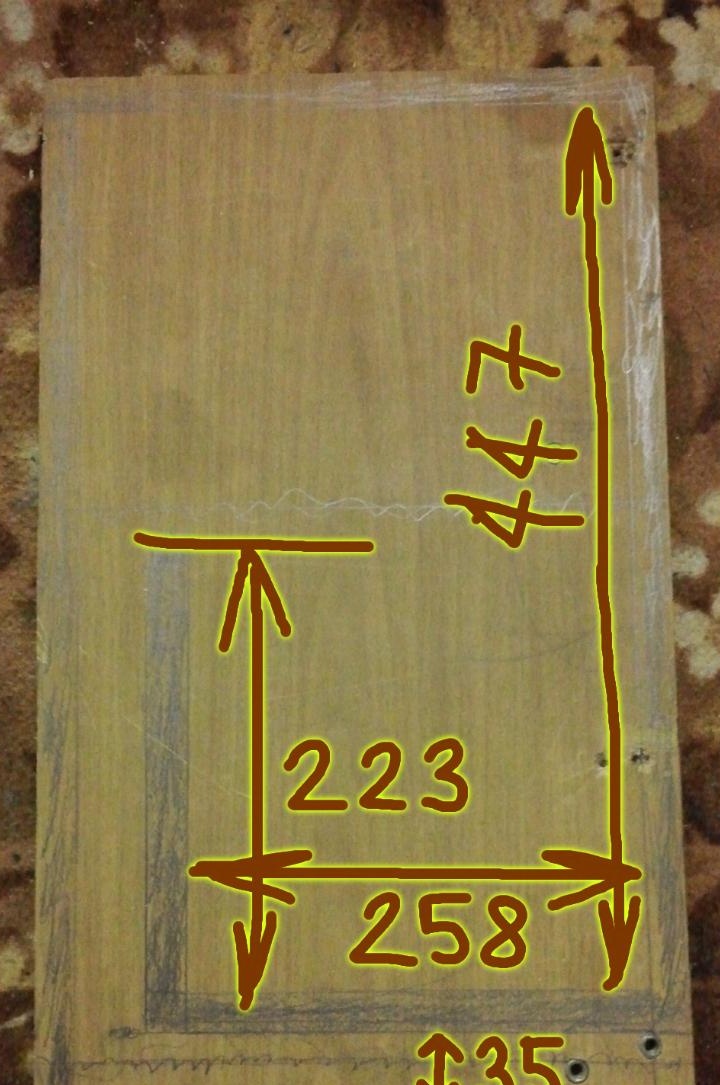
We saw everything carefully so that there are no bevels, we check for evenness with a corner, everything coincides, we move on. The next step will be the sawing of the side parts, these sides are different, the length of one is 447 mm and the other is 500 mm, on the smaller side you need to drill a hole, departing from the edge of 2 cm with an 8 mm drill, running a jigsaw into the hole, cut out a circle with a diameter of 181 cm, the speaker will mounted on the outside, so as not to disassemble the entire box in case of breakdown of the speaker.
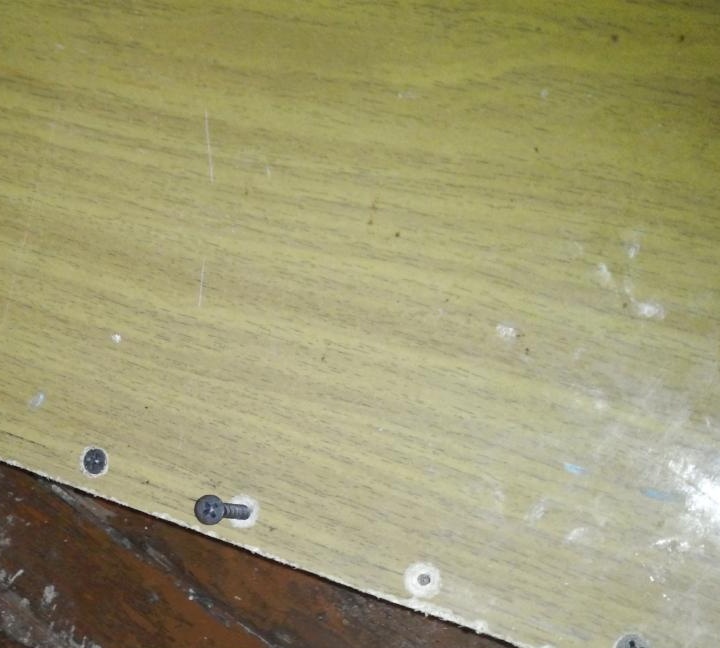
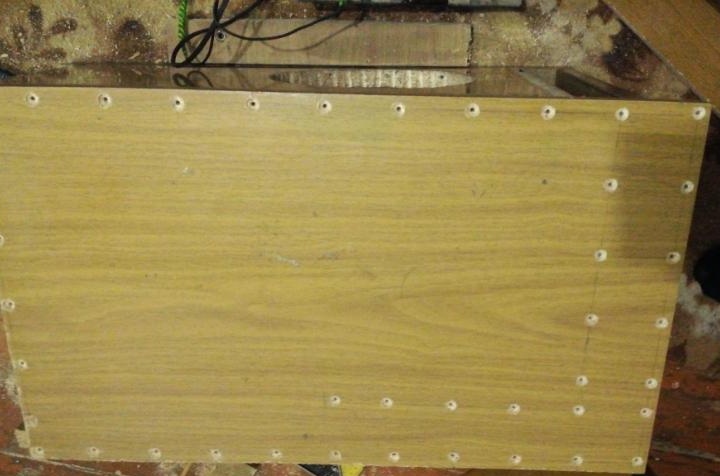
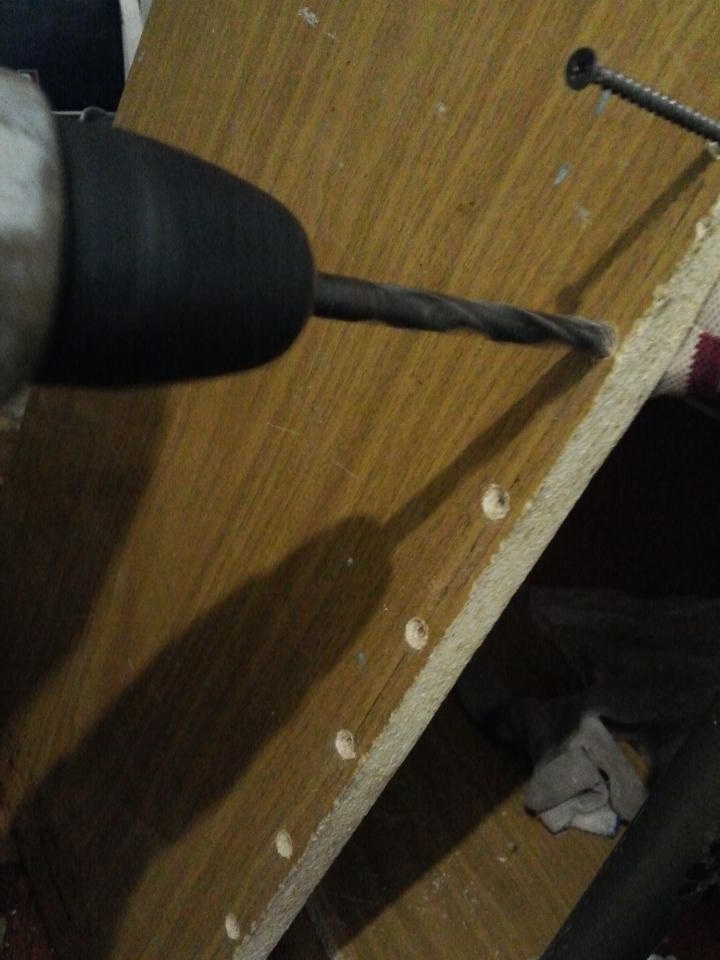
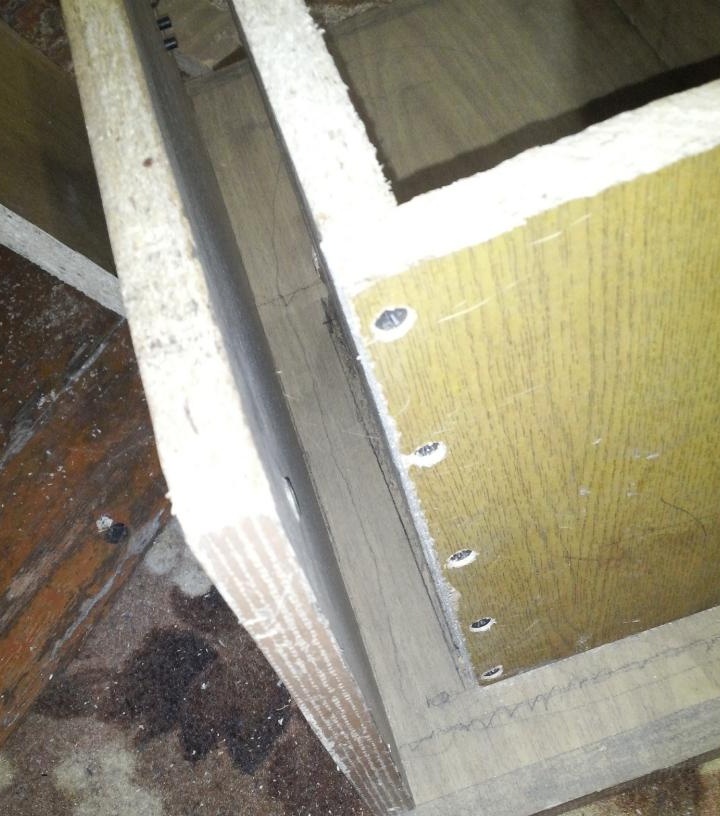
Now we pre-drill holes for the screws so that the chipboard does not crack, and so that there are no dents in place of the screw. The appearance of the screw-in self-tapping screw does not look very good, we will make for each a small recess for the cap, now that the screw is tightened, it becomes level with the plane.
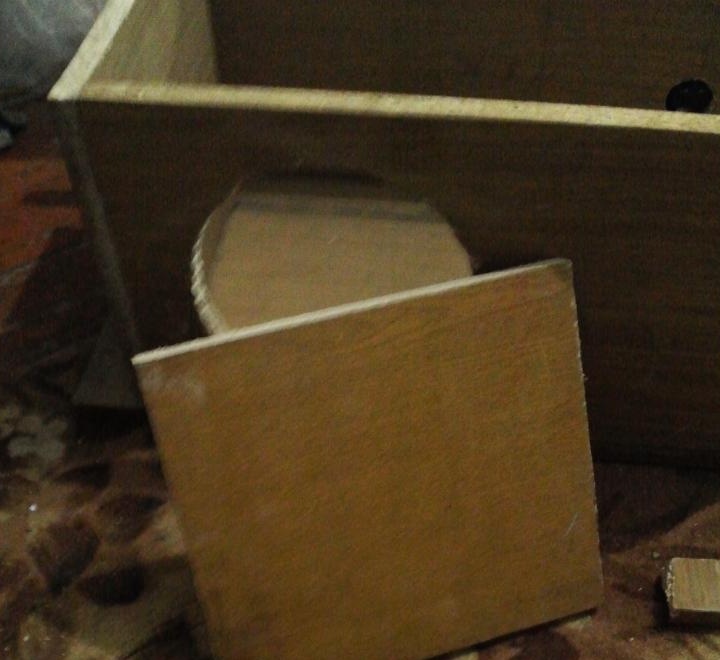
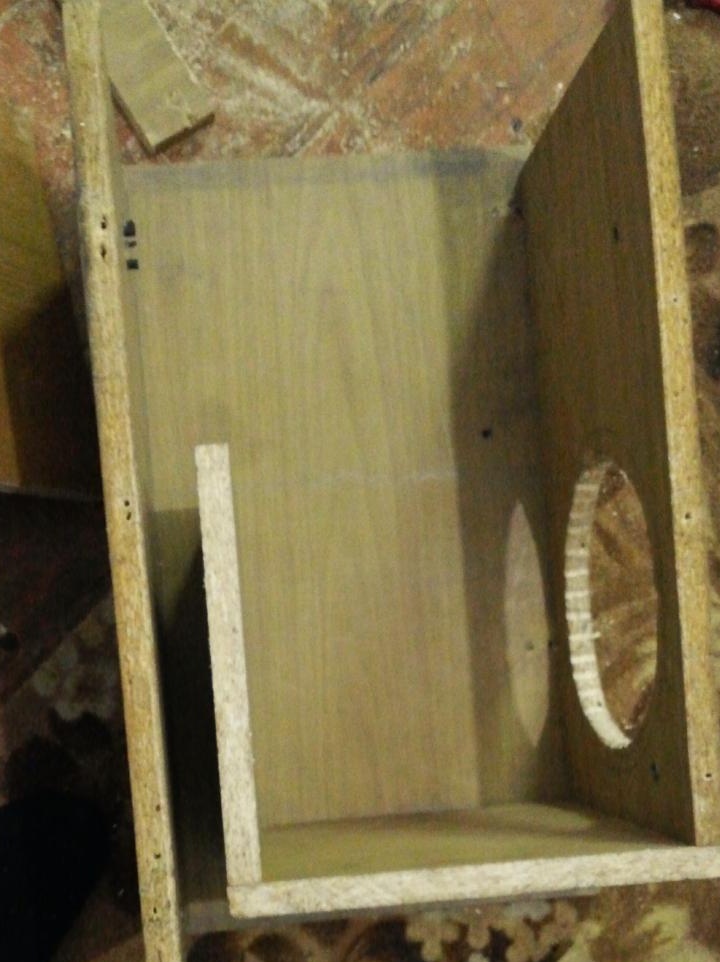
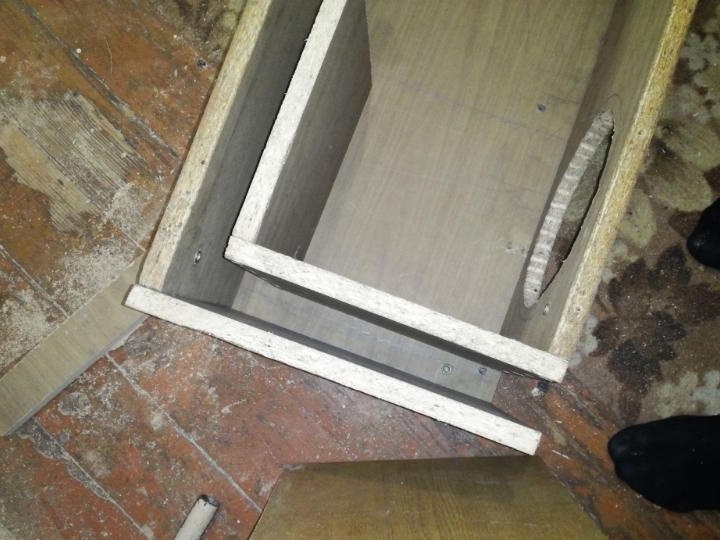
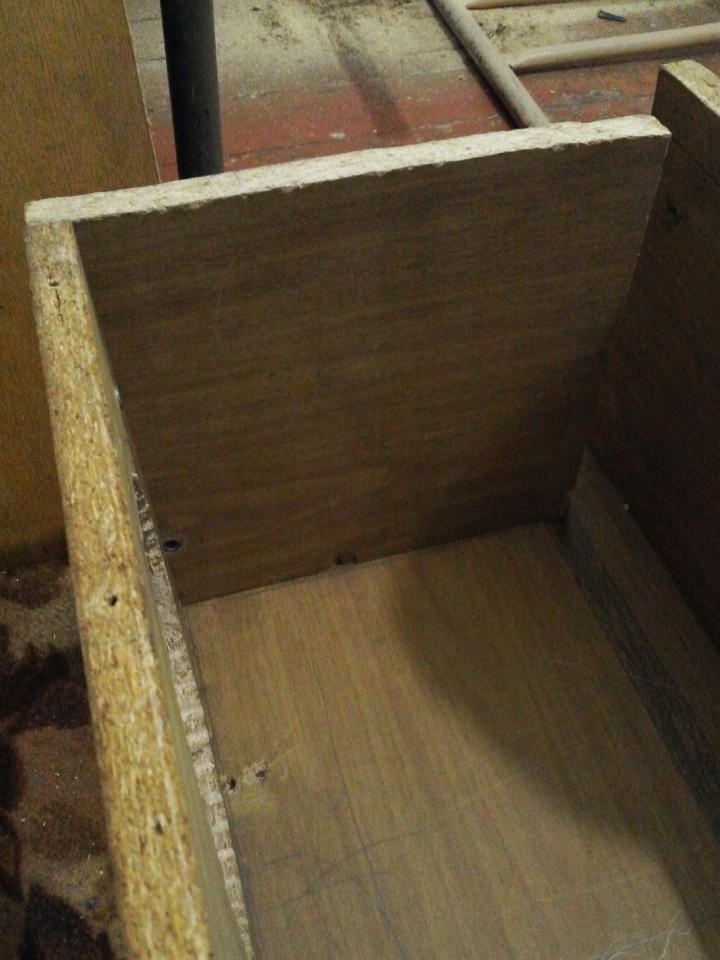
So, we have a box of four walls, it remains to cut two boards for fazik, the length of one is 223 mm, the other is 258 mm, all two sides have a height of 220 mm. You need to cut all the walls at a right angle, you can measure it using a corner, apply it, it coincides, so the angle is just 90 degrees. We fasten the sides to the self-tapping screws, as well, first, drilling holes and making recesses, flush for the screws, it is made 8 mm - it drills in the middle. Now we attach to it in the connection side with 258 mm, the port should be 35 mm on both sides. So, we measured it, everything fits together, you can attach it with screws.
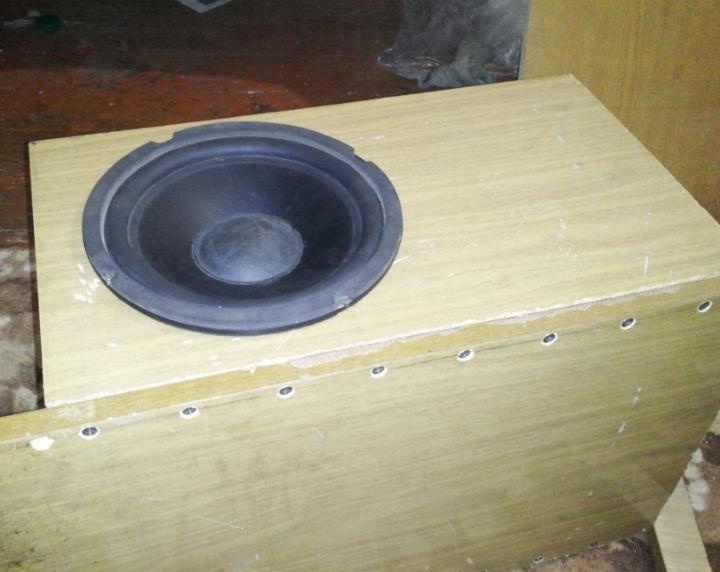
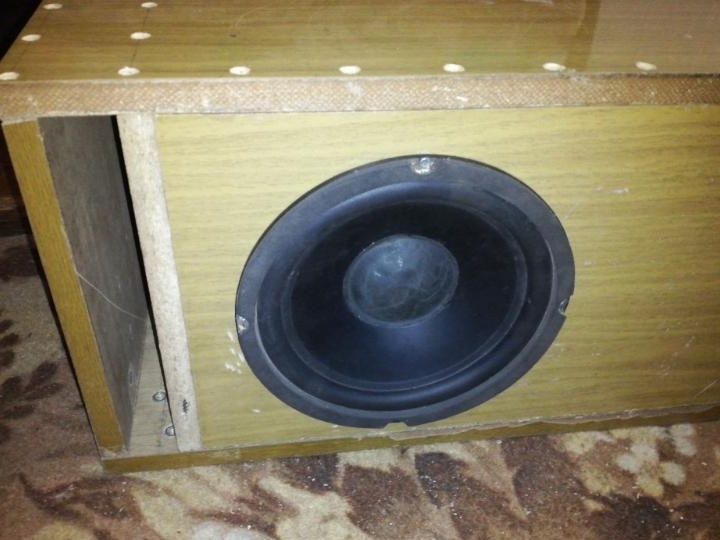
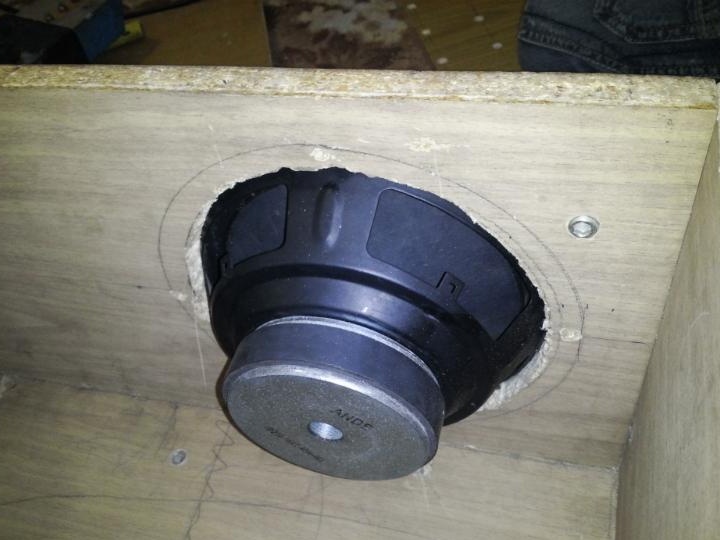
And yet, when installing all sides of the buffer, it is necessary to smear their seams with sealant, it is better to smear them with waves, so there will be less chance that the sub will sniff, and when the sub snuff it is very unpleasant. It remains to put the side and install the speaker, then the top cover. The next step: solder the wires stronger to the speaker with a soldering iron, push it into the seat.
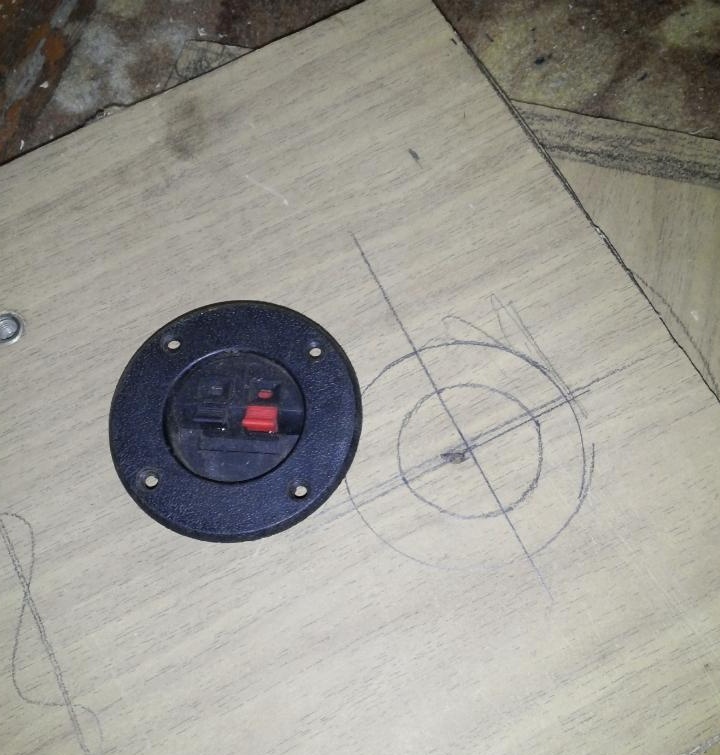
Then we tighten with four shorter screws, (it is better to grease the rim with a small amount of sealant), about 30 mm long, and solder the wires, observing the polarity from the speaker to the terminal block.
After the entire sealant has dried up, you can close the sub cover, this is the last step, on the cover you need to measure where the screws will be under the phasic and under the walls, the thickness of the chipboard is 18 mm, therefore, stepping back about 8 mm from the beginning of the edge, twist the screws. Before this, on all parts of the sides at the top we smear with sealant, preventing the sealant from drying, we plant a cover.
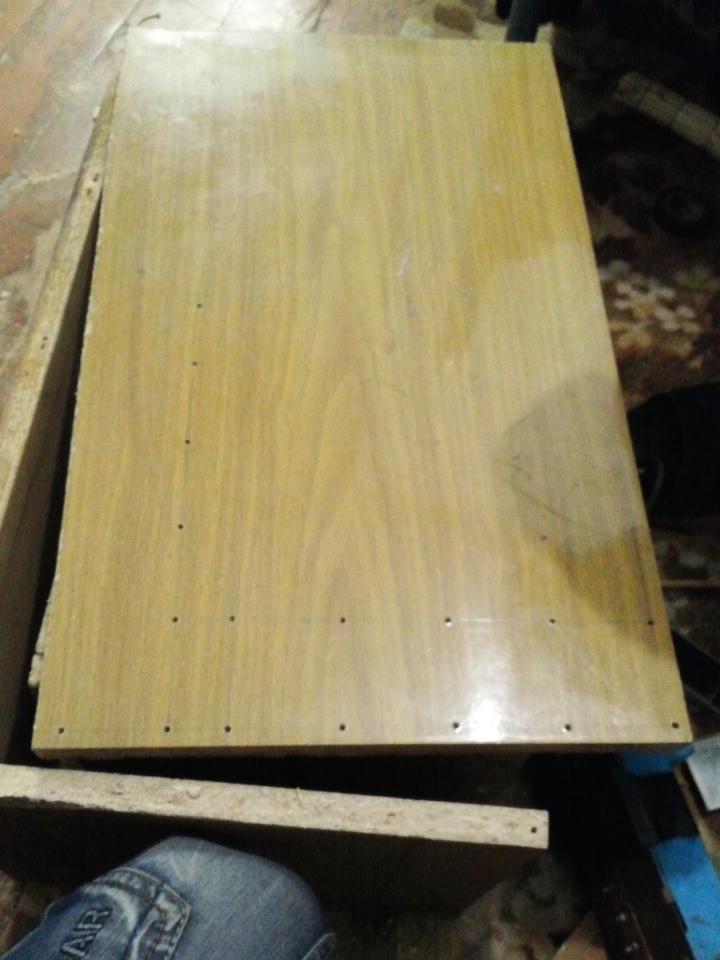
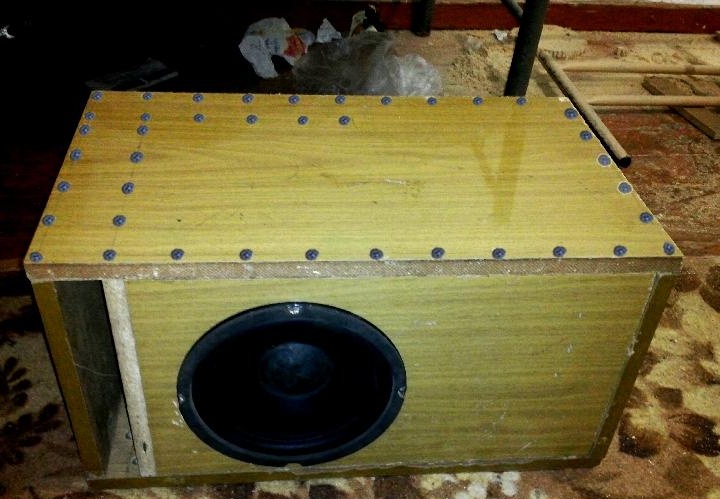
The final step will be to install a buffer in the machine, but that's another story. The subwoofer turned out to be pretty beautiful, built strictly in size from the VK group, many people checked the box, if there is a carpet, it can be sheathed, which will be just beauty, but alas, I didn’t have a carpet at hand, and in stores its price rose to 350 r for 1 meter, I do not know in my opinion it is a little expensive. Due to the crisis situation, the sub remained in this guise, but it pleases the eye no less than the same sheathed one, and even if you have a protective net for the speaker, it is better to put it in order to protect it from curious and loving people. Flex at the sub came out good, shakes so shakes, the tuning of 38 hertz makes itself felt, all successful home-made and assembly of music in a car, because music is life. : winked: