
Hello to all lovers homemade. Every housewife has most of the appliances in her kitchen, in this article I will tell you how to make do it yourself hot stand, which will prevent the contact of hot dishes with the table, to make it very simple.
Having gotten together with the idea that the kitchen lacks a hot stand, the idea was made to make it yourself.
Let's start with the creation of the stand, for this we need:
• Maple bar; when cut, similarity with a square is necessary
• Tools for cutting parts, it will be better if you have a circular or jigsaw.
• Sandpaper of different grit
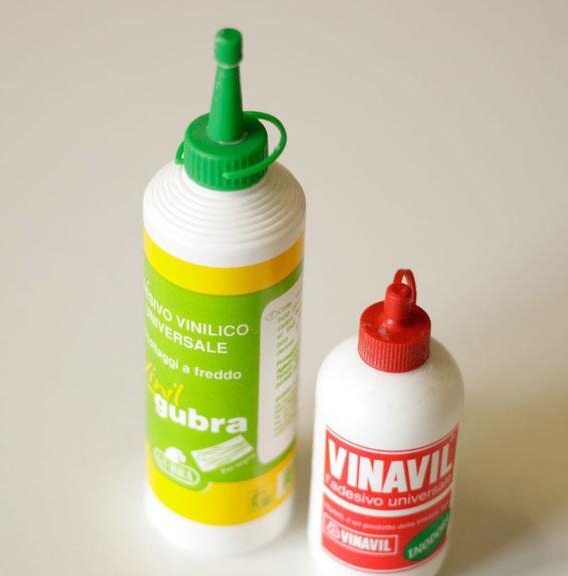
• Glue for wood or good PVA
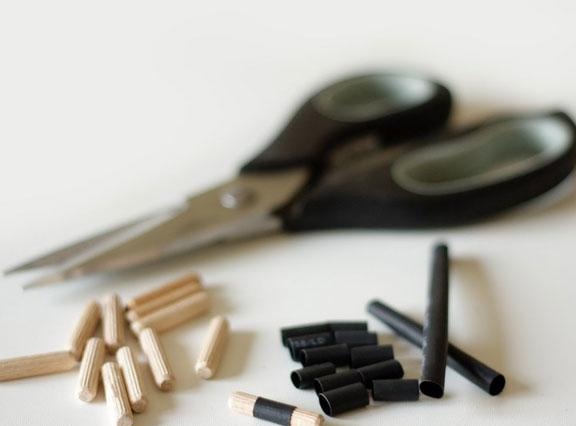
• Shrinkage, in this case black, depends on your preference
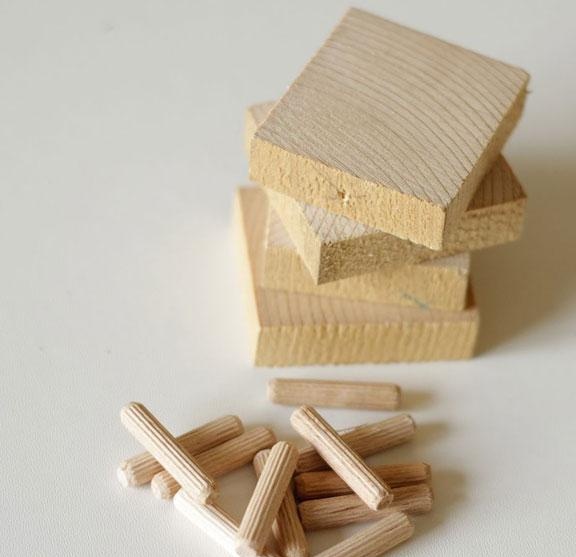
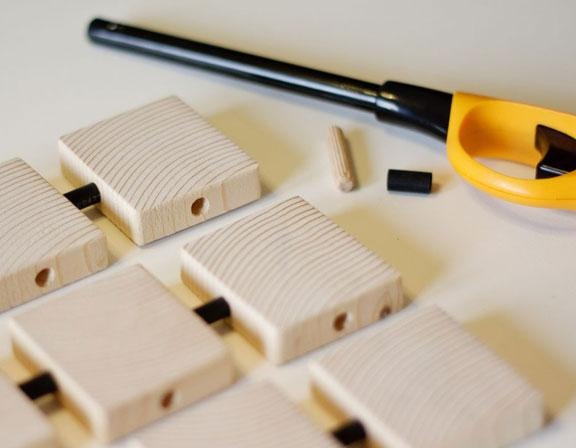
• Wooden connections, so-called chopiki.
All details have been found at home. the garage, so there were no delivery costs, only expenses on a pleasantly spent time.
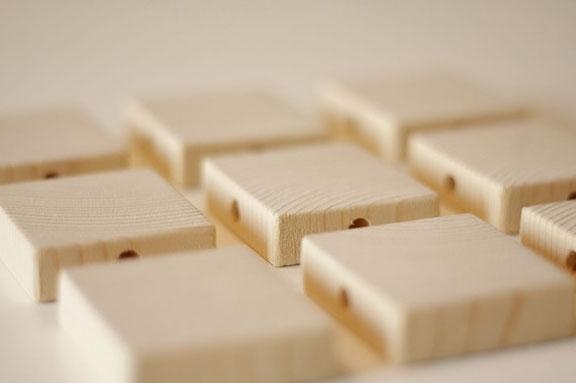
Let's start assembling the stand. To begin with, we need to cut the same parts of the bars from one whole, the thickness of the workpieces should be the same, this can be done by taking measurements from the first workpiece.
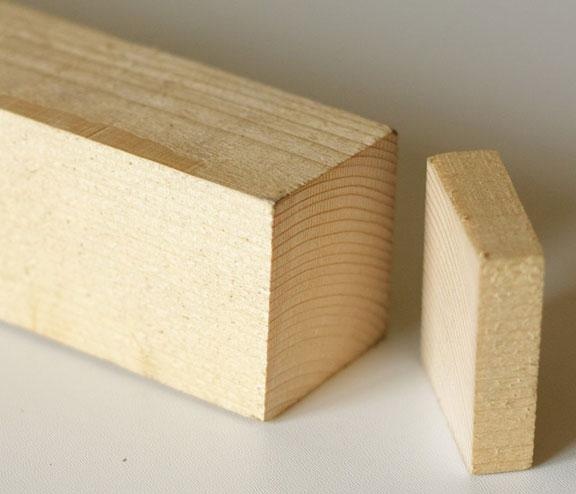
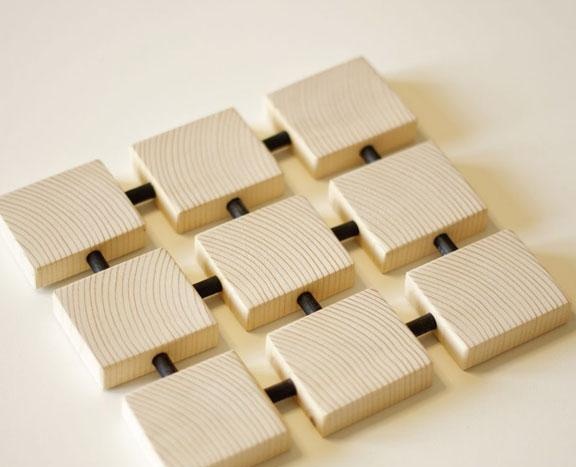
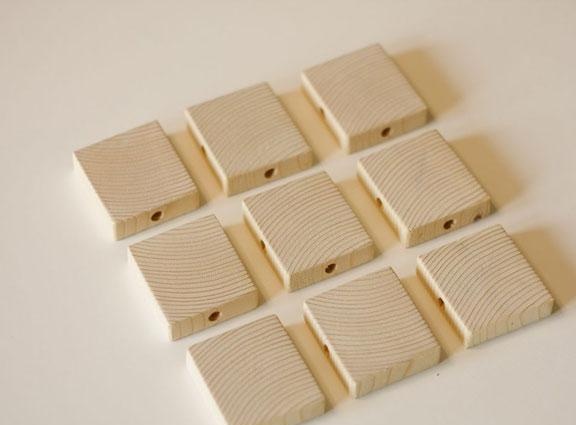
Having estimated the size of all the dishes available in the kitchen, the author of the homemade product stops at the size of the 3 by 3 coasters, therefore, 9 identical bars are needed.
The design of the stand is based on connecting these small squares with the help of choppers "dowels".
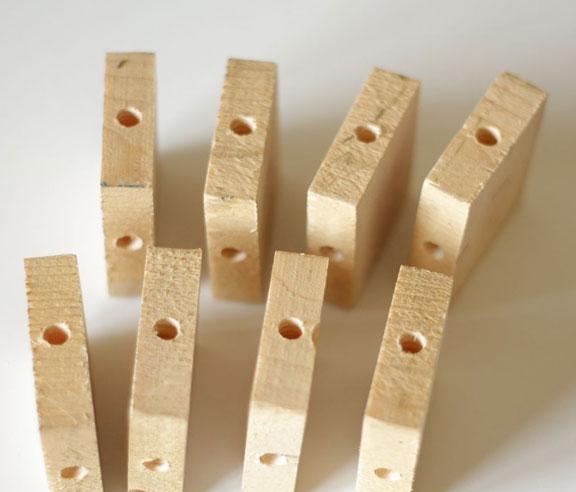
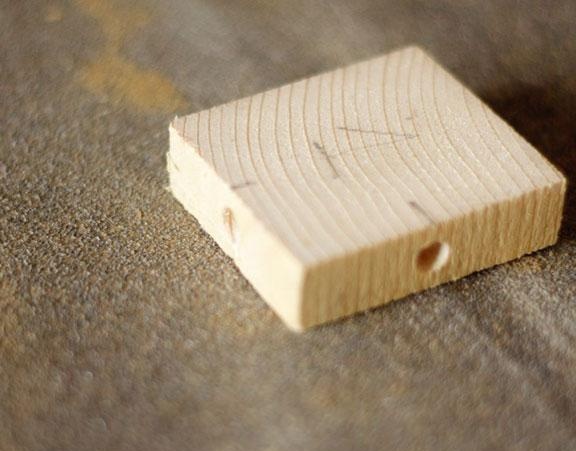
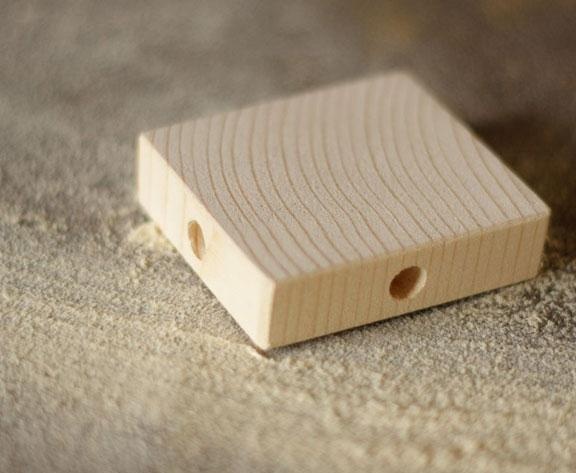
After all 9 parts are ready for further processing, they must be drilled so as not to make a mistake in the layout, we put all the components from the sawn timber, sign in order and mark a place for the hole on their upper ends.

Further, in these places it is necessary to make holes with a depth of strictly 1 cm, since the length of the chopper is 3 cm, taking into account that just 1 cm remains in the middle, the diameter of the drill must be selected taking into account the diameter of the choppers, but it is 1 mm thicker than our construction connectors .
The next step will be grinding the parts. Everything is done quite simply, first a large sandpaper comes into play, then smaller and smaller, until the surface of the bars becomes perfectly smooth.
To create a beautiful look and give charm to the stand, we use a heat shrink tube. To shrink was not superfluous, cut off 12 pieces of 1 cm, put on chopped and heated to tighten and tight fit the heat shrink tube.
All parts are ready for the next step, for the gluing process.
For gluing, the author uses ordinary wood glue, you can also use PVA, it is better to glue together three pieces together, so the designer from the bars is going to be better, more even, and most importantly no problems in the need of an assistant. Then we fasten all three parts consisting of three bars together. Let the glue dry.
After the glue has dried, you can use the stand for its intended purpose, for example, you can place a hot kettle just removed from the fire or a pan on this stand.
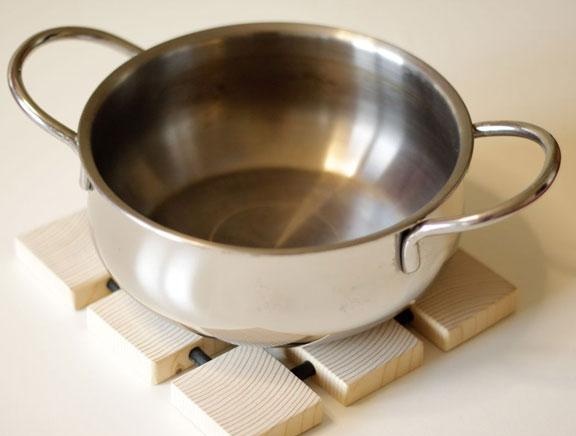
Such a small stand looks original and credible, and now you can not be afraid that your kettle will inadvertently burn a hole in a new oilcloth. All successful homemade and success in cooking.