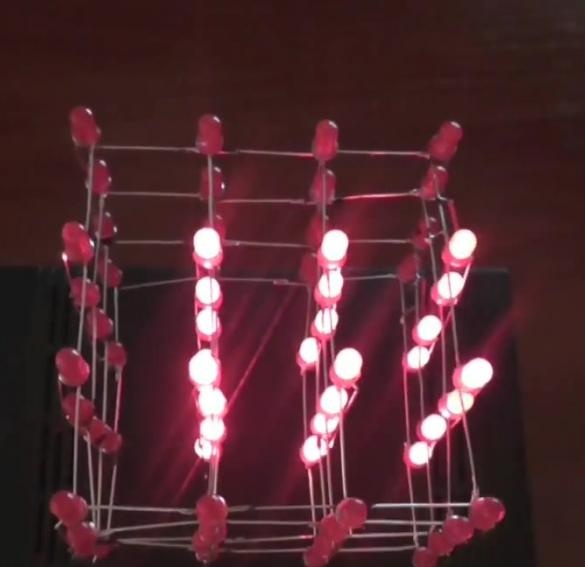
In this article, we will consider a method of manufacturing an LED cube of 64 LEDs.
Let's start, as always, by watching the author’s video
What do we need:
- 64 LEDs;
- board;
- resistors 608 Ohms;
- switch;
- fee Arduino;
- any suitable housing.
The author of the idea had LEDs in a transparent case. To give them a more spectacular look, he decided to paint them red using a regular nail polish. You can skip this step.
On the board you need to make 16 holes with a drill 5 mm in diameter. The distance between the two holes should be equal to 27 mm.
First of all, we take the LEDs and insert them into the holes.
Positive contacts, that is, those legs that are longer, are soldered together, and we leave the negative contacts directly. As a result, we should get a square with 16 legs from the negative contacts. In total, we need 4 such squares.
Now from the obtained squares you need to build a cube by soldering these squares one by one on top of the other.
Next, you need to program the Arduino board. Programming code will be given at the end of the article.
Now you need to solder the contacts on the board to the contacts on the cube through the resistors according to the circuit that is presented below.
We hide 4 resistors in heat shrink.
We also solder the button, the connector for the crown battery and the cathedrals electronic part in the housing.
Thus, you can get a simple LED backlight from LEDs. And if you supplement this with knowledge of the programming of the Arduino board, then you can get good effects, thus delighting friends and relatives.
The programming code for the Arduino board can be found at:

