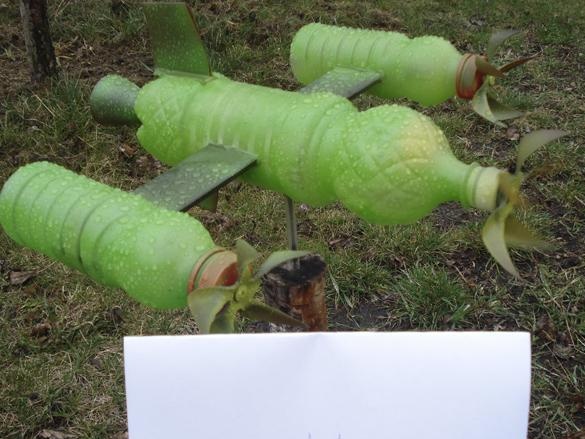
In the spring I want to be more in the fresh air, to work in the yard, in the country, to restore order and decorate the territory. Previously, one of the sights of each rural farmstead was considered to be its own weather vane, the kids made them from wood with a single penknife. Now the presence of various materials and tools allows you to do something special, unusual. So from ordinary plastic bottles you can make a weather vane, which will delight kids.
Video instruction:
Item 1. Preparation.
To make a weather vane, we need such materials and tools:
• Plastic bottles of 1.5 liters. 4 things. and 0.5 liters. 2 pcs.
• Small grinder and cutting disc, disc thickness 1-1.2 mm.
• Gun with thermal glue.
• Scissors, knife, helium pen, steel knitting needle, screwdriver, screws with a wide hat 3 pcs.
Item 2. Production of propellers.
If you have this *device* for cutting plastic bottles into a rope, then you have already accumulated quite a lot of unnecessary bottoms from which we will now make turntables (propellers) for our wind turbine. If there are no ready-made bottoms, then from the whole 1.5-2.5 liter bottles we cut off these very bases with a knife or scissors, we will need three pieces.
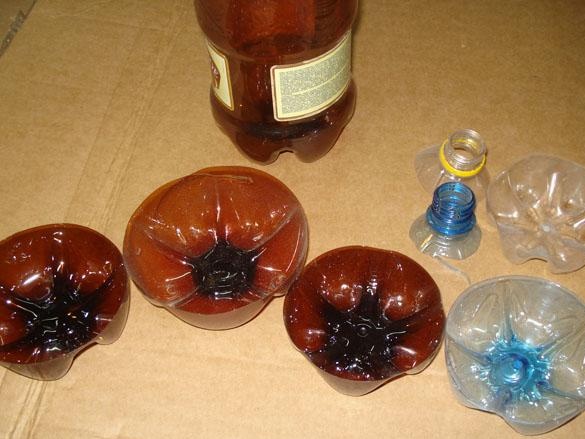
If you have the opportunity to choose bottles with good colors, then in the future they will not have to be additionally painted with paint and over time they will not break.
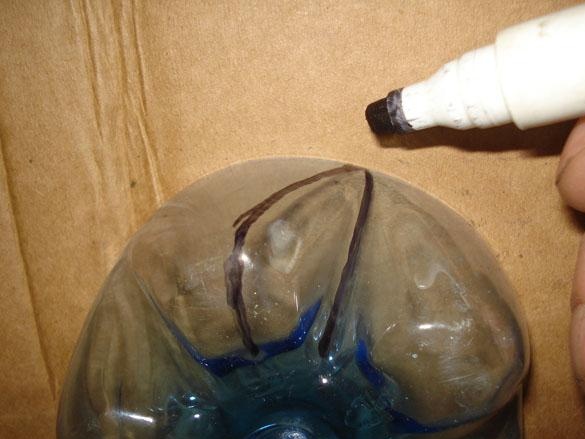
On the cut-off bottoms, draw a cut line with a marker, as in the photo.
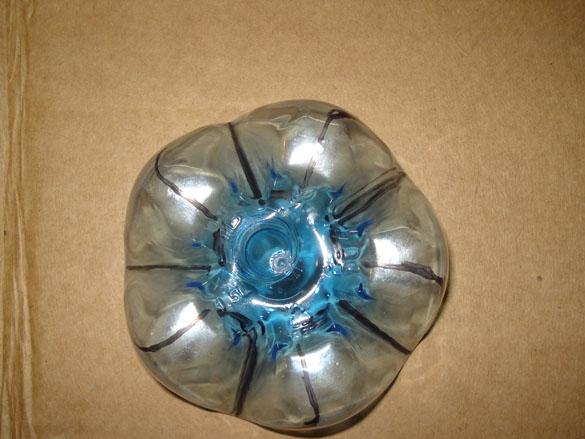
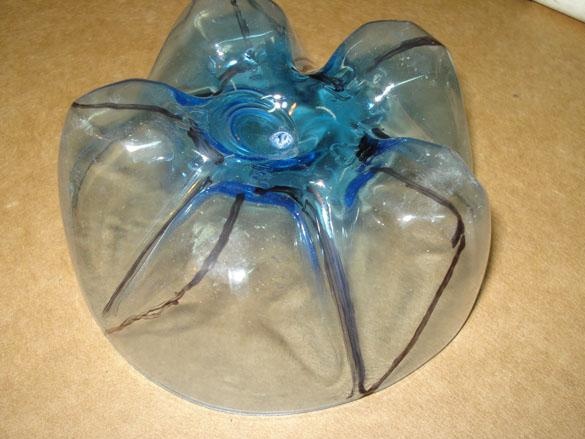
On the lines, using a sharp knife and scissors, cut the propellers. But the most convenient and fast way to do it is with a grinder with a thin cutting disc, because the plastic bottom is very thick and cut it with a knife is quite difficult. You can also cut it with a manual jigsaw, but it is now very rare.
Depending on the drawing, with the choice of the desired side of the bevel of the bottom, when cutting the propeller, you can get the specified direction of rotation of the turntable.
Cut along the line with scissors.
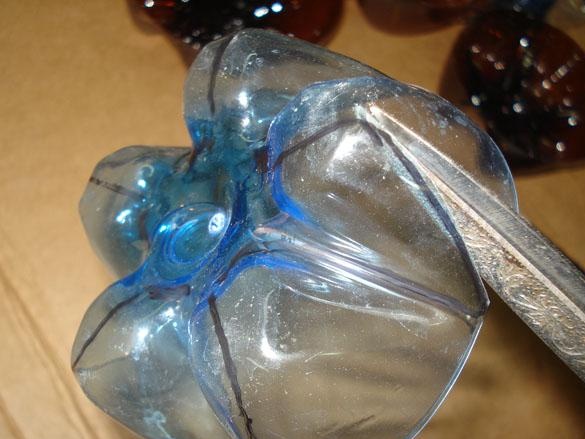
Or a knife.
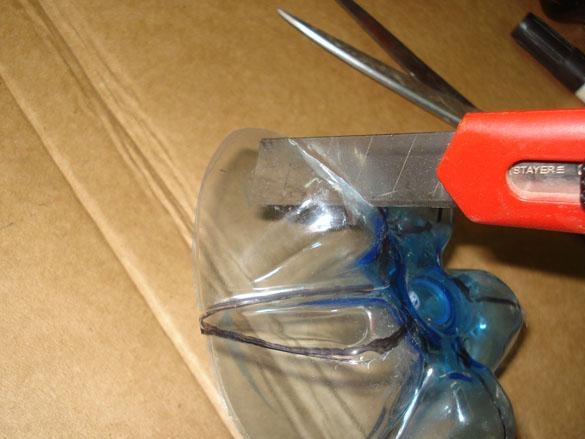
But it is faster and easier to work with a grinder.
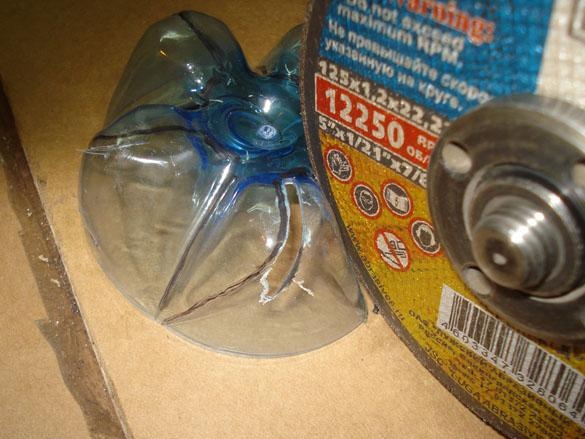
After it, of course, there remain very large flows - chips, which must be further removed.
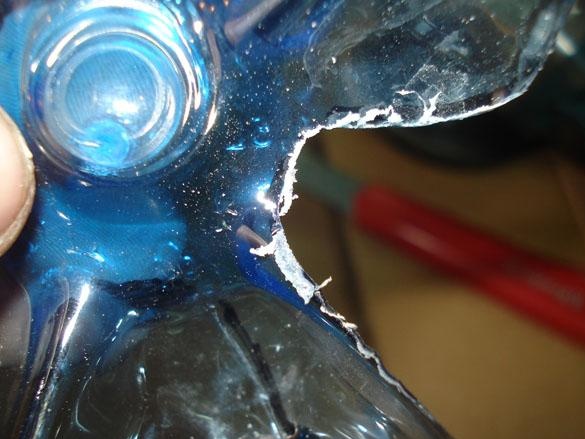
This can be done with a knife or as in the video, walking along the entire contour with scissors.
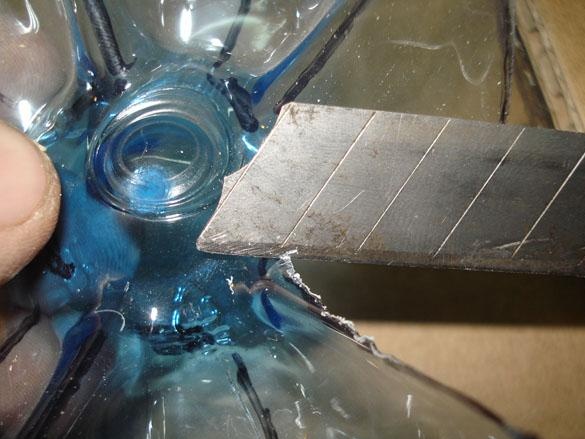
Unnecessary petals are easily unscrewed with pliers.
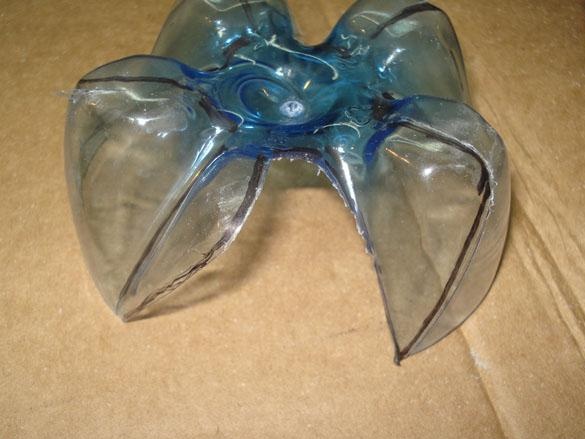

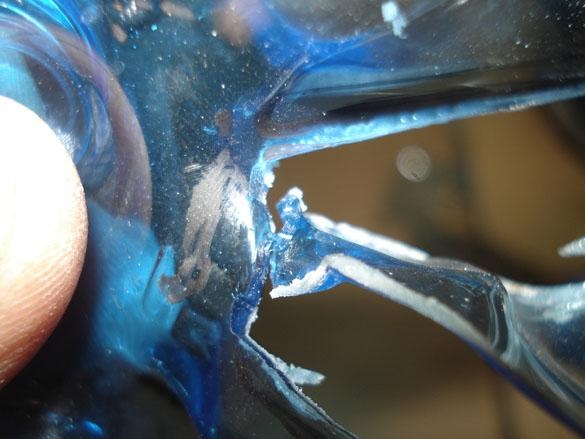
These are the turntables.
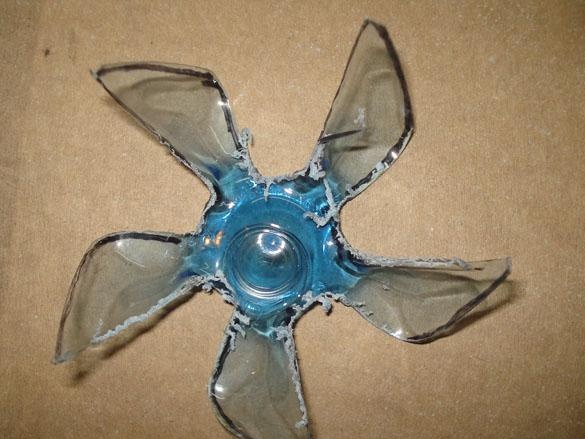
And after removing the chips.
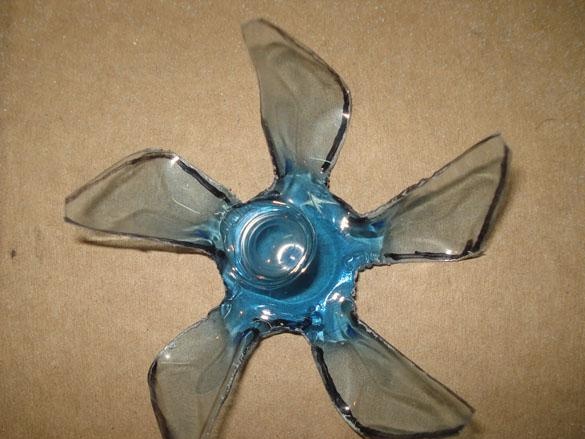
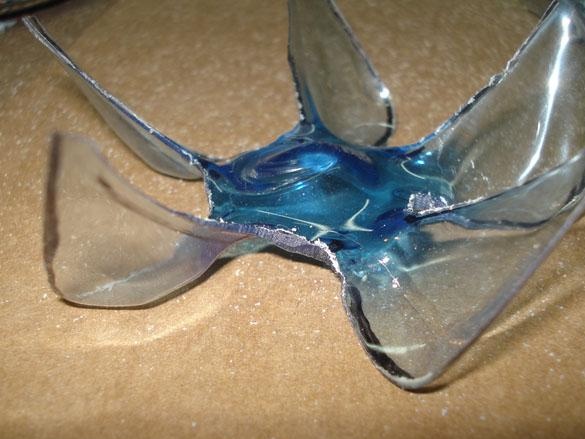
Bottle bottoms come in many forms, but the principle remains the same.
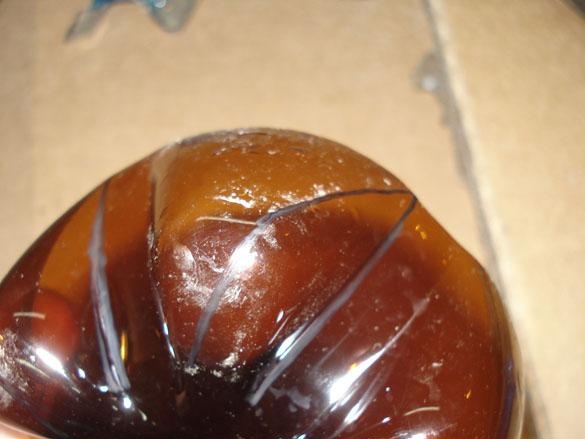
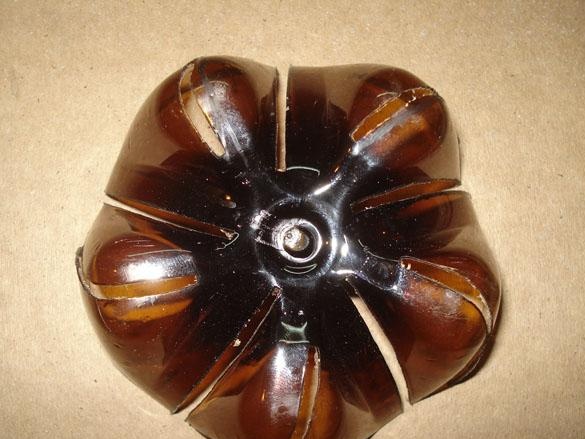
First, direct gash grinder.
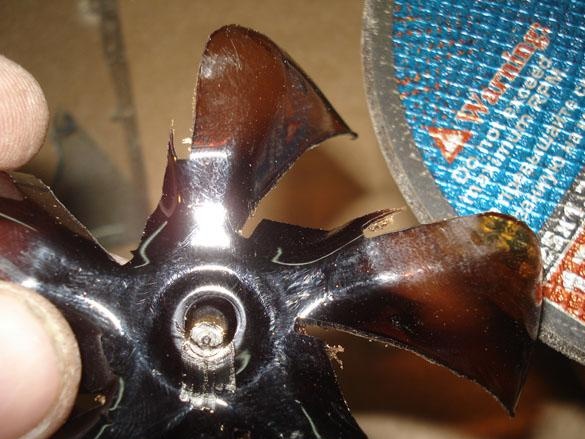
Then he scythed it down, sawing off the excess and cleaning up irregularities.
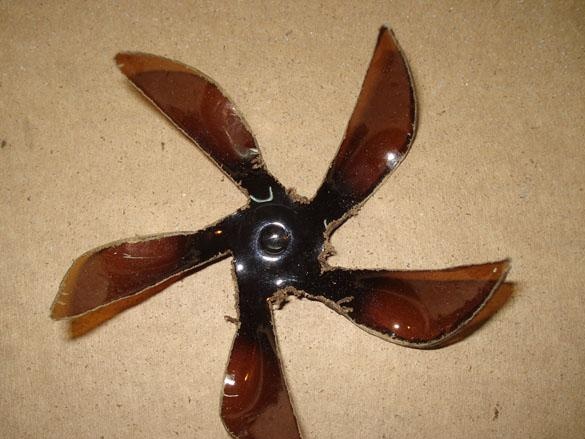
We shape the screw and remove the chips.
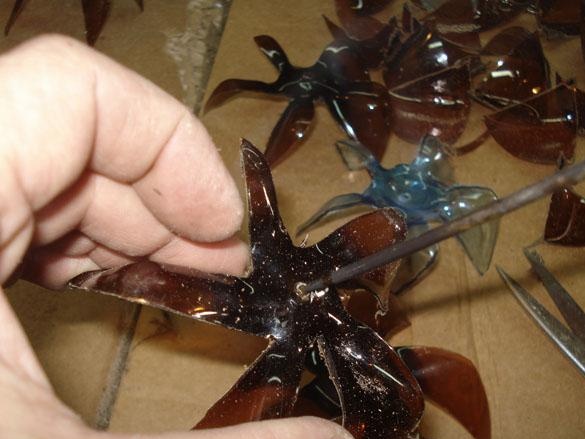
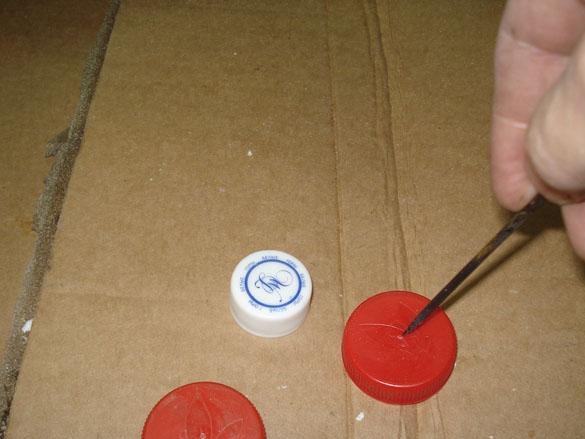
When all the turntables are ready, it is necessary to make holes in the center of the axis of rotation. Since the drill “runs” and slides over the plastic, it is better to first burn the preliminary holes with an awl. We heat the tip of the awl in the burner flame and burn the holes.
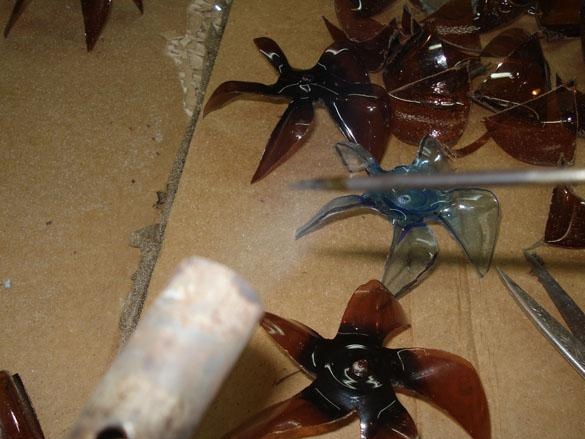
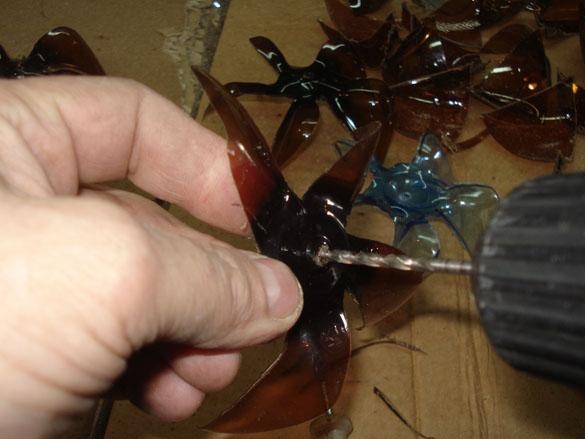
Then you can easily drill a hole with the desired drill, for example D = 4 mm. for self-tapping screw D = 3 mm.
Item 3. Production of the aircraft body.
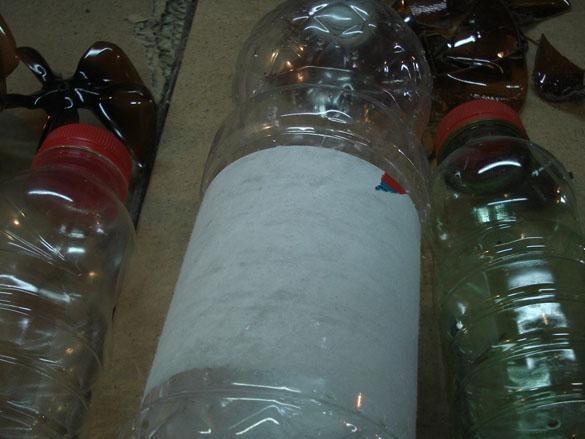
Now from 1,5l. and 0.5l. Bottles make the body of the aircraft.
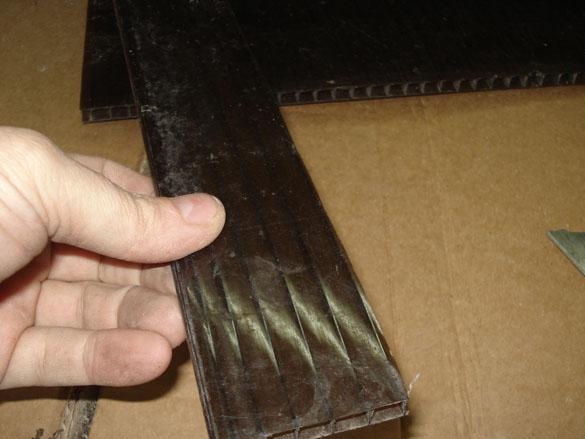
And from a piece of polycarbonate, make a wing. To do this, cut off a strip with a knife 40 mm wide. and a length of 35-40 cm.
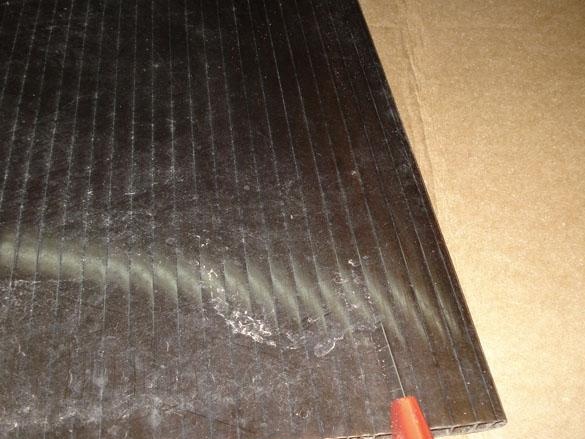
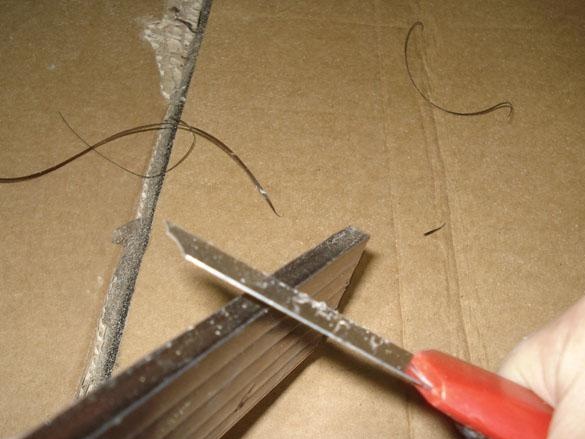
Remove sharp edges with a knife.
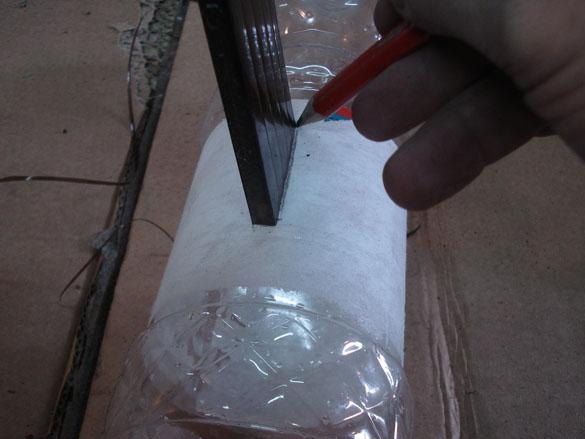
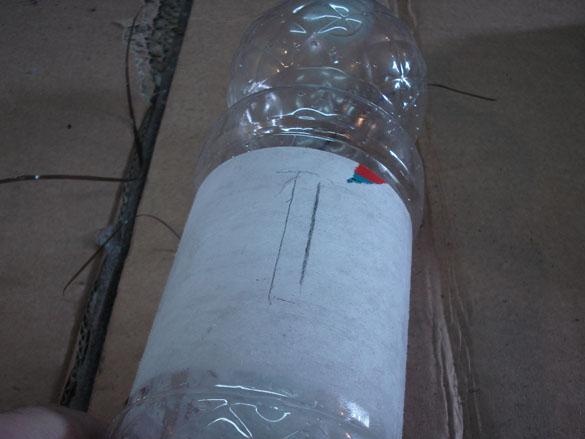
In the case of a large bottle, we outline two longitudinal holes for attaching the wing.
Cut the bottle with a knife on both sides.
We try on how the wing goes, if necessary, we cut off the excess.
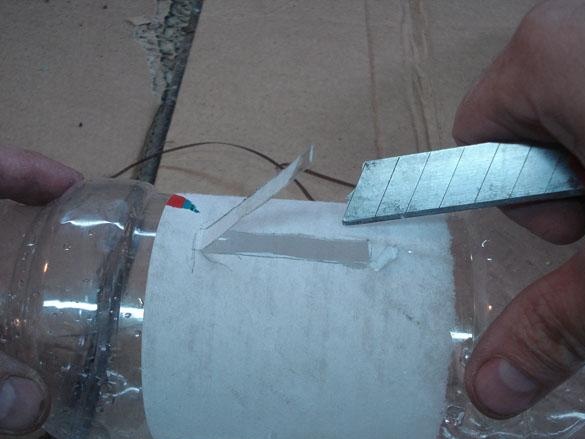

On small bottles, the slot is made only on one side.
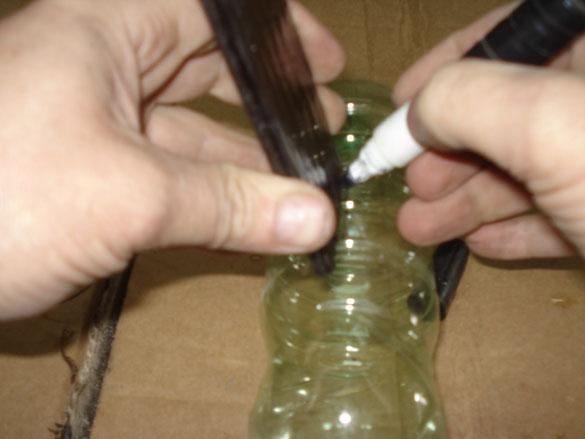
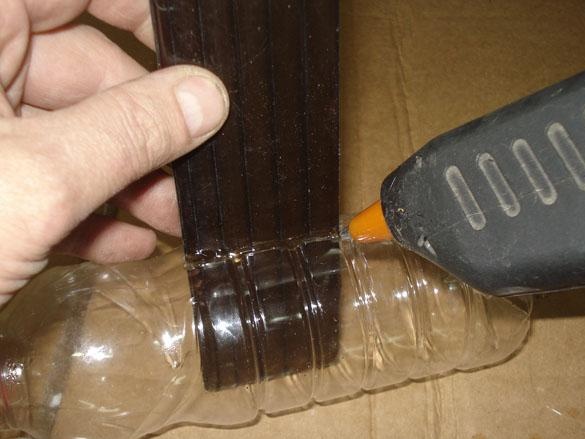
We assemble the plane and glue from the gun hermetically glue everything so that rain water does not penetrate inside.
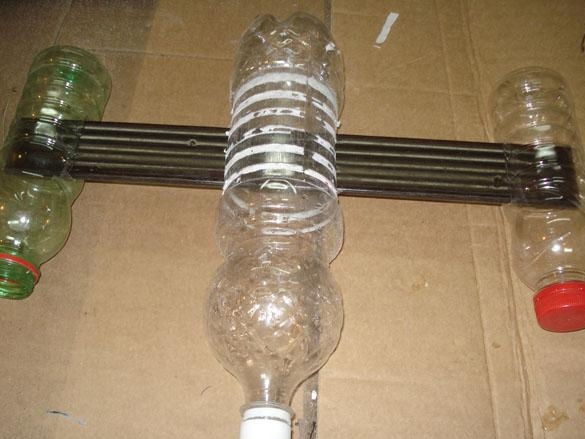
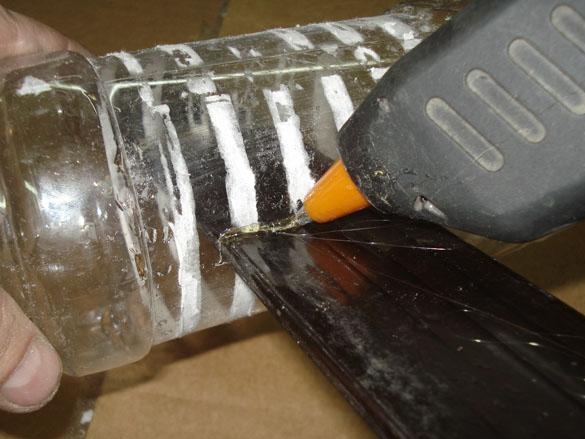
The design should be rigid.
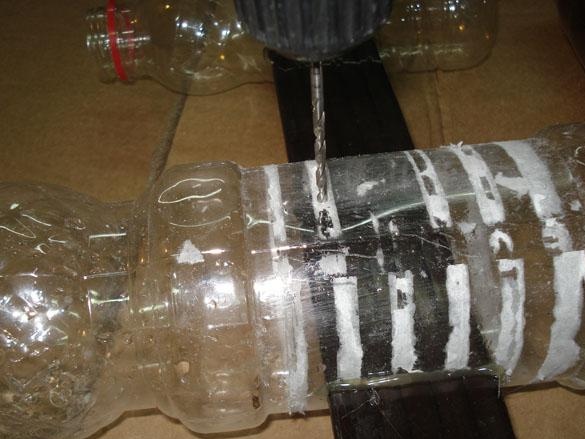
We find the equilibrium point and drill a hole for the hairpin, on which the weather vane will turn in the wind.
First we drill with a thin then a thick drill.
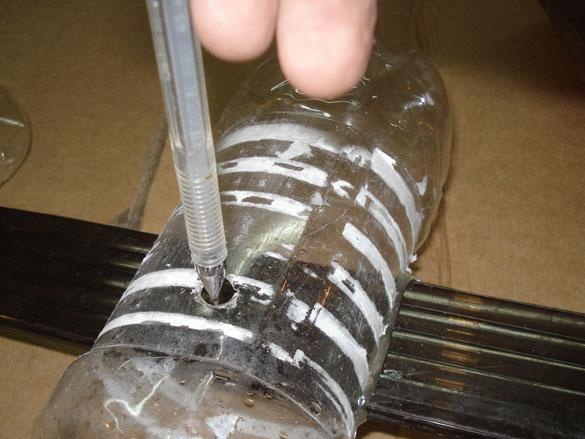
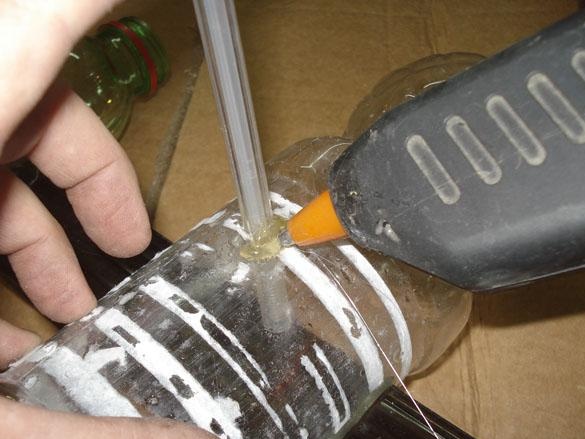
For the axis we use an old helium pen or similar in shape.
We insert it all the way and fix it firmly with thermo glue.
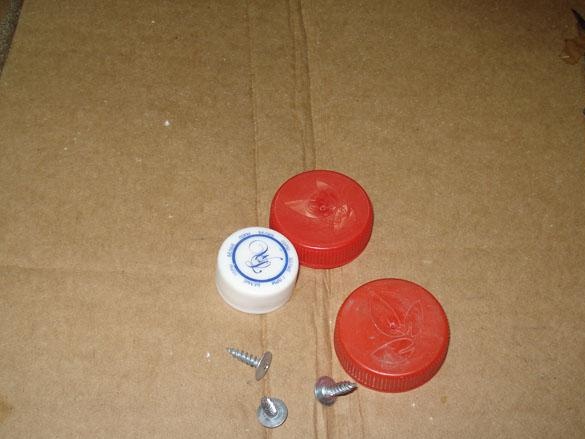
In the center of the covers, pierce the holes with an awl, for screwing in the screws.
Need screws of this type, with a wide, flat hat.
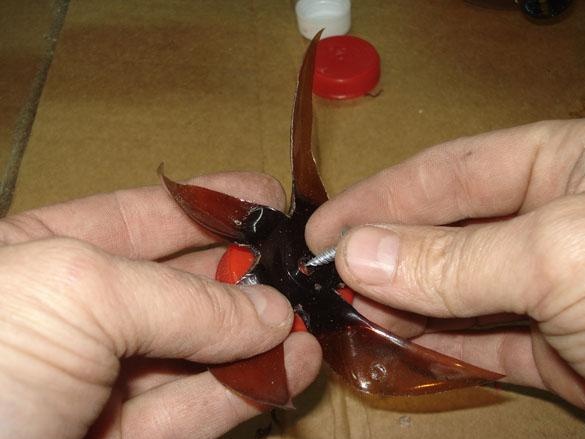
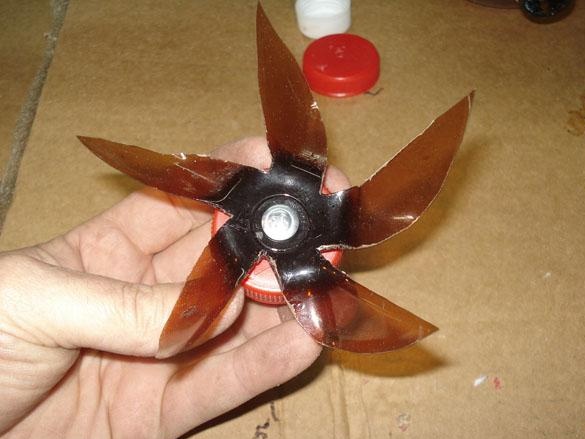
We fasten the turntables to the covers, do not tighten, check that they easily rotate from a light blast.
From the flat part of the bottle, we cut out two rectangles for the tail of the aircraft, it will rotate the aircraft in the wind.
Glue both tails, top and bottom, on the back of the fuselage.
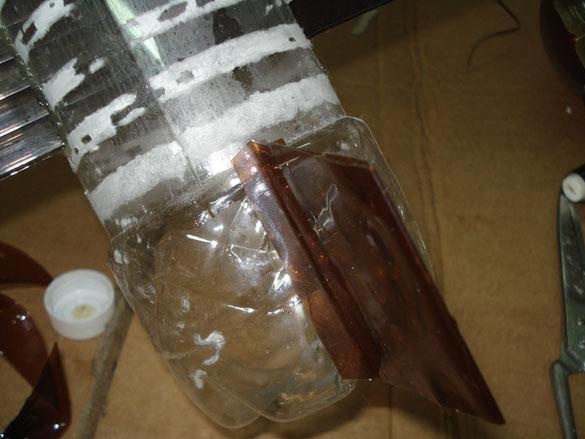
If the bottom of the propeller has an irregular shape for rotation, put on a piece of the tube.
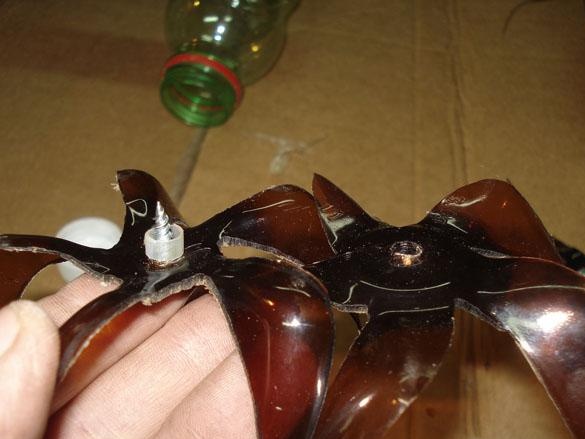
We check how everything rotates and screw the caps with propellers onto the bottles.
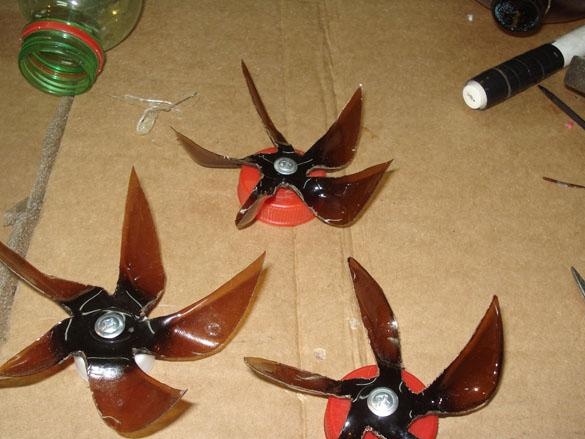
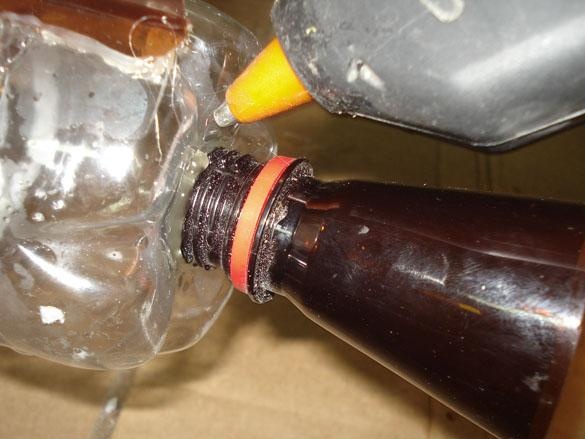
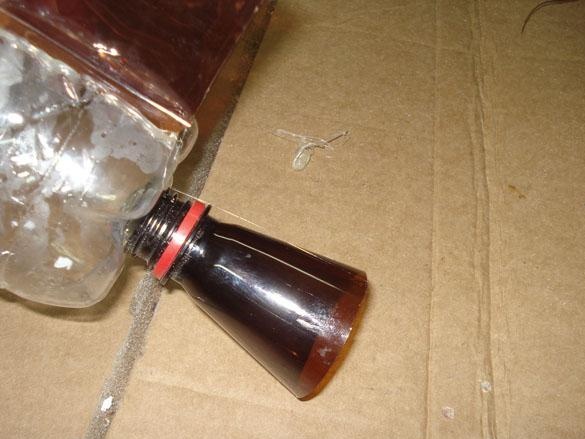
We make an exhaust pipe out of the neck of the bottle and glue it on the back onto the glue.
The weather vane is almost ready, we take it out to the street and check how everything works before painting, if everything turns and rotates well, then you can start painting.
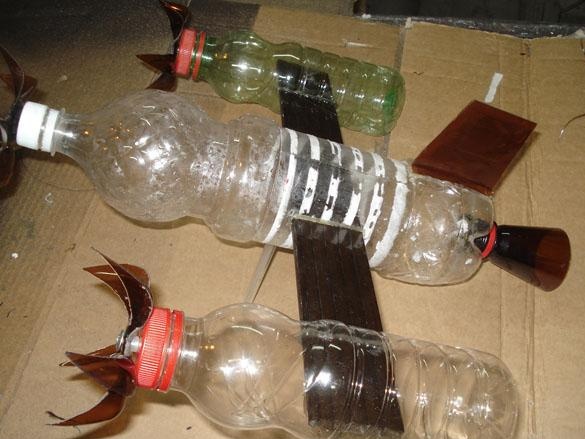
If there are problems, you need to fix them, you may need to add an additional load for balance, this can be done by screwing the screws on the right side into the bottle body.
Item 4. Painting.
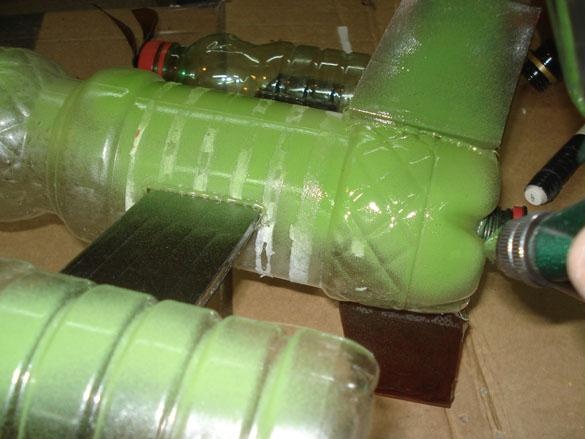
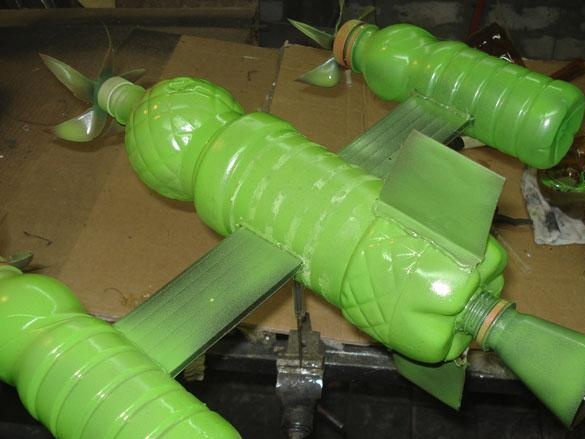
We paint the case with weather-resistant enamel, you can decorate it to your taste.
Item 5. Installation.
Install the weather vane in a well-blown place.
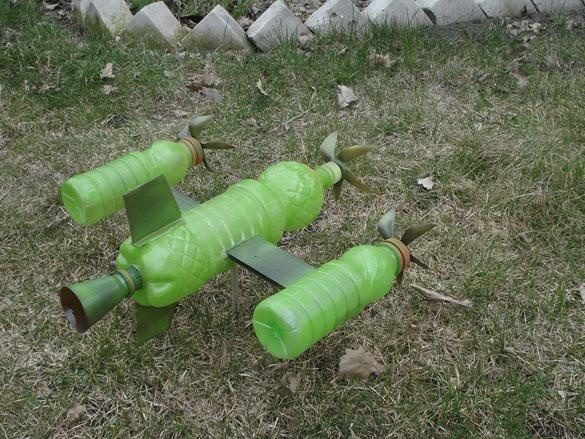
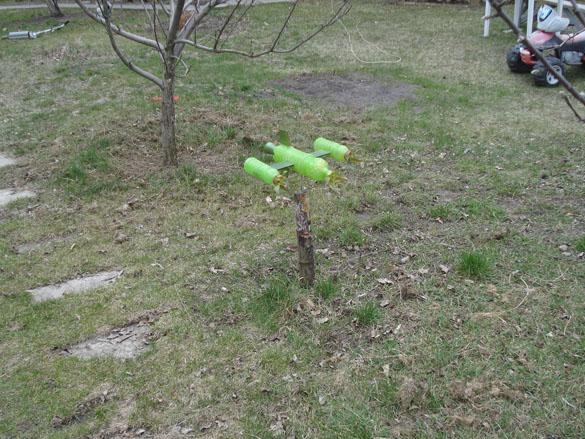
For the axis on which the weather vane is worn itself, a steel knitting needle or a wheel spoke of a bicycle is very suitable, it can be hammered a little into the stalk, and stuck it in the ground on a flower bed or fixed on a higher structure, a roof. The spoke should freely enter the handle shaft for the entire length and rotate in a guillemot (paste).
This is the weather vane.

