We continue the theme of improvised weapons. This time we present to your attention a review of a video on the manufacture of a powerful speargun.
Start, as always, by watching the author’s video
So we need:
- wooden block;
- a piece of polypropylene pipe;
- martens bandage;
- three middle nails;
- a thread;
- glue gun;
- nut;
- vise;
- sandpaper;
- a hacksaw for metal;
- file;
- electrical tape.
Martens bandage can be purchased at any pharmacy. The people also call it a medical tourniquet, but this name is incorrect. Let's get started.
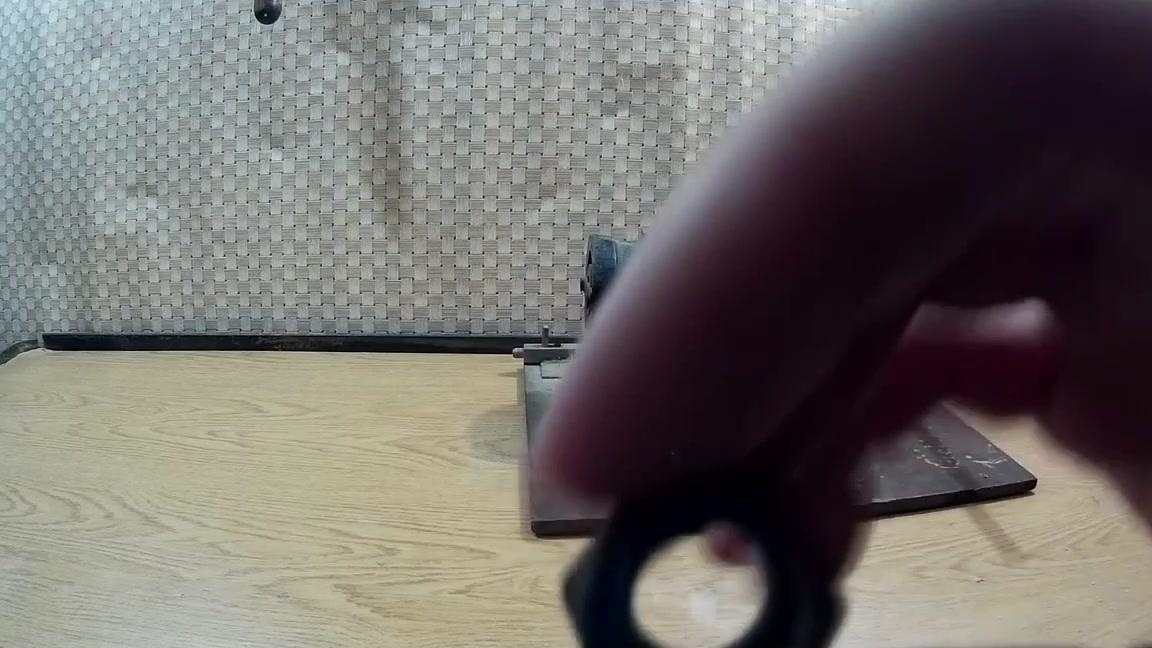
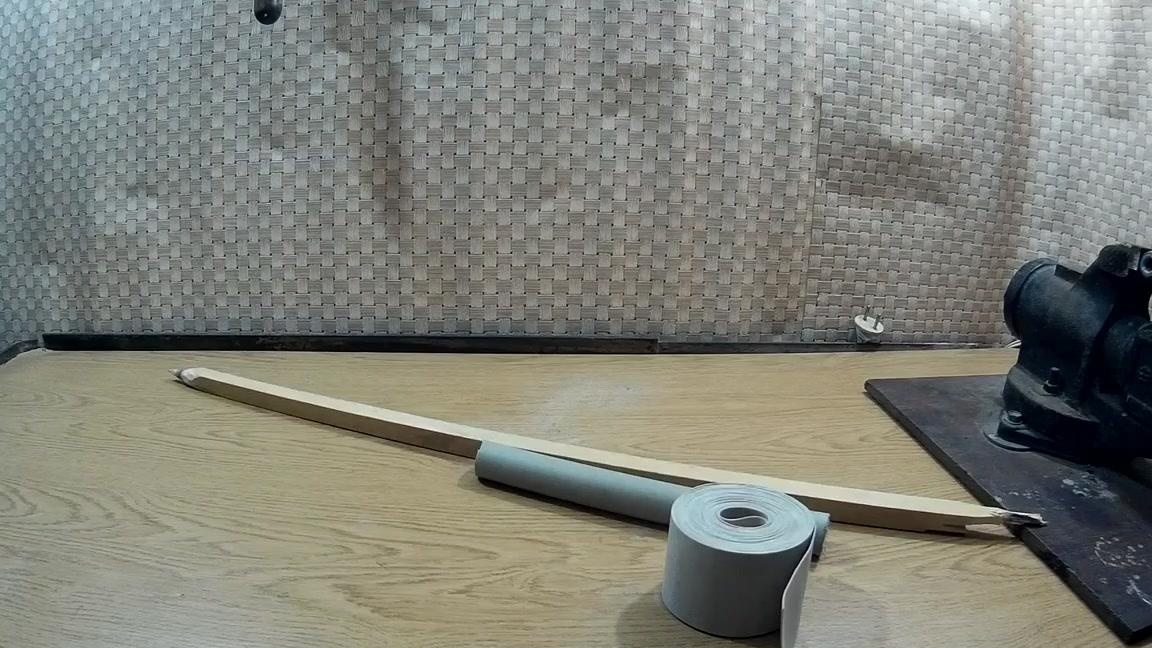
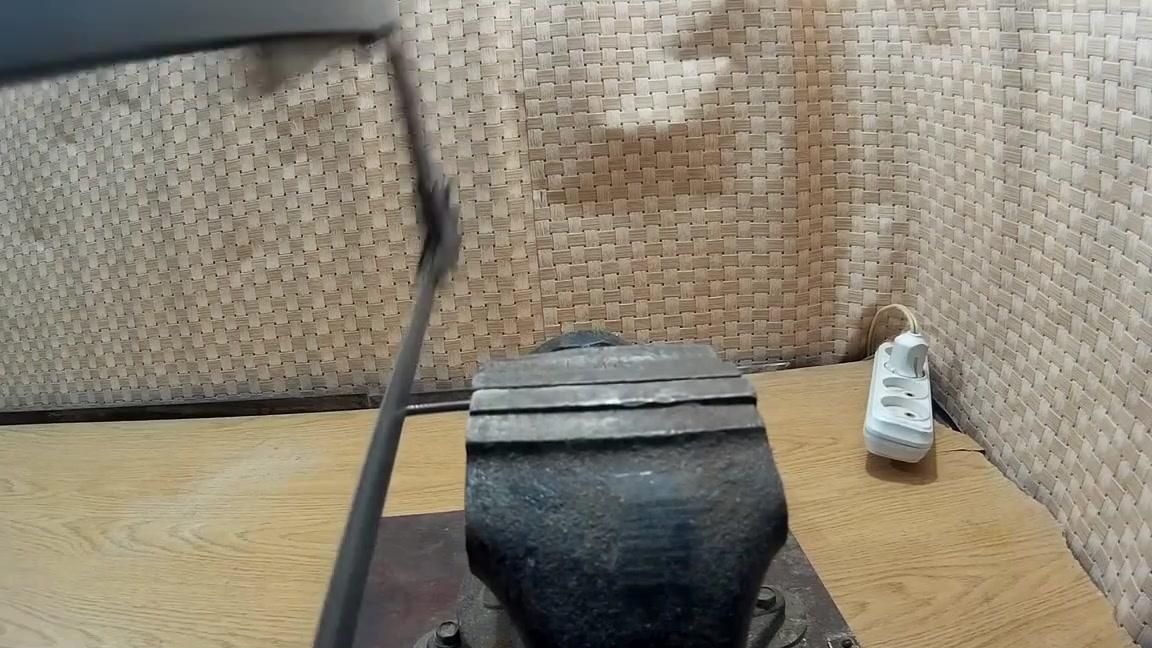
First you need to make the harpoon itself. To do this, take a nut and put it in a vise. According to the author of the idea, it is advisable to take a larger nut, since the harpoon will be thicker and more durable, but you should not overdo it so that the harpoon does not turn out too thick.
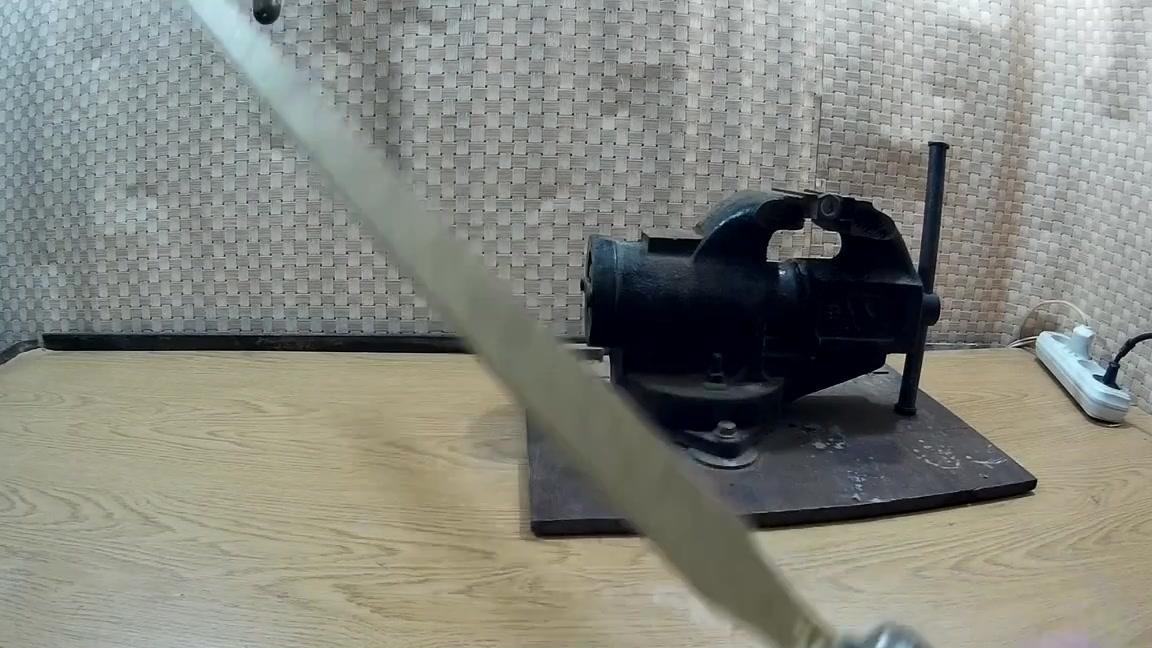
When the nut is clamped in a vise, insert the block into the drill.
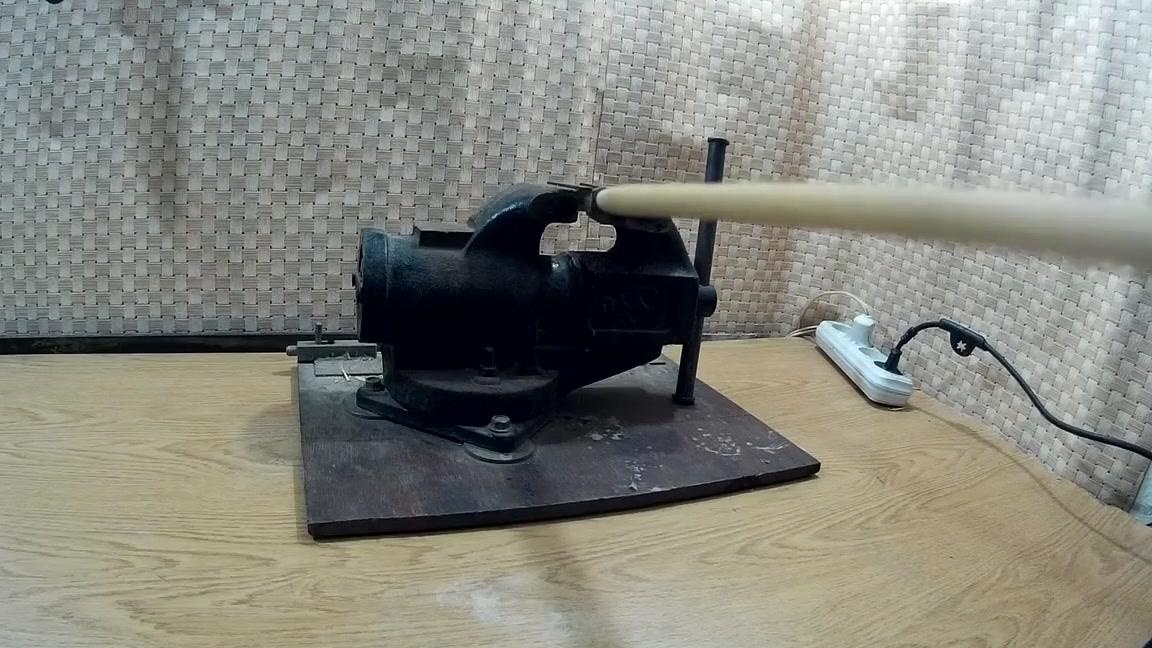
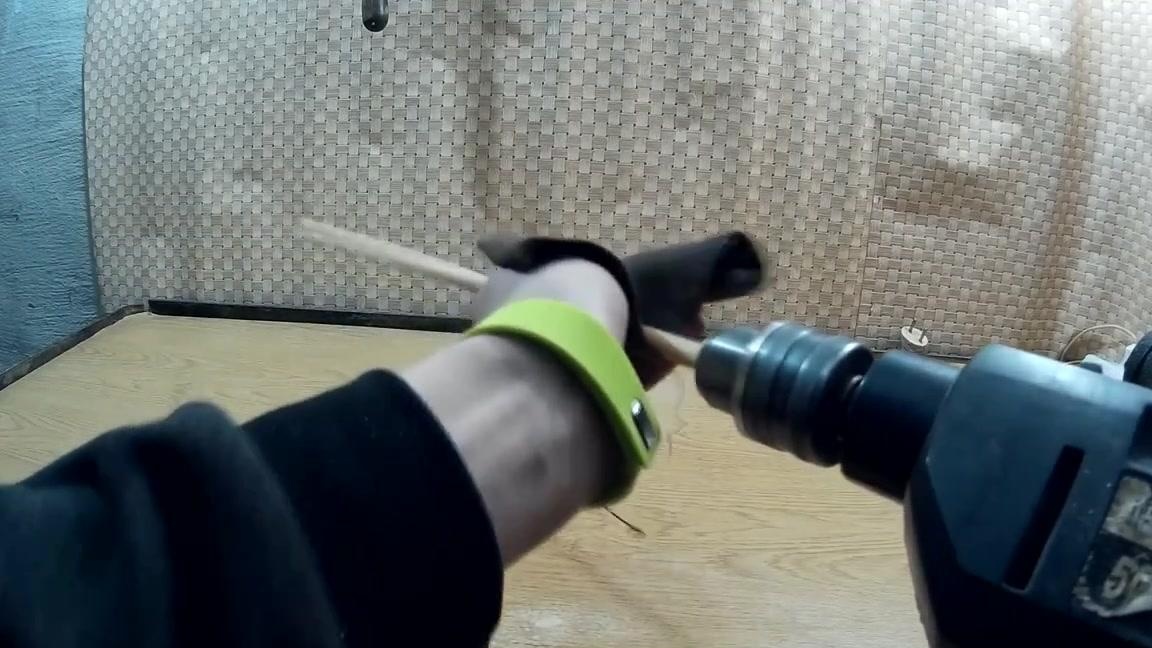
We begin to scroll the block through the nut at medium speed, giving it a round shape.
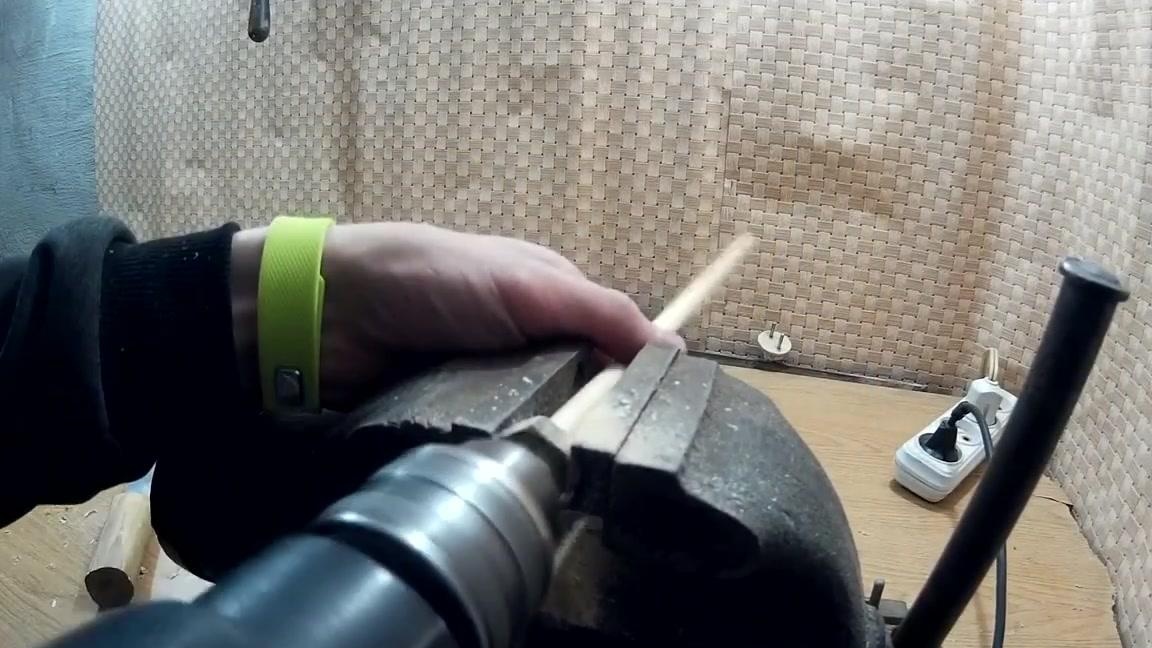
In the same way, we process the resulting base for the harpoon with sandpaper.
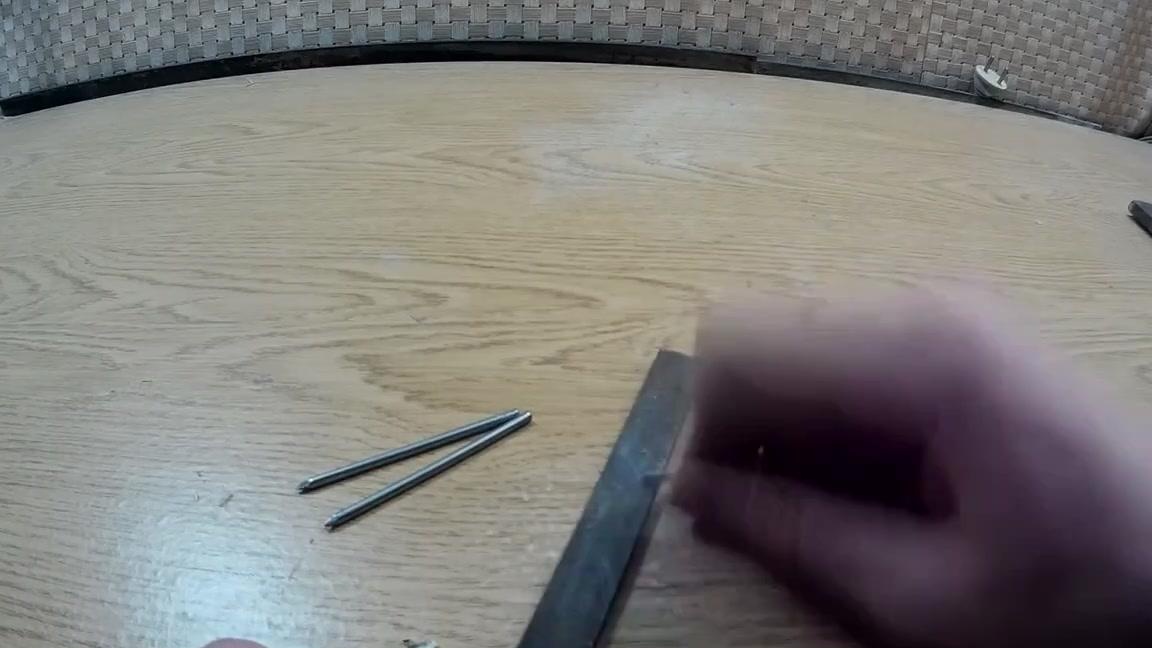
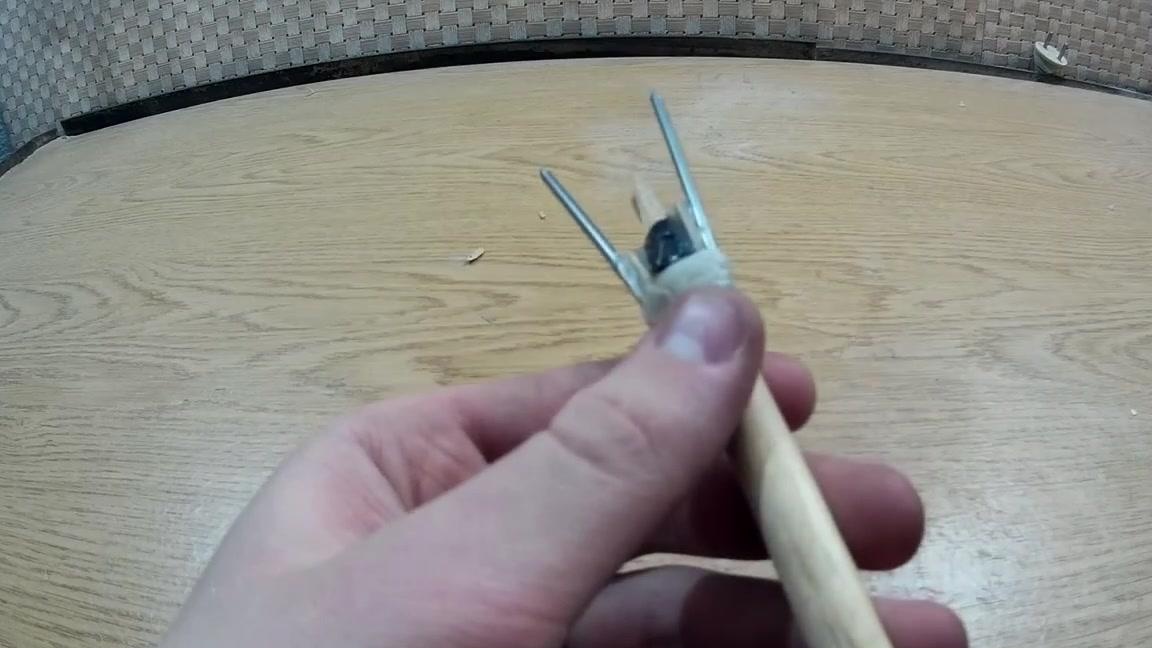
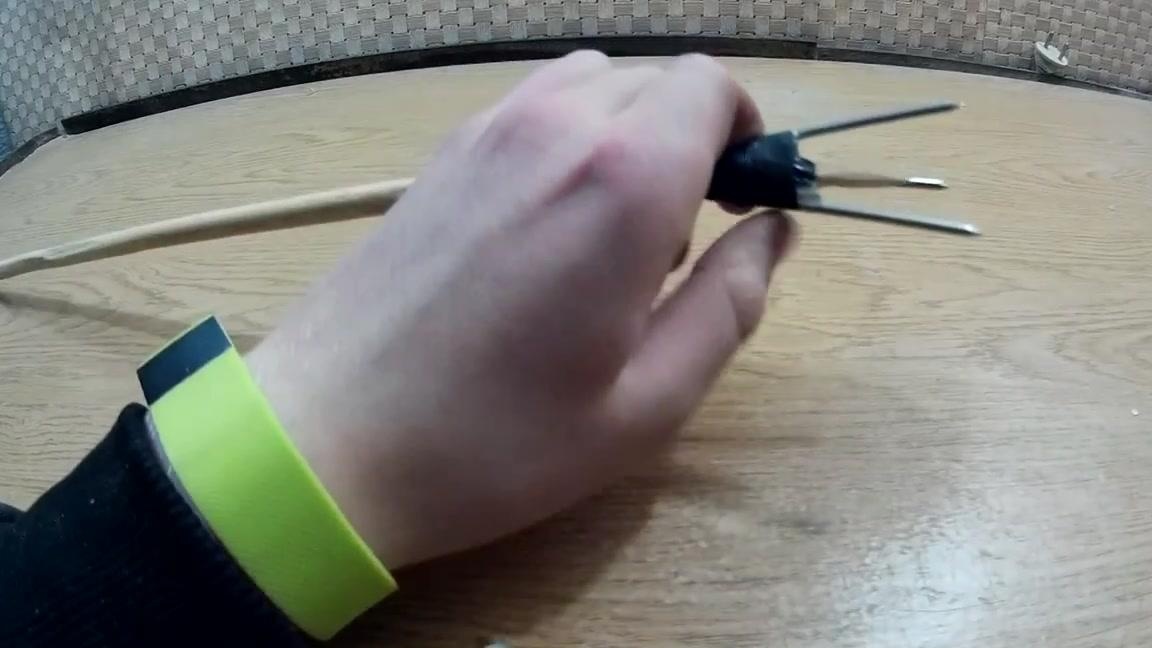
Then we take three nails and cut off the caps from each with a hacksaw for metal.
Now we take a file and hone that part of the nails where the hats were sawed from. Then we sharpen the sharp parts of the nails with the same file so that they are sharper.
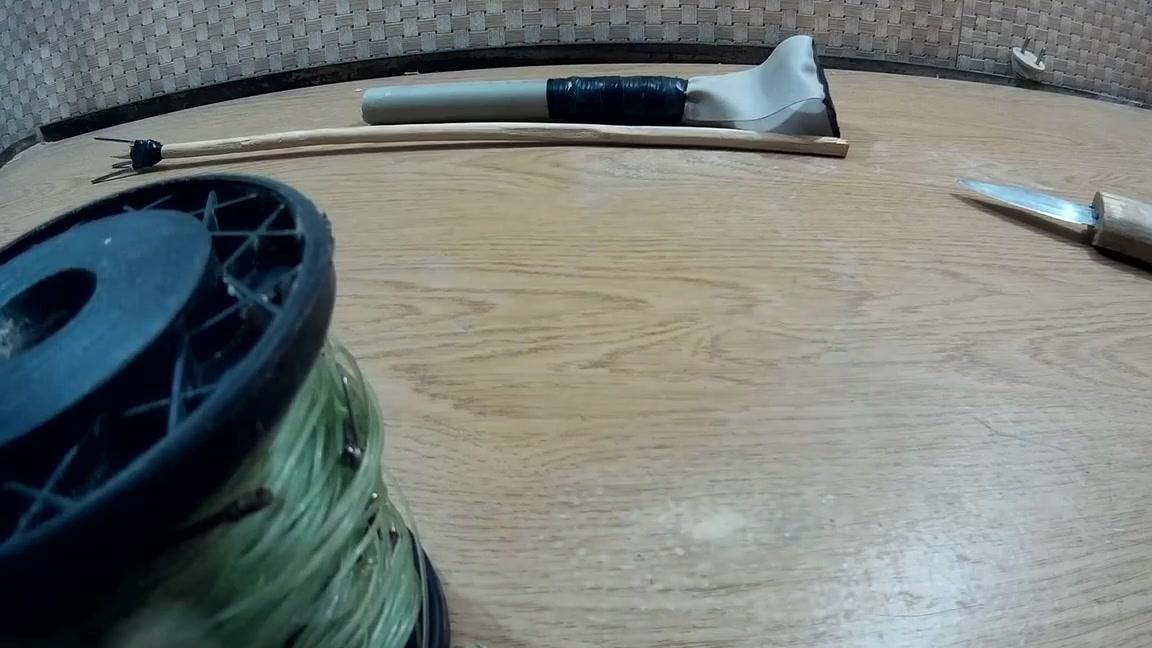
Next, we take the electrical tape and wrap it on the extreme part of the harpoon.
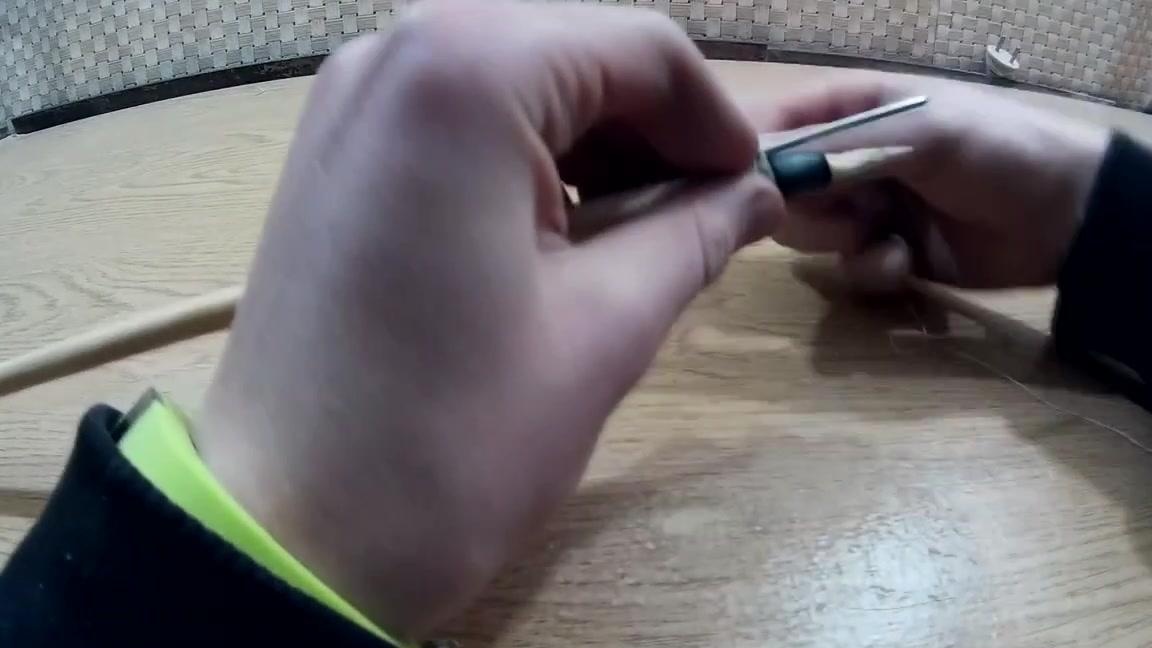
We attach one of the nails to the base of the harpoon with thread. It should be noted here that the author homemade recommends using fishing thread, as it is stronger than regular threads.
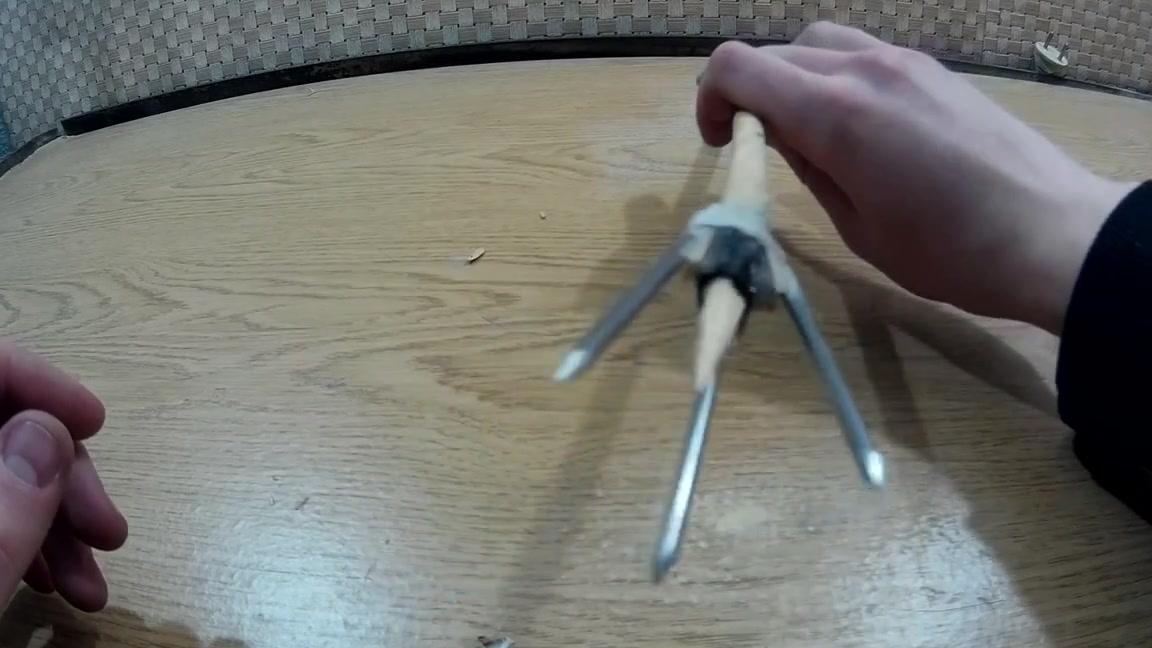
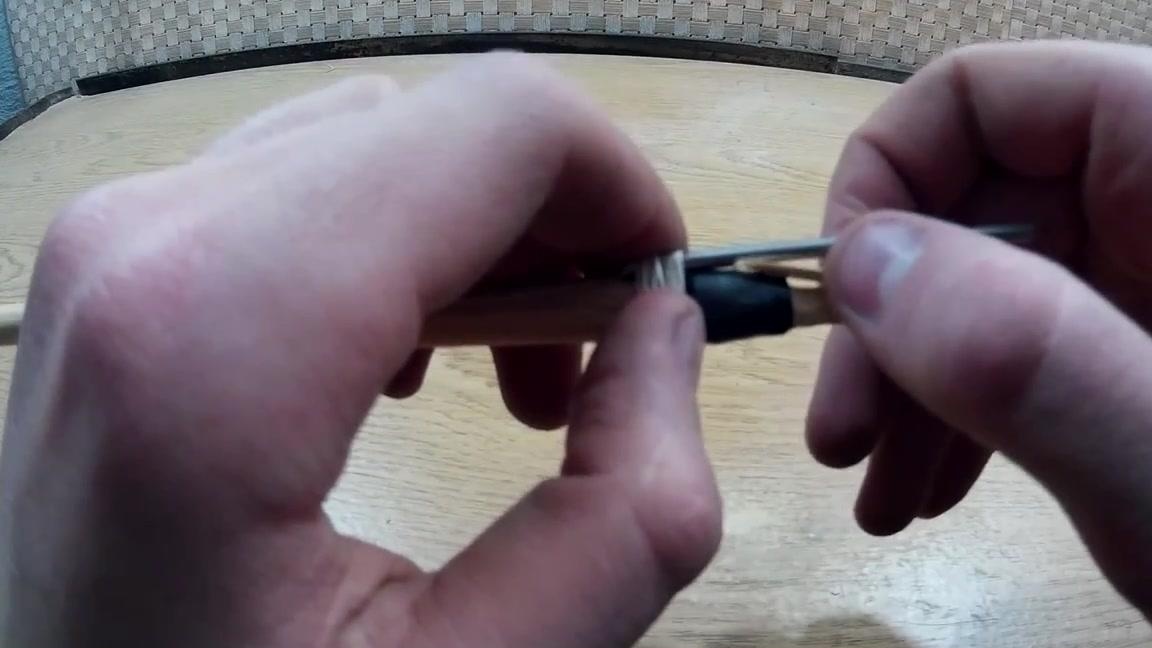
After we have wound one nail with a thread, we insert a piece of wood between the nail and the base, so that the nail is at a slight angle.
We fix the nail with a small amount of glue from the glue gun so that it is reliable. Similarly, we attach the remaining two nails to the structure.
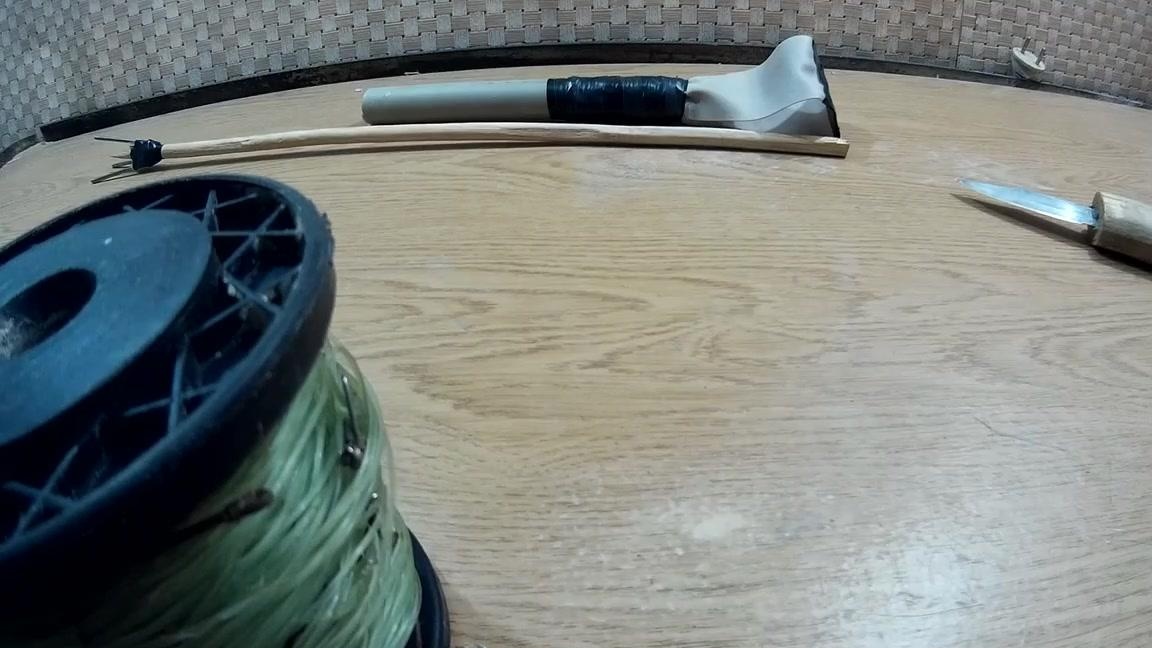
In order to better fix the structure, it is possible to wind another tape over the nails. Harpoon is ready. We proceed to the manufacture of the main part for its launch.
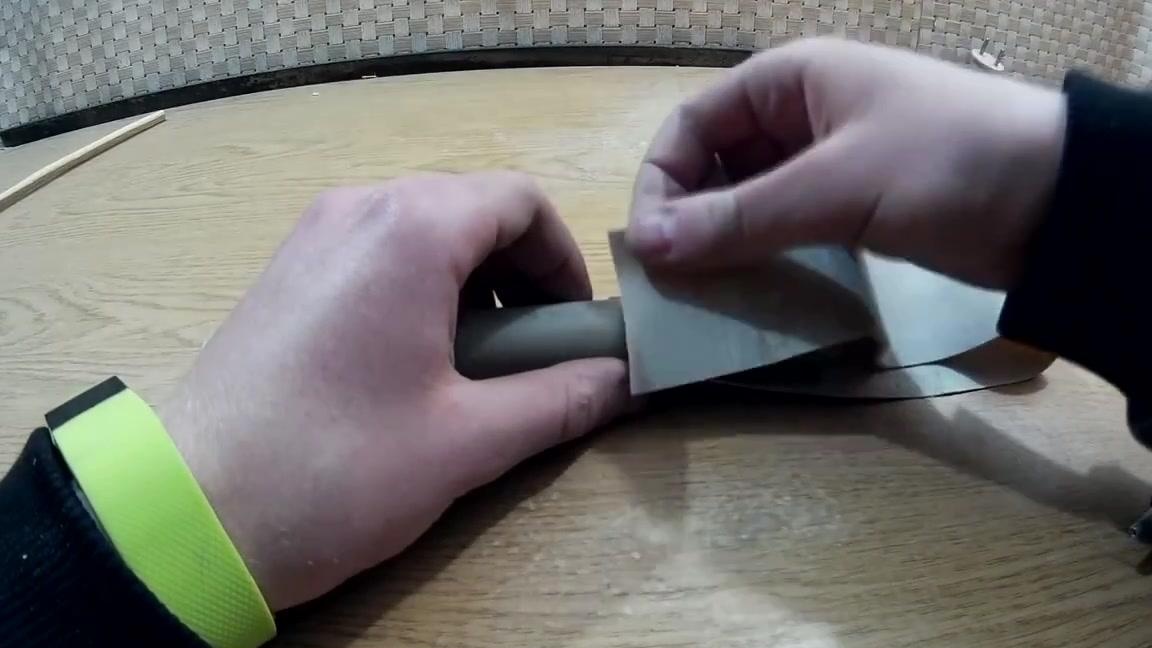
Take a martens bandage and cut off a small piece.
The resulting piece must be attached to the polypropylene pipe from two sides. To do this, pour glue from a glue gun on one side of the pipe and attach a piece of martens bandage. We do the same on the other hand.

We carefully clamp and wrap one layer of electrical tape.
Then we wind the thread and on top another layer of electrical tape. Thus, the installation for launching the harpoon is almost ready.
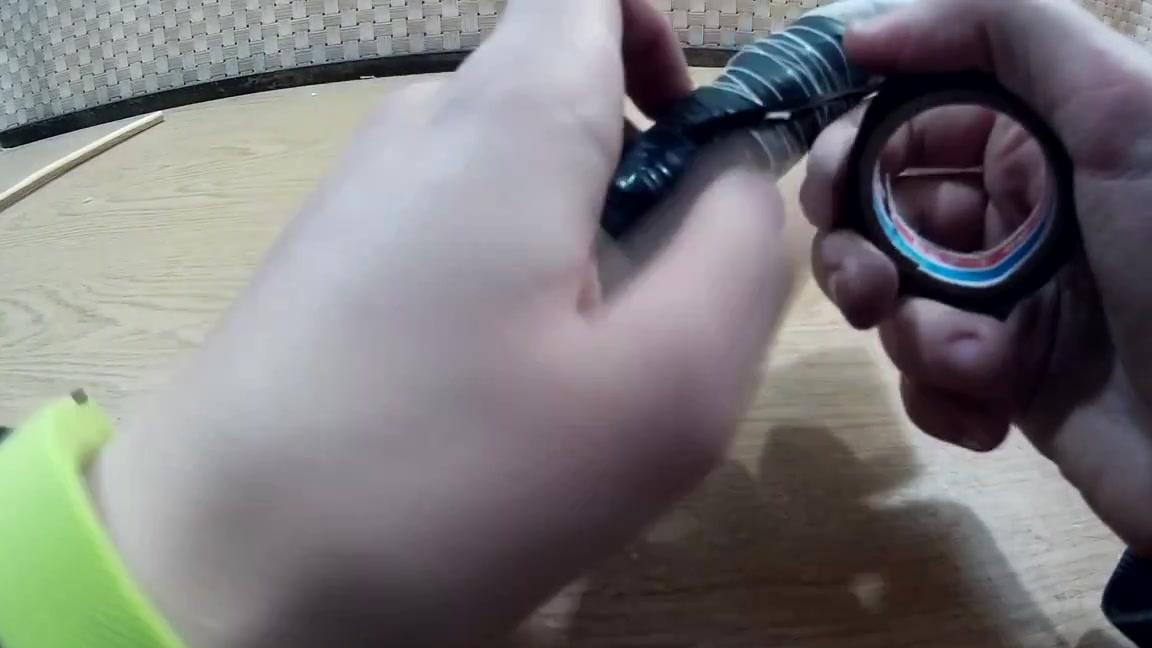
It remains to wind the electrical tape in the place where the harpoon will be in contact with the bandage.

The speargun is ready. If you plan to use it for its intended purpose, we also recommend attaching a fishing thread to the harpoon and the launching device to reduce the chances that the fish will be able to get away from you.