
As you might have guessed, we will talk about making homemade products from a plastic bottle, the so-called tripod, and in common people, a spacer (stand) for photo and video equipment.
So, let's start making this homemade product.
DIY materials - tripod:
Tools for making homemade - tripod:
The process of making a tripod homemade consists of several stages and takes 20 minutes on the strength.
Stages of making a tripod homemade:
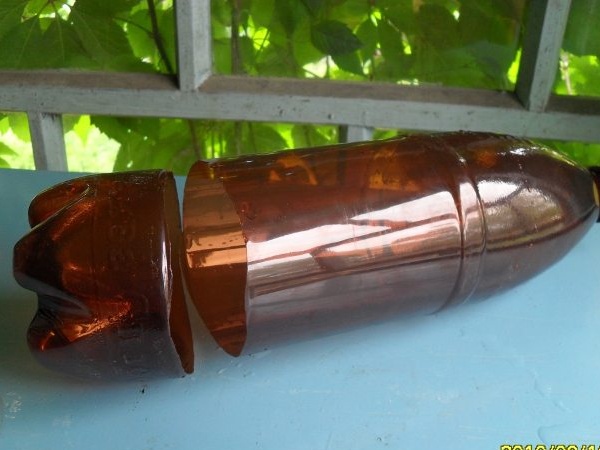
Prepare a plastic bottle with straight sides, without relief. The bottom of the bottle must be cut off approximately as shown in the photo.
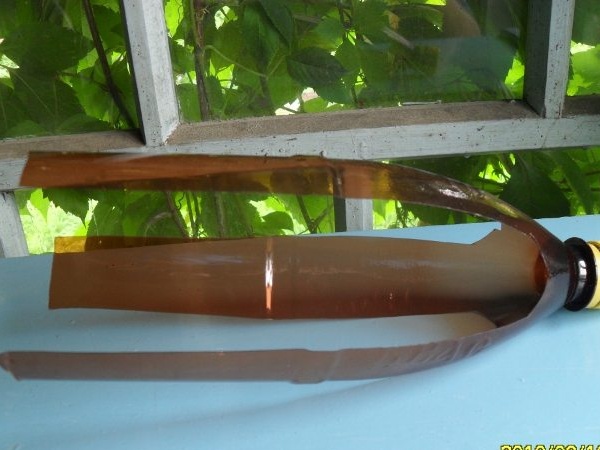
Next, divide the circumference of the plastic bottle into three parts. Remove the excess plastic so that there are three strips about 2 centimeters wide. You should get something like the photo below:
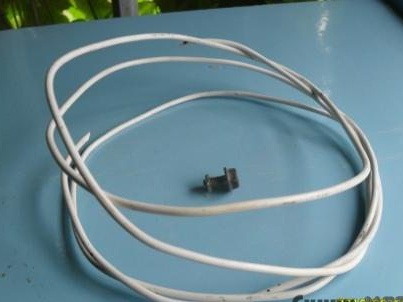
Prepare the wire in isolation. I used a single-wire steel wire in insulation, since it is more rigid and less brittle than similar aluminum. But you can use aluminum, I advise you to take a larger section.
The length of the tripod legs is chosen empirically, based on the size of your bottle. The legs should be about 3-4 cm larger than the plastic bottle. On average, a standard bottle without a day is 27-28 cm long, at least I have one: winked :.
The legs of the tripod are three loops of solid wire. The legs are collected sequentially one after another - they bent a loop of one leg and fastened it in several places with electrical tape, then the second and third. You can see the result in the photo:
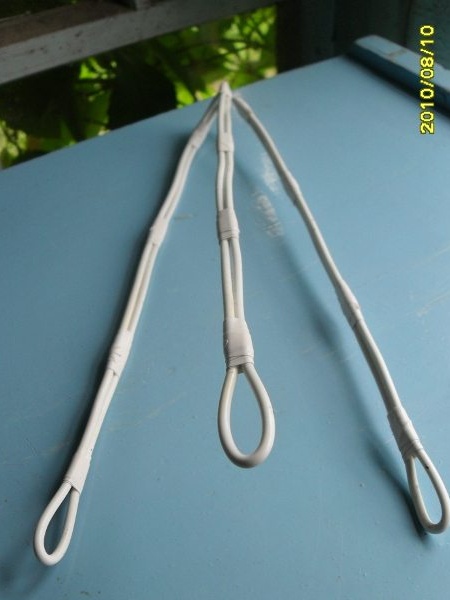
For clarity, the connection of the legs took a photo below:
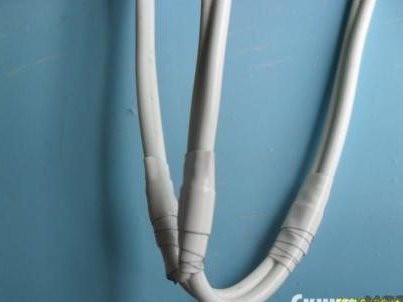
The principle of this operation is this: we wrap part of the leg with a strip of plastic bottle and fix it with tape, then the next part, etc.
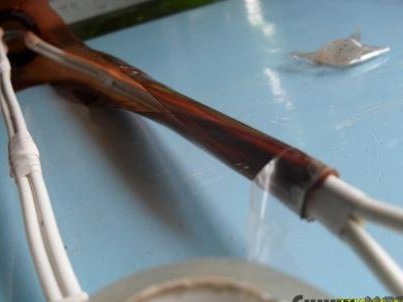
The result should be something similar to this:
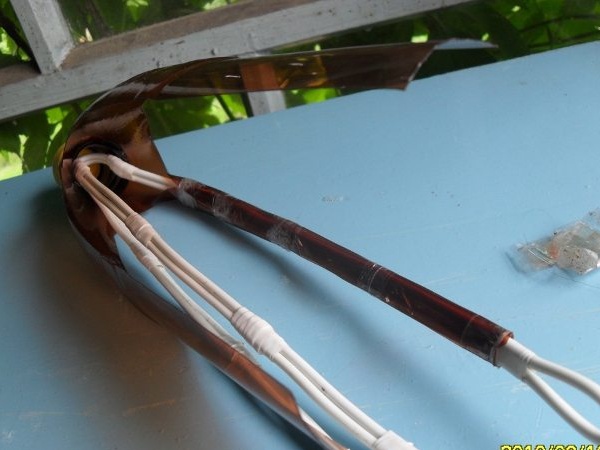
When you wrap all three legs of the tripod, our homemade product should look like this:
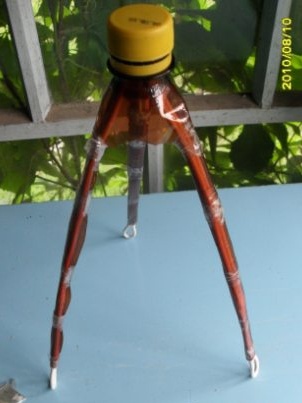
The easiest thing left is to drill a hole in the plastic cover with a drill and fasten the bolt with a flat nut.
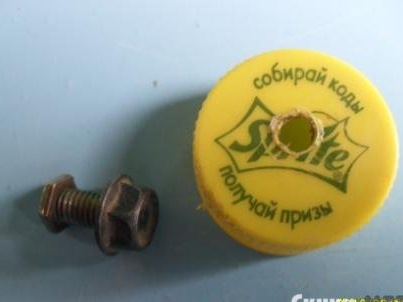
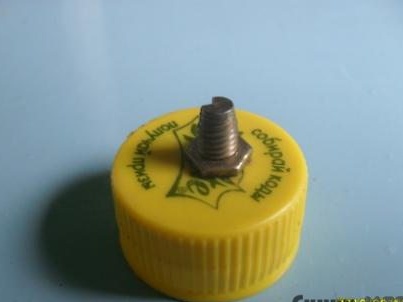
Cover with mounting bolt in place:
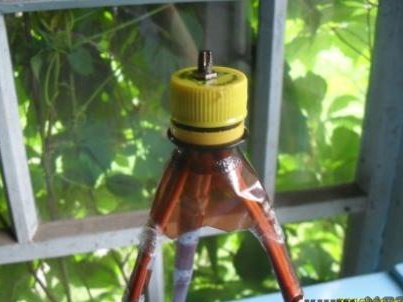
Well, in principle, the homemade product is ready, with the exception of one stroke - the ends of the legs (loops) can be bent, which will give the homemade tripod greater stability:

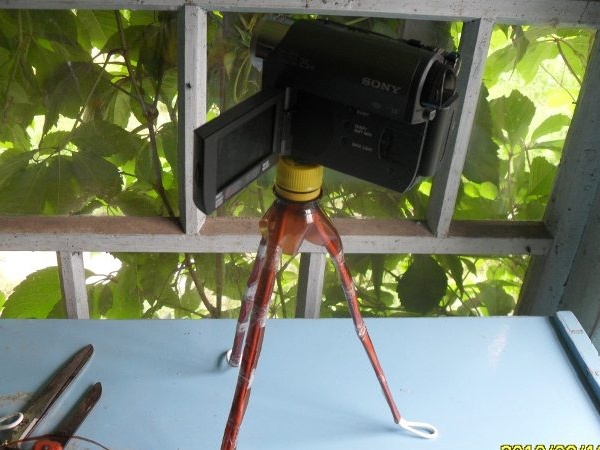
Such a homemade tripod turned out to be very functional - her legs bend in any direction, taking any shape and inclination. It is convenient to work with such a tripod with any photo and video equipment, even my miniDV camera is excellent and confident in holding, because it is not easy:
I am sure that such a tripod will help when shooting new ideas and homemade products for my site. Boredom, no!
I wish you creative success!