Today we will assemble a simple pulse soldering iron
Let's watch the video:
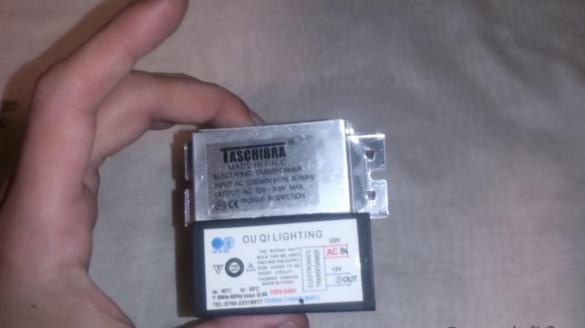
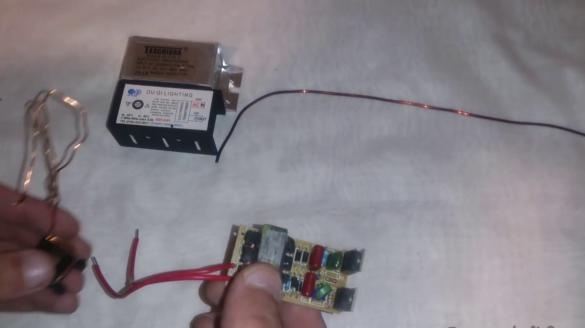
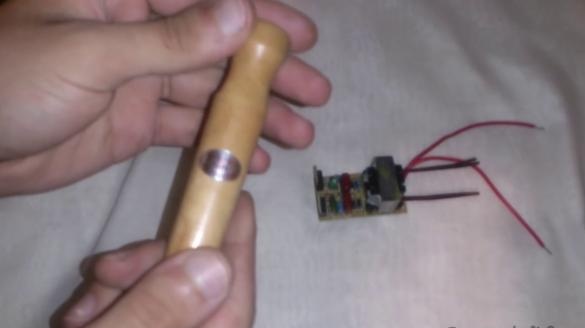
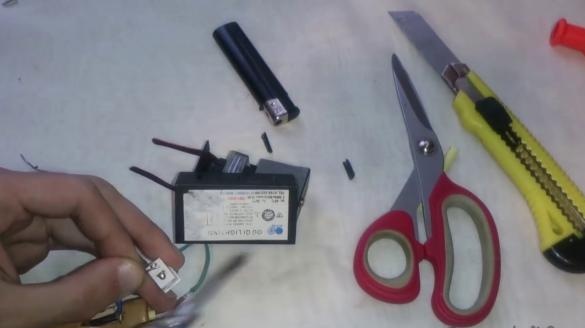
To work on, you need a few simple things, in particular this is a power supply, in the form of a Chinese TASCHIBRA transformer or similar
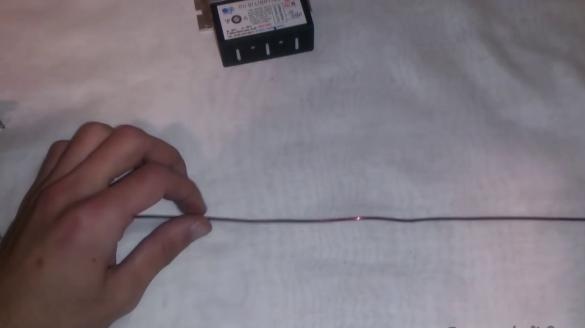
A piece of copper wire, preferably 30-40 cm long
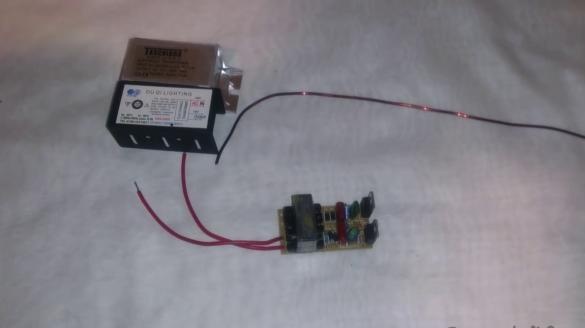
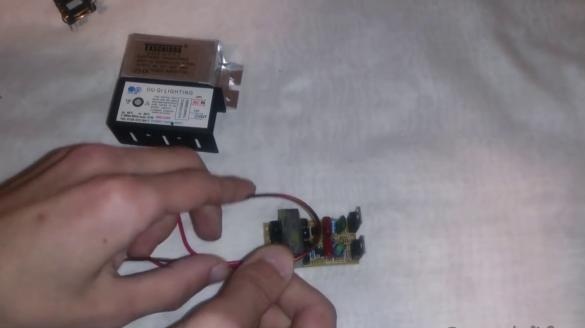
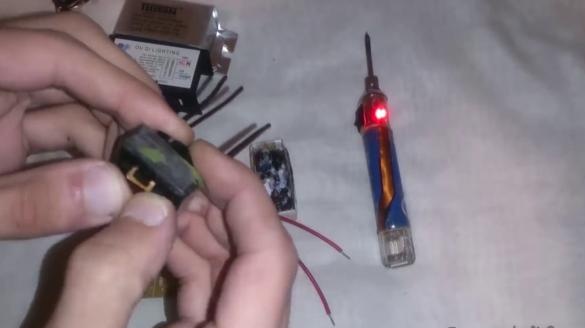
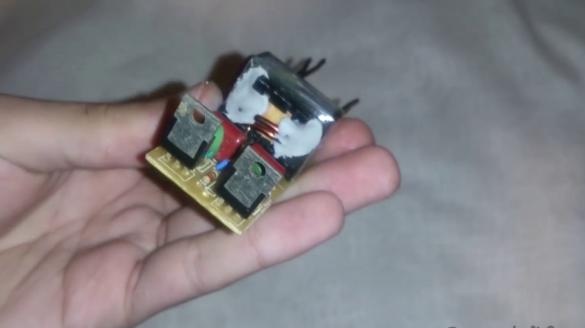
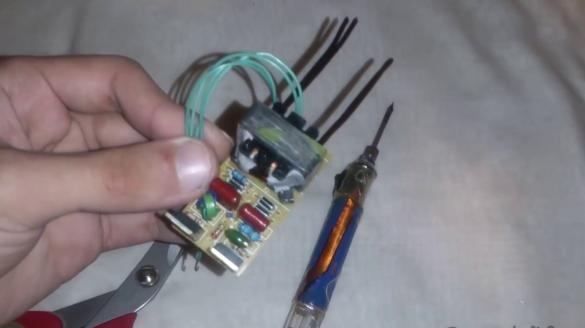
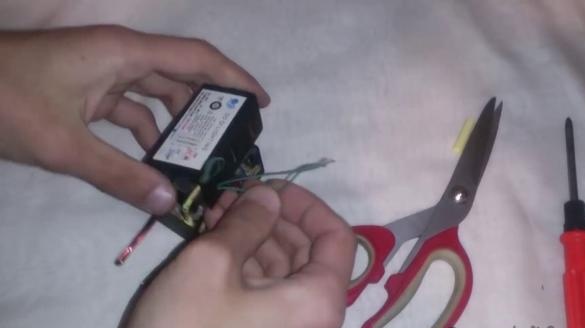
When disassembling the transformer, we observe such a picture
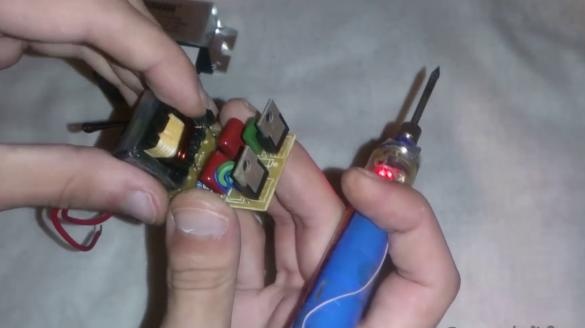
On the right is the master part, and on the left is a pulse transformer, on which there is a primary and secondary winding.
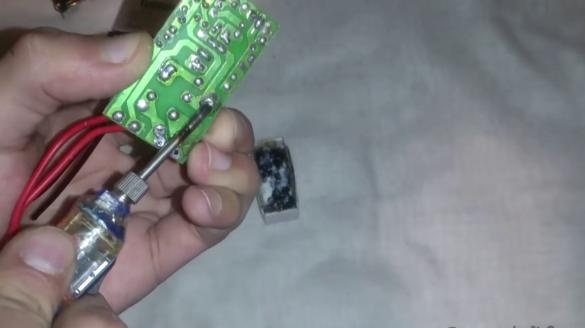
We leave the primary winding, and we need to completely remove the secondary.
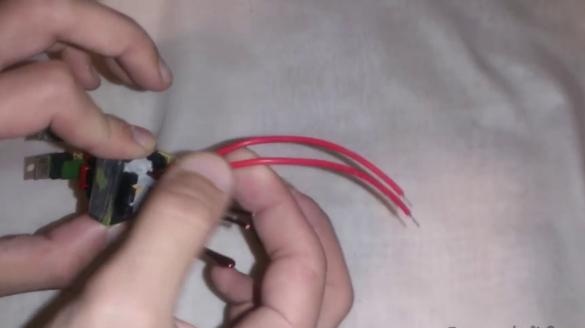
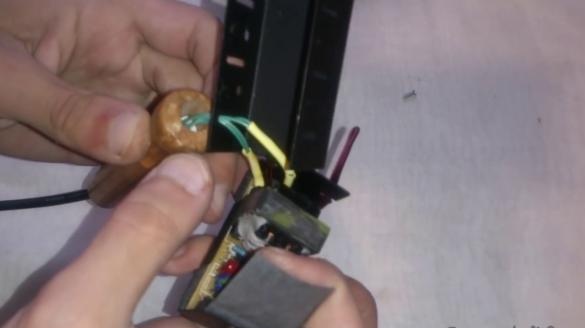
We wind our winding, it consists of one incomplete turn with our wire. In order to raise the output current, preferably two parallel buses and thus twist onto the frame
Install the transformer with a new winding in place
Now we need to somehow fix the winding on the transformer, for this we use cold welding
While the workpiece dries, let's take care of other components:
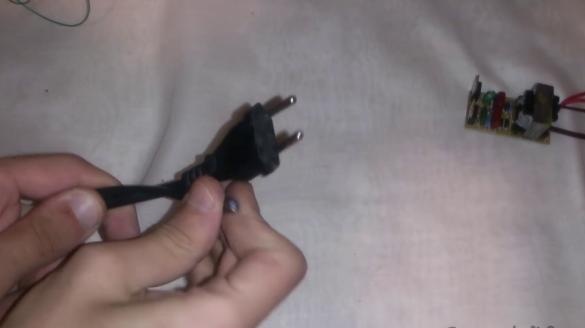
First is the power cord
At the expense of wires, I will replace them with a more elastic
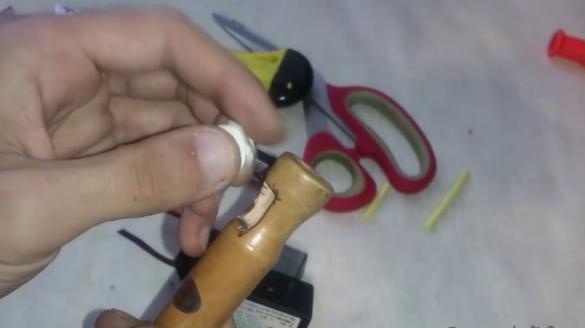
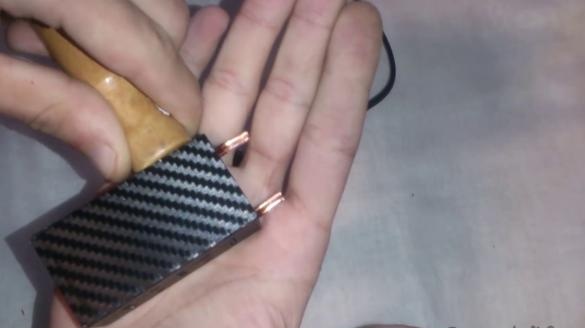
Next we need a handle, with a through hole for the power cord
Now replace the wires and continue
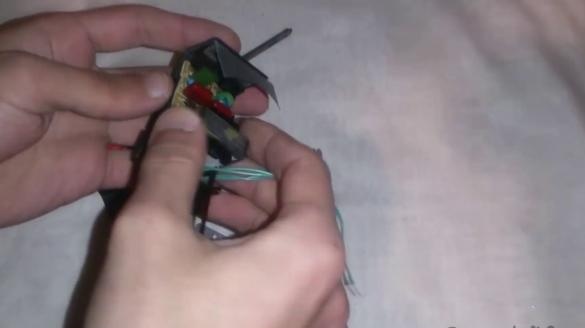
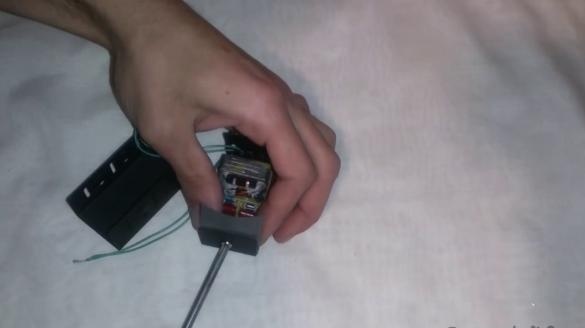
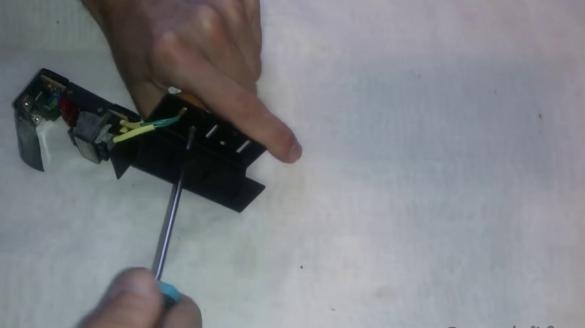
We begin to assemble our soldering iron, install it in the case
Set the switch
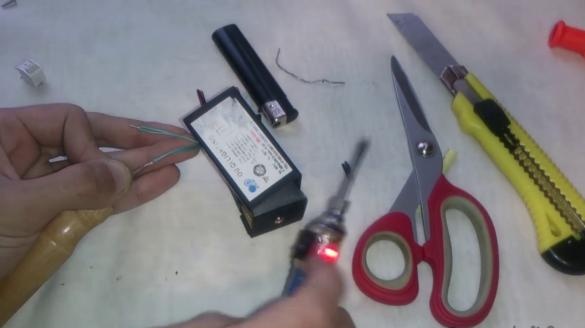
We continue to collect it longer, connect the power cord, with the switch and with the soldering iron itself
We fix the transformer cover
The next step will be making the sting itself
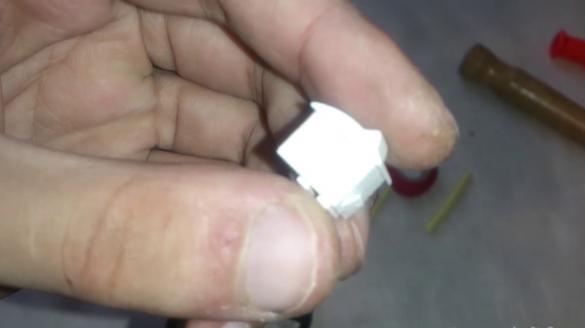
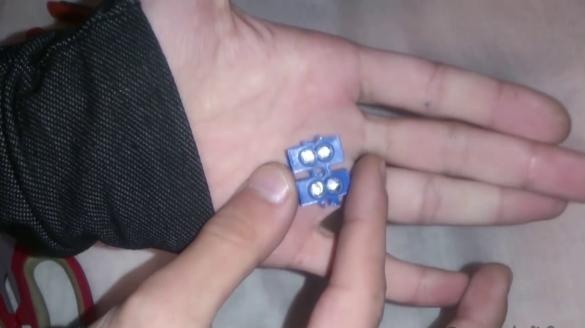
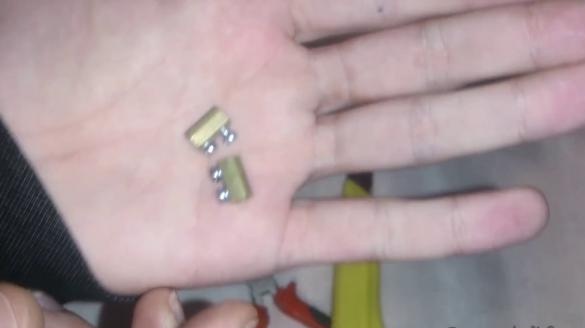
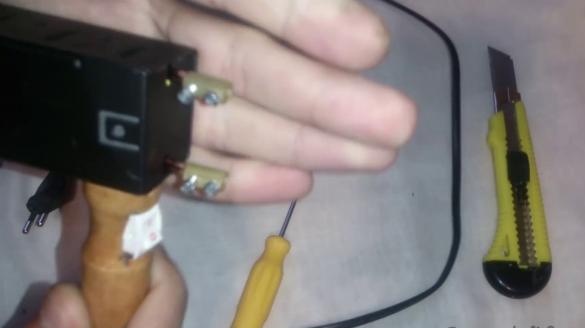
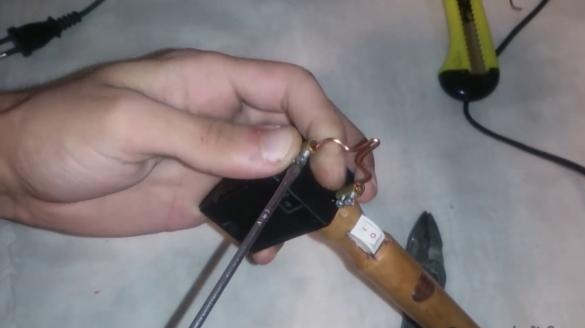
In order to attach the tip to the soldering iron, we use the connection for wires
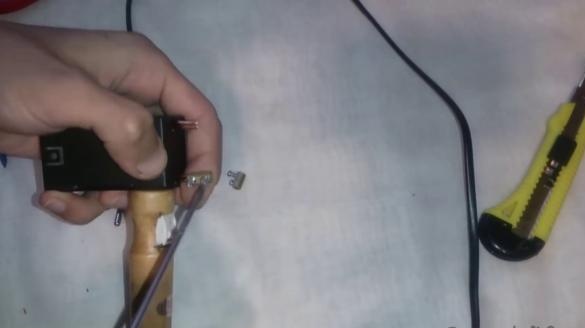
Attach them
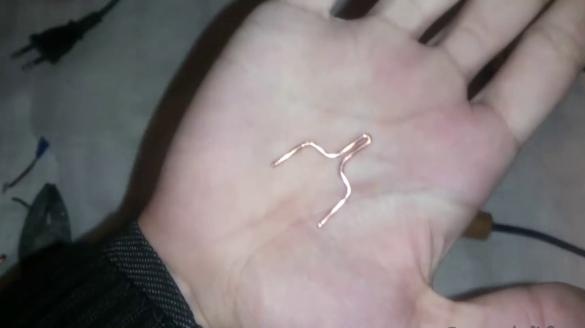
To make the sting itself, we need a copper wire, 1 mm in diameter, we give it the desired shape
Fasten it
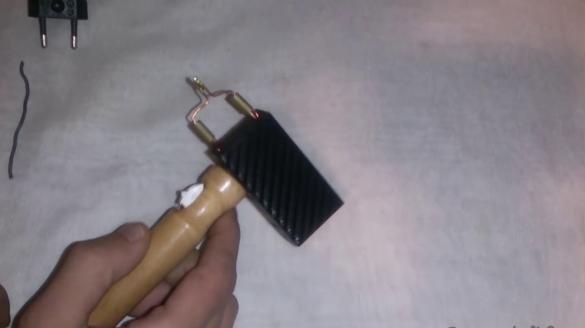
And that's all, we just made a pulsed soldering iron do it yourself!

