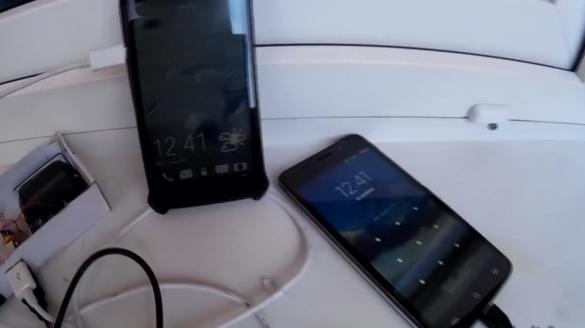
Portable chargers have been very popular lately. This is due to the increase in the number of wearable devices, as well as their need for everyday life. Everyone knows that any wearable gadget has the ability to discharge at the most inconvenient moment and in the most inconvenient place. The solution to the problem with the charge may be a portable charger or Power bank, the manufacture of which this review is devoted to.
Let's start by watching the author’s video
To make a Power bank, we need:
- 3 batteries from an old mobile phone;
- wires;
- adapter for cigarette lighter car;
- switch;
- glue gun;
- electrical tape;
- housing;
- plugs from the computer power supply.
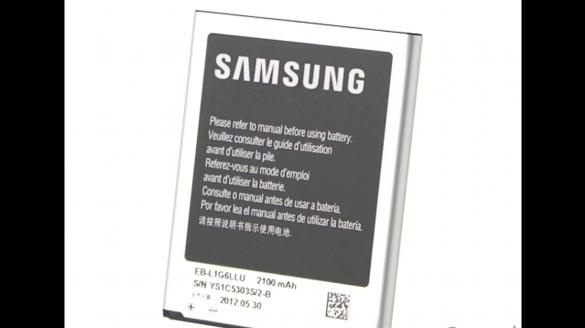
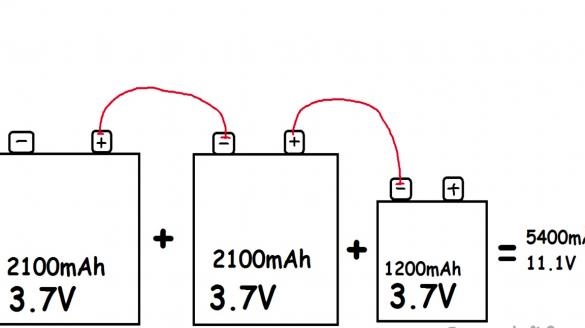
According to the author of the idea, most methods for manufacturing portable chargers use Kron type rechargeable batteries, which is inefficient because such batteries have a very small capacity. The author uses two batteries of 2100 mAh and one of 1200 mAh. All of them are 3.7 volts. We also note that the author uses an ordinary box as a case, which can be replaced with any other convenient material.
Of the three batteries you need to make one powerful, connecting them in the following way, as shown in the drawing below. The result is a single battery with a capacity of 5400 mAh. Such a battery will also produce 11.1 volts, which is enough to create a portable charge for the phone.
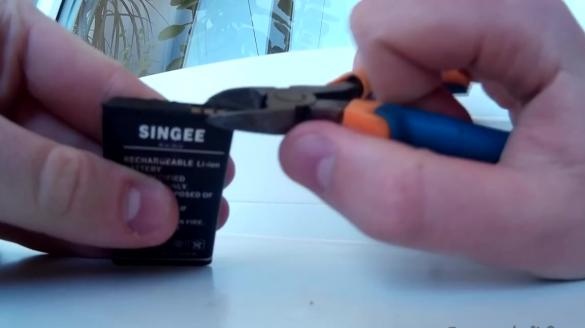
Most mobile phone batteries have 3-4 pins. These are not the contacts of the battery itself, but the contacts of the board located on the battery itself. To facilitate the work, you need to remove the board. After that, two contacts will remain on the battery - positive and negative. It is these contacts that need to be connected in turn.
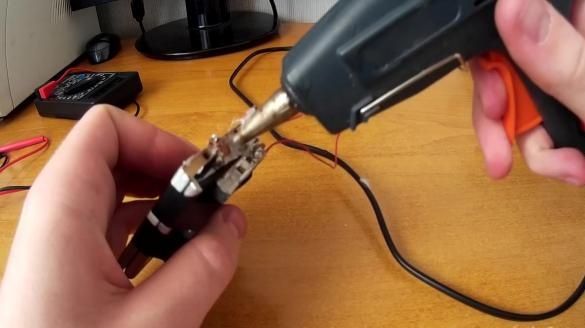
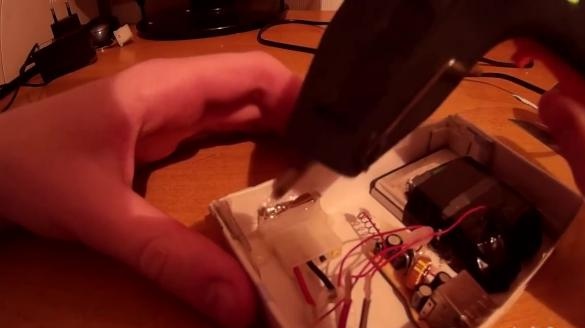
After carefully soldering all the contacts with a soldering iron, you can glue everything with hot glue. Thanks to this, the wires will hold more securely, and you can refuse to use electrical tape.
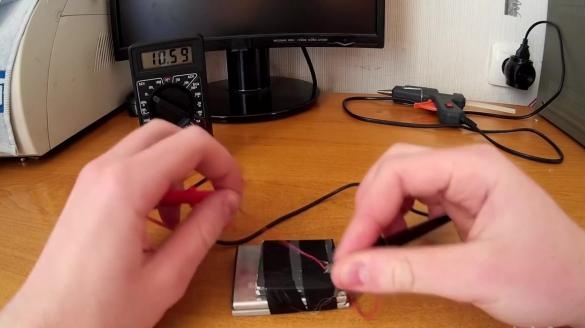
After connecting all the contacts, the batteries must be connected by wrapping them with several layers of electrical tape. It is also necessary to check everything with a tester to protect yourself from possible errors.
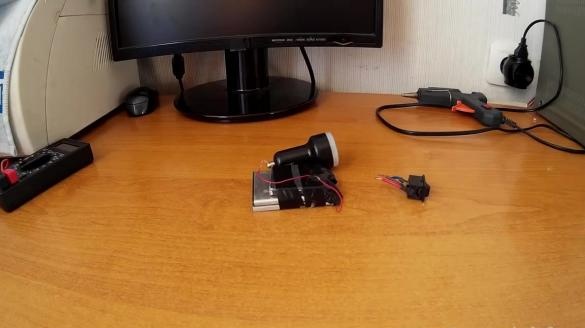
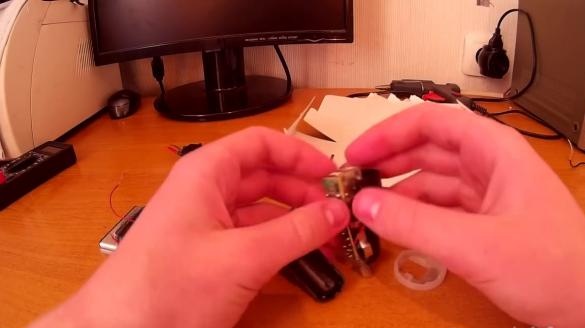
The adapter that will be used in the design works from the cigarette lighter of the car, which in turn issues 12 volts. The adapter itself works from 9 to 12 volts. We disassemble the adapter.
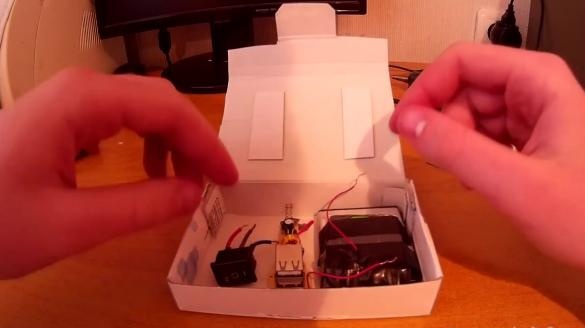
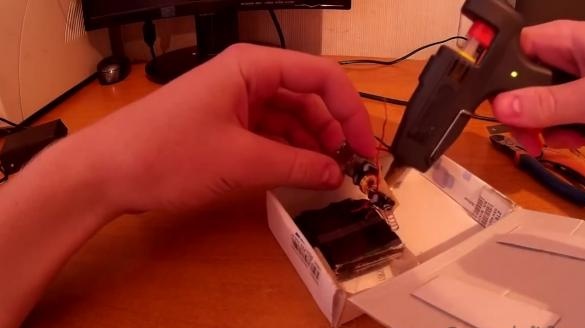
The resulting components must be placed in the housing. First, glue the battery.
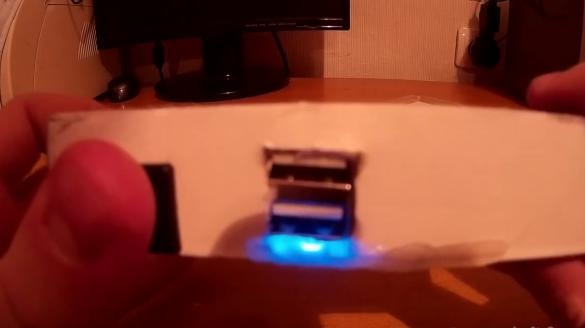
Then you need to cut a hole for the USB connector of the adapter.
We attach one contact from the battery to the adapter and glue the adapter itself.
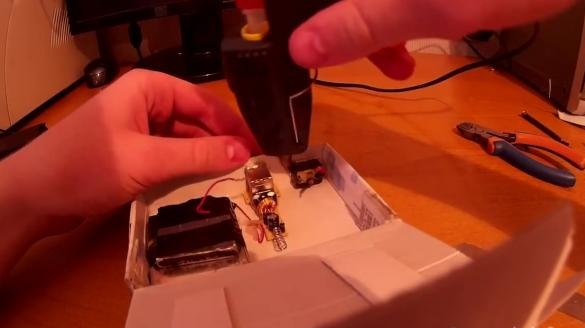
We make a hole for the switch, insert it and fix it with hot glue.
Using wires, we connect the switch to the adapter and battery.
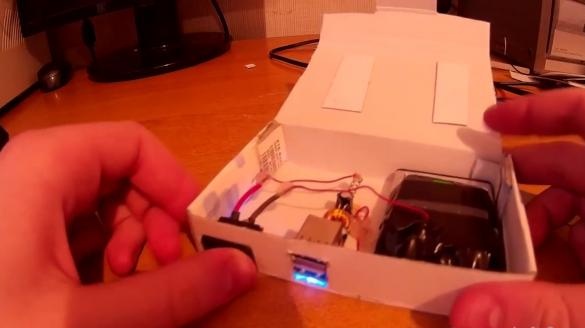
We check the design for operability.
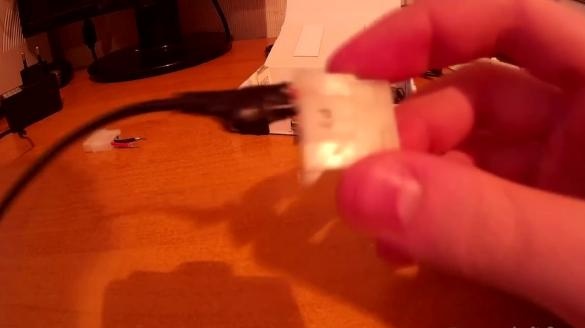
It remains to attach connectors for charging the charger itself. You can charge it from a regular phone charger. We attach two contacts from the plug to the contacts from the charger. We fix everything additionally with hot glue and wrap it with electrical tape.
We connect the plug directly to the battery, insert it into the hole and fix it with a glue gun.

