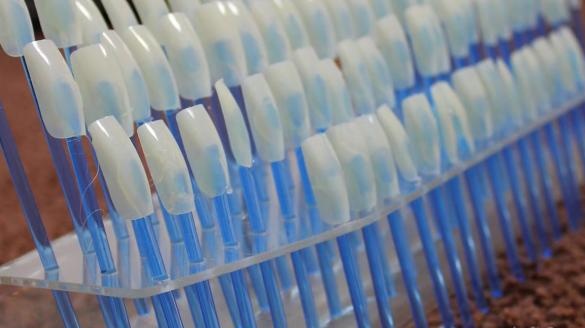
We decided to devote this review to a video on making a stand for nail design. Such homemade Your soul mates who are engaged in a similar business or familiar nail designers will definitely like it.
Let's start with the author’s video
[media = https: //www.youtube.com/watch? v = qyp4IjgkYDM]
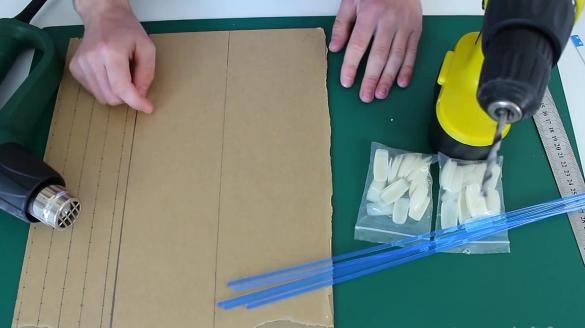
What do we need:
- building hair dryer;
- organic glass;
- pistil rods with a diameter of 4 mm;
- tips;
- screwdriver;
- drill with a diameter of 4.5 mm;
- glue gun;
- clamp.
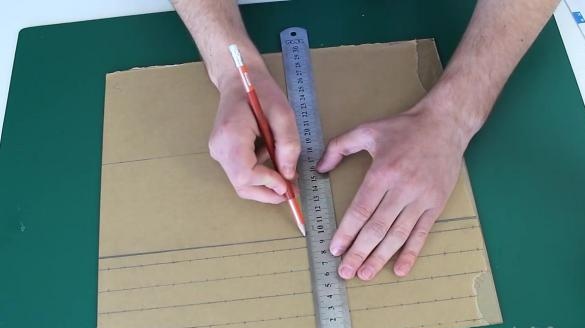
Author makes model stands for a limited workplace, so the stand is obtained in the following sizes: horizontally 350 mm and vertically 100 mm.
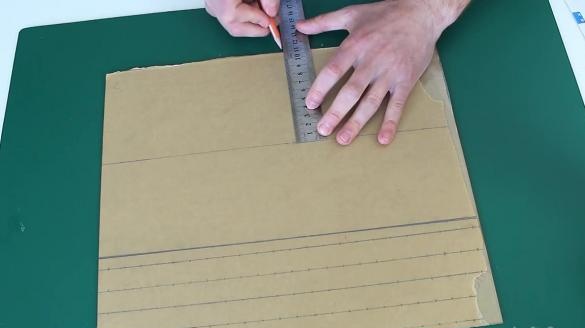
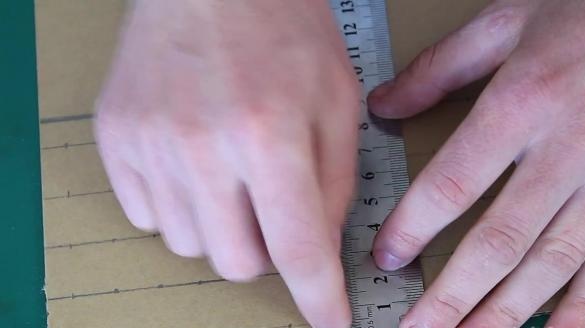
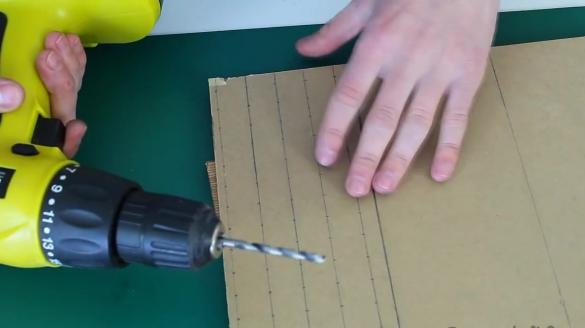
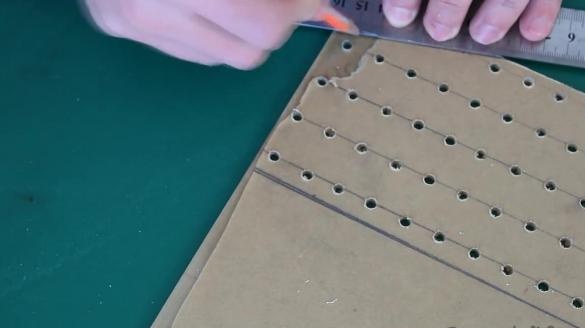
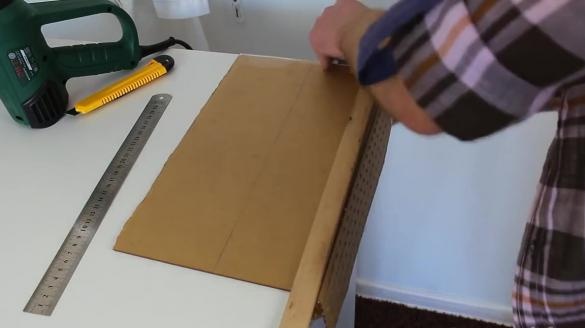
Initially, we must draw two lines: one at the 95 mm mark and the second in the same way at the 95 mm mark. 11 mm remains in stock for the lower part, which should be more stable. It is also necessary to note the distance between the cells of 20 mm, not counting the edges of 5 and 10 mm.
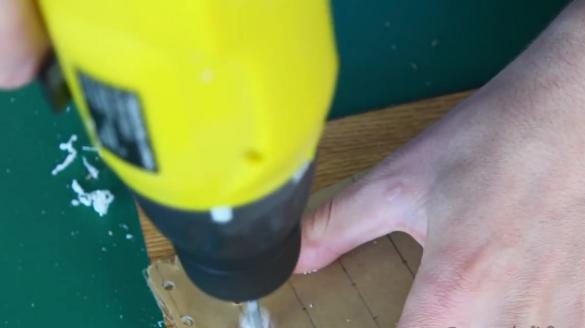
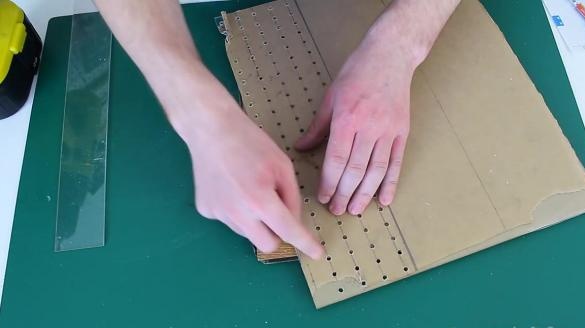
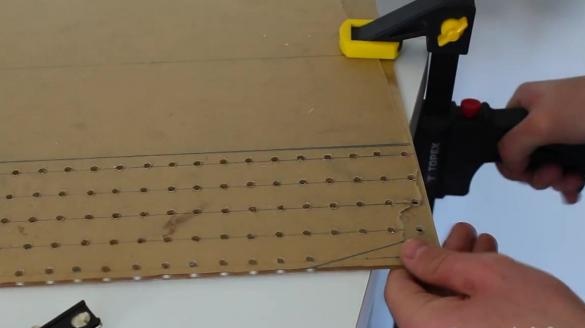
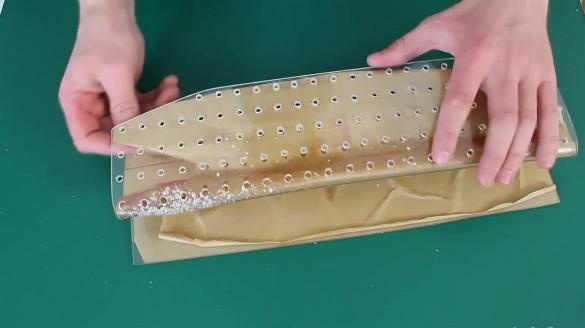
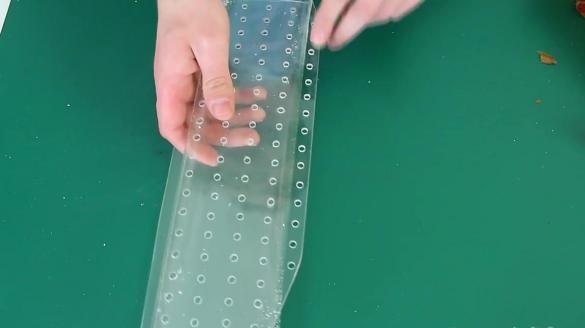
The most time-consuming and tedious part of the work is making holes in each row of cells.
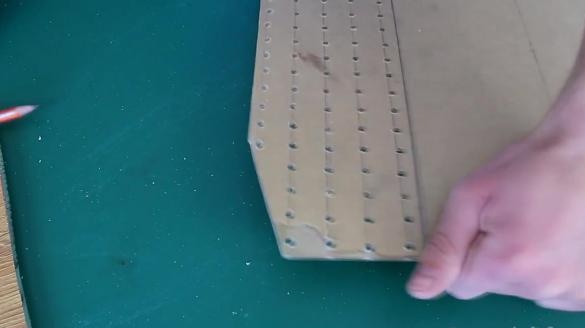
Since the extreme holes on the corners of the plexiglass are very difficult to make, they can simply be cut with a jigsaw to obtain the corners.
The edges of the corners need to be treated with sandpaper.
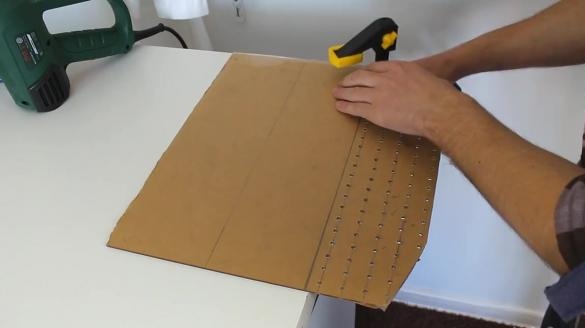
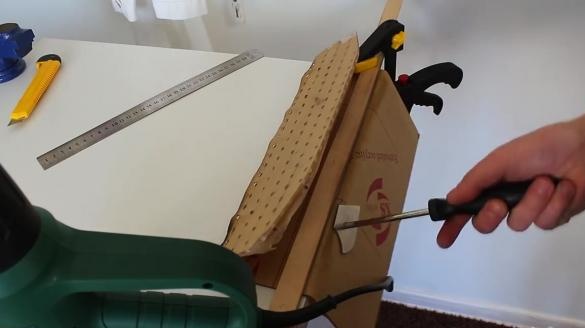
Now you need to give organic glass a Z-shape. To do this, take a clamp, fix the plexiglass on the edge of the table and warm it well with a technical hairdryer.
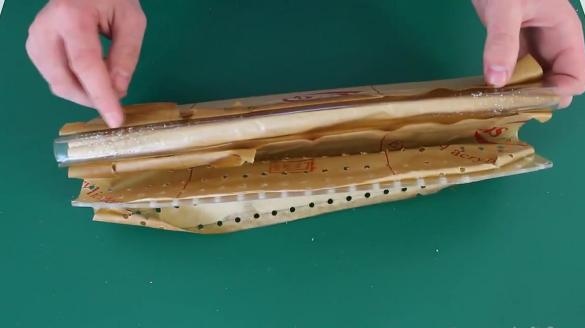
After which the plexiglass is bent, you can remove the substrate. If desired, plexiglass can be overheated by receiving an imitation of bubbles.
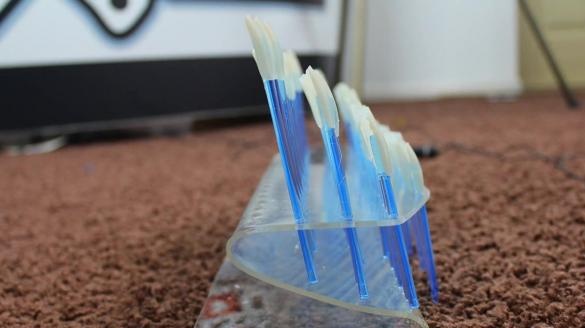
The first row of the stand will protrude into the table, and the next edges in plexiglass.
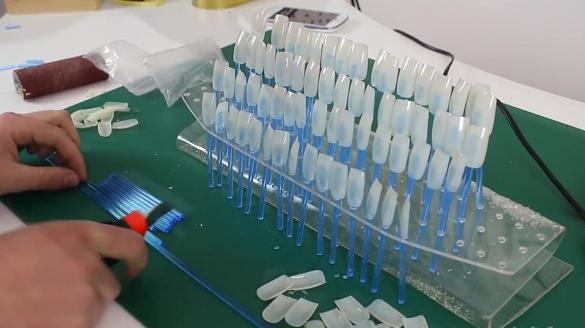
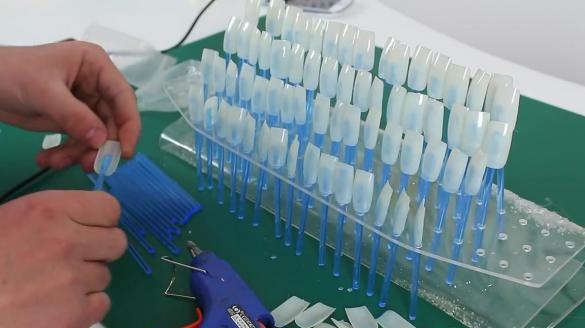
At the end, cut the rods and glue the tips to them.
The nail stand is ready.

