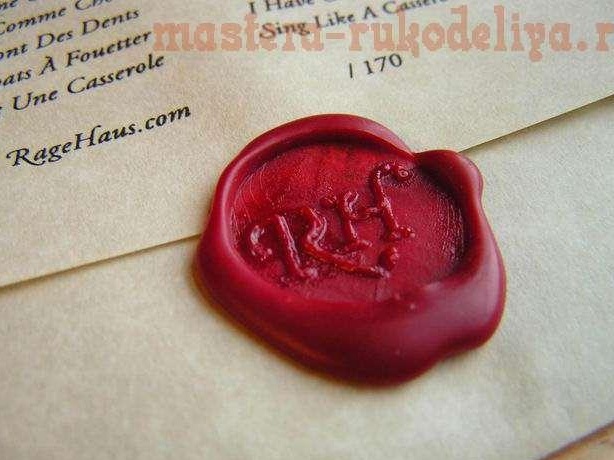
Once upon a time, only persons of royal blood and noble noblemen had a personal seal. You can use the author’s tips below and do such an unusually interesting thing for personal use. It can be useful for you to seal your own wedding or anniversary invitations, as well as you can use it in decoupage and other types of hand-made needlework. For people involved needlework on a commercial basis, it is generally irreplaceable - you do not need to make name tags for your work, just take jute twine and hang an impression on your personal seal wax instead of a tag on the product.
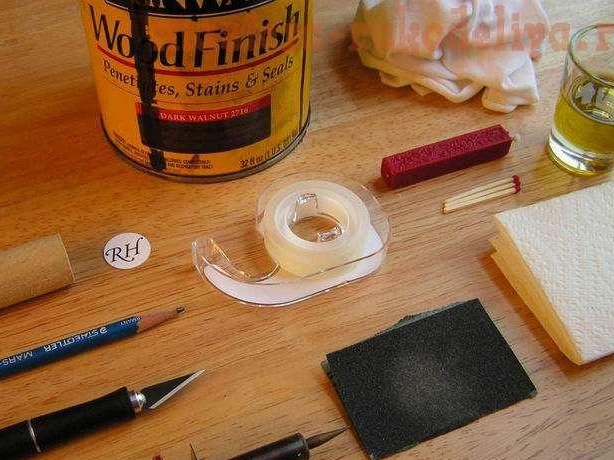
For work you need to prepare the following materials and tools:
1. A small segment of a flat wooden stick. The author advises using a small piece of shank for shovels, which can be bought at construction supermarkets.
2. The tape is not wide.
3. A simple pencil.
4. The image of the future print printed on the printer.
5. Collet knife or a thin, sharpened knife of a small size.
6. Wood burner.
7. Emery paper.
8. Soft rags.
9. Napkins.
10. Vegetable oil.
11. Drying oil.
12. Brush for applying varnish.
13. Matches.
14. Sealing wax or wax candle.
1 step.
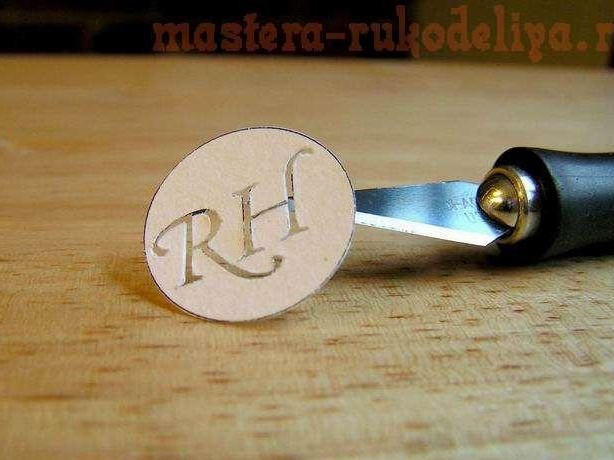
To begin with, we carefully process the stick segment with sandpaper. We grind especially carefully the end side on which we plan to place the print. Then, with the help of a collet knife, we very carefully cut out the image of the previously printed print.
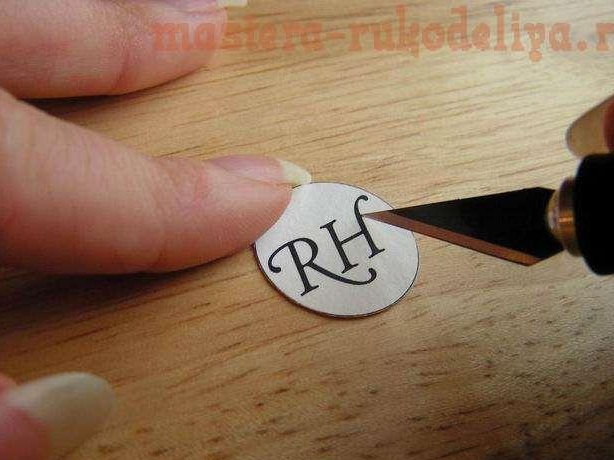
The author recommends printing the blank for printing on thick paper. Making a template for future printing is a painstaking job that will require you to be fully focused. This is what a neatly cut blank for printing should look like:
2 step.
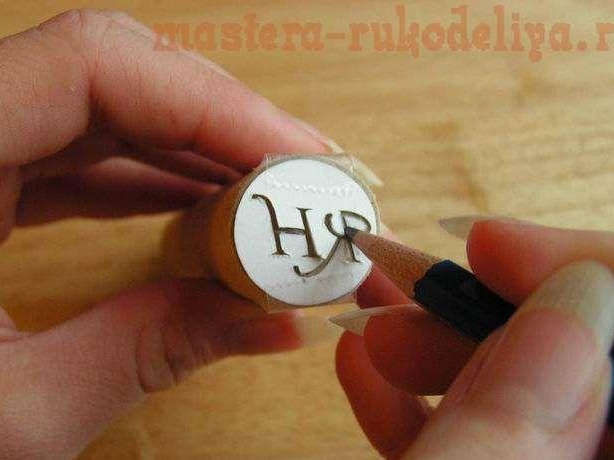
Then we apply the cut-out pattern to the end side of the previously prepared stick, fix it with adhesive tape and paint over the wooden surface with a pencil through the cut-out pattern on paper.It is very important not to forget that the template blank must be applied in a mirror image, otherwise you will get an incorrectly located print.
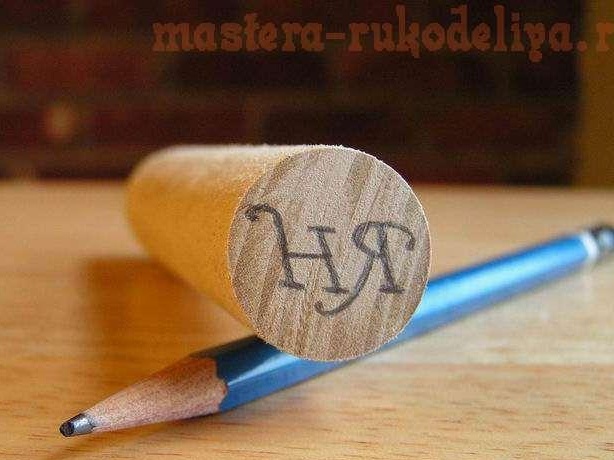
This is approximately what you should get as a result of painting:
3 step.
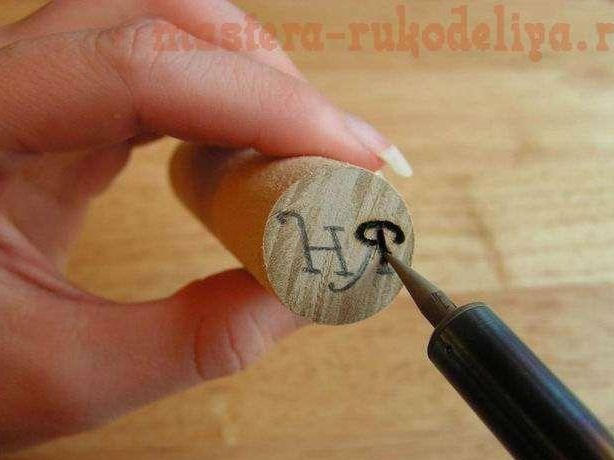
Then, with a burning device, carefully burn the tree according to the drawn pattern, while trying to burn the tree to the same depth.
4 step.
Now you need to process the workpiece for printing using drying oil. Then thoroughly wipe the workpiece with a rag and let it dry for 24 hours.
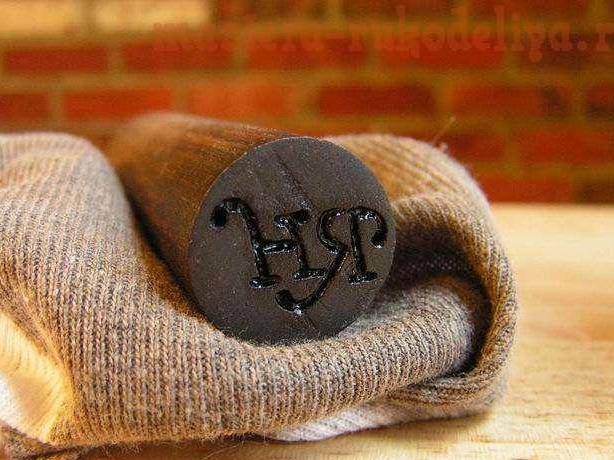
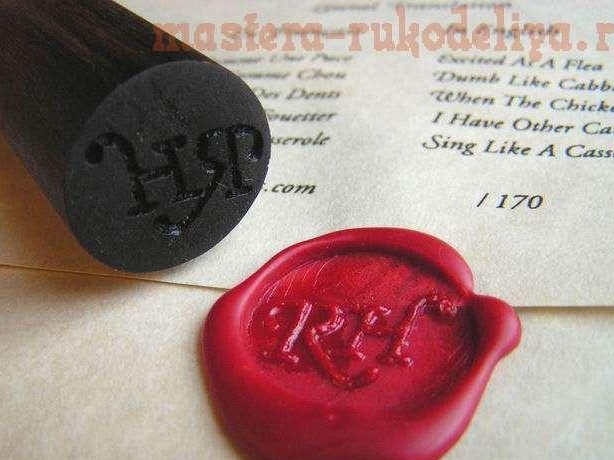
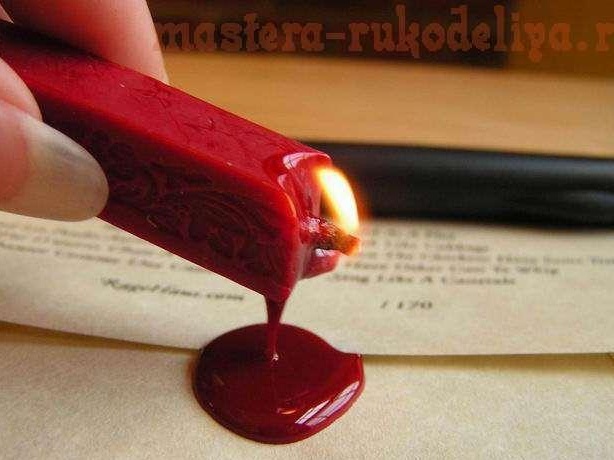
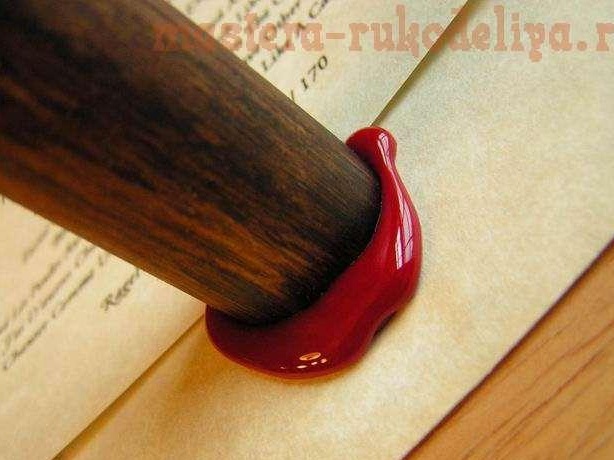
After the drying oil is completely dry, your seal is ready for use. You can put prints of your personal seal on wax, wax, paraffin and use even hot glue from a heat gun for these purposes. This glue comes in many colors, so try and experiment. But keep in mind that the strongest and most durable seal will be on wax. In order to make a print on a wax seal, light a candle and drip hot wax where, according to your idea, there should be a name seal.
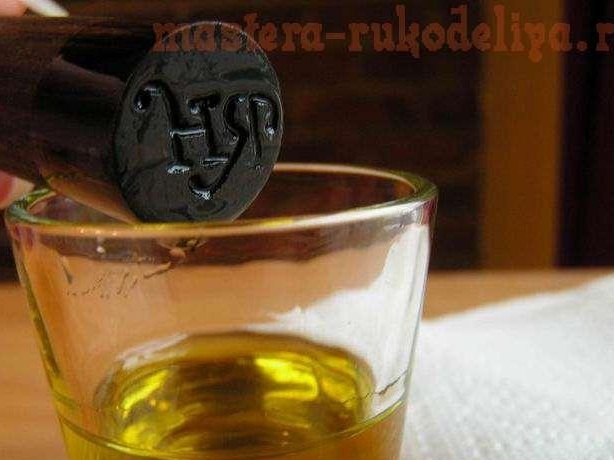
Wax should be given a little time to cool slightly. This time is approximately 15-20 seconds. At this time, dip the seal in vegetable oil, gently pat off excess oil with a cloth.
Then firmly press the seal to the slightly cooled wax and leave it until it solidifies.
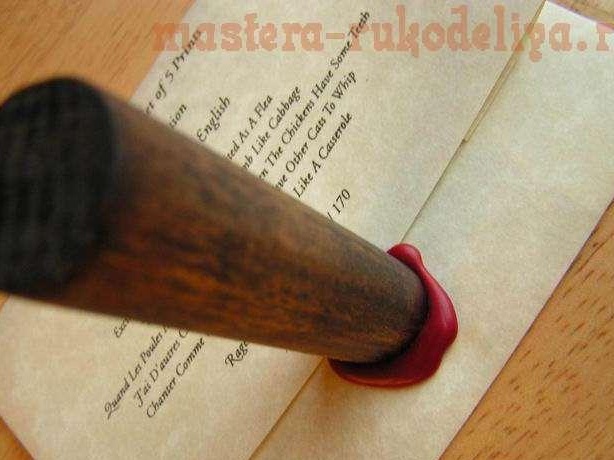
In order not to violate the integrity of the print, gently swing the print from side to side, and then just remove the print.
Using these skills in the manufacture of seals, you will be able to independently produce various seals and stamps and use them at your discretion in creativity.