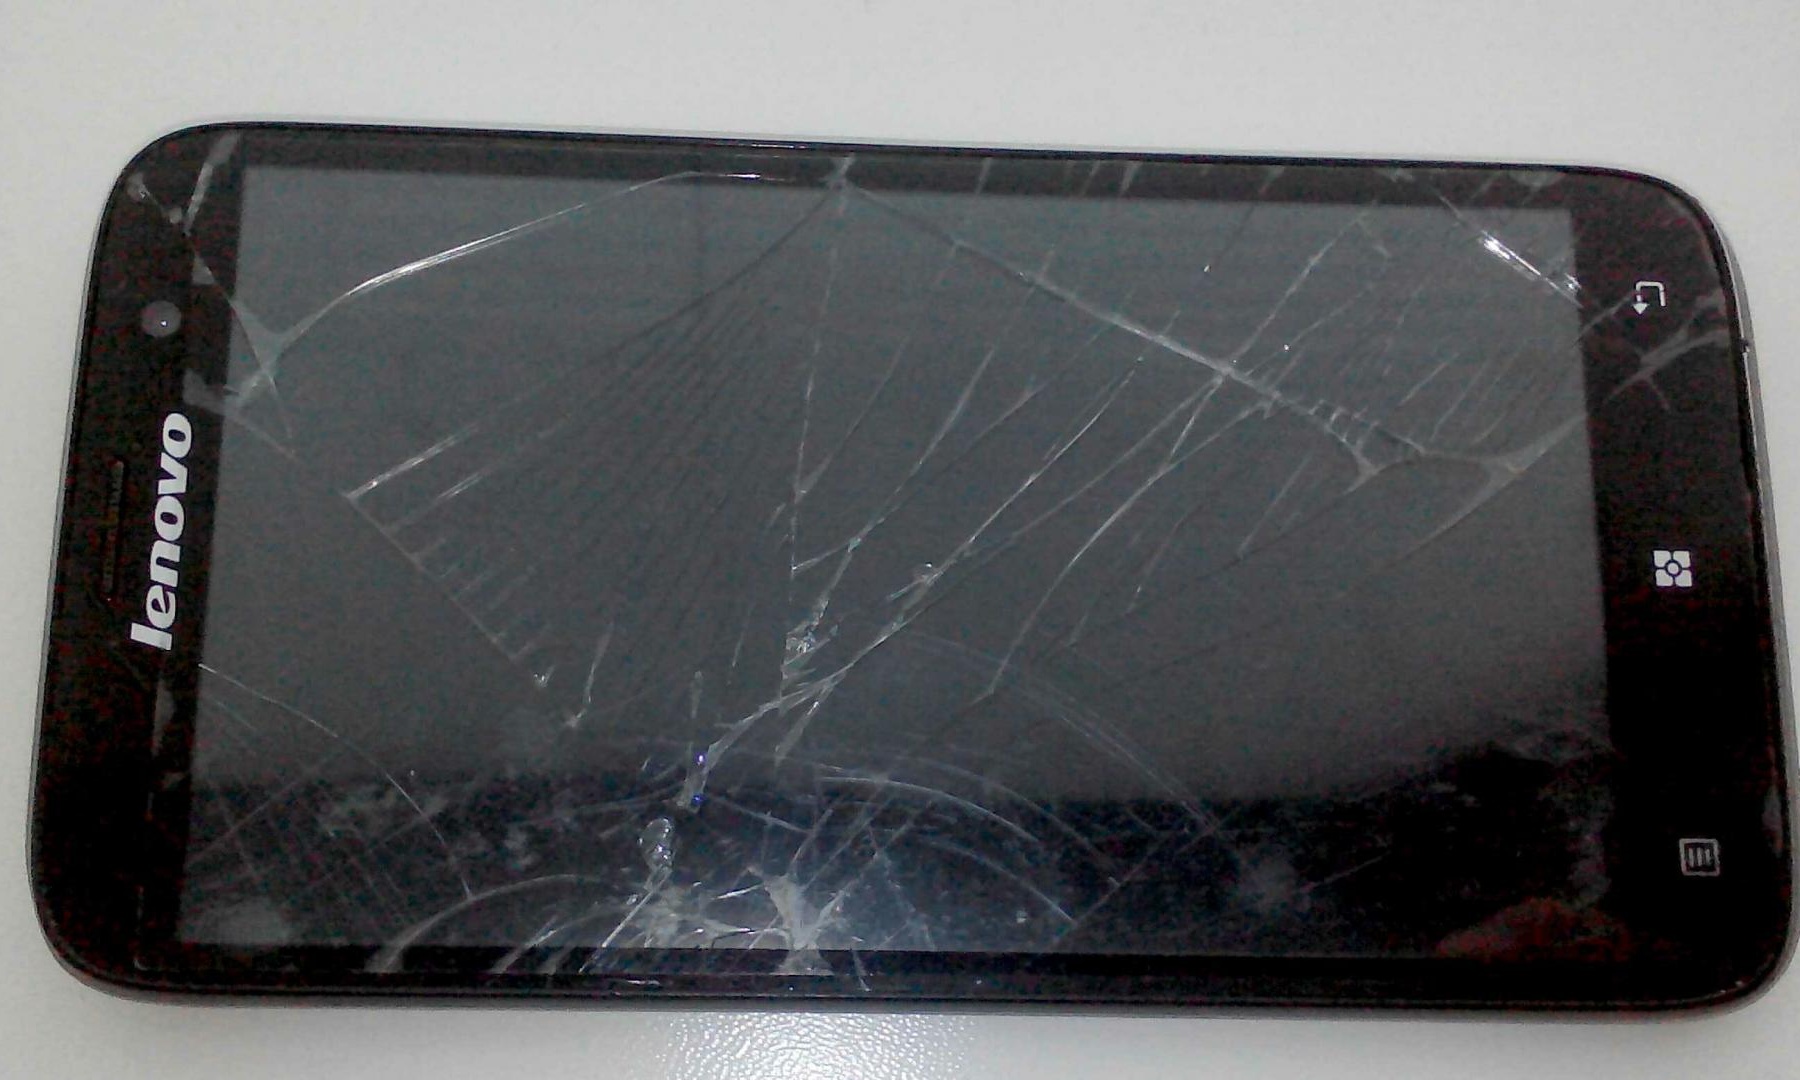
A “tragedy” recently befell me: namely, I broke the display and touchscreen on my Lenovo a850, I replaced the details, but what to do with the old display I thought for a long time not to throw it away because super bright LEDs are used to illuminate it. I decided to make a bright flashlight out of it.
How to make it, I'll tell you now.
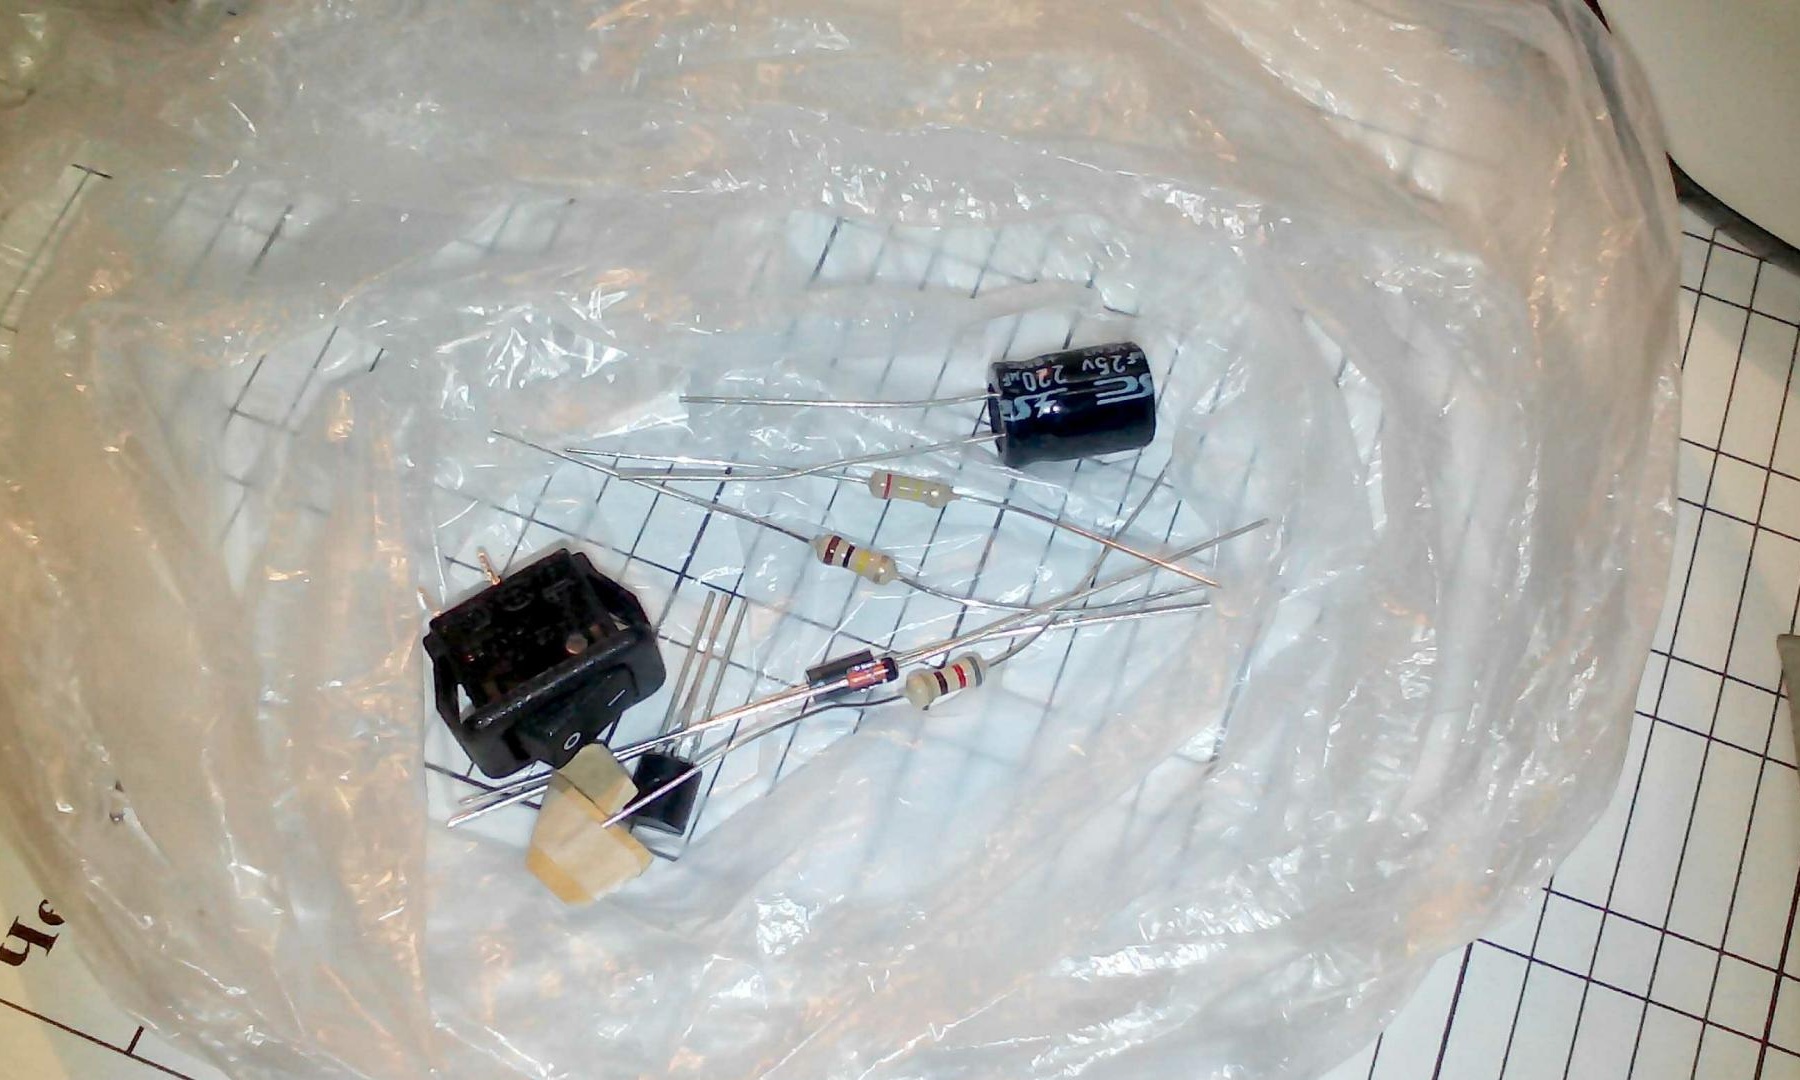
To build a flashlight from a broken display, we need:
• Broken display (in my case from Lenovo a850)
• Li-ion battery (I had a battery from an old phone)
• Case (I had nothing to do and I made it myself)
• A set of parts for the converter (the Chinese connected the LEDs in a tricky way, 15V is required for their power supply)
• Soldering iron and soldering accessories
Let's start from the very beginning, and for a start we need to disassemble the phone and remove the display and sensor from it. The sensor can be thrown out because nothing useful can be taken from it, for example, I cut my finger from its broken glass
Disassemble the phone
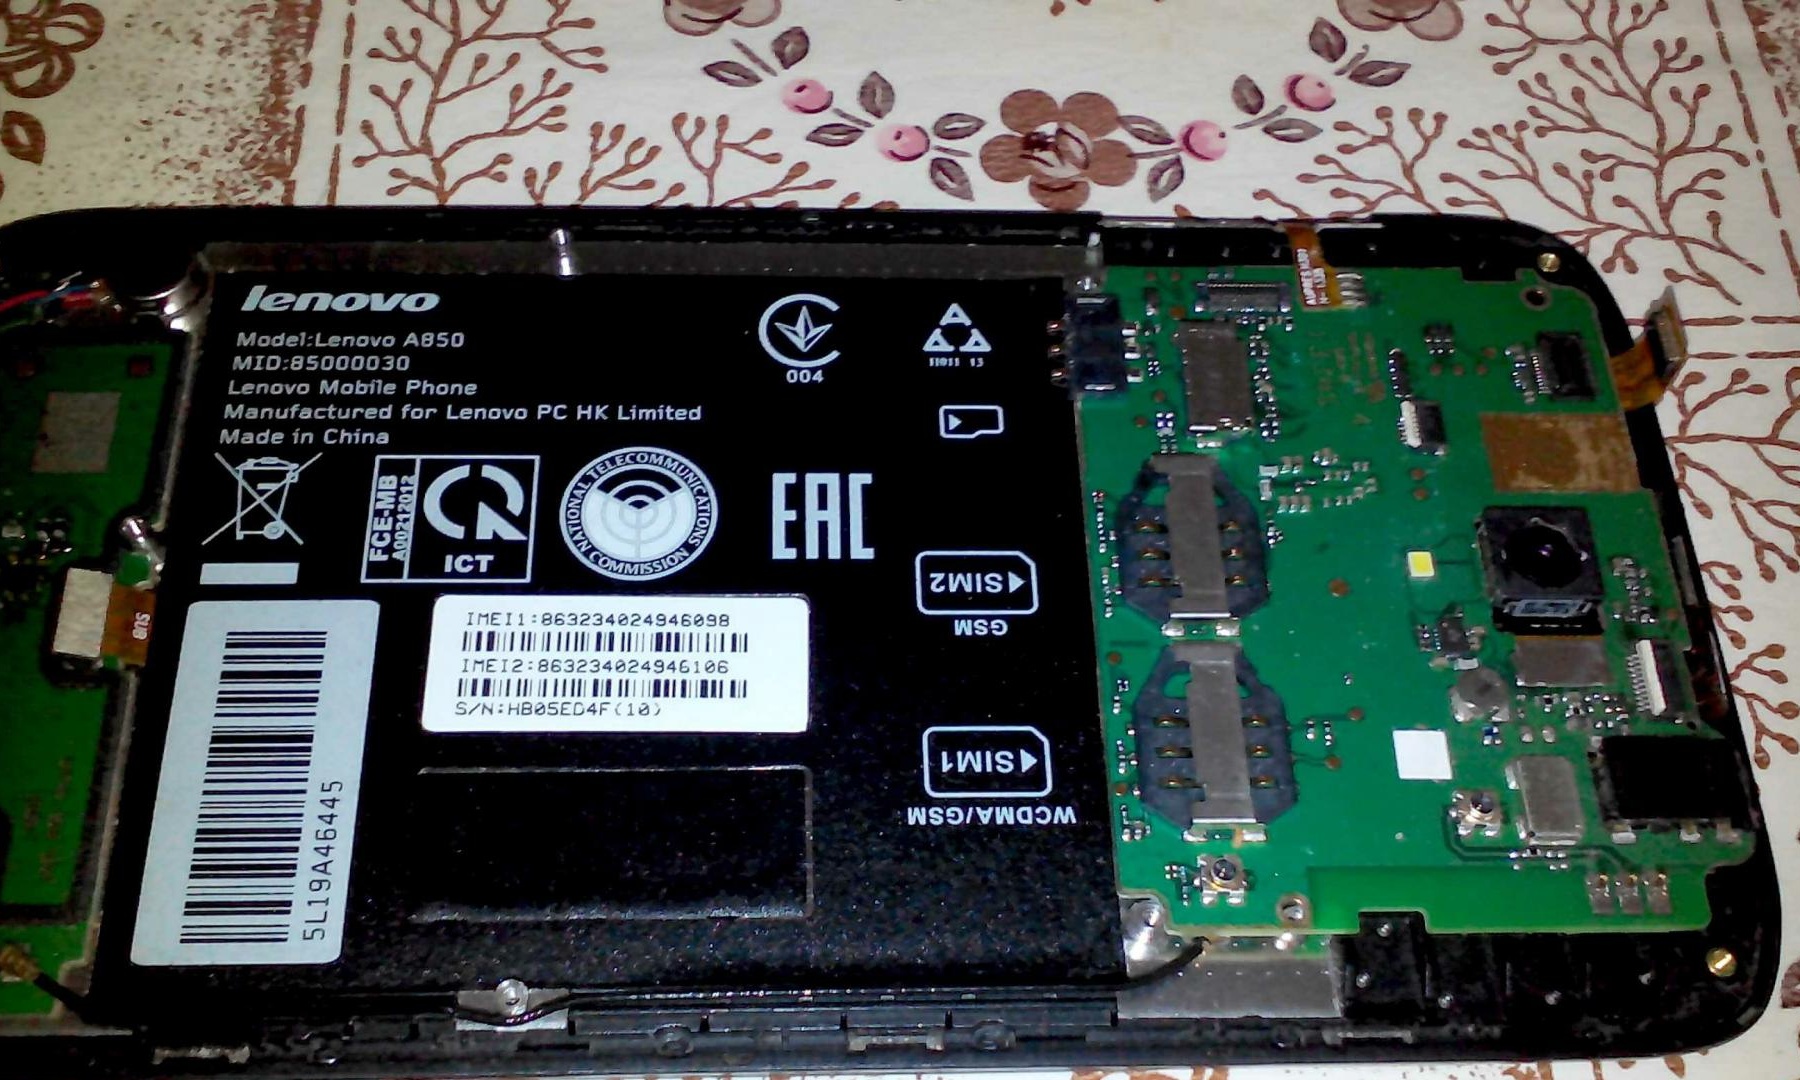
We extract from it what we need. Not forgetting that you can get hurt.
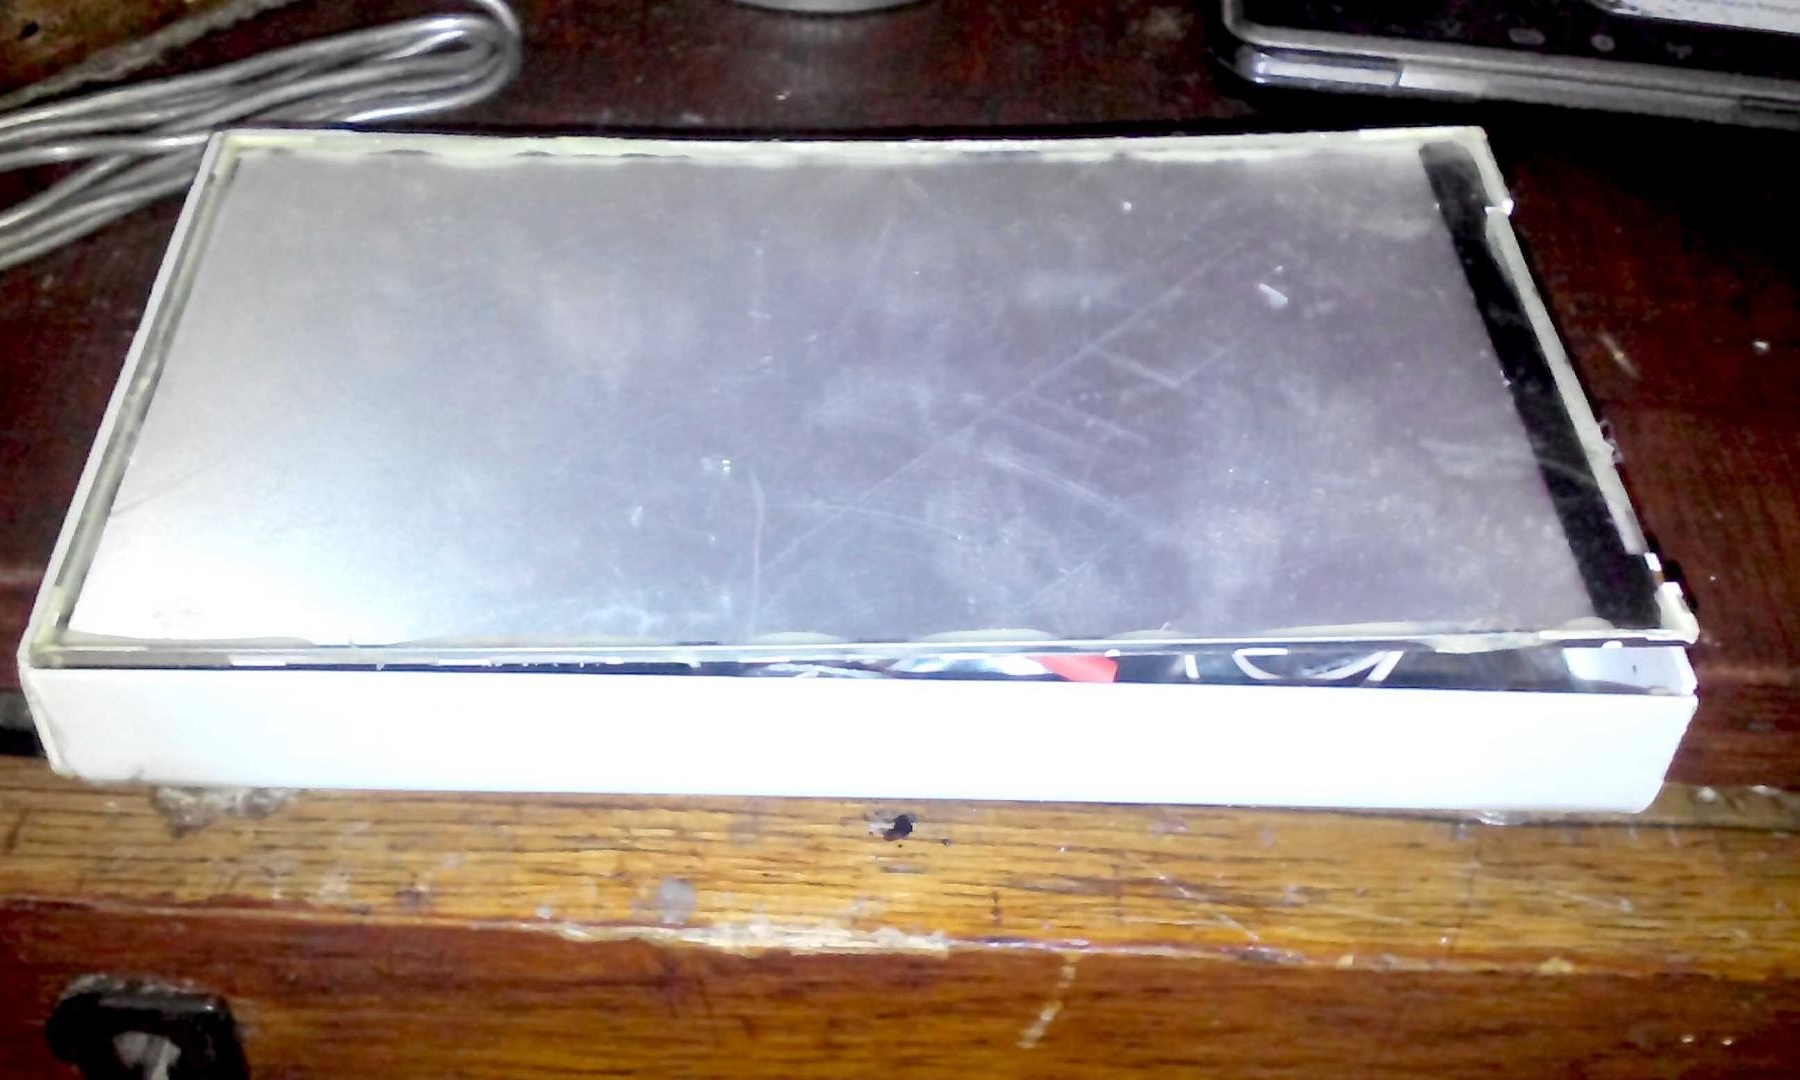
Now we have a broken display
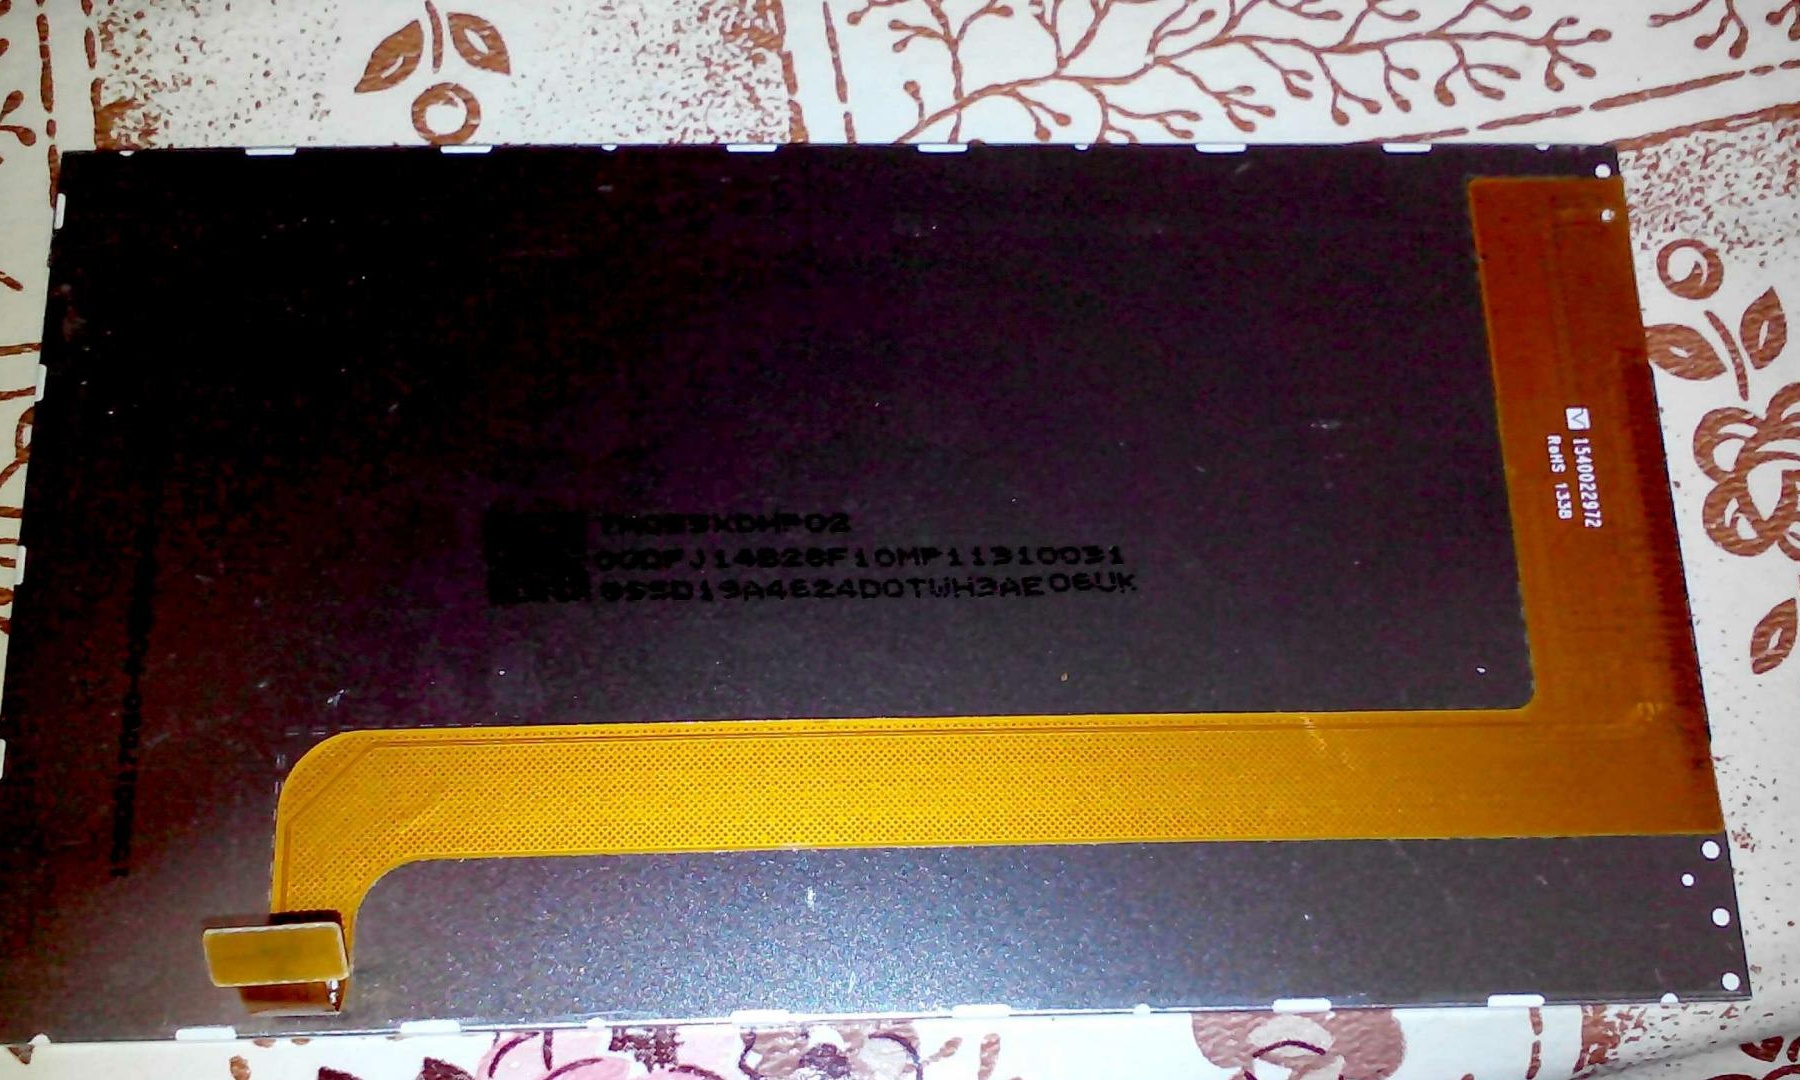
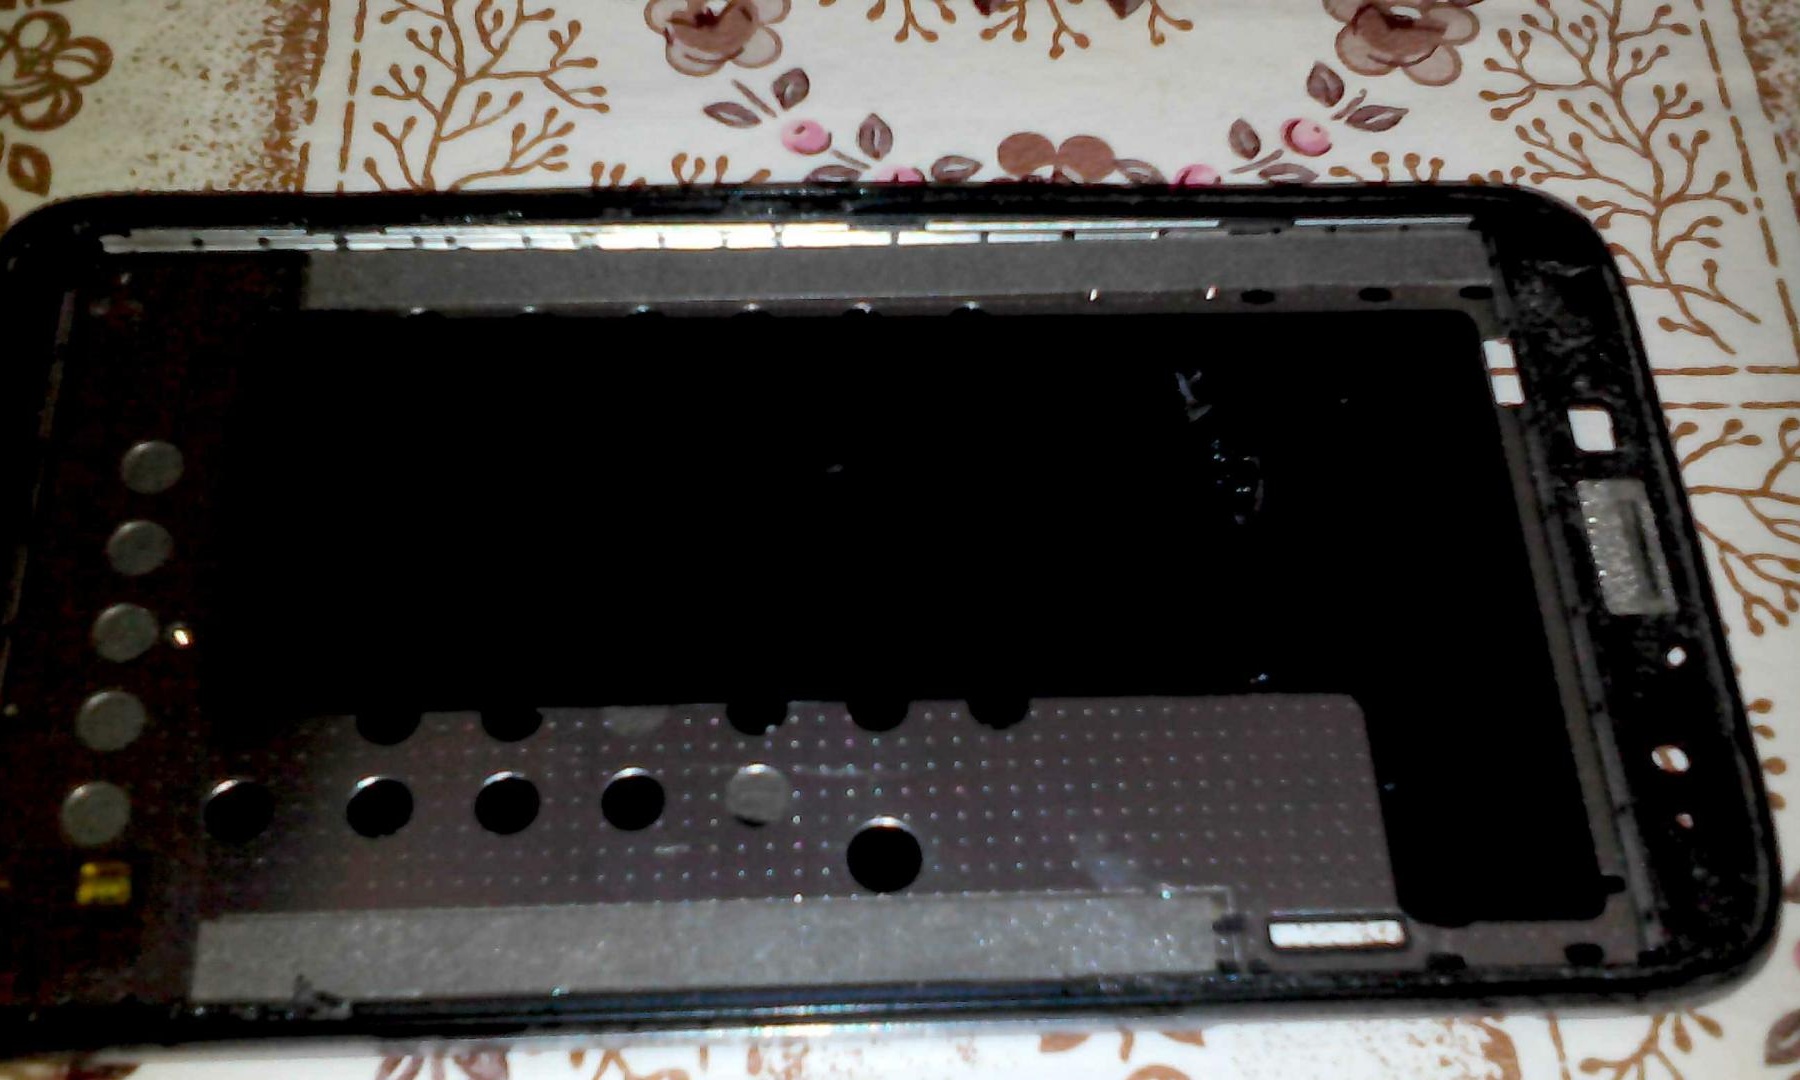
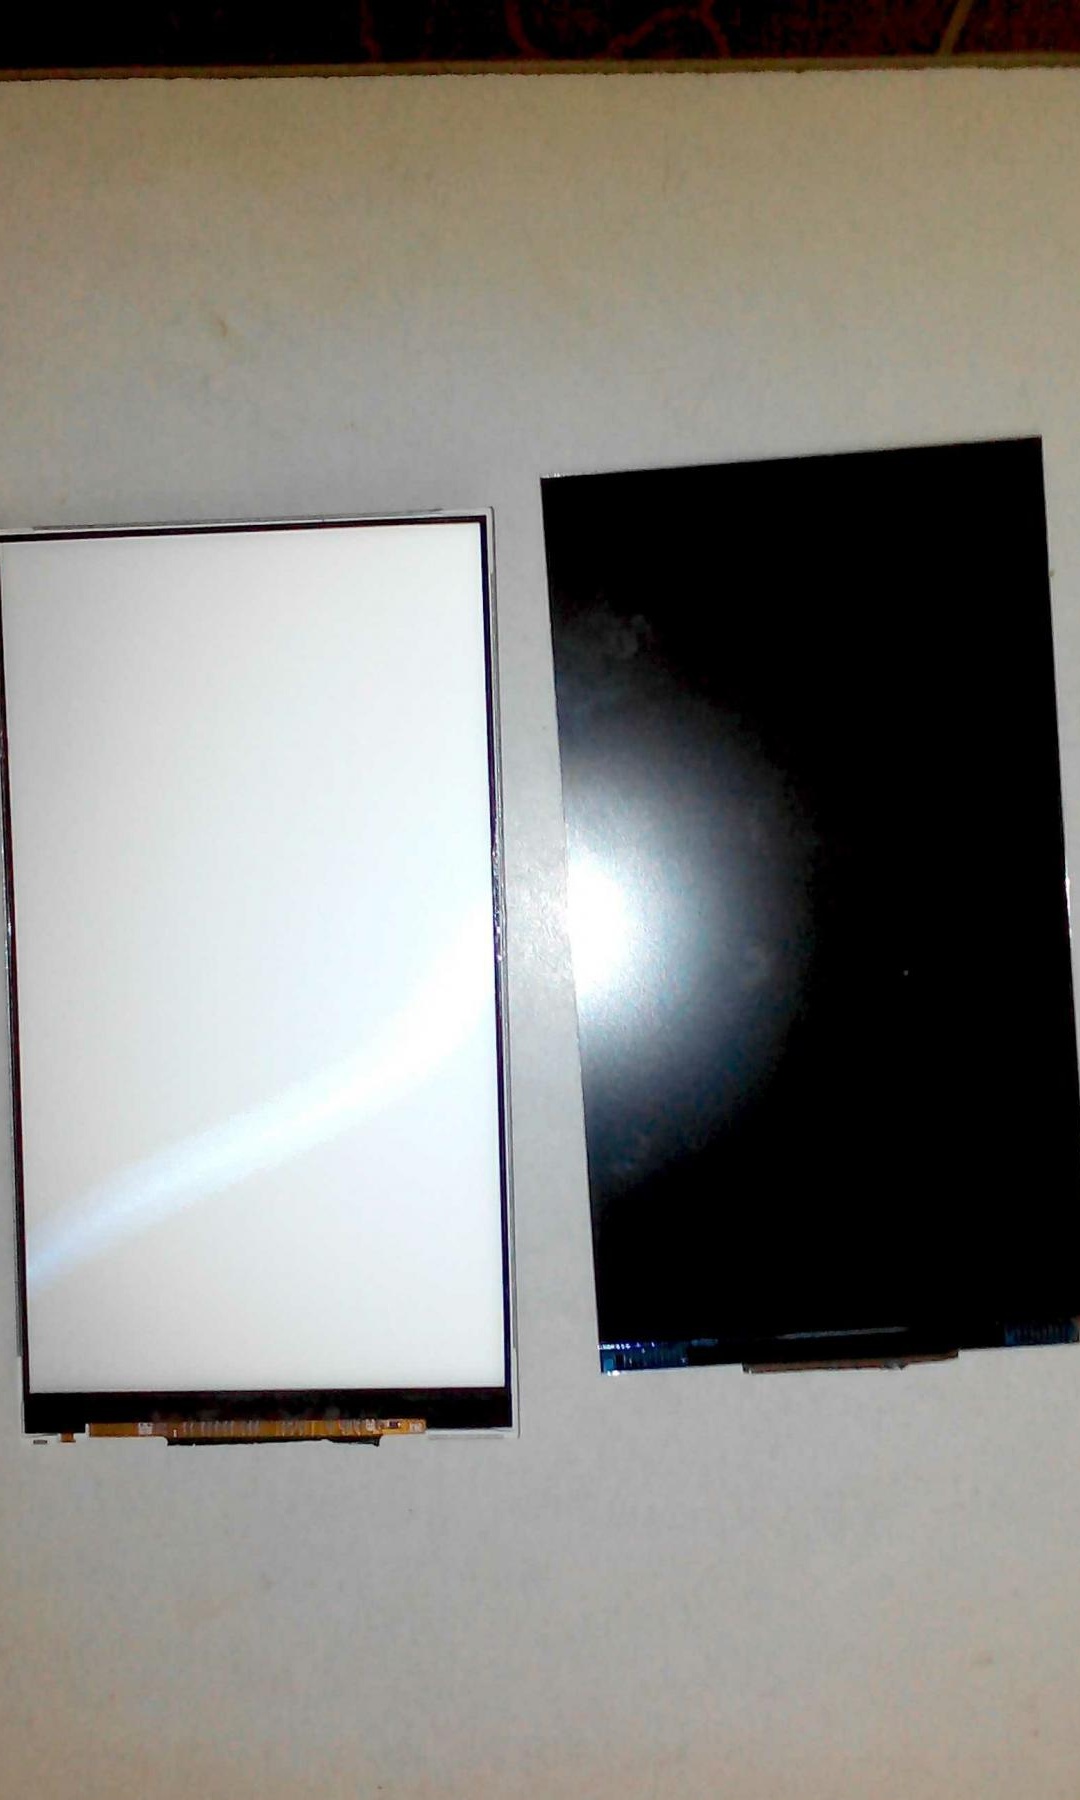
Next, we need to disconnect the display matrix from its backlight
We cut the train with a knife, that's what we should get
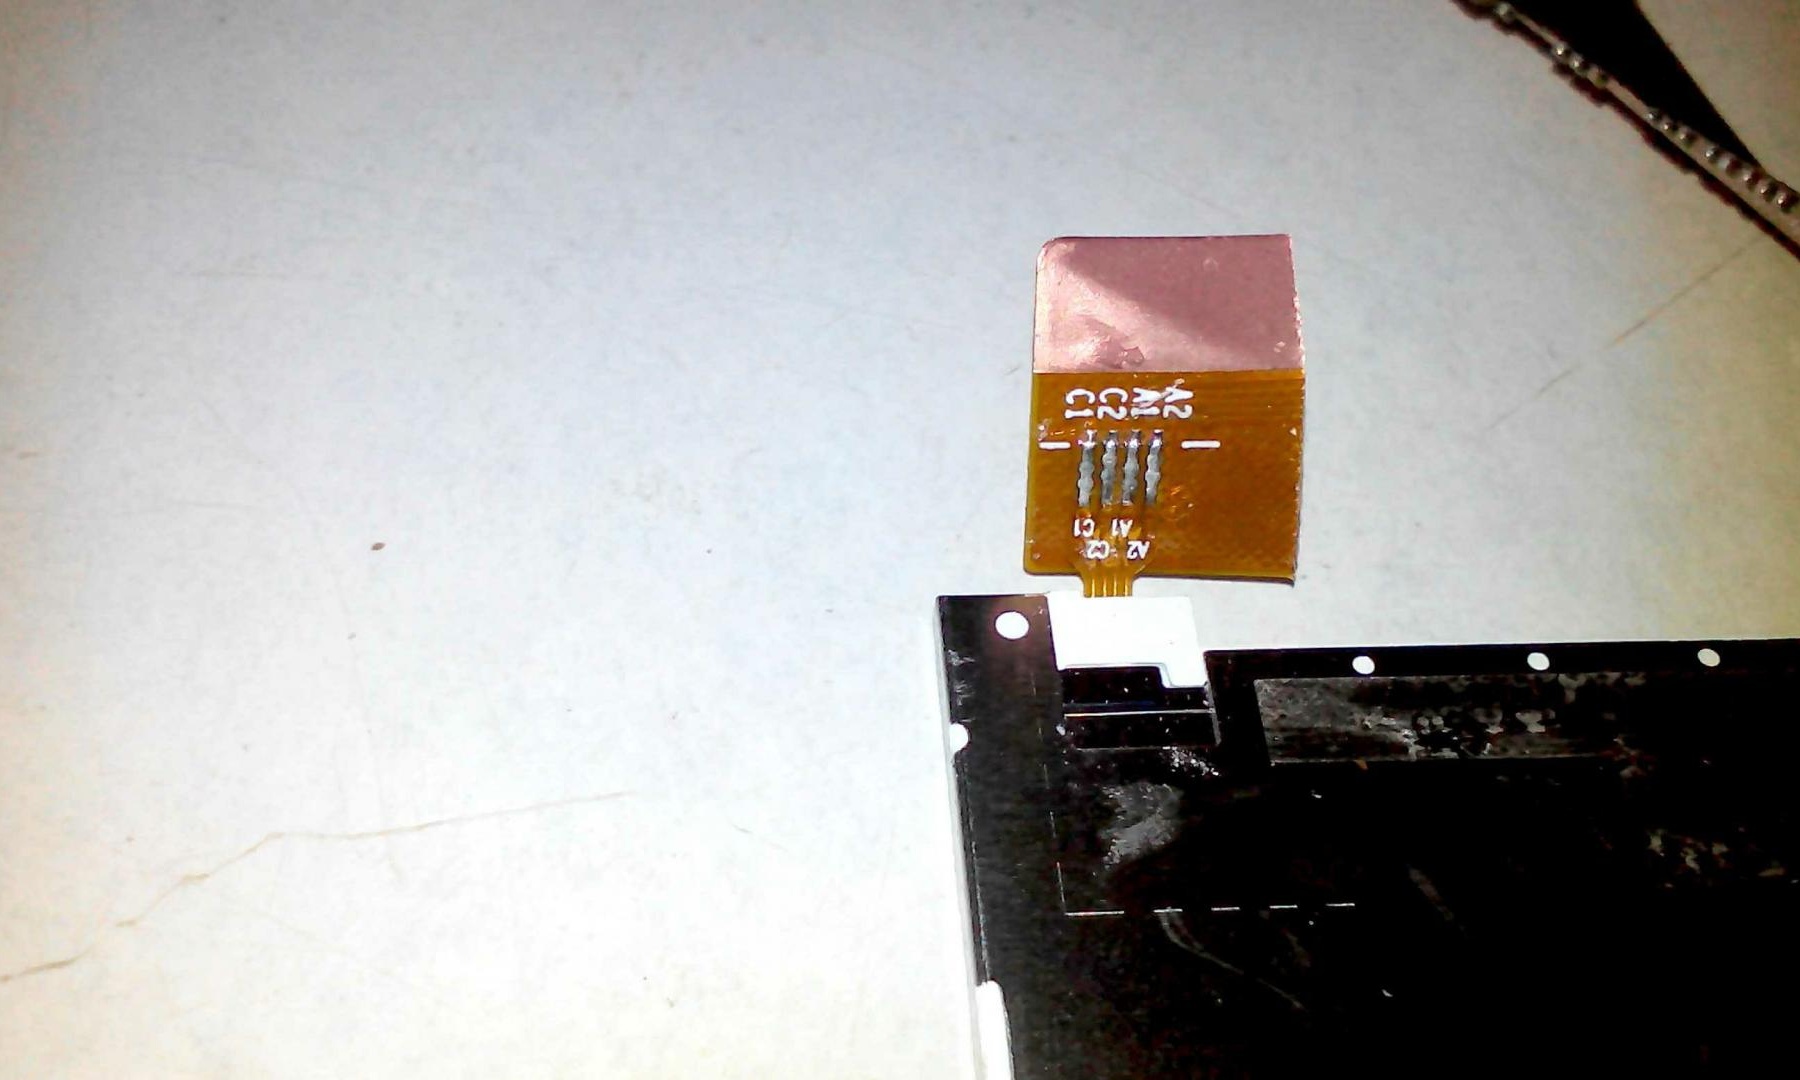
Now that the matrix is removed, it is necessary to unsolder (cut off) its cable from the cable that is needed to power the LED backlight
That's what should stay
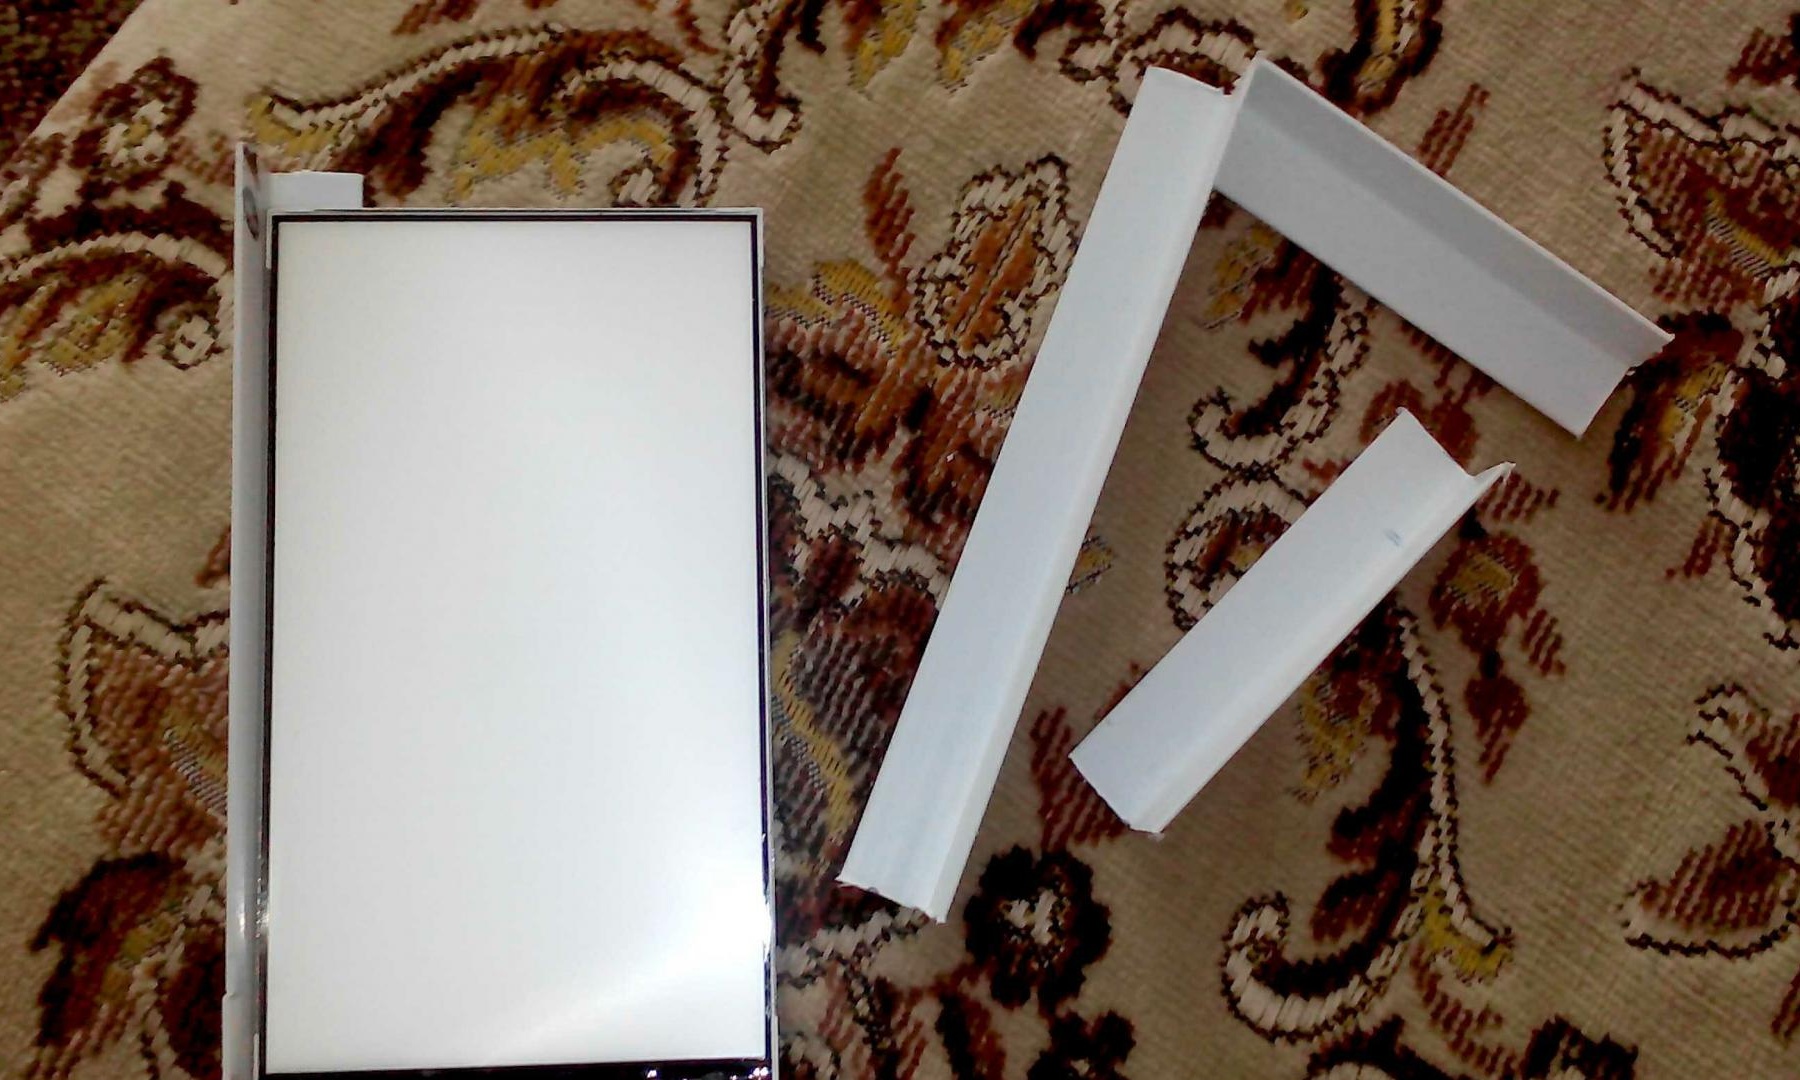
The display is over. Now we will make the case.
I cut a decorative corner to the size of the backlight from the display and using the matrix and hot-melt adhesive, I made a box into which we will put the battery, converter and connecting wires.
When the box is ready, you can take on the converter from 1.5V to 15V, well, ideally, input 3V. Glow is much brighter.
We will collect according to this scheme
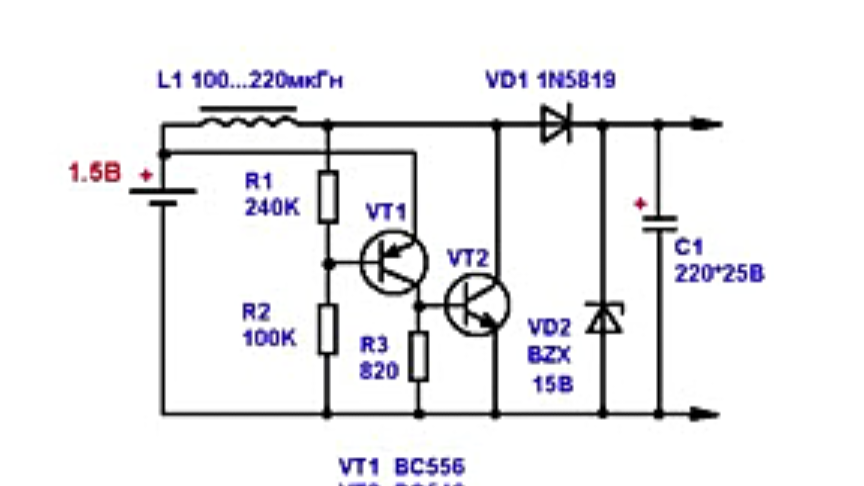
I will not tell much how this converter works.
When power is supplied to the device, a voltage drop appears on resistor R1, current will flow through the base of transistor VT1, as a result of which both transistors will be in the open state, at the initial moment the collector of transistor VT2 has almost zero voltage and an increasing current flows through it and the inductor, the magnitude current will increase until the transistor goes into saturation mode,therefore, the voltage at the collector of transistor VT2 will increase and this will lead to an increase in voltage at resistor R2 as a result of which the transistor VT1 closes and then the transistor VT2 closes, stopping the storage process of the energy of the inductor leads to the formation on the collector of transistor VT2 of a sufficient positive voltage of tens of volts which through the diode Schottky charges capacitor C1, the zener diode limits the charging voltage on the capacitor and maintains it at 15V, after resetting zheniya BT2 at the collector of transistor decreases to the supply voltage, transistors go into the open state through the throttle and again increasing the current leak.
We assemble the converter according to the scheme. I didn’t poison the board and use the surface mount, I used cardboard to install elements on it, installed it as in the diagram and soldered as in the diagram.
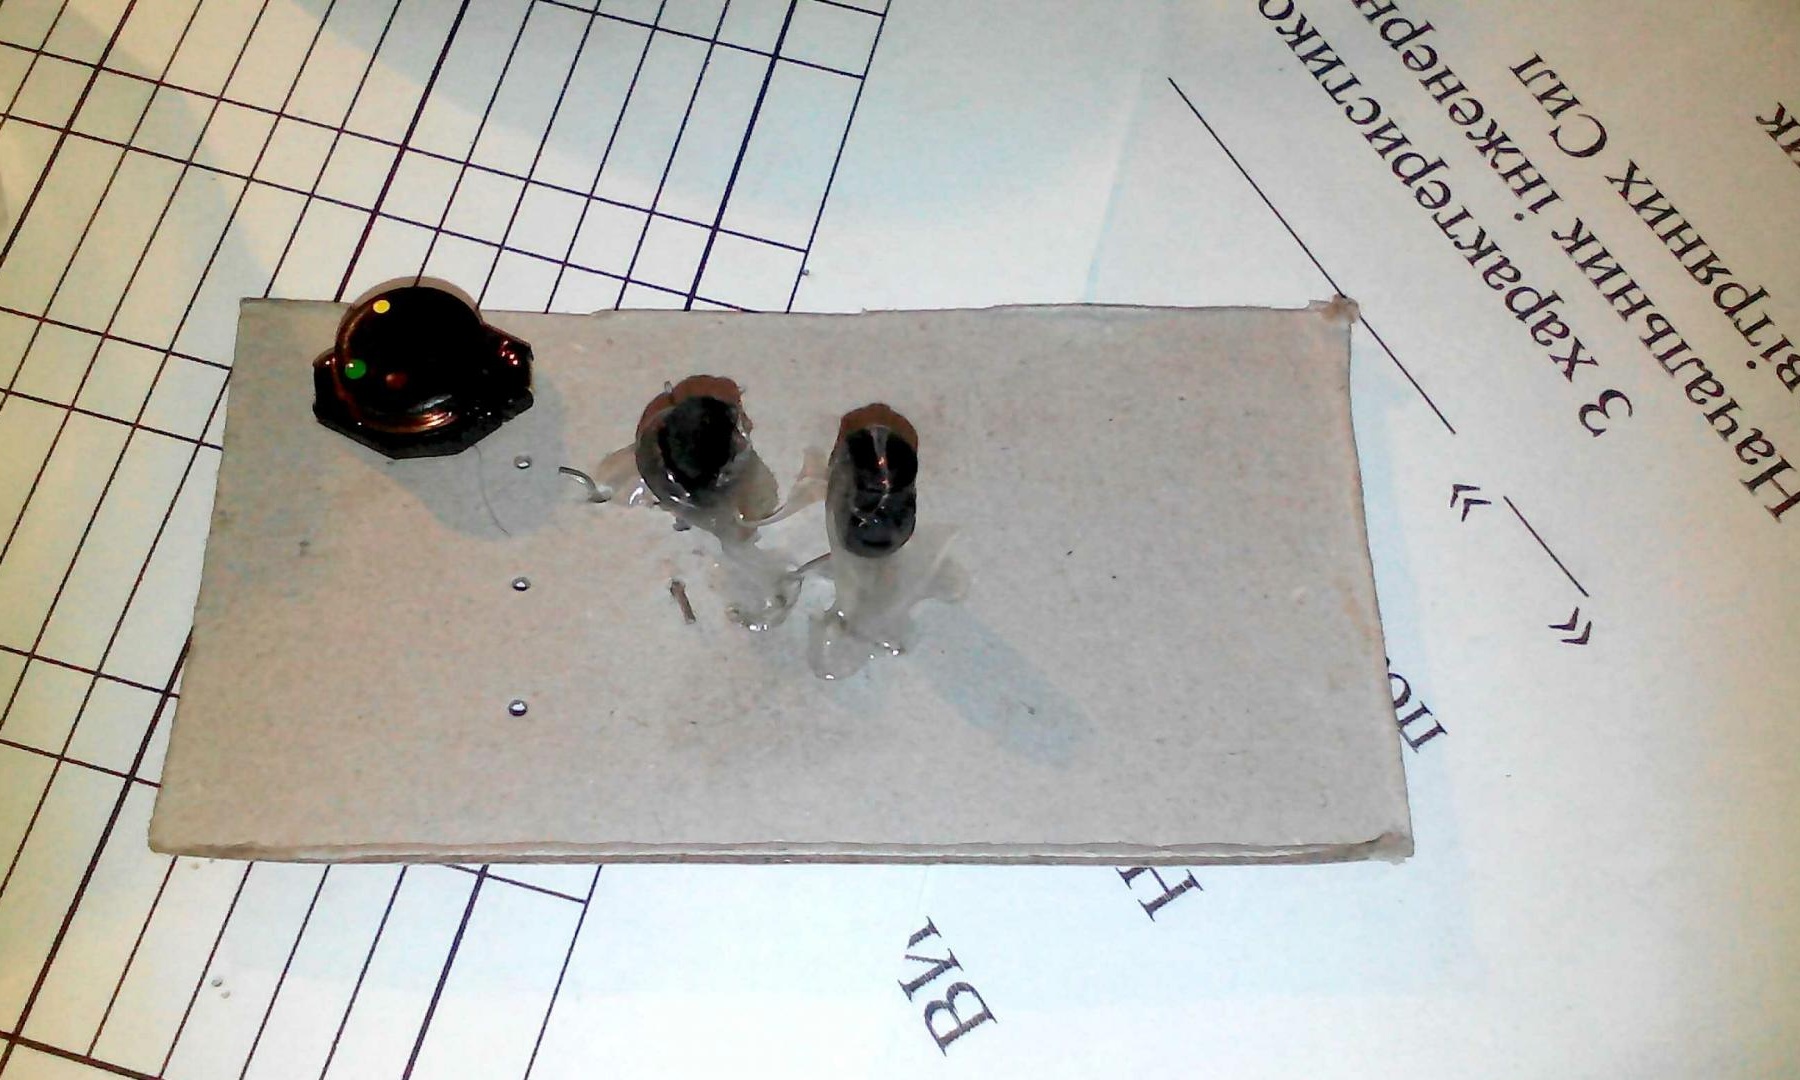
Heaped up the details with hot glue to avoid unnecessary contact and for the strength of the structure itself
That's what happened

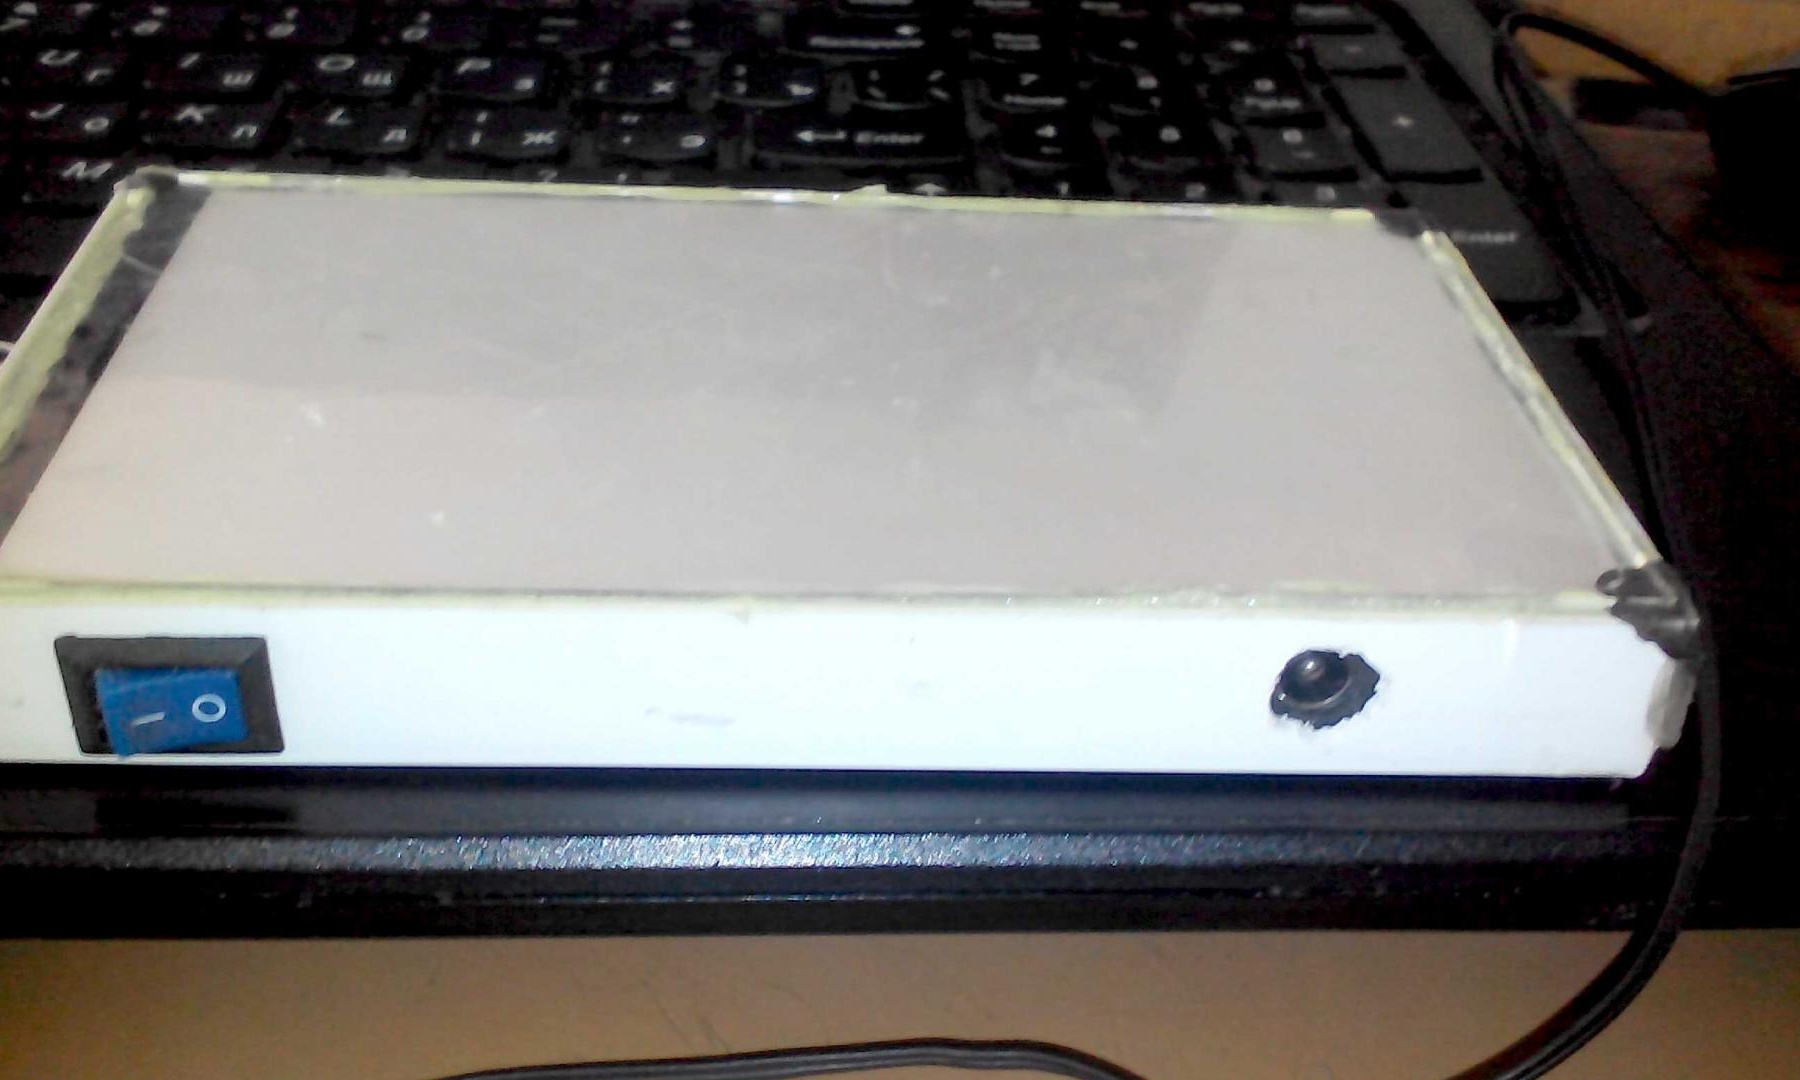
Korda converter is ready - we’ll finish the case, insert the charging connector and a mini switch.
We make holes in the rectangular case for the switch and insert the switch there
Next, make a round hole and insert the charging connector and put it on hot glue
I took the battery from the old phone and soldered two wires to it; red plus and black negative. We also put the battery on hot glue. We connect the wires from the battery with the wires from the connector, then plus through the switch to our converter. We isolate all contacts with heat shrink or electrical tape.

And so, why do we need a converter .. it is needed in order to power the LED backlight, the LEDs of which are connected in this way
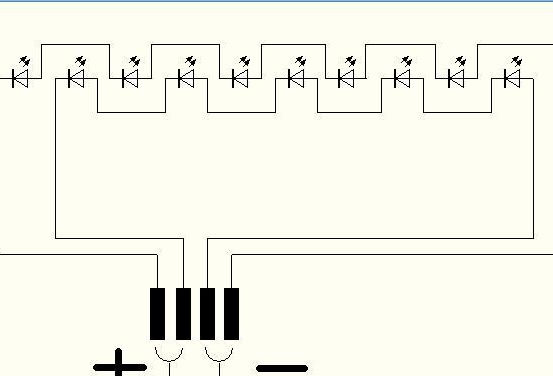
The power of each 3V LED, as they are connected in series for normal operation, requires 15V from the converter.
After we solder the converter, it is necessary to put it in whatever dielectric, I put it in a bag.
When everything is soldered and glued, you can proceed to the final stage of assembly.
Putting it all together, we put it in a case and cover it with our backlight from the phone.
We set the backlight on glue
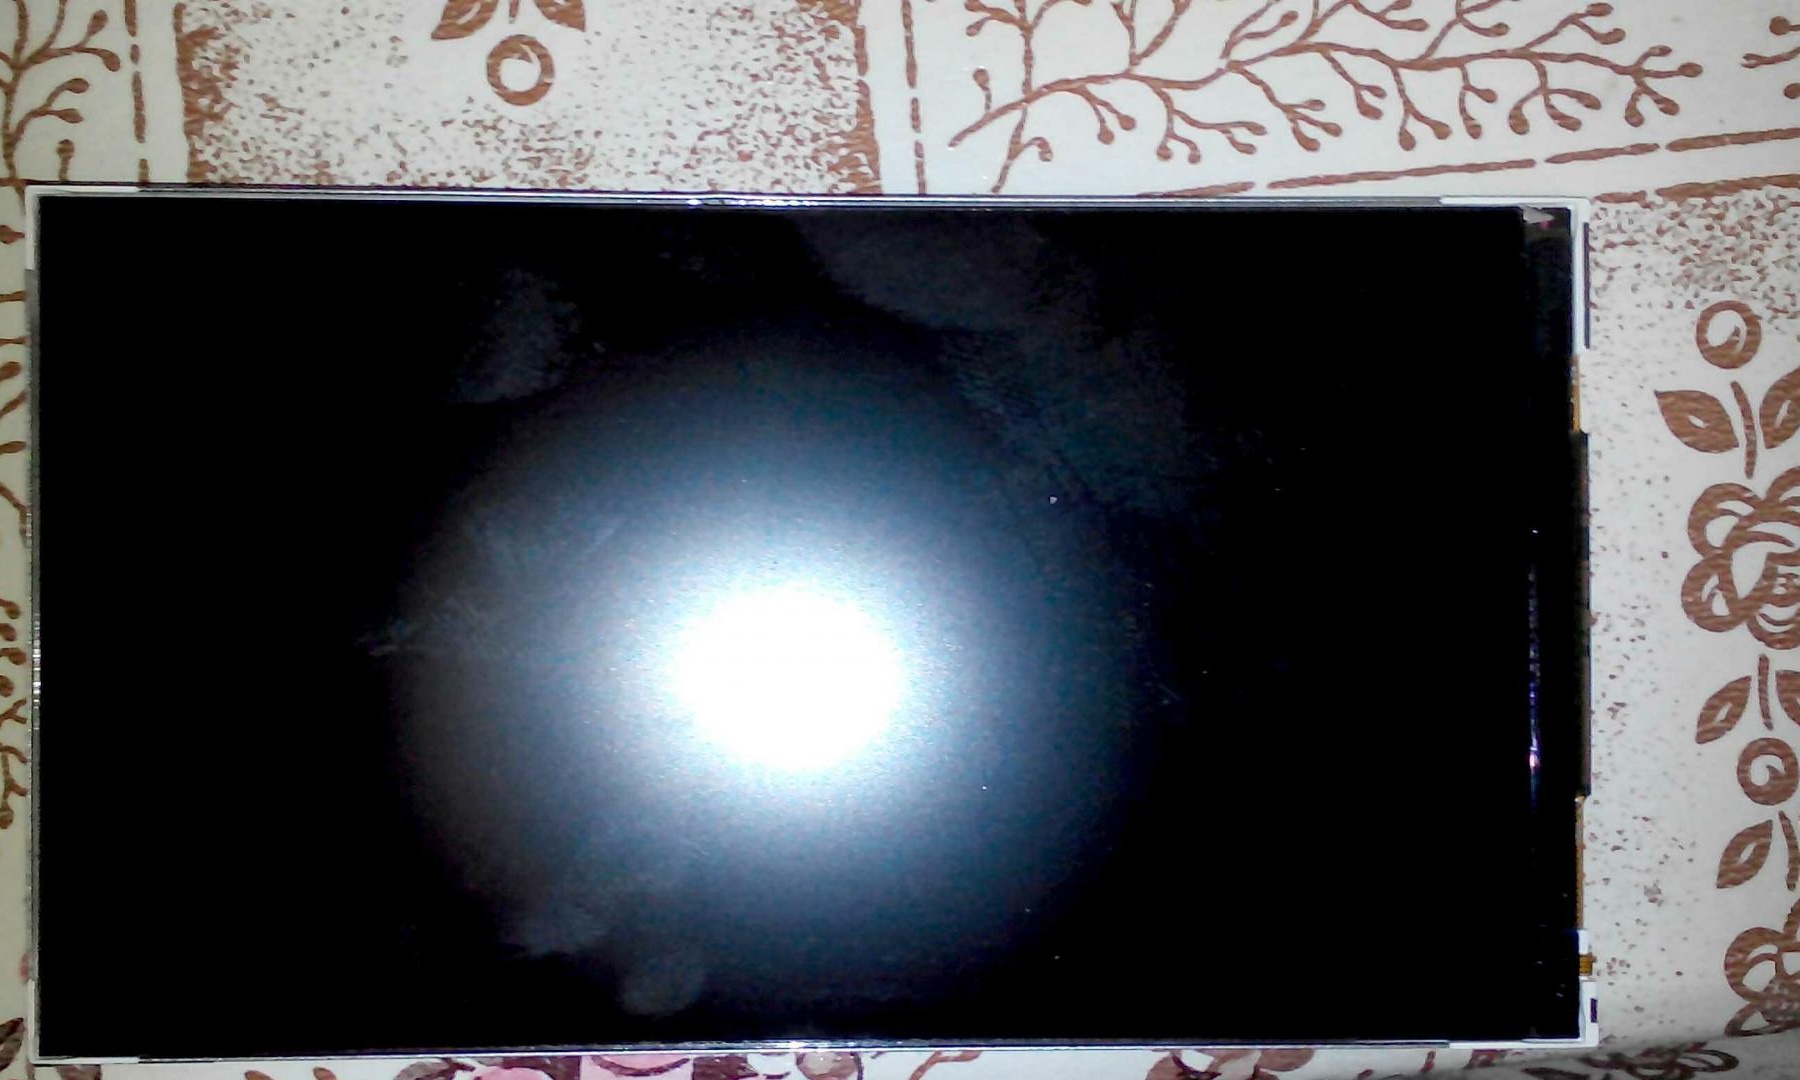
We put it on charge, since the battery was generally “dead”.
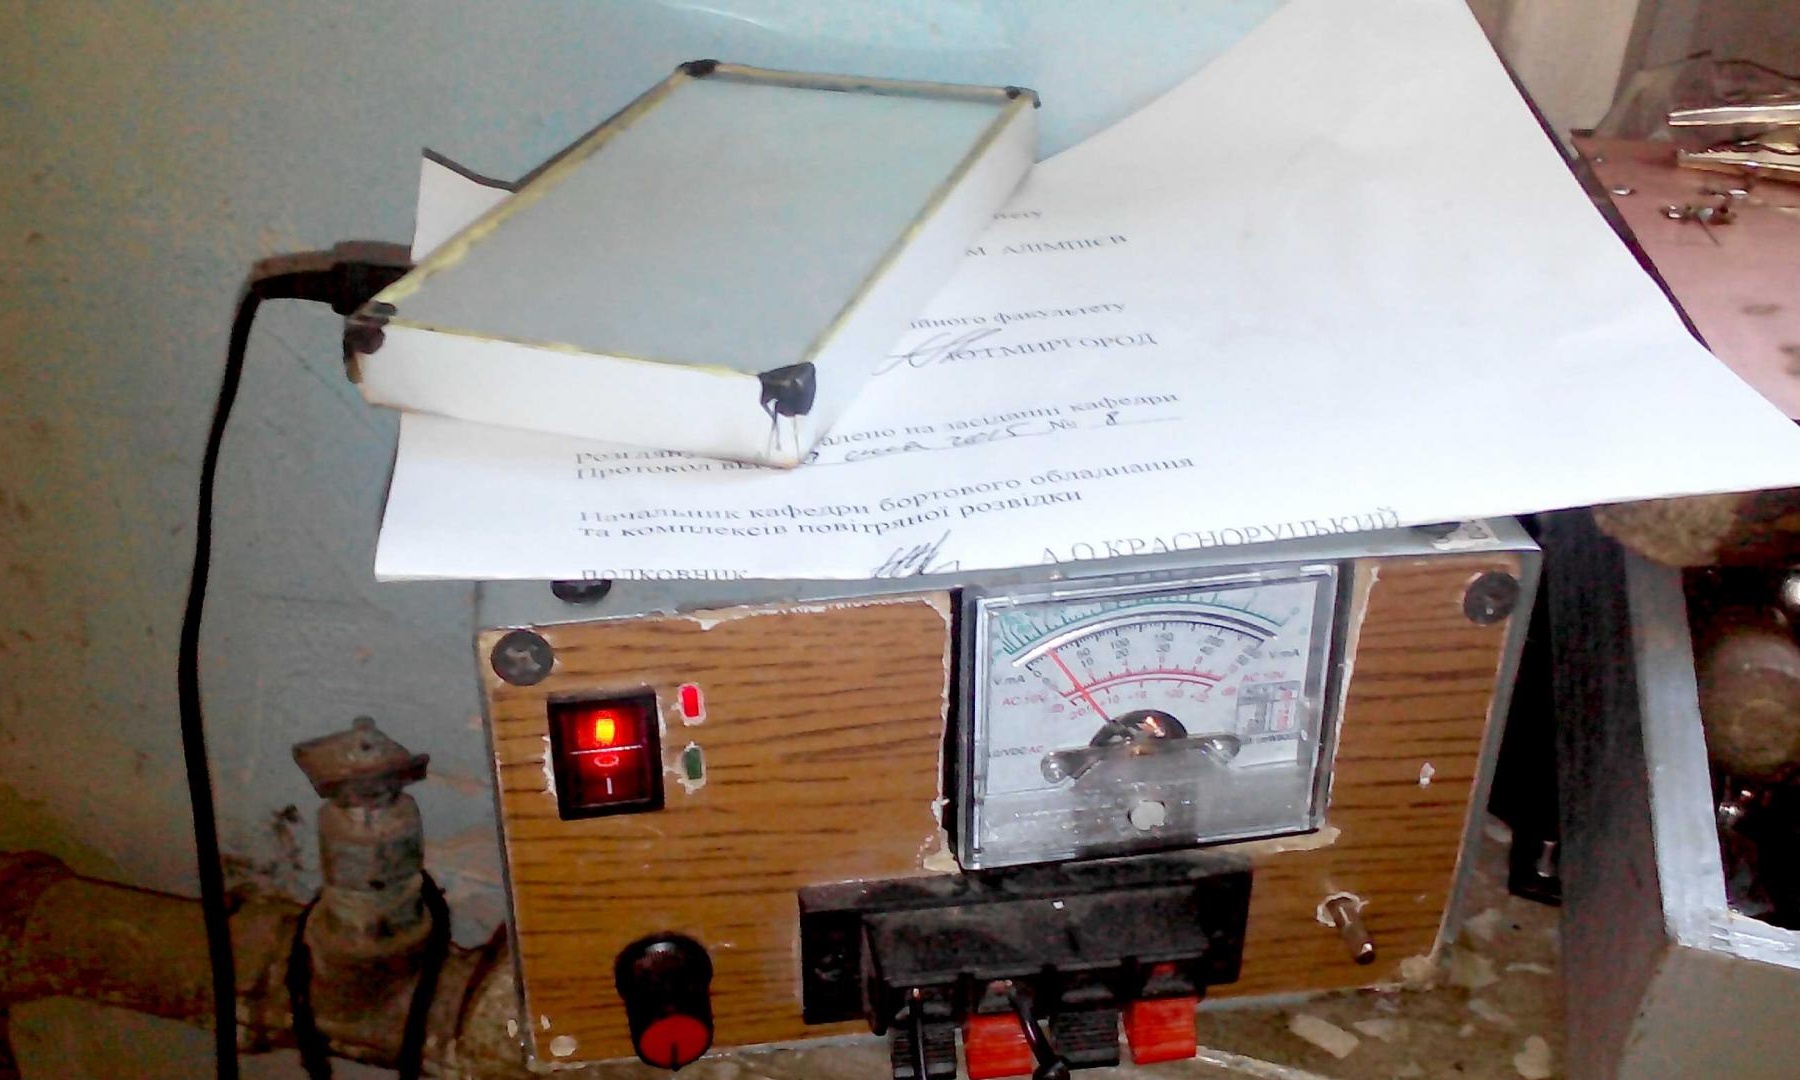
Everything, you can enjoy the pleasant glow of the phone backlight